Zacc Invaders - The Project

Mr20to5

Active member
vacBacker
Feedback
1 (100%)
Credits
1,366CR
iamjimmi said:
Look forward to seeing the results of your painting. Before I realised how differently paint fades, I had what I though was a great idea...

Hi pal, the painting has really slowed me down as every panel is a slightly different shade, which makes it extremely difficult to get a true match.

Don't get me wrong, it looks a million times better than it was, but I am not happy with it so no photos yet.

To ease my frustration, I have started some on some other areas and will update soon. I am off work next week and hope to get this finished by then.

Cheers

Neil
 

Mr20to5

Active member
vacBacker
Feedback
1 (100%)
Credits
1,366CR
Hi Guys,

Apologies for the lack of updates, work got really busy and I’ve just been tinkering away with the odd half hour grabbed wherever I can, but no real progress worthy of any update. However I am off for the whole of this week, performing Daddy Day Care Duties, so hopeful of getting this project moved along if not finished by the weekend…….

So where am I at. The painting resto of the side art, is getting mixed results, down to the inevitably differing shades of paint on each panel. The difference is minute, but it messes with my OCD infected brain, he he, and it annoys me, so I’m still experimenting with this and will post some pics when I’m happy.

In the mean time I have started to tackle the coin door and surrounding frame. Here’s how it was;

20150517_1545322.jpg


The frame was very dirty and had various chips on the paint work, so after removing and cleaning the gunk left behind on the cab, with a quick clean and repaint it now looks like new. The photos here don't really show the difference that much - crap camera!

20150517_154558.jpg


20150526_092037.jpg


The coin door itself came up nice with a quick polish, and I disassembled the coin mech, both to allow for cleaning and also to remove the metal surrounds from the front of the coin door and in turn remove the red coin return plastics and the coin return flaps.

Both of these I am not happy with; the coin slot pieces have different inlays, one is the proper 10p, push to reject, the other is a crap one!! Having tried to source a scan of the new one and failed, I decided to scan this in myself and make a couple of repros. However because my original was also a bit naff, the scans came out naff.

Decided not to spend hours on Photoshop at 500% zoom trying to airbrush out the crap and simply made some new ones. Spent a little bit of time fiddling around trying to match the font but fairly pleased with the results;

20150526_101137.jpg


20150526_101714.jpg


The metal coin return flaps were very badly pitted and rusted, so off they came, on went the Dremel and they came out really nice. They were obviously painted black at some stage and I was going to repaint, but I really like them in the shiny polished metal, so I think I will leave them (for now). The only other thing I need for this assembly is a replacement bulb, so if anyone can help me out with getting the right fitting, voltage and wattage I would be grateful.

20150518_201438.jpg


20150526_113348.jpg


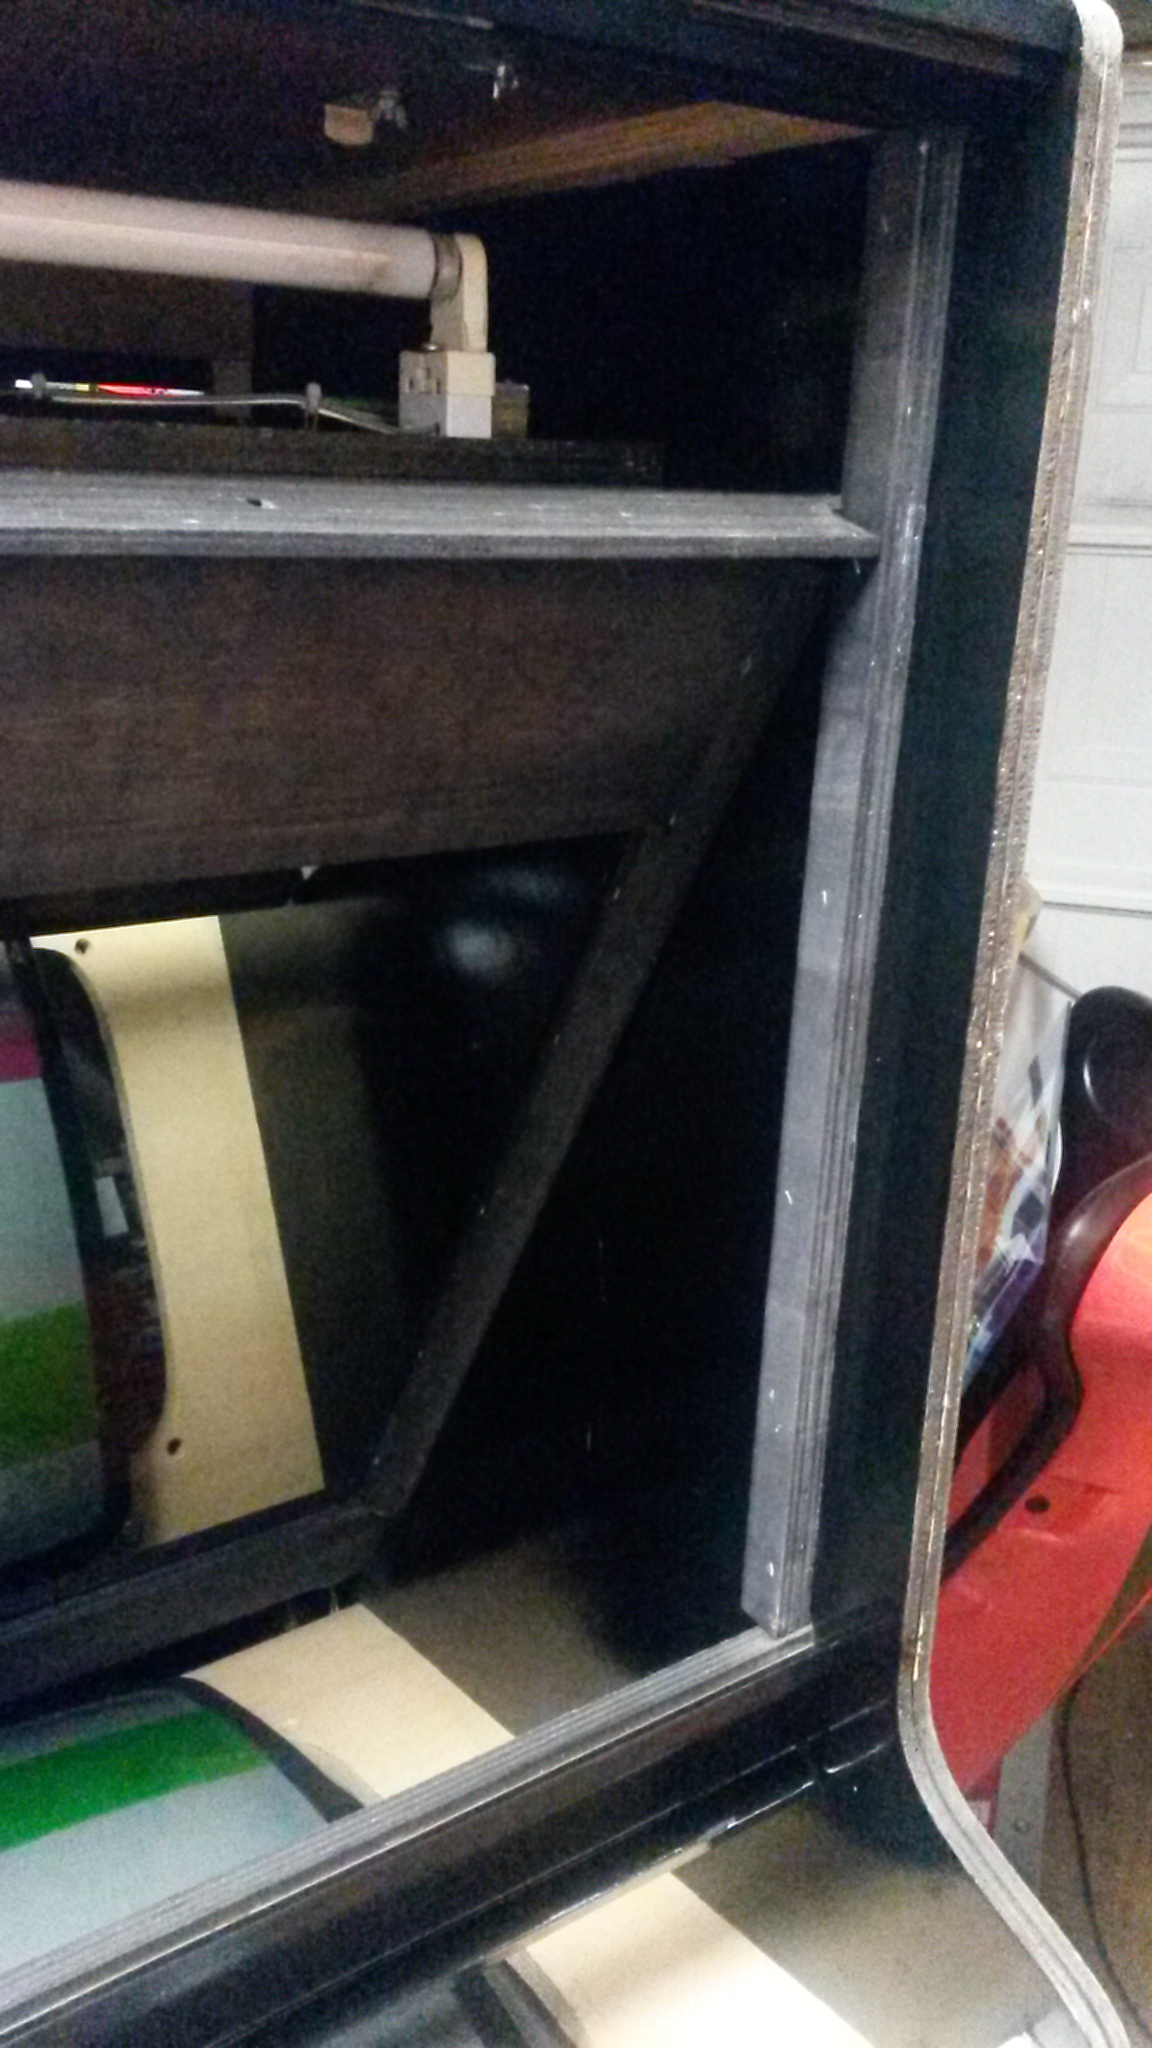
Next up was some more paintwork problems. The inside edge of the right panel at the front of the cab was very bad, chunks of paint/formica had fell off and loads more were waiting to fall at the slightest touch. Sanded it all back to bare wood, then added some fine filler, waited, waited, waited (seems to take ages to dry when you are waiting!!), then sanded back finishing off with 1200 grit to leave a glass like surface ready for paint.

20150518_201225.jpg


20150522_192757.jpg


20150526_092019.jpg


To keep the paint colour even I will take this right up to the top of the cab as I have already painted the top and bottom wooden horizontal bars of the monitor bezel support, so gave a quick sanding also of the rest to help the new paint key to the surface.

Whilst I had the filler and sand paper at hand I tackled the base, which was very badly chipped and gouged and missing big chunks of plywood. I had thought about just replacing it but with the cab tipped back it wasn’t as bad as I thought, as the ply used was very thick and even the worst bits hadn’t gone anywhere close to even halfway. So lots more filler, lots more sanding and another surface ready for the paint.

20150526_091952.jpg


Looking at the rest of the front panel the only other thing I wasn’t happy with were the four bolt heads that hold the control panel fasteners in place. These like most other parts, were covered in rust and needed attention. I decided not remove them, mainly as getting access to the fasteners is hard, so masked all around them and carefully polished with the trusted Dremel.

20150518_193120.jpg


20150518_193925.jpg


20150518_200332.jpg


Lastly, for this update, the coin box. I’m guessing this is the original, however, rust has once again made this it’s home. Spent a bit of time sanding this back to remove the surface dust and get a nice surface for the primer, then I shall paint it up too. Aerosol primer/paint used for this.

20150509_154638.jpg


20150526_093708.jpg


That’s it for now, going to get cracked on with lots of painting too keep me busy. I have also ripped off the old T-molding as it was gnarled and chipped and bashed and bumped in various places and ordered some shiny replacement from T-Molding.com. Can’t believe how cheap this works out. Got dispatched the other day so hoping this arrives this week too.

All that done and I think we will just about be there. I’ll tick off the check list and see where I’m at.

Neil.
 

Mr20to5

Active member
vacBacker
Feedback
1 (100%)
Credits
1,366CR
Further to my last, and whilst I wait for yet more paint to dry (it really is like watching paint dry!!), I caught up with my list of jobs to do, most as I originally thought when I got the cab, some others added later as I got to know Zacc a little better..

Outside Zacc;
1. T Moulding needs replaced as gouged and buckled in areas - STILL TO DO – REPLACEMENT ORDERED
2. Top front edge of cab has large scrapes/gouges in it - SORTED
3. Metal holder for bezel is heavily pitted/rusted - SORTED
4. Wooden CPO base has burns and gouges in it - SORTED
5. Plastic CPO cover has slight melting to it in areas - SORTED
6. CPO buttons will need replaced as heavily marked/scratched - SORTED
7. Coin slots need new inlays - SORTED
8. Base frame and castors have seen better days - SORTED
9. Every panel has stencilled paint on it from previous owner - SORTED
10. Every panel has deep gouges in it at through to bare wood - WORK IN PROGRESS
11. Artwork has been scratched on every panel, some very deep/wide gouges. - WORK IN PROGRESS
12. The coin door needs a good polish - SORTED
13. The rear of the cab will need sanded, filled and painted - SORTED

Inside Zacc;
1. Monitor needs colour film replacing - SORTED
2. Was bought with fault to monitor (not working at all) - SORTED
3. Cardboard moon background has slight buckling to the top/middle - SORTED
4. Cardboard moon background has slight tearing around fixing staples - SORTED
5. Interior cardboard monitor surround needs replaced - SORTED
6. May need visible interior area repainted black - SORTED
7. One of the coin mech bulbs needs replaced - STILL TO DO
8. The coin box is heavily rusted and will need sanded back and repainted - SORTED
9. The painted black interior of the upper part of the cab, mirror support, etc, has faded and is too visible whilst playing, when illuminated, will need painted back to black - STILL TO DO
10. The edges of the space background card sheet are out of shape and sit slightly away from the wooden surround, this makes the edges too visible, intend to ‘mask’ the edges with custom black edging to make the whole effect more seamless when playing - STILL TO DO

Here are a couple of photos regarding the last two points which show what I mean;

20150526_153752.jpg


20150526_155443.jpg


Hmm, maybe some more painting…………

Neil.
 

Jase

Active member
Feedback
3 (100%)
Credits
294CR
Liking this project - excellent work! I used to have one of these and the build quality I thought was superb. Certainly the artwork seemed better, glossy rather than matt.
Regarding the spacescape - why not just staple it to the wood where it's coming away?

Jase
 

Mr20to5

Active member
vacBacker
Feedback
1 (100%)
Credits
1,366CR
Jase said:
Regarding the spacescape - why not just staple it to the wood where it's coming away?

Jase

The only thing against this, as it is obviously the easiest, is that, when I got Zacc it was stapled six times on each side. I needed to remove it to clean it and get behind it to sort other stuff and it was a nightmare to get the staples out without damaging the card background. So that's why I am a bit hesitant to simply stick 20 staples in again.

Neil

Updated thought - Maybe a compromise would be a thin cardboard strip, black, which I could staple to the wood which would then overlap the edge of the background, hiding the wobbly edge and also the white of the card edging. A solution I think....

neil16372015-05-26 18:41:18
 

Mr20to5

Active member
vacBacker
Feedback
1 (100%)
Credits
1,366CR
Mini update time,

Whilst waiting for yet another coat of black gloss to dry, I set about trying to fix the visible wavy edging on the space scape background.

Here's what is was like - and as it's visible when playing (admittedly not in your direct field of vision - but there if you looking), I don't like it.

20150527_120841.jpg


Not wanting to simply staple the ar$e of it in case it needs removed again for whatever reason, I came up with this idea.
From the leftover card I used to replace the monitor bezel, I made these bracket type things.

20150527_120803.jpg


Which fit like this and cover the edges and will be virtually invisible once all put back together. The background can then still easily be removed if needed and there are no nasty wavy white edges to annoy me.

20150527_122452.jpg


And back to the painting........

(Getting close though)
 

Mr20to5

Active member
vacBacker
Feedback
1 (100%)
Credits
1,366CR
Thanks guys.

I know it wasn't completely necessary but those ragged edges annoyed me and I had the assembly out of the cab whilst I repainted some of the interior, so I just thought, why not.

It was kind of suck it and see, but it turned out really good. Only overlaps by about a cm so not losing loads of the space scape.

Thanks for the feedback.

Neil
neil16372015-05-27 18:54:28
 

Jase

Active member
Feedback
3 (100%)
Credits
294CR
I'm gonna be checking my cab out now and seeing if I can see unsightly edges WHICH I'VE NEVER NOTICED BEFORE!!!! And if I do, then I know how to deal with it... Haha!
 

Mr20to5

Active member
vacBacker
Feedback
1 (100%)
Credits
1,366CR
Hi guys,

Massive in-roads made during this half term week off, so here goes…

First up was a heap of repainting various parts of the cab back to black.

The base, having previously been filled, sanded and primed, now with it’s final coat of gloss;

20150529_112059.jpg


Next up was the front/side/edge piece/panel and this part, although fairly insignificant to the cab itself, I am really pleased with and all the prep ( a lot of it ), was worth it, with the final finish being lovely and smooth and shiny, (not a brush stroke in sight). Compared to how this section of the cab was when I first received it, to how it looks now, shows a real difference.

Before

20150518_201226.jpg


After

20150529_085405.jpg


Also given the ‘back to black’ treatment was the interior of the cab, I posted a photo a couple of posts ago which showed how grey, the interior had become over time, comparing that to now, it looks fresh and new, but more importantly, it has really helped to ‘hide’ the interior when playing, which before, when grey, was ‘too’ visible I thought.

20150529_084445.jpg


So, with the painting finished, it was time for some reassembly, with the repro monitor shroud I had made previously, now in place.

20150529_091516.jpg


And next, a full frontal shot of Zacc, in almost all of his full glory. Just waiting for my new black T-Molding to arrive from the US to put the finishing touches to Zacc, which will be my next update on this thread.

20150529_112551.jpg


Which, with no more painting required, left only one thing to do, PLAY PLAY PLAY. Here’s my rubbish high score after a few games, but really, just super happy to be nearly finished this resto, my first, but definitely not last, and above all, (paint matching woes aside), I am really pleased with how Zacc has turned out.

20150529_121118.jpg


Thanks for all the replies so far, we are nearly there.

Neil.

PS: Annoyingly when ever I switch Zacc off at the mains, there appears no facility to save the high score which is wiped. I’ve seen/read/heard about add-on kits for certain PCBs to remedy this, is there anything that can be done for this particular game and if so, could someone give me some pointers about details, installation, etc.
 

Carlito3

Active member
Feedback
5 (100%)
Credits
115CR
Awesome restoration job mate.

Makes me want to cry - think that Invaders was mine a couple of owners back. I bought it round about Christmas time with a view to restoring but then I got scared off by the time and money I thought I'd have to throw at it to get the monitored fixed and times got hard and I had to flog it!

Having said that, if I could have afforded to keep it longer and actually started fixing it up I would not have had the patience to make such a good job of it as you have.

I bet we all wish we had a TV repair guy round the corner who charges £20 a job!

Nice work fellar.
 

Mr20to5

Active member
vacBacker
Feedback
1 (100%)
Credits
1,366CR
Carlito3 said:
Awesome restoration job mate.

Makes me want to cry - think that Invaders was mine a couple of owners back. I bought it round about Christmas time with a view to restoring but then I got scared off by the time and money I thought I'd have to throw at it to get the monitored fixed and times got hard and I had to flog it!

Having said that, if I could have afforded to keep it longer and actually started fixing it up I would not have had the patience to make such a good job of it as you have.

I bet we all wish we had a TV repair guy round the corner who charges £20 a job!

Nice work fellar.

Thanks for the comments. It is nearly there, just the new T-Mold to fit which arrived the other day, just need to find time as not off work til next week now.

To be honest, I took a punt on this, bought not working (playing blind), but in buying this, it has led me to find 'Alf' the friendliest TV repair man ever, literally a couple of blocks away. Who not only fixed this up and checked it over, has opened up a good relationship which will allow me to buy more non-workers with some added confidence.

In all honesty I haven't spent that much on this resto, at least no big outlays, may lots of little purchases will add up a bit, but most of it is as original, just restored/cleaned, etc.

It has eaten up some very limited free time, but I have thoroughly enjoyed it and taught myself some new stuff about cabs along the way.

Hope to get the T-Mold fitted on Monday and finish this thread with a final photoshoot.

Cheers

Neil.
 

Mr20to5

Active member
vacBacker
Feedback
1 (100%)
Credits
1,366CR
Ok guys, we are almost there, so close I can almost taste the end....

Work and play definitely get in the way of restoring stuff !!

Spurred on though by delivery of this the other day...

20150603_174316.jpg


I found my trusty rubber mallet, prepped the old slot/groove, making sure all the loose bits of wood were removed along with anything else that had found it's way inside that would ruin the smooth finish of the new T-Mold and off we went. I've read how some people really hate this part, but I found it really therapeutic. Did some research on You Tube first so I knew what I was doing, then just took my time, tapping away an inch at a time.

Pleased with the result, what do you think...

20150613_192128.jpg


And that just leaves the final update to all the blemishes, gouges, scrapes, dents and dings that were on each and every panel. The filling and sanding was easy and I covered this earlier. the difficulty came with the final paint finish, due mainly to varying levels of fading to the nearly 30 year old paint, compared to my shiny new tin of uniform gloss.

I am still not happy and when I have the time, will keep mixing up tiny new batches of my own colours and keep trying until I get one that matches and paint over them all. As it stands though they are 1000 times better than they were, when they were gouged through to bare wood and splinters, but just not right either. Here's what I mean...

20150601_185933.jpg


20150601_185957.jpg


So, that's probably about the end of this thread. I have thoroughly enjoyed every step along the way. This being my first resto, on only my second ever cab, I don't think I did that bad. Of course a lot of that success is down to the sound advice given for free by all you knowledgeable peeps on here. I am pleased to be able to have saved a non-working, relatively unwanted cab, that seemed to have changed hands quite a few times before I got hold, and it's Space Invaders after all, how more classic can it get.

Thank you again for all your comments along the way, not just the advice but the words of encouragement. I love reading resto threads, old and new alike and hopefully someone can learn something from mine.

Cheers

Neil
 
Top