Asteroids Deluxe Cabaret - Scratch Build

myPinballs

Active member
Feedback
18 (100%)
Credits
720CR
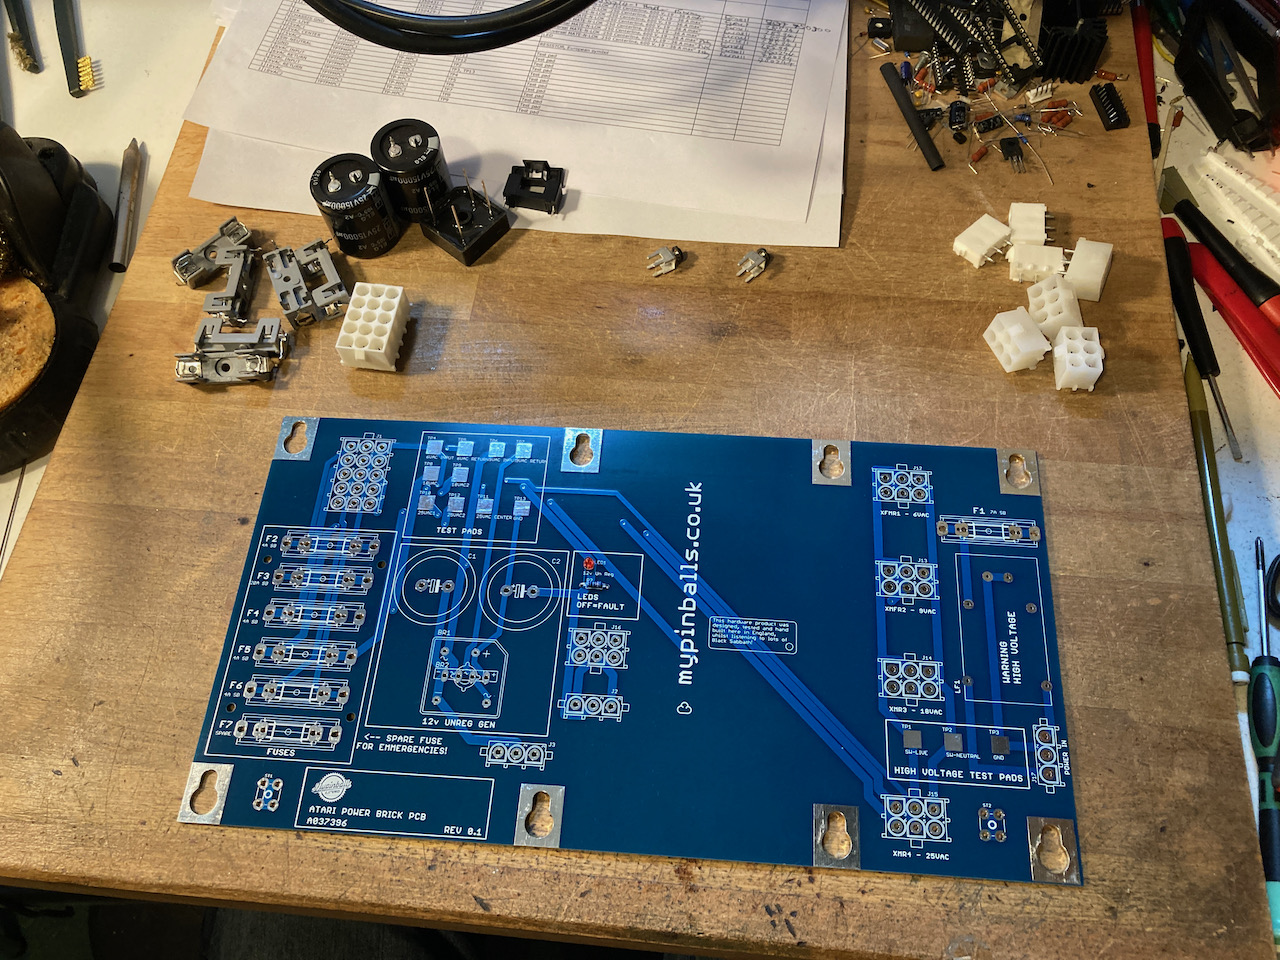
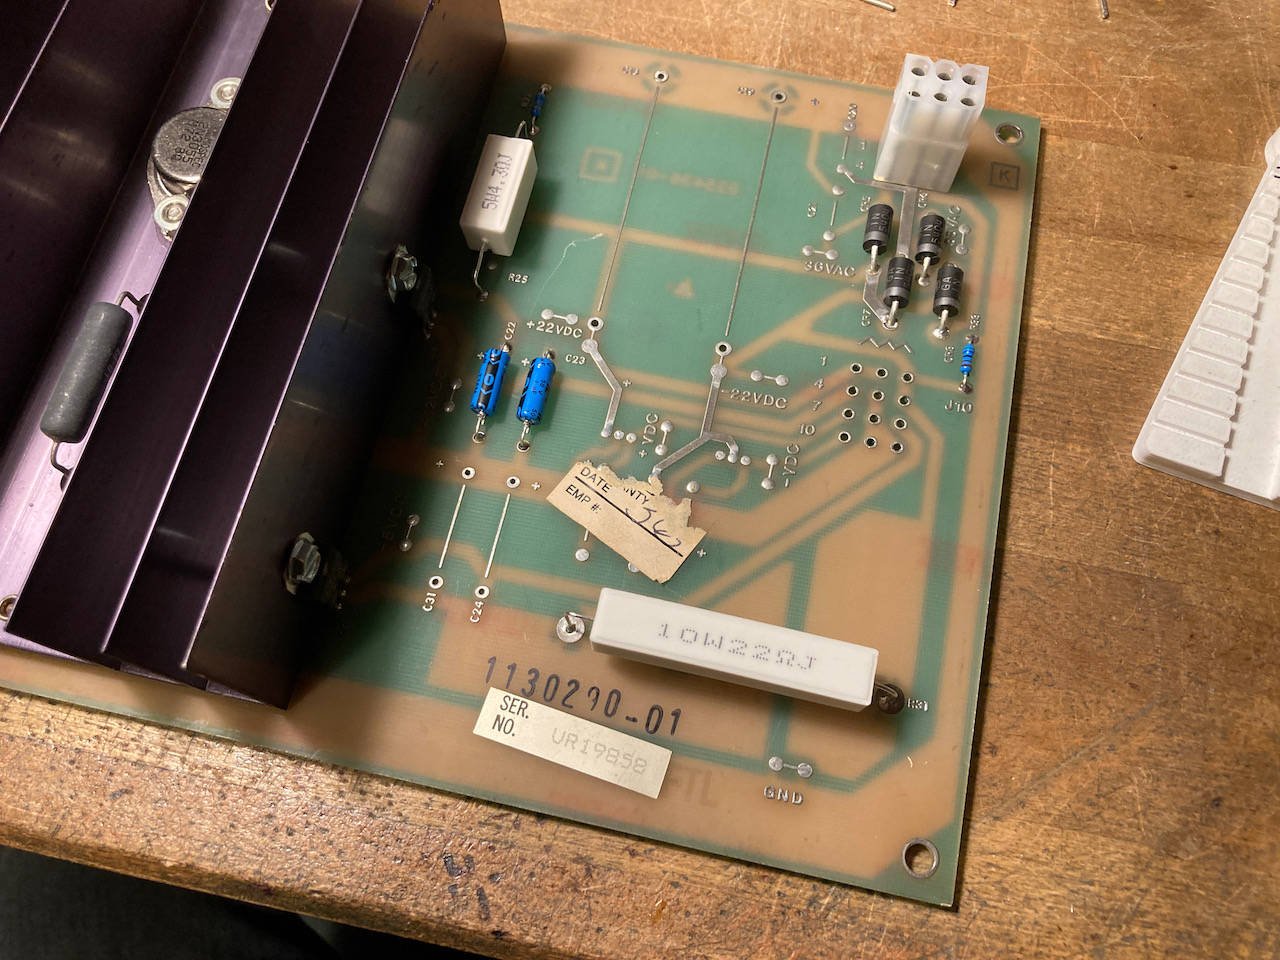
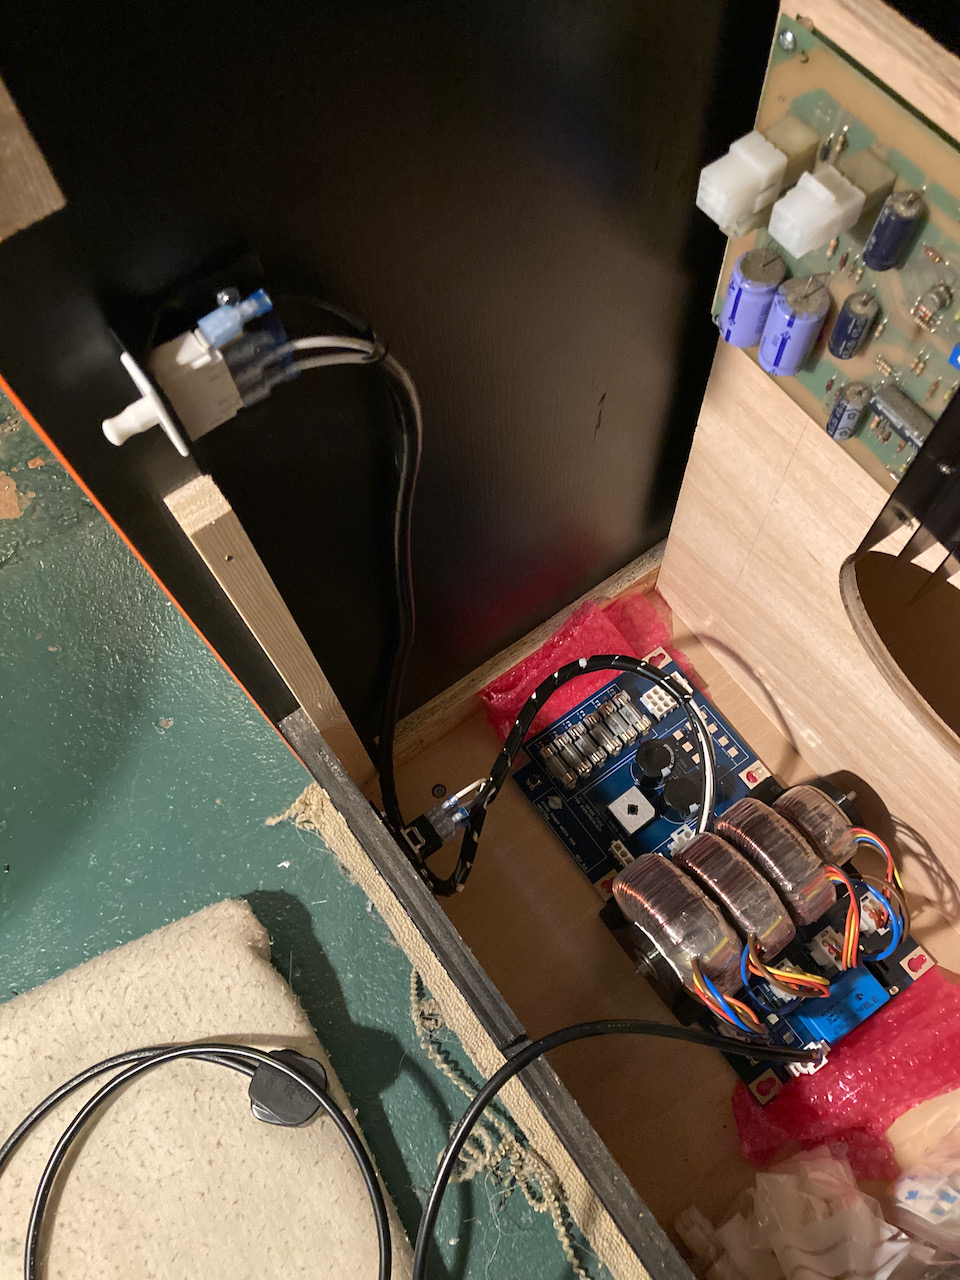
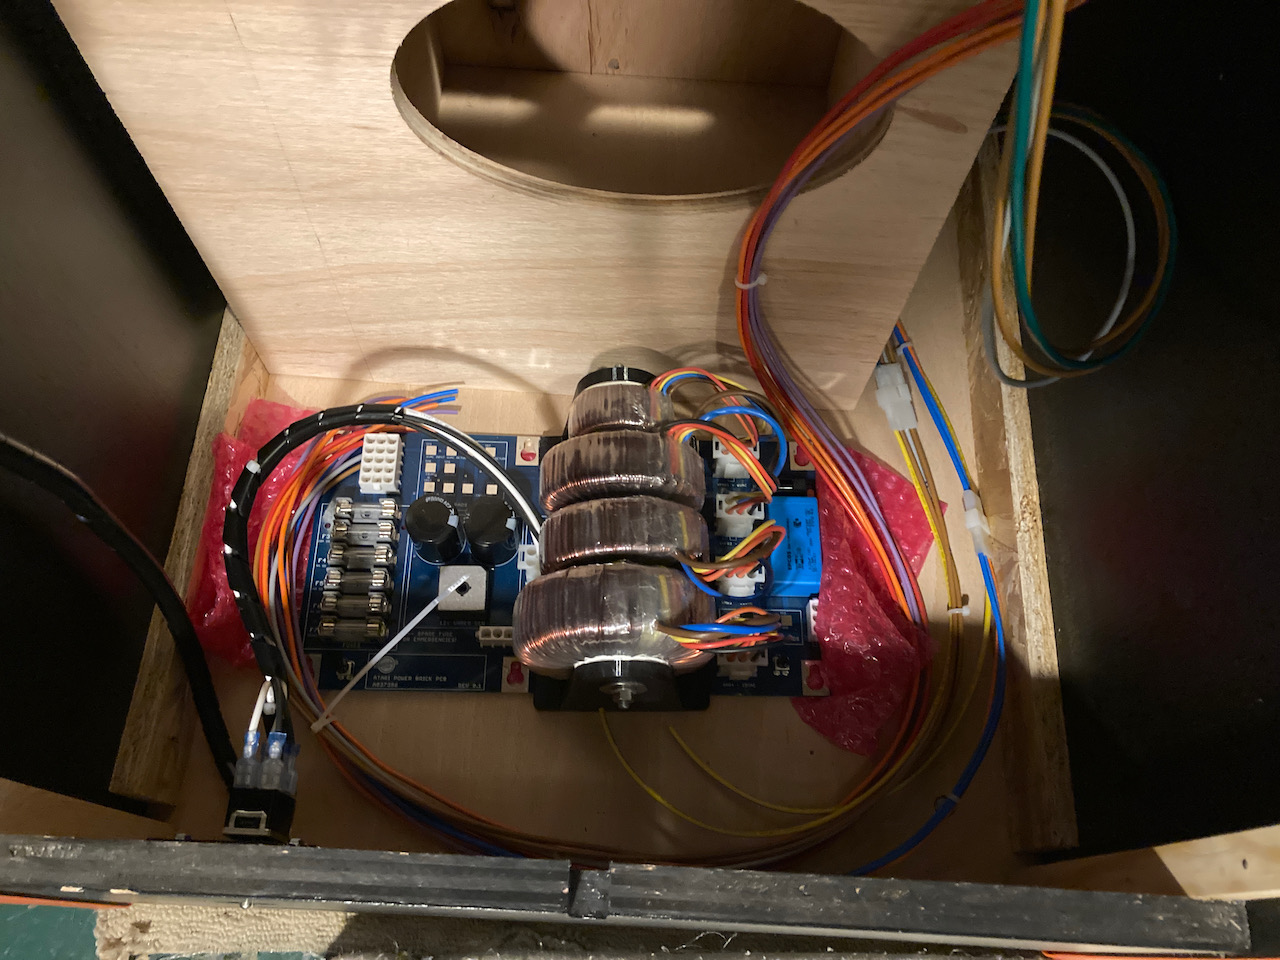
Some update pics of my prototype power brick pcb build. Prototype PCb blanks arrived a few weeks back.

Atari_Power_Brick_-_1.jpeg
Atari_Power_Brick_-_2.jpeg
 

myPinballs

Active member
Feedback
18 (100%)
Credits
720CR
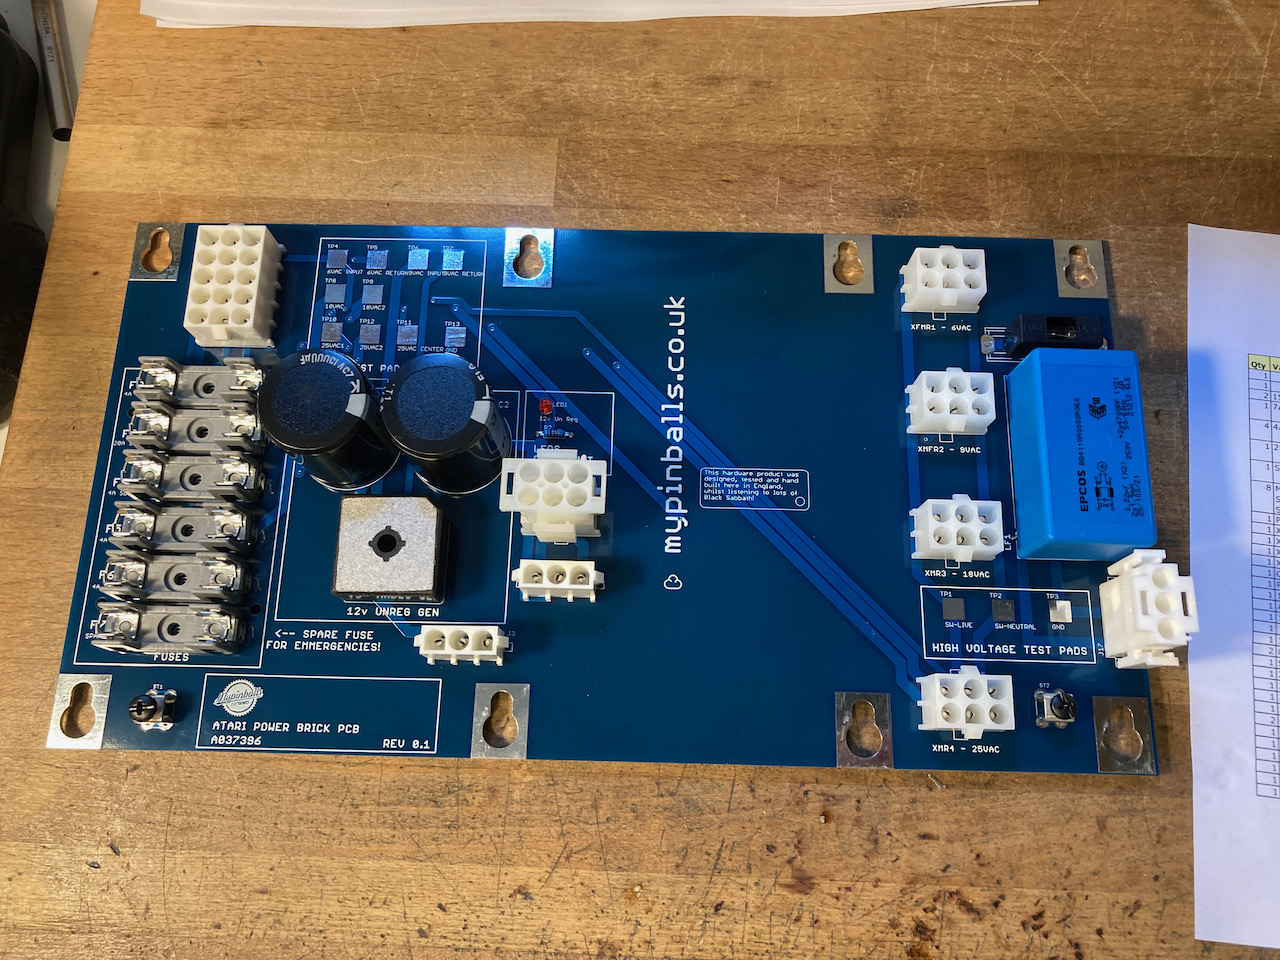
Pretty damn happy with how this prototype has turned out so far. Some physical sizing to adjust and a few things to add but all works as expected and i get a nice 12v unregulated out of it to aswell as the std ac voltages. Need to do some load testing of course to.

Atari_Power_Brick_Prototype_-_1.jpeg
Atari_Power_Brick_Prototype_-_2.jpeg
Atari_Power_Brick_Prototype_-_3.jpeg
Atari_Power_Brick_Prototype_-_4.jpeg
Atari_Power_Brick_Prototype_-_5.jpeg


myPinballs2021-08-26 21:18:32
 

ChrisBEANS

Active member
vacBacker
Feedback
4 (100%)
Credits
740CR
This stuff blows my mind!!!!

The fact you knew/worked out/researched exactly what you needed for your specific purpose and then built it to spec yourself?!?! I LOVE to see stuff like this on forums like this!!!

Bravo.

It’s far beyond me, and I’m genuinely excited to see other people just do it!

It’s stuff like this that will keep this hobby accessible to idiots like me.

When I get stuck I seriously appreciate that someone clever can either explain, fix, replace or even invent something that gets me sorted.

GG WP
 

myPinballs

Active member
Feedback
18 (100%)
Credits
720CR
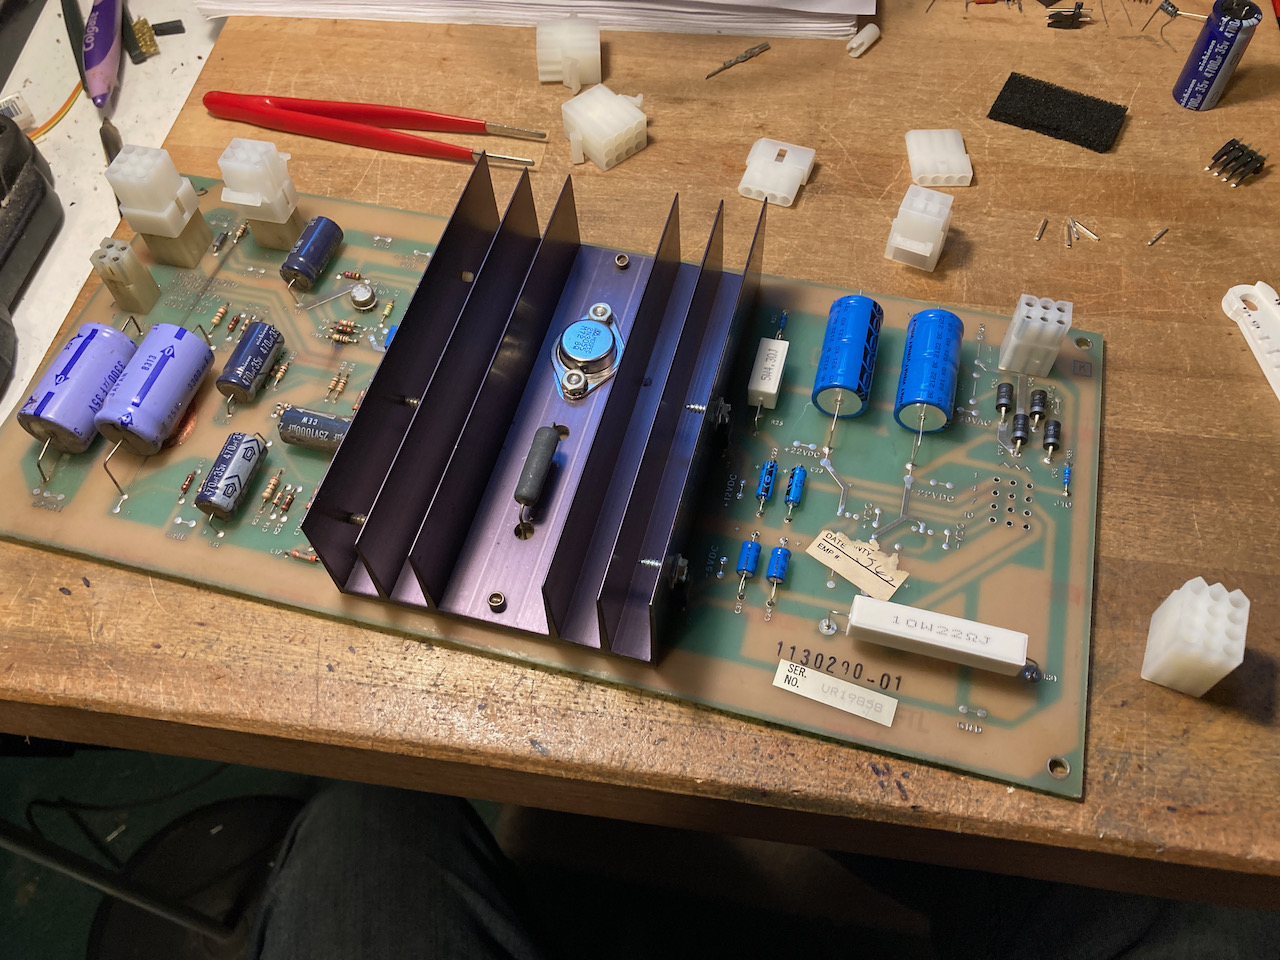
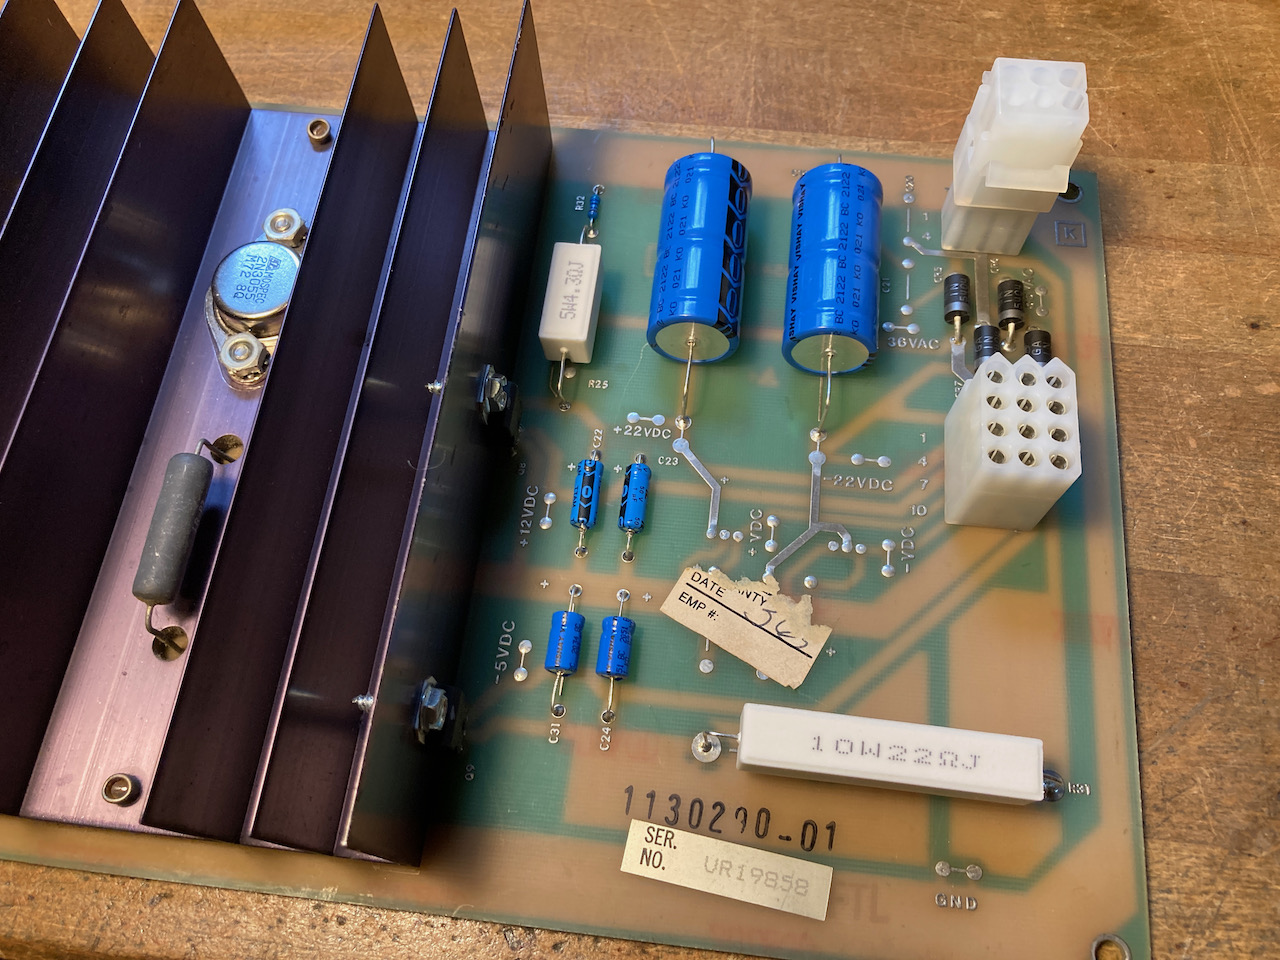
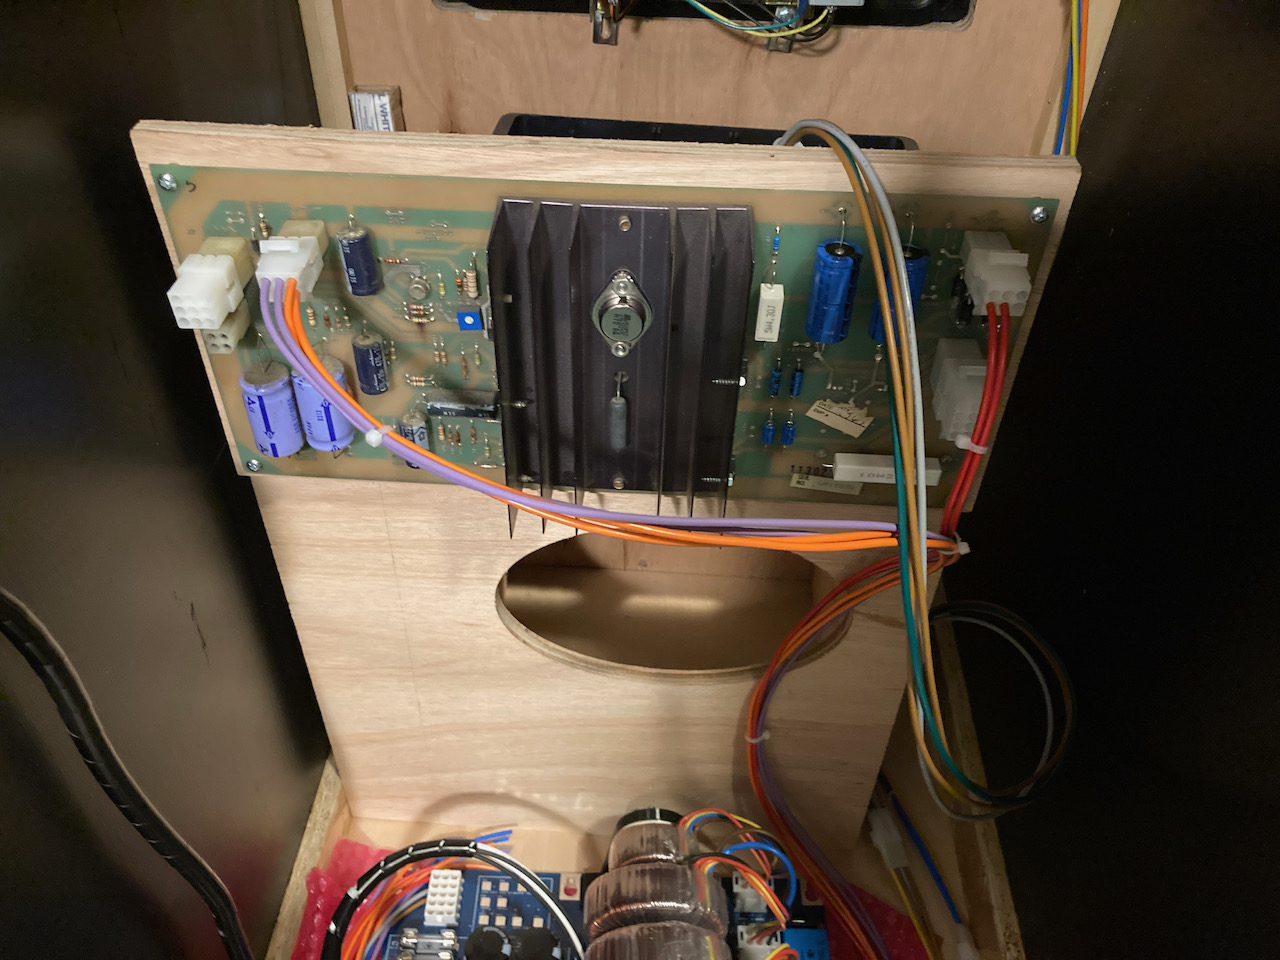
Latest updates.! Upgrading an original AR2 regulator/audio supply for vector use and Wiring!! Buidling your own loom!!

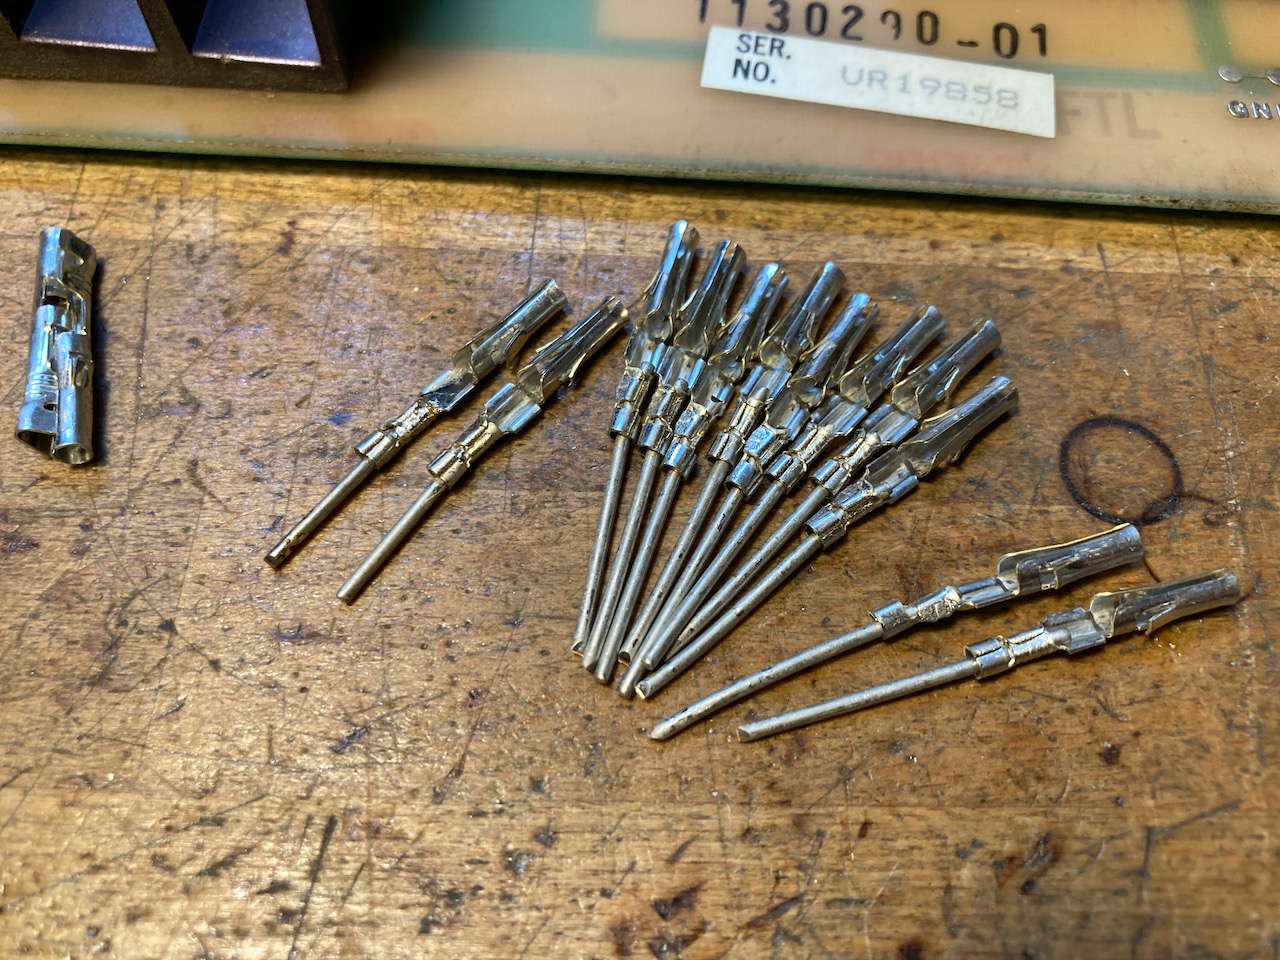
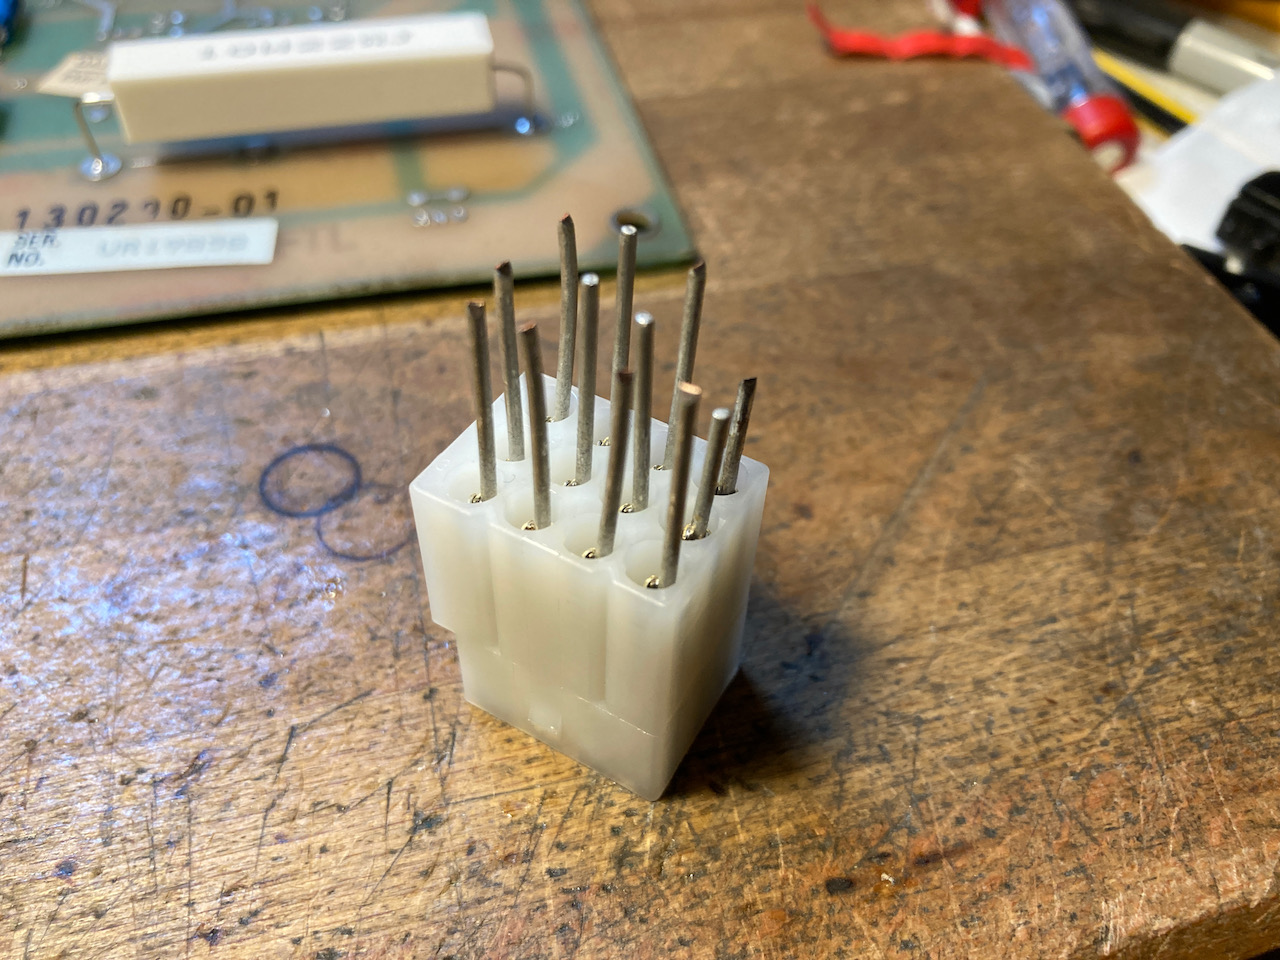
AR2 board was bought with the res section unpopulated, as these parts are not needed for non vector game it think . Set about repopulating it back to what i need. The biggest hurdle was the pcb connectors as these are long obsolete, but i came up with a way to make them using existing connector parts.

AR2_upgrade_-_1.jpeg
AR2_upgrade_-_2.jpeg
AR2_upgrade_-_3.jpeg
AR2_upgrade_-_4.jpeg
AR2_upgrade_-_6.jpeg


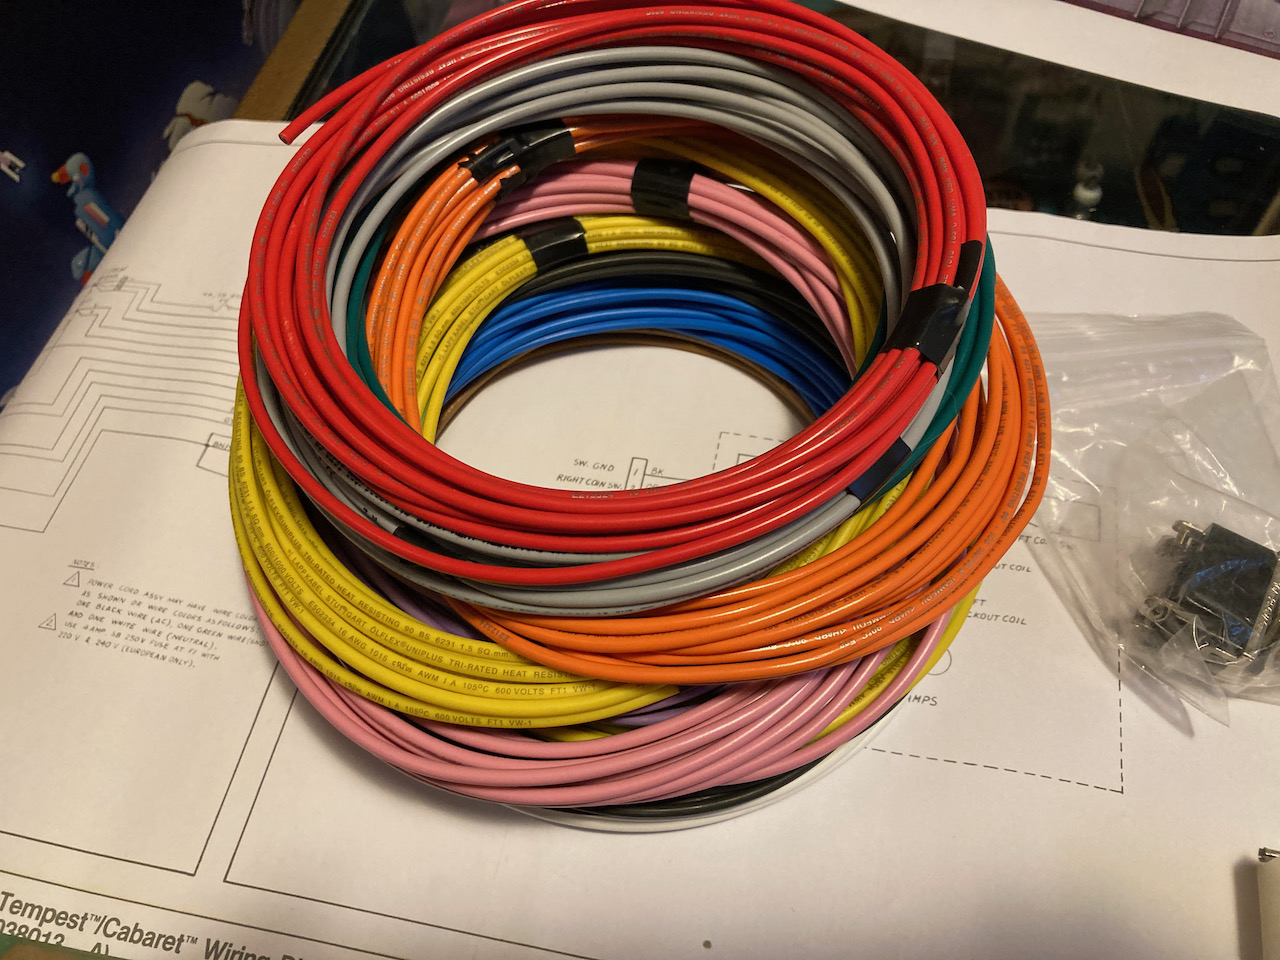
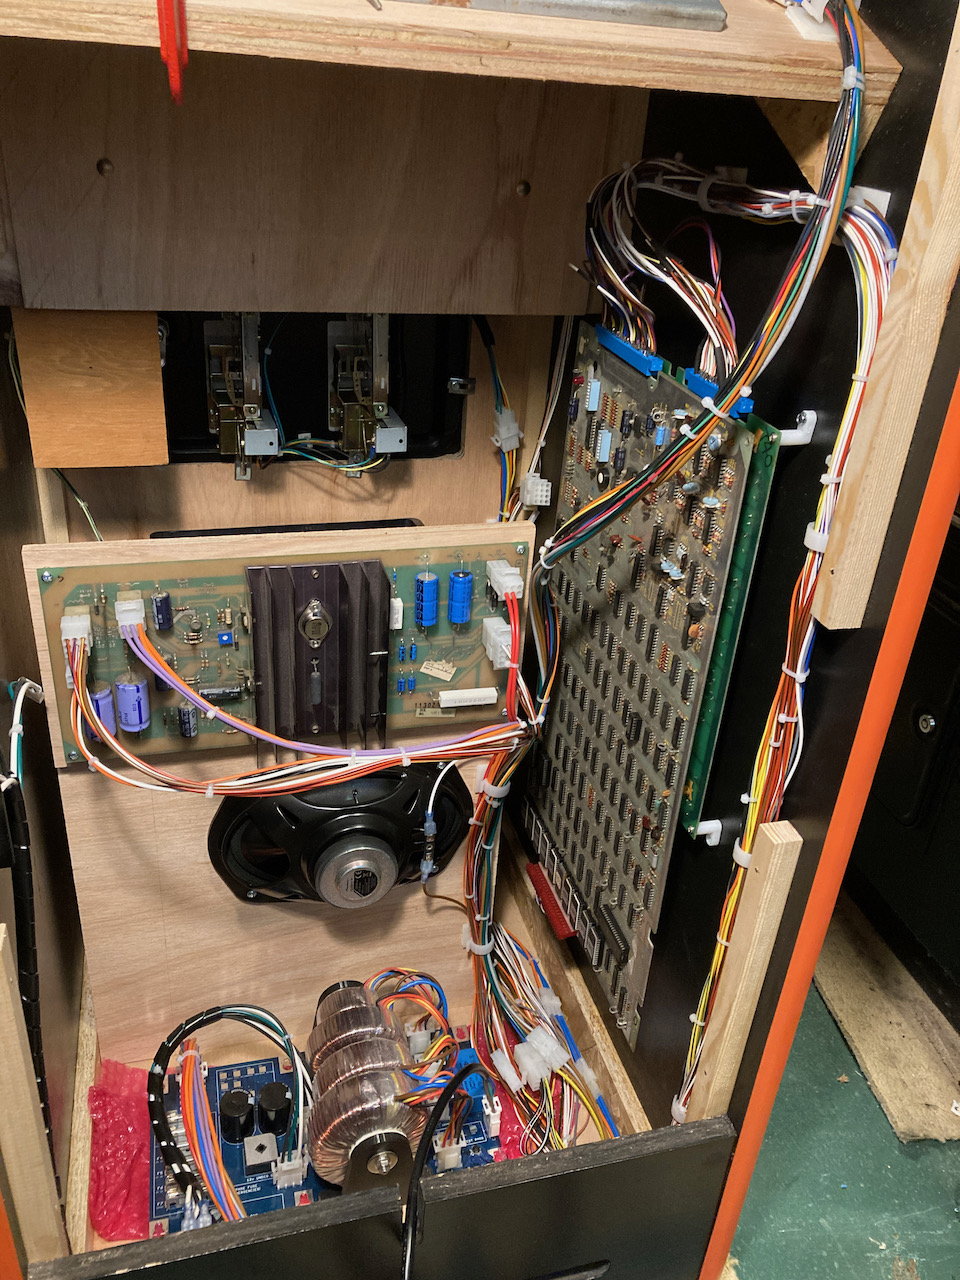
Making your own loom. Bought a load of really nice cable in 12 different colours 16AWG 5m lengths to make all the power cables that are needed. Also have a spools of 18AWG cable for the non power stuff.

Cabaret_Wiring_-_1.jpeg
Cabaret_Wiring_-_4.jpeg
Cabaret_Wiring_-_5.jpeg
Cabaret_Wiring_-_6.jpeg
Cabaret_Wiring_-_7.jpeg
 

myPinballs

Active member
Feedback
18 (100%)
Credits
720CR
The next thing i have to sort out is the zinc plated metal base for the new transformer unit. I have it drawn up , just need to send off to the metal fabrication place. It has mount holes for standoffs to support the new pcb and also lots of ground anchors for the ground cabling.
 

Nes4life

Active member
vacBacker
Feedback
12 (100%)
Credits
1,129CR
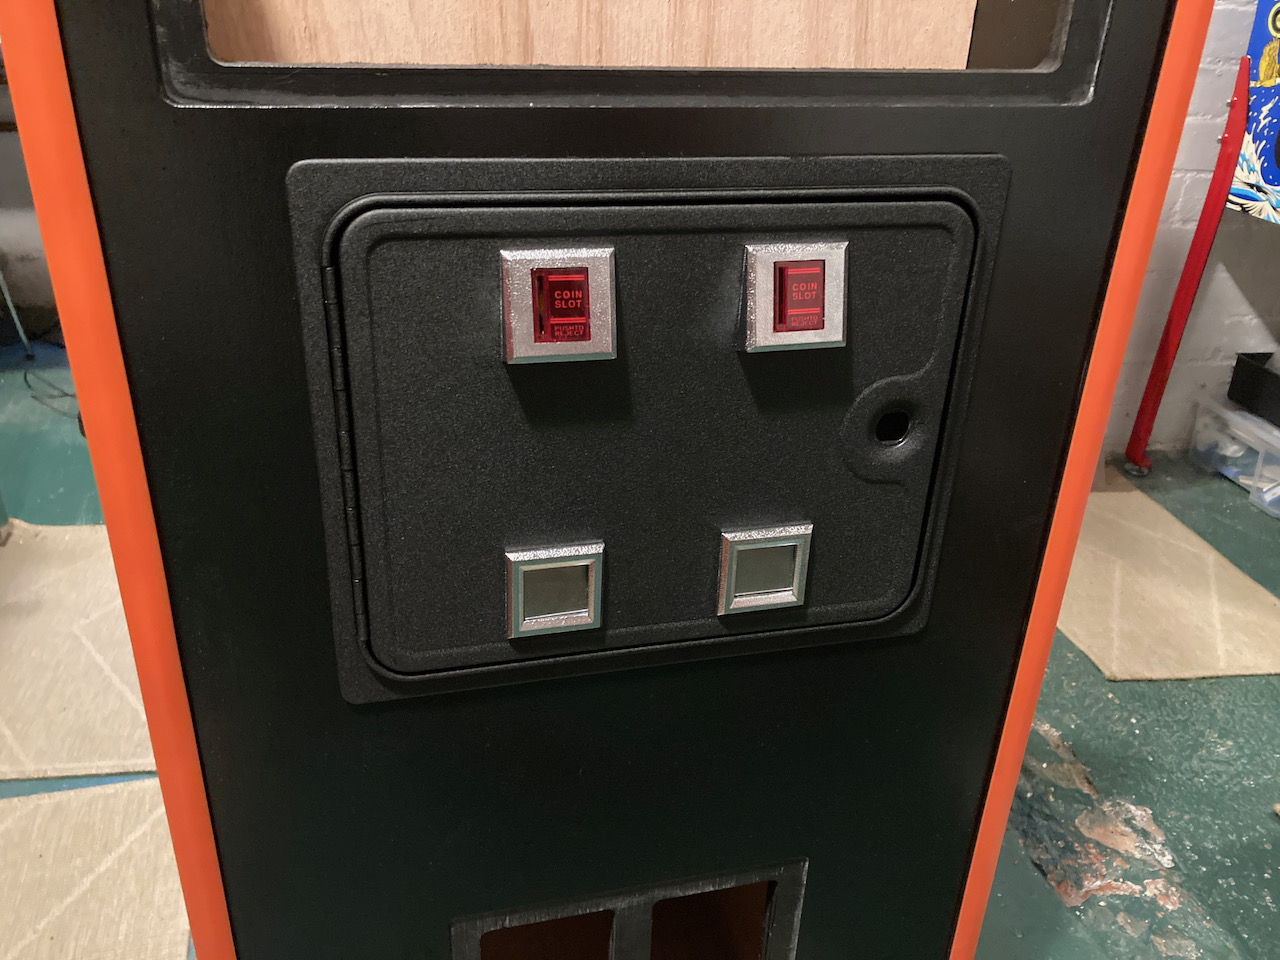
No, you print them off on plain paper and slip them inside the reject button red plastic. All my reject button plastics come out and work like little pockets.

clickyNes4life2022-03-03 10:21:46
 

myPinballs

Active member
Feedback
18 (100%)
Credits
720CR
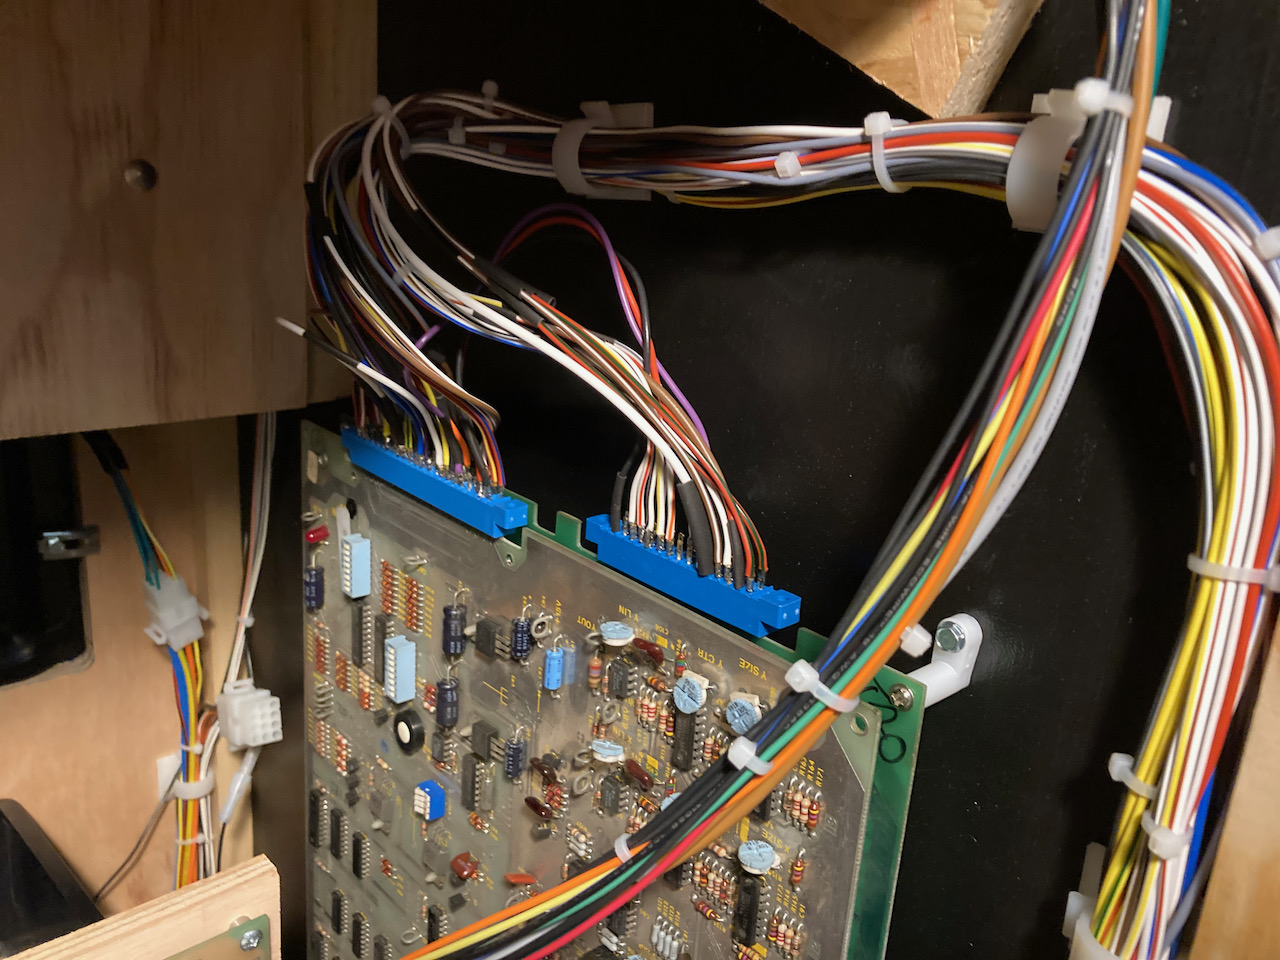
Lots and lots of work on the atari wiring loom for a tempest/asteroids/major havoc era cabaret clone, but i am finally done with wiring !! I've been down an obsessive road of striped colour wire! but i finally got every single colour combination i needed to remake and exact loom copy as Atari intended along with all of the molex plugs to make the connections to the ar2 board ,cpo, utility panel, coin door and the amp/tyco ones for the monitor connector!!! Seriously time consuming, slow and annoying to make, but it looks damn nice!!

I finally got to plug my tempest board in to test yesterday which i got earlier this year. Partly as a birthday present and partly funded from work. Spent a few hours going over it with a logic probe and multimeter and worked out it was running pretty well. Just 1 x out issue to solve which i hope to sort tomorrow.

Wired up a volume pot and i was able to start a game and hear sounds. No monitor connected yet.

cabinet_wiring_board_end_-_7.jpeg
cabinet_wiring_board_end_-_9.jpeg
cabinet_wiring_board_end_-_10.jpeg
 

myPinballs

Active member
Feedback
18 (100%)
Credits
720CR
Also, anybody able to do me a quick favour and measure the tempest spinner bolt centres that go into the control panel. :)

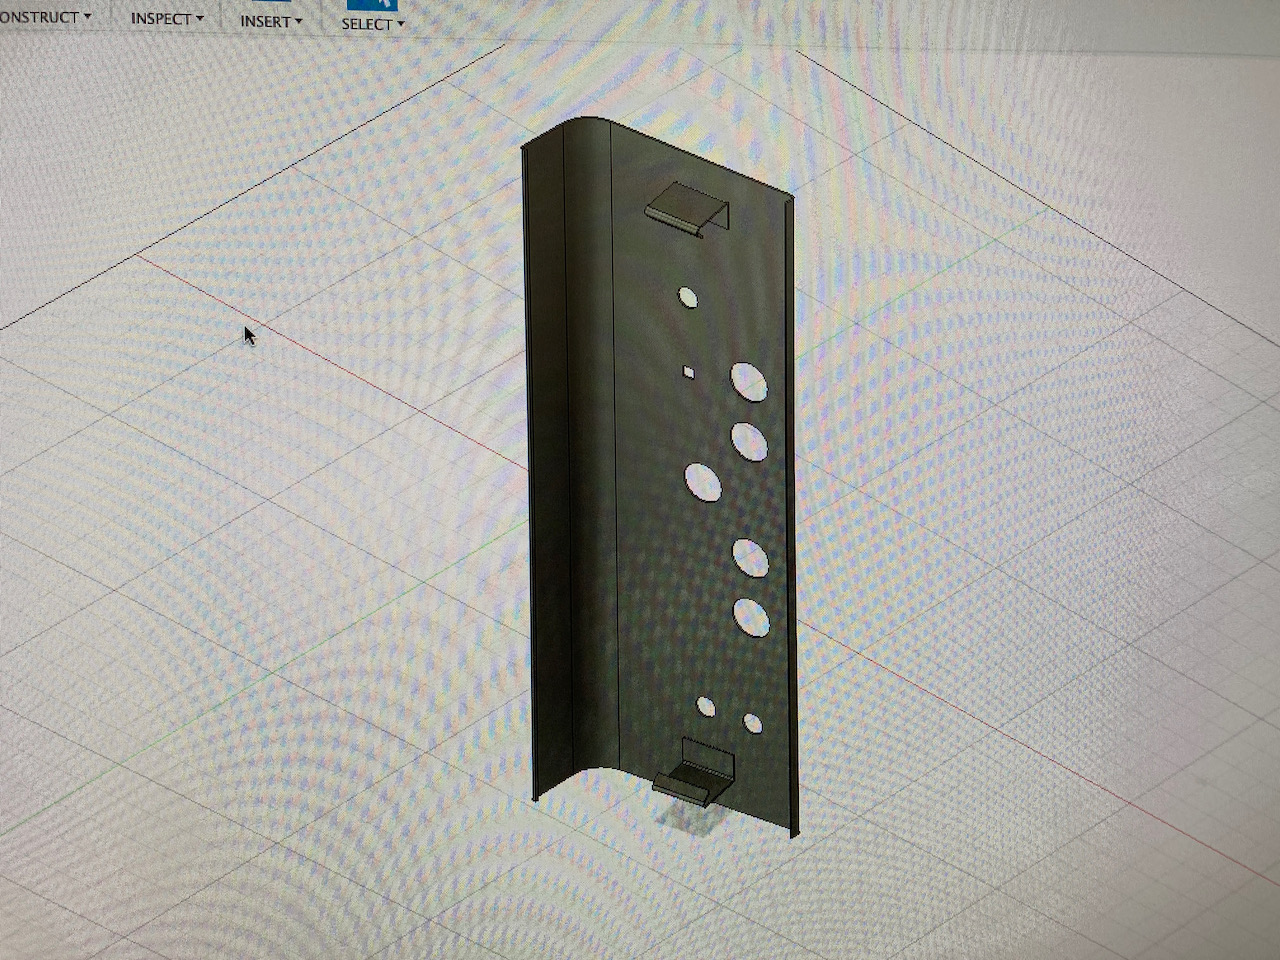
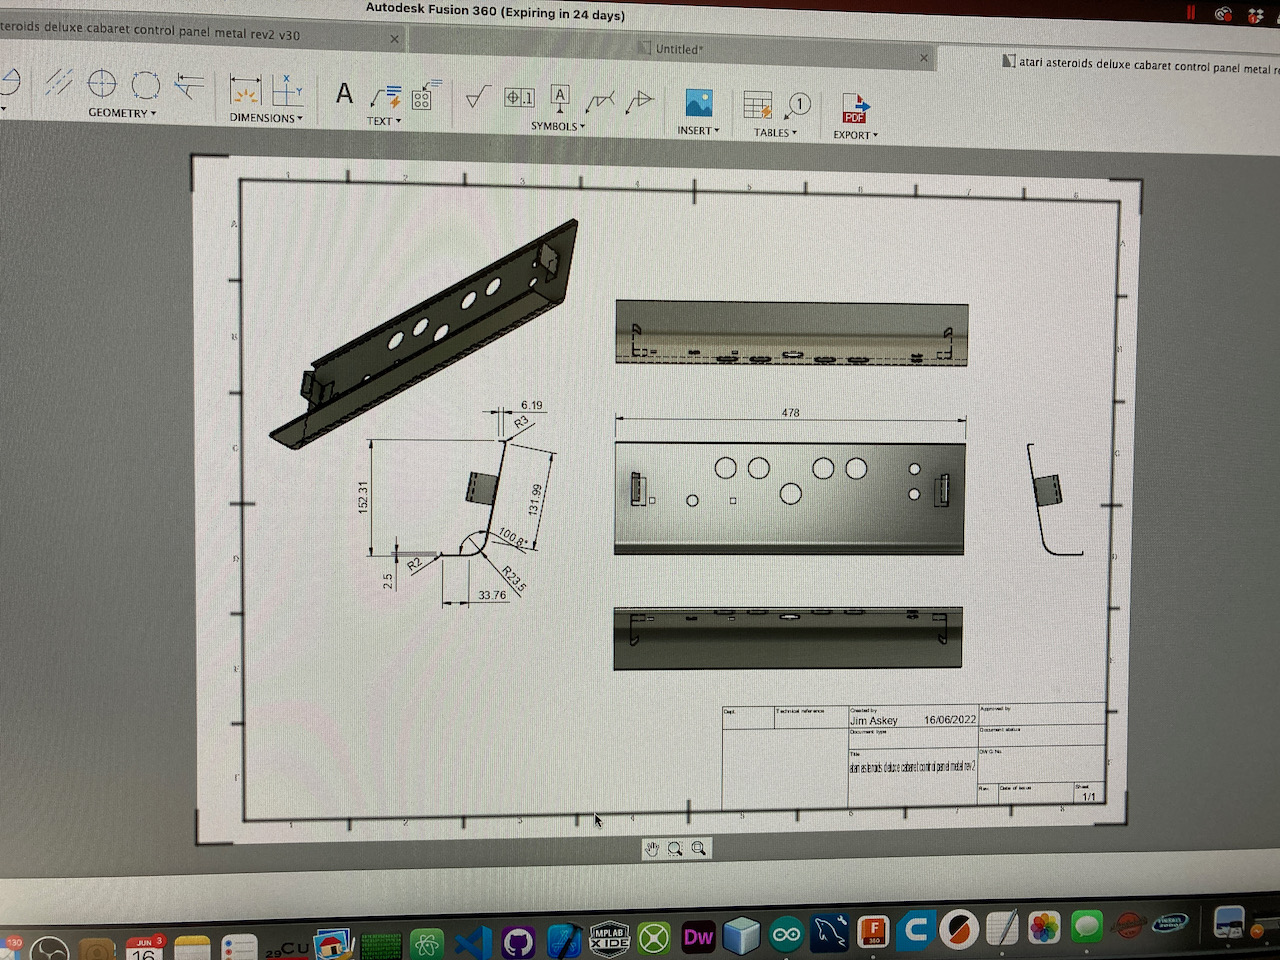
I have been working on creating a new custom control panel metal that i'm going to get made. Sheet metal with bends and laser cut outs etc. Cabaret sized

Looks like this. The idea is that it will be multi purpose so i can play tempest, asteroids, major havoc all on the cabaret cabinet.

control_panel_rev1_-_2.jpeg
control_panel_rev1_-_1.jpeg
 

Retroman839

Senior Member
vacBacker
Feedback
13 (100%)
Credits
7,713CR
Wow!
Seriously impressive..
Looks like the real McCoy.

Love your toroidal power supply pcb board very
Tidy…

Great stuff
Cant wait to see the vector go in!
 
Top