Astro City project

Stokers

Active member
vacBacker
Feedback
36 (100%)
Credits
2,030CR
I've made a little bit of progress over the Christmas holidays, although due to illness and family commitments progress has slowed somewhat. Also i've made a couple of minor cockups / learning experiences on the way :)

Other notes

- Power supply recapped and fault on the -5v line fixed by Grant.

- Purchased extortionate sanwa cable clips from Close Quarters Battle Arcade (in for a penny..)

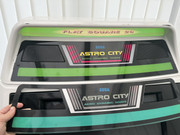
- Purchased replacement sticker set with my serial number

- New control panel, buttons, instructions card and 100 Yen sticker arrived

- Replacement screws arrived from Arcade Art Shop

- Felt tape for the control panel to sit on arrived.

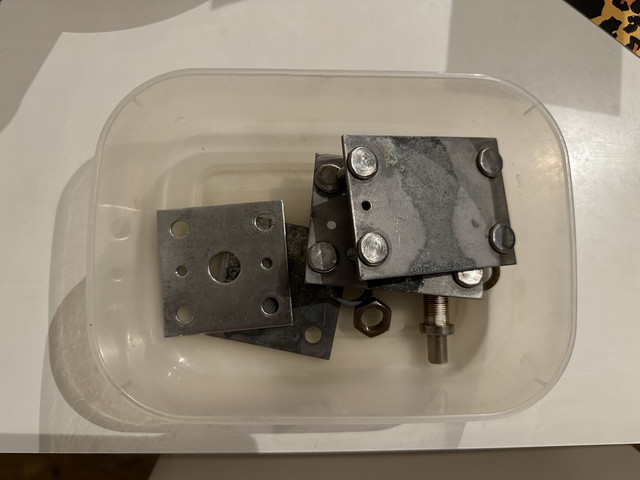
So to begin with, several of the metal components had surface rust, the locks and coin reject button were both in bad shape. So I decided to clean then up using white vinegar, which worked great but also stripped the zinc coating from some of the metal :(


Also, dickhead that I am, I left the locks in the vinegar and then didn't take them apart to dry so 1 of them is now seized up. I've been soaking it in WD40 so hopefully I haven't killed it, I've since treated all the metal parts with several coats of a corrosion prevention, so I hope they will be ok.

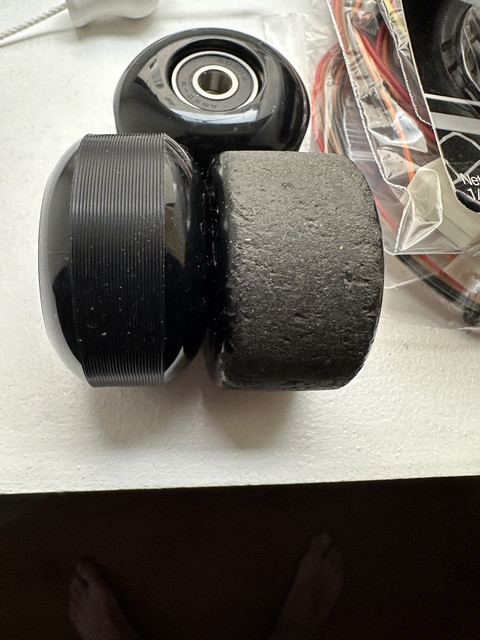
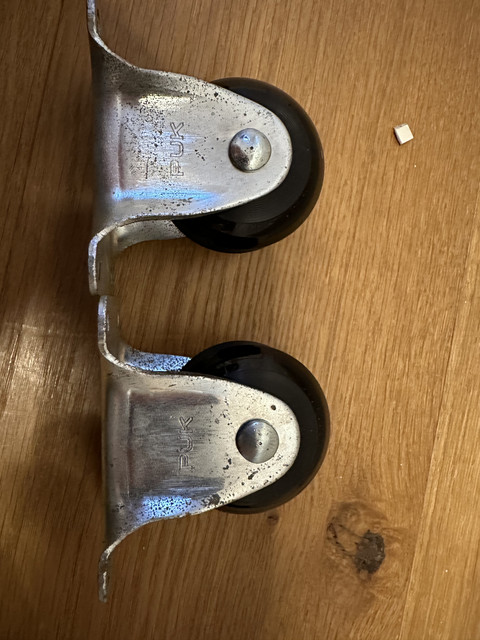
Next job was the wheels, which were in poor shape after 28 years. My machines date of manufacturer is 17th of April 95. So I bought these 52mm skateboard wheels are a replacement.

https://www.amazon.co.uk/gp/product/B07WRQ3FZM/ref=ppx_yo_dt_b_asin_title_o04_s00?ie=UTF8&psc=1

Old vs New


Nothing is a perfect fit, so I ground about 2mm off the edge of the wheels so they would fit into the casters. This was actually really easy to do, the wheels also have bearings included for the price and are much smoother.


Here they are installed:


I also started the re-assembly, including the kick plate, wheels and rear panel. Here is a video of how the cab is currently looking (I tried to embed it, but couldn't get it working)

https://streamable.com/wkcsle

Stokers2022-12-30 11:40:31
 

Beaps

Active member
Feedback
11 (100%)
Credits
353CR
This is looking superb so far, did it have any cracks or dings, if so did he say how he fixed it?

After seeing yours I picked up a bezel thing myself to freshen up mine off muddy.


Stokers

Active member
vacBacker
Feedback
36 (100%)
Credits
2,030CR
Beaps said:
This is looking superb so far, did it have any cracks or dings, if so did he say how he fixed it?

Not 100% sure what you mean? If you mean the main body then it didn't have any major cracks. There were numerous dings and nicks that had removed the paint and even chipped the fibreglass below. The painters sanded all of those down to give it an even finish.

So I managed to grab a couple of hours yesterday and made some more progress.

- Cleaned up loads of residue where the old cable clips had fallen off, ready for replacements.

- Reassembled coin box and door

- Re-wired coin mech and coin box (even with my labels I had to check the wiring diagram)

- Refitted service door and locks.


trev1976

Active member
Feedback
2 (100%)
Credits
170CR
I fully restored my new astro city , took me a couple of years and done a bit on it here and there so i didnt get to over whelmed.

Took pictures and listed everything i removed , cleaned every nut and bolt too/got it painted in a car bodyshop/nos sideart/nos control panel/burn free monitor (MS9)/recapped chassis.

I absolutely adore it and prefer it to my aero (i love the aero too though)
 

Sbdesign

SEGA collector
vacBacker
Feedback
16 (100%)
Credits
1,671CR
have you ordered the side decals?

If not I really advise looking into getting the neon green one that are a match for originals that react in uv light.

All this work deserves the £50 quid extra (give or take).

I believe you can also get a uv cpo like original also.

Looking good, and glad to see your having fun, after all the crap on the thread when you were hunting for one.
 

Stokers

Active member
vacBacker
Feedback
36 (100%)
Credits
2,030CR
Sbdesign said:
have you ordered the side decals?

If not I really advise looking into getting the neon green one that are a match for originals that react in uv light.

Looking good, and glad to see your having fun, after all the crap on the thread when you were hunting for one.

Yeah it's the only bit I haven't ordered yet, i'm going to fork out for the ones that match from TR Fightstick as you said - might as well get it all just right.

I'm a bit worried i've been confused for someone else here, there was a thread a while back about a blast city for sale, another member was venting his frustrations about sellers and about not being able to find an Astro, he was getting a bit overwrought shall we say. However I was posting fairly pointless stuff on there at the same time...

http://www.ukvac.com/forum/blast-city-for-sale-not-mine_topic390645.html?KW=

I was actually quite lucky, I did post in 'Wanted' and a different person reached out to me. It took us a while to get it sorted but, it was pretty easy.
 

Stokers

Active member
vacBacker
Feedback
36 (100%)
Credits
2,030CR
Another minor update

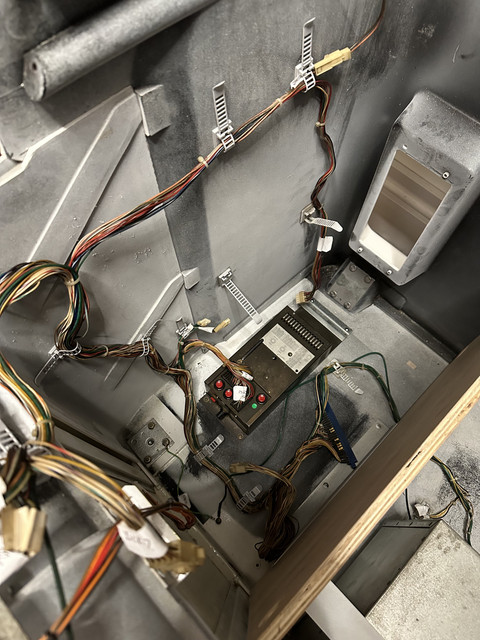
Today in between meetings I rewired the cab and fitted the new cable retainers.. and got confused about grounding..


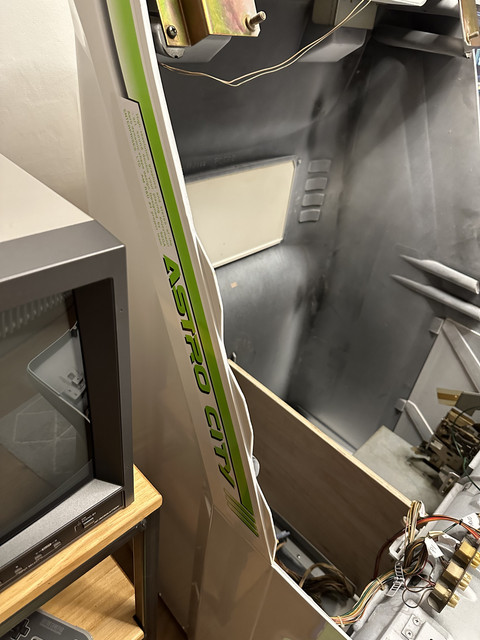
I also fitted the replacement side decals, which is the sort of thing i'm notoriously sh*t at. However it went pretty well. They aren't perfectly in line and I thought i'd put one on back to front for a bit, but i'm happy with how they look.


Only a few jobs to go now..
 

Stokers

Active member
vacBacker
Feedback
36 (100%)
Credits
2,030CR
So..nearly the last update I guess..before I get into creating numerous threads about 'why doesn't this work' etc :) If people haven't already had enough, i'll post some final pictures of it all (hopefully) working. However i've done some last jobs over the weekend and today...
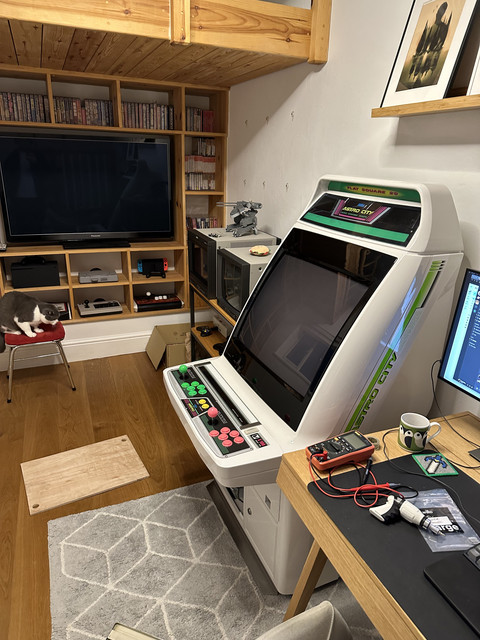
- Rewired the power panel with a earthed power cable

- Wired up the CPS2 kick harness

- Put the monitor back in (on reflection this would have been a much, much easier job if I got a mate round to help)

- Refitted the bezel


I'm really happy with how it's turned out. Frustratingly my stepdown has been delayed, so it's just sat here looking nice at the moment. Incidentally, here are is a 'before' pic from nearly the same angle.


Thanks to everyone who has help me thus far, i've asked plenty of daft questions so thanks for the help.
 

Lastspaceship

Active member
vacBacker
Feedback
3 (100%)
Credits
205CR
the cleanest looking machine. great job!! its probably too late to say I think you can lay the astro down when you put the monitor back in but to be fair I have a pair I've front loaded that big sucka in solo, but your right better with help!!
 

wonderbanana

The science of shiny bananas
Feedback
6 (100%)
Credits
108CR
Amazing job!
smiley32.gif


Love the games room too, assume the shelves by the TV are custom? Looks great!
smiley16.gif
 

Stokers

Active member
vacBacker
Feedback
36 (100%)
Credits
2,030CR
Lastspaceship said:
the cleanest looking machine. great job!! its probably too late to say I think you can lay the astro down when you put the monitor back in but to be fair I have a pair I've front loaded that big sucka in solo, but your right better with help!!

Yeah, I made 3 attempts at putting the monitor in myself. After the first two I just couldn't see how one person could lift it clear of the control panel and push it forwards enough to get to the lugs. Eventually I worked out if you come at it on the diagonal you can get close enough to do it. I did think about laying it down, but was worried about getting it back up :D

jerryspaghetti said:
Such a good job.

Can’t wait to see it fired up and some MVS on there too!!

Thanks, that board arrived yesterday by the way - looks spot on.

FinalFight said:
You have done a great job charlie! Cool setup too :)

Ha, thanks mate!
 

Stokers

Active member
vacBacker
Feedback
36 (100%)
Credits
2,030CR
wonderbanana said:
Amazing job!
smiley32.gif


Love the games room too, assume the shelves by the TV are custom? Looks great!
smiley16.gif

Yeah, the room is quite narrow but really tall - so we have a platform bed above the TV and the carpenter did the shelving as well.
 
Top