Atari Euro Millipede

LAZORIAN

Active member
vacBacker
Feedback
2 (100%)
Credits
260CR
I recently got this cab from david_orton_2000 (thanks David!) and a couple of people asked if I would post up when I did the restoration on this cab, so this will be a log of what I do to the machine.

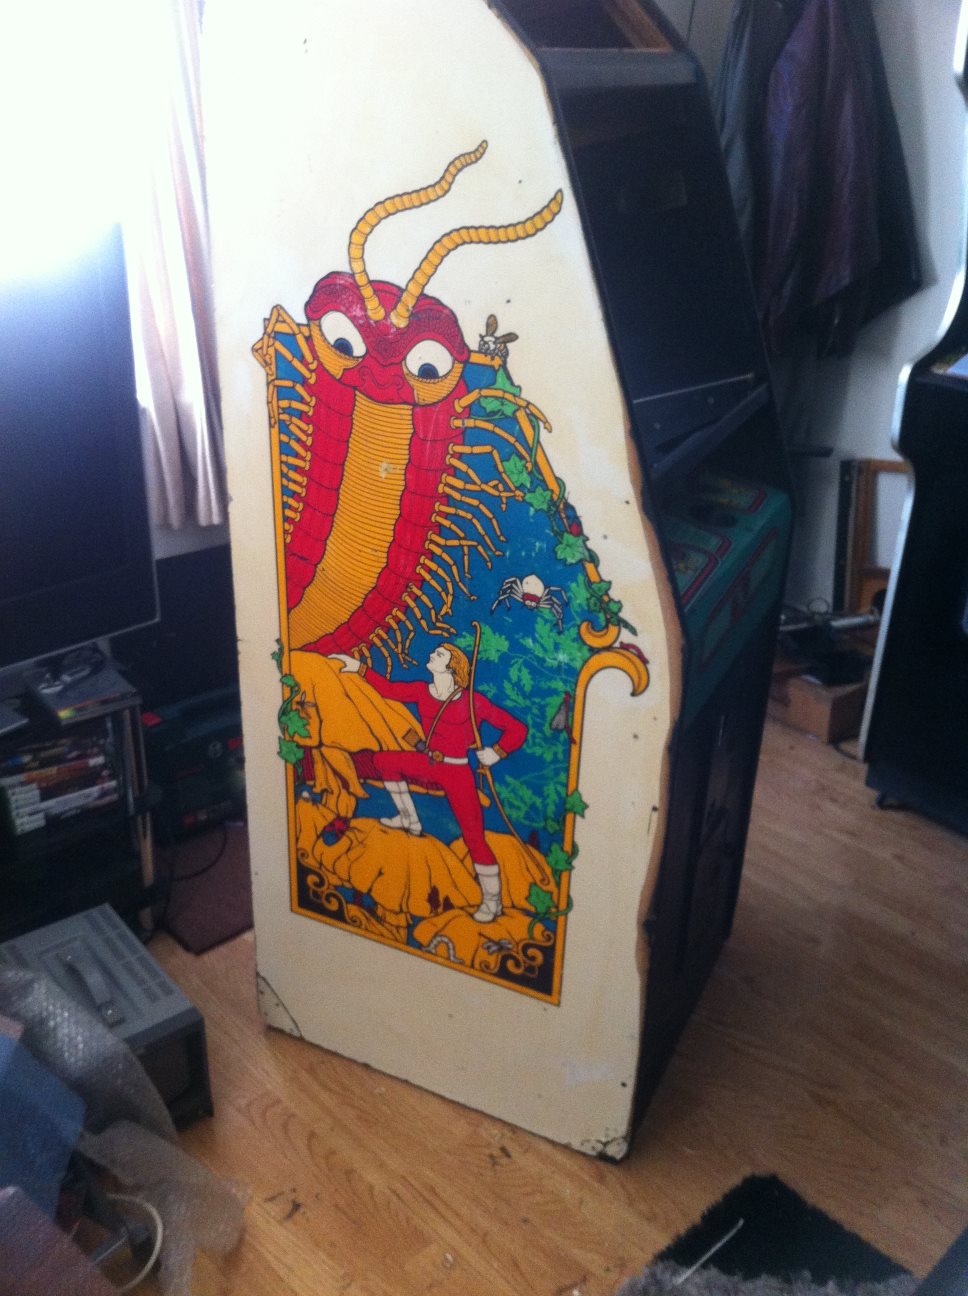
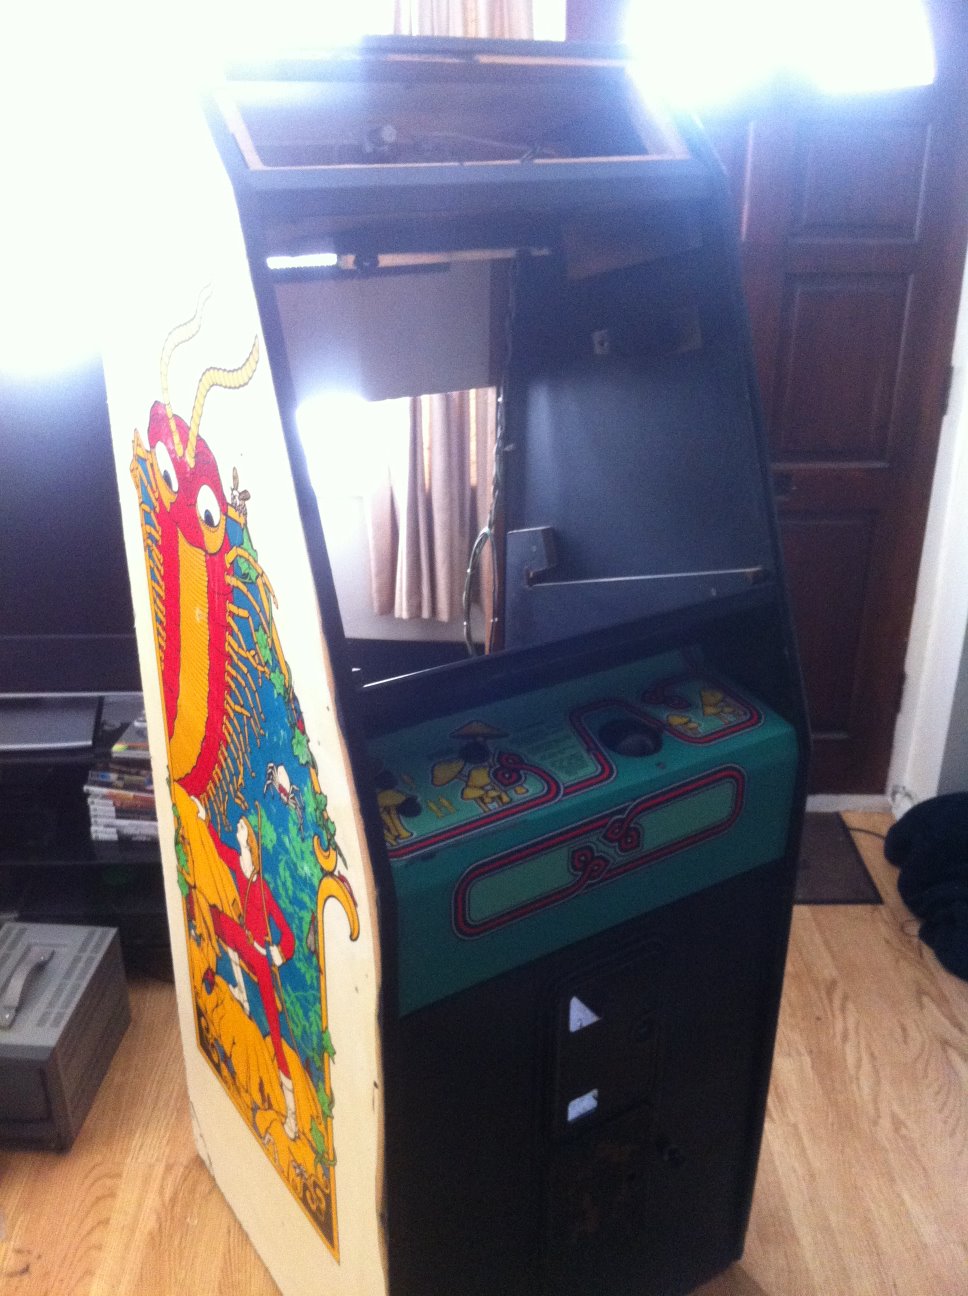
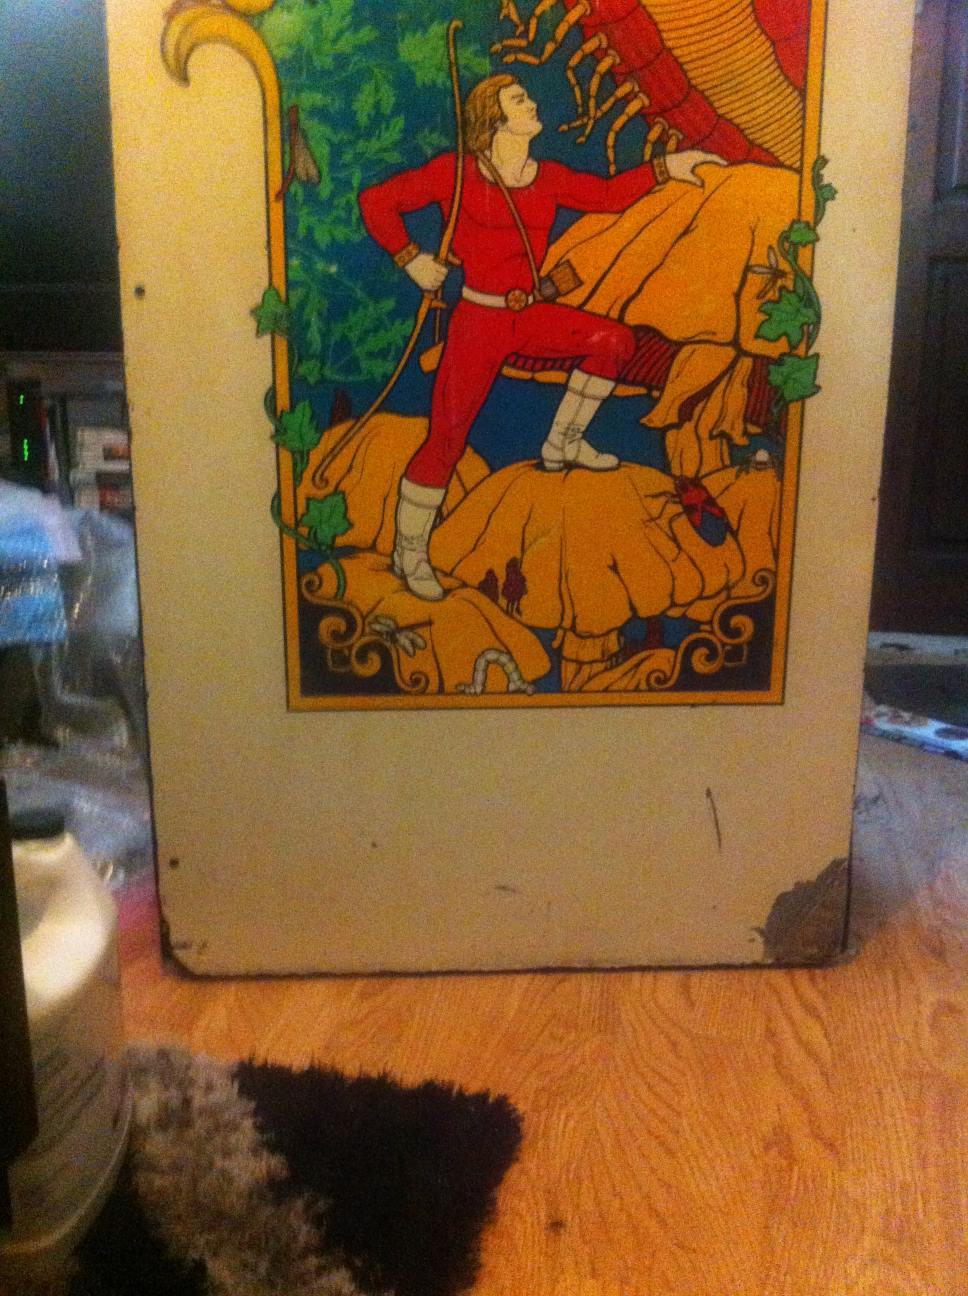
The cab is pretty much what I expected and is solid, actually heavier than I thought it would be, and its a bit tatty here and there, it's obviously well traveled. Seeing a bit of the side art was too much of a temptation for me and after playing RGP's one at Play Expo I very much want to at least get this up and running.

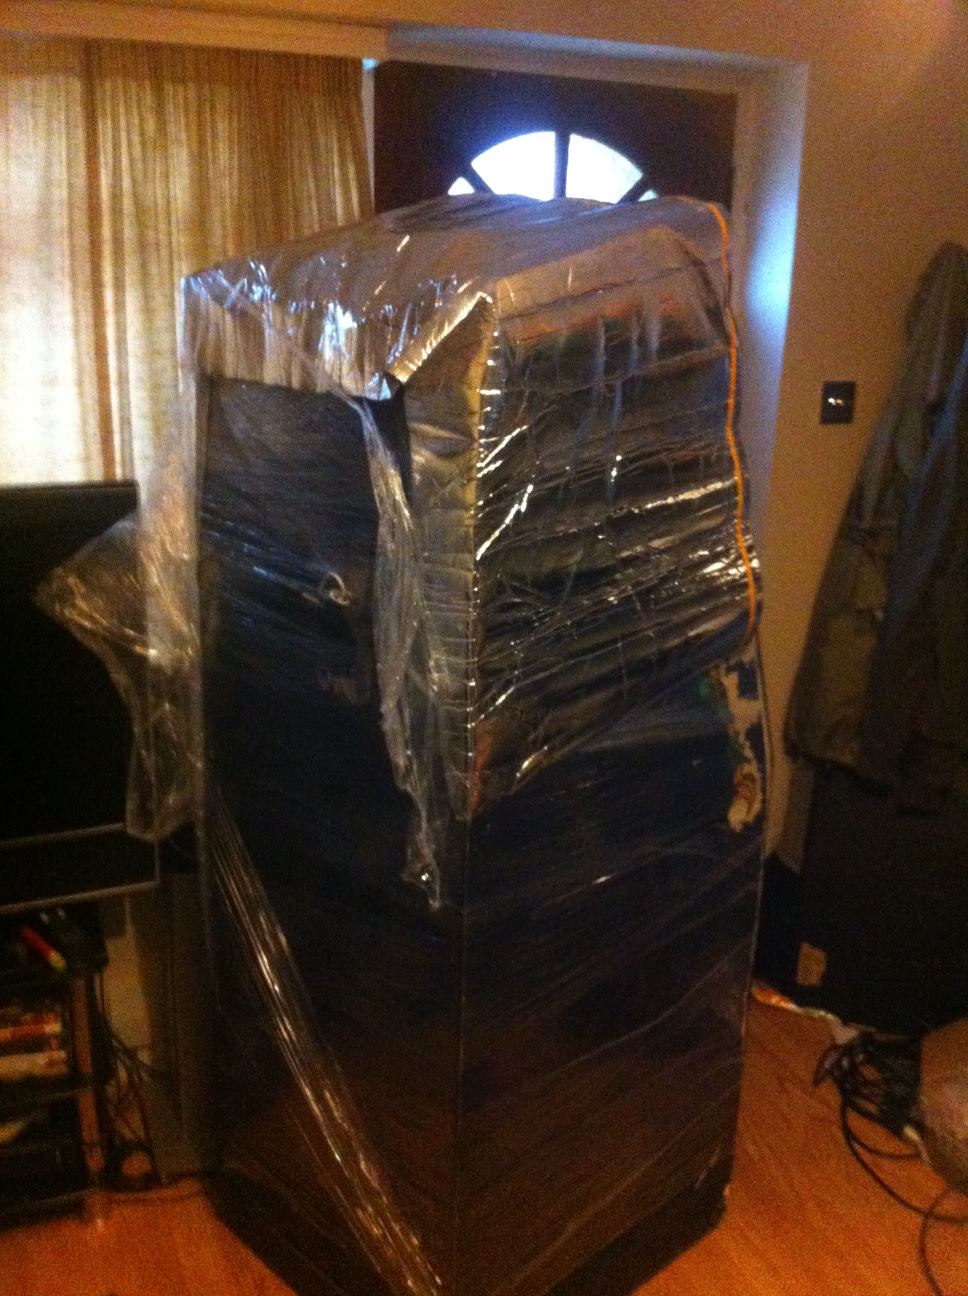
Here's the cab at my place, nicely wrapped up by Martin's Brother in Law as it had to be left outside my house because I was still driving back from Play at the time. Thanks very much again for this as it saved my bacon
smiley20.gif


milliwrapped.jpg


Still inside is a power brick, the speaker and marquee light fixture
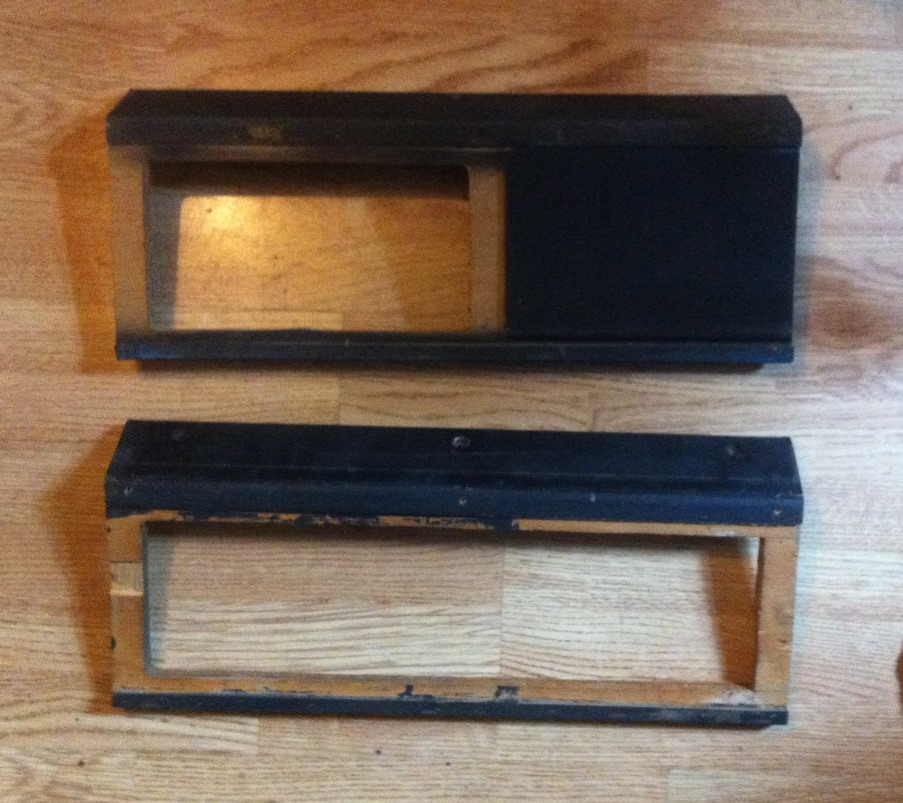
plus a spare light fixture and another part of the cab from where the
marquee & speaker live,
this looks like it was ripped off a
completely dismantled cab and has been sawn but could certainly be used
if fabricating another cabinet.
The test panel is there which also
has a cone switch (nice!) although the coin door is bare & there's
no bucket, but the original back door is present with the dip switch
sheet still stapled to it
smiley1.gif

There's also a weird Alca / Zaccaria joystick, I'm still toying with the idea of using it in my Zaccaria Frogger.

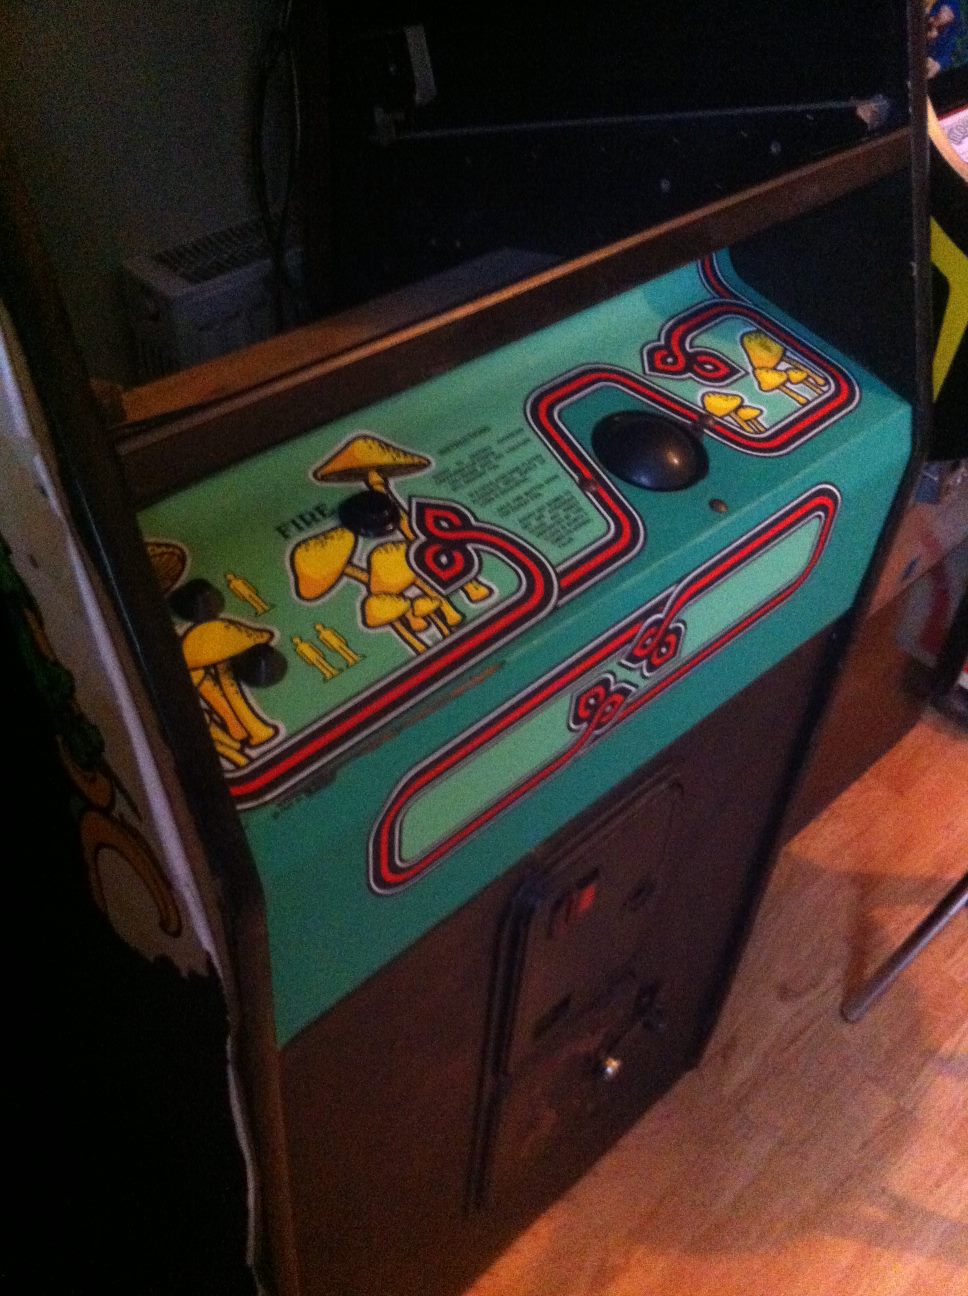
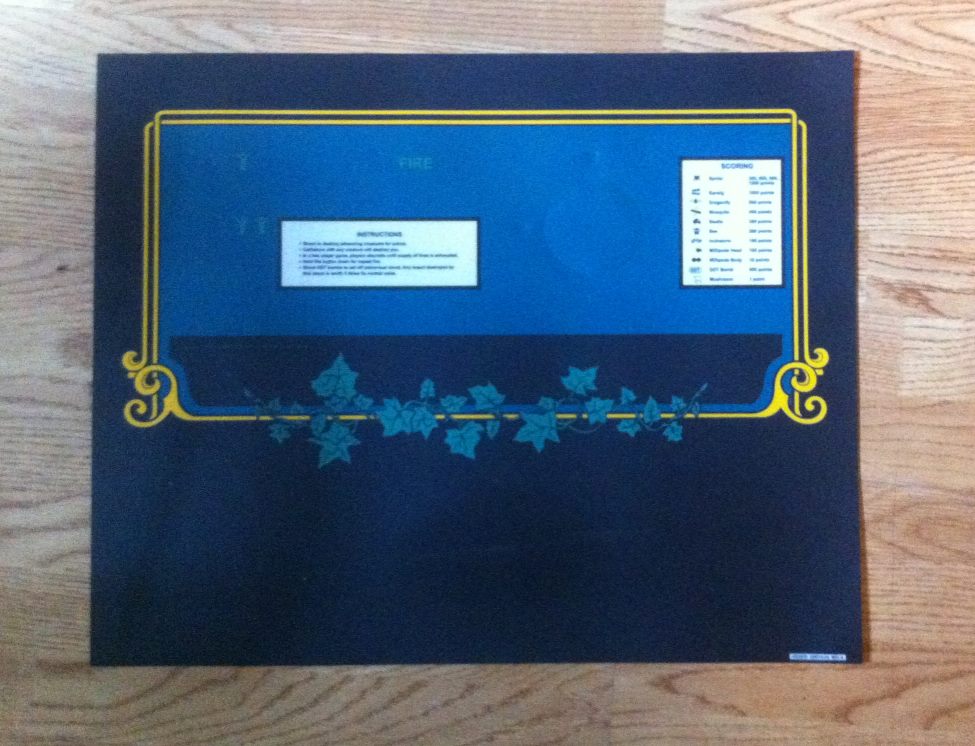
I've managed to source another fully populated control panel, although it has a Willis overlay that's designed for the US version so doesn't fit properly, I also have good reproductions of the overlay and marquee but again these are for the US cab too so either I need to get busy trying to replicate these or find someone else who might be up for it.

I have a loom and board but need to get that looked at first, there's a bunch of brackets & screws for mounting stuff too so when I eventually get a monitor and AR2 I should have enough bits to see if I can get it working.
The good thing is I have at least a few extra parts, maybe even enough to encourage me to build a second cabinet if some day a long time down the road I decide to attempt a Popeye
smiley36.gif


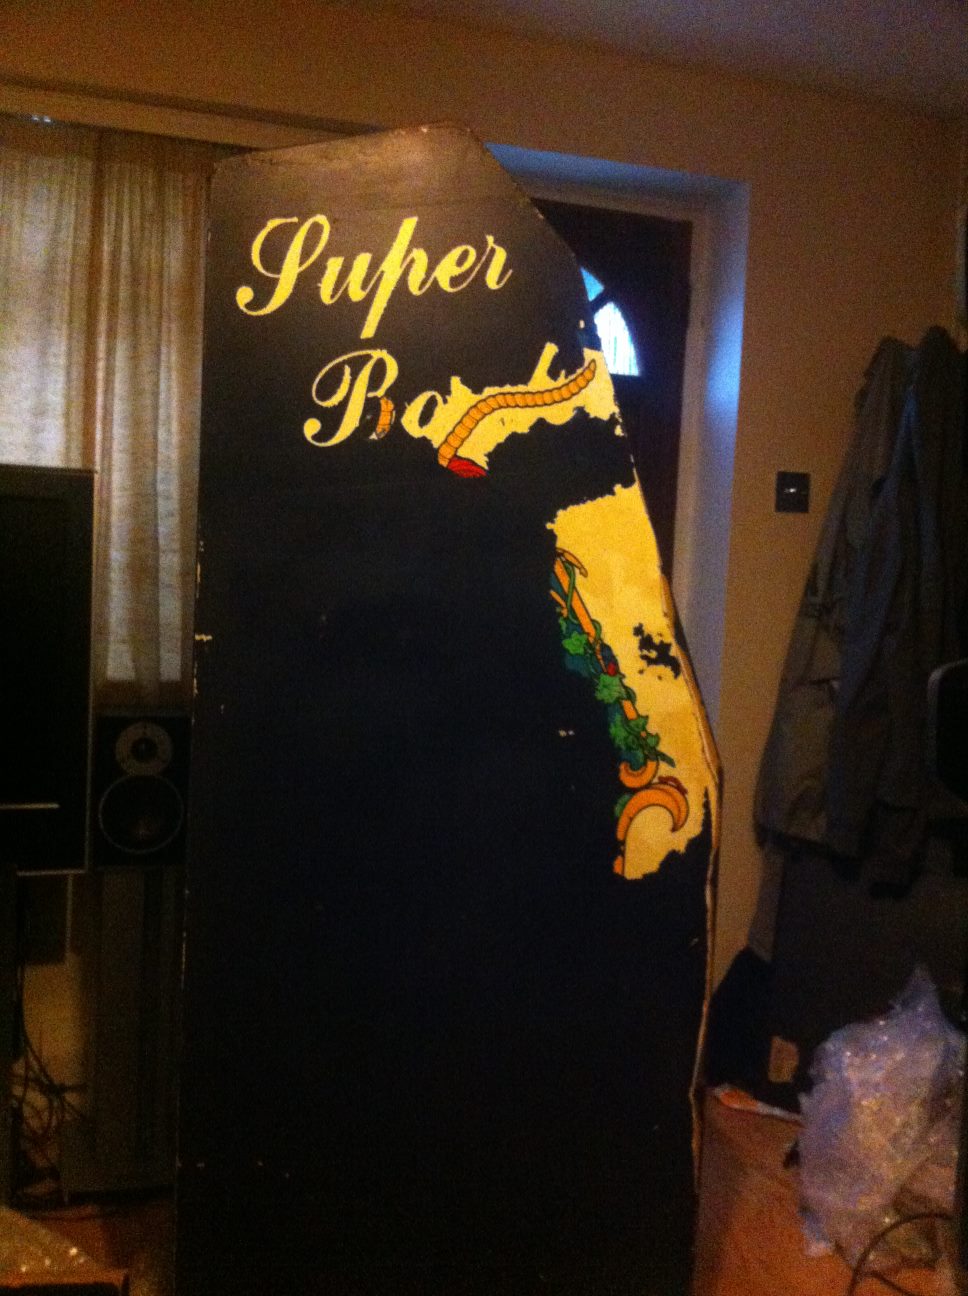
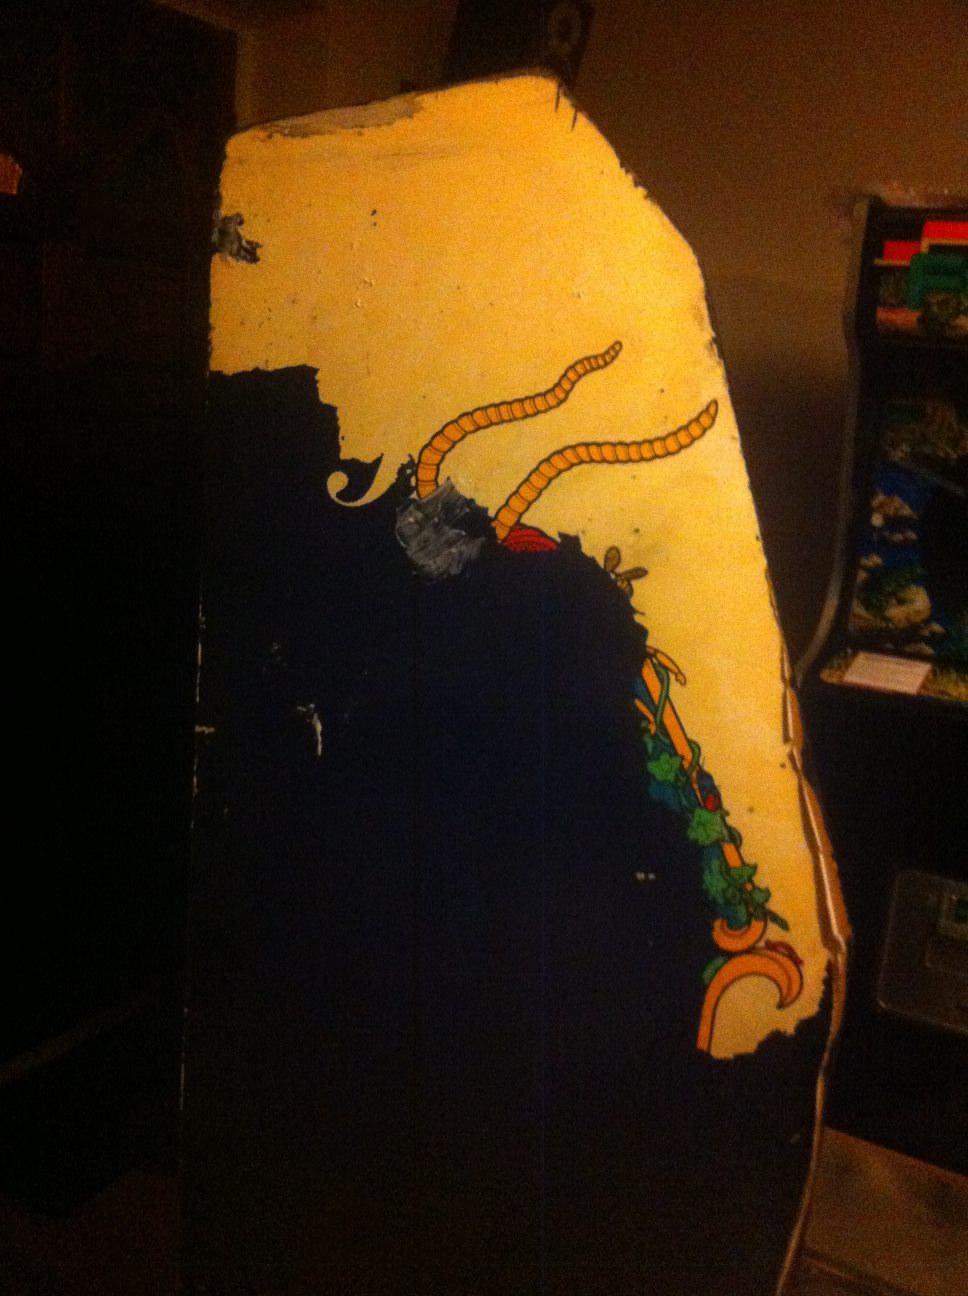
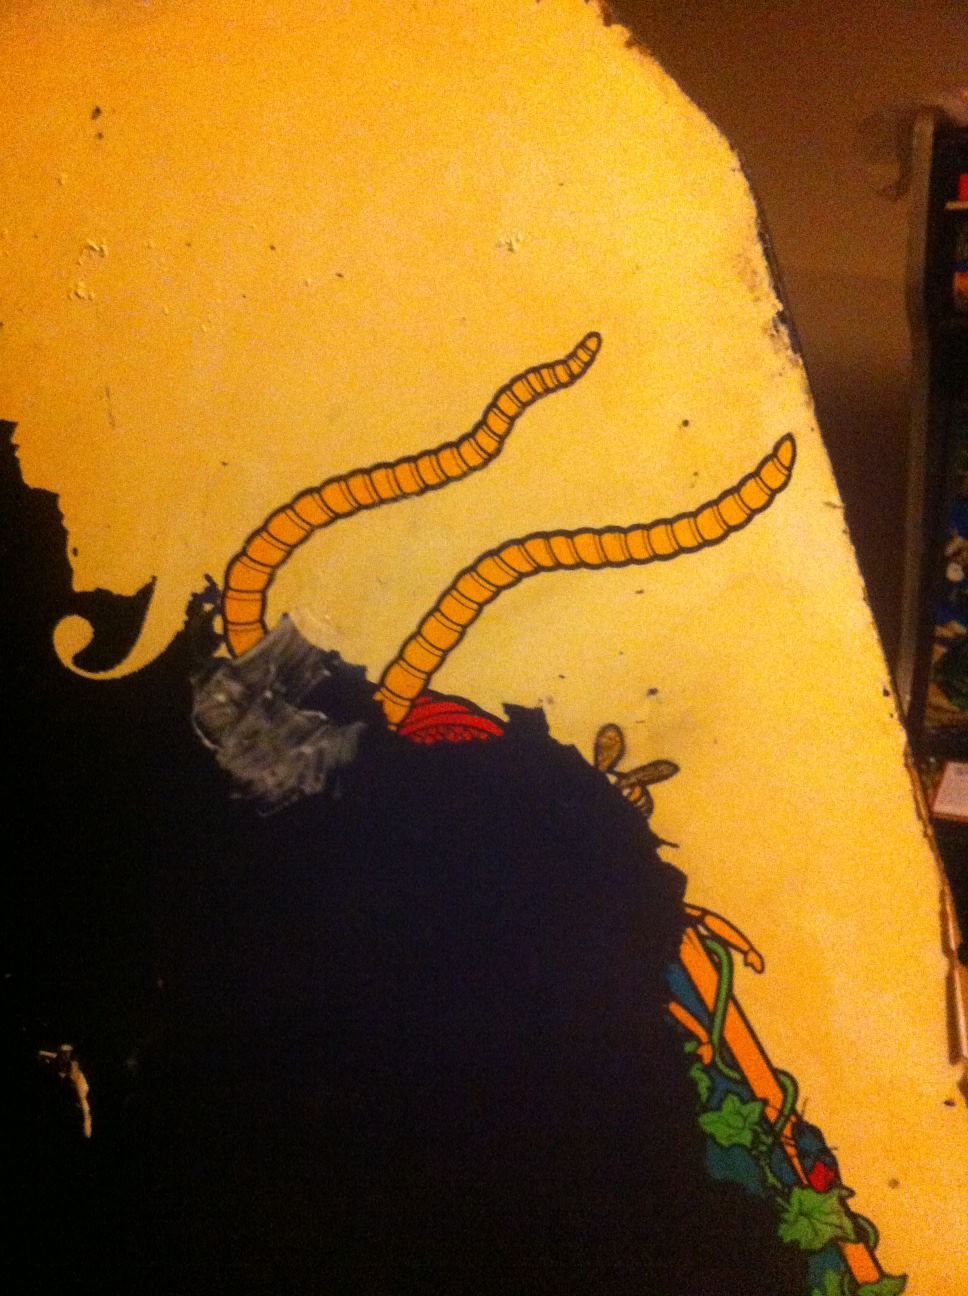
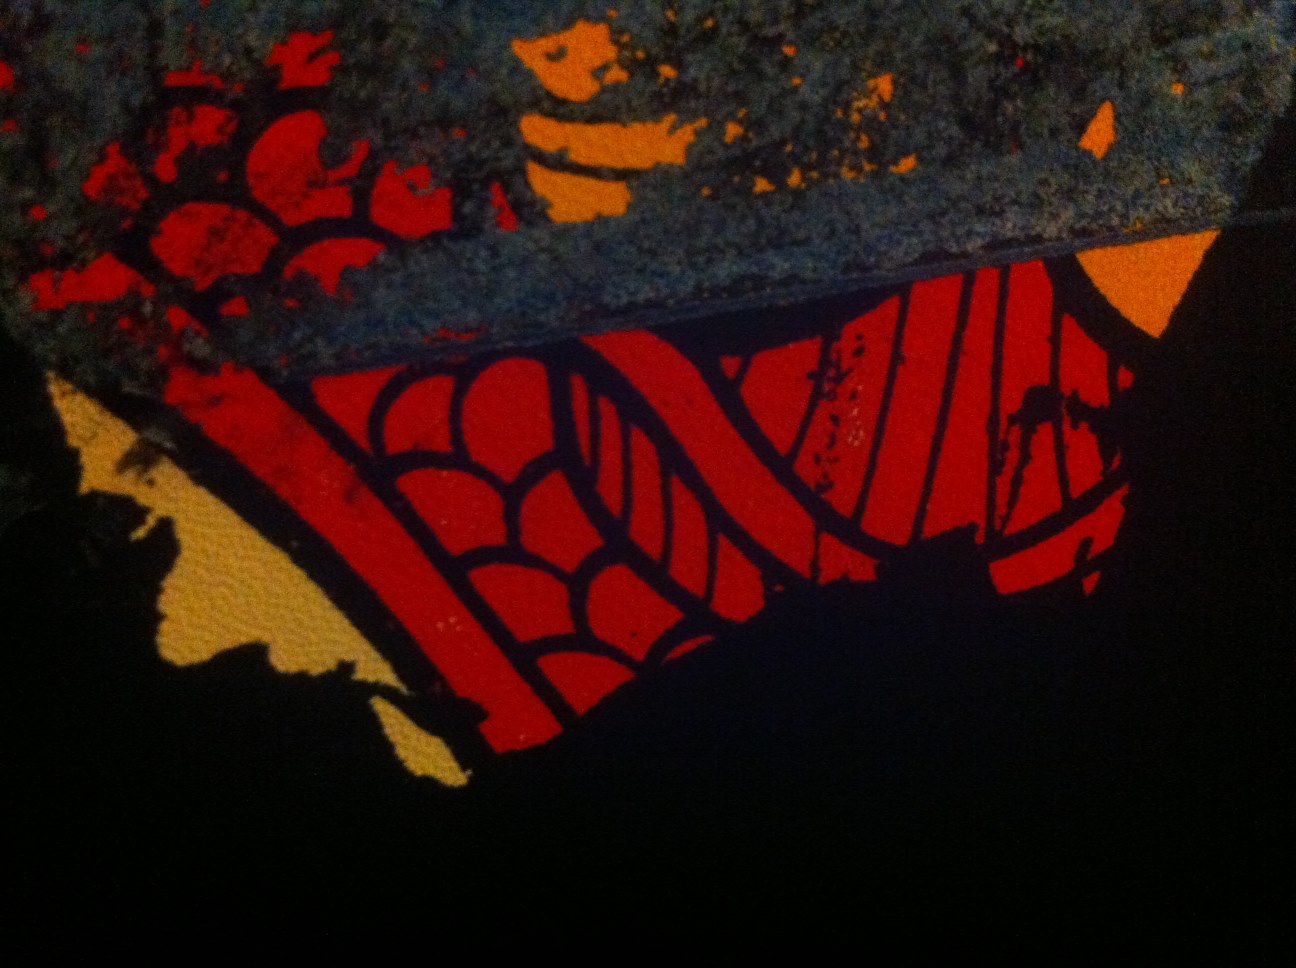
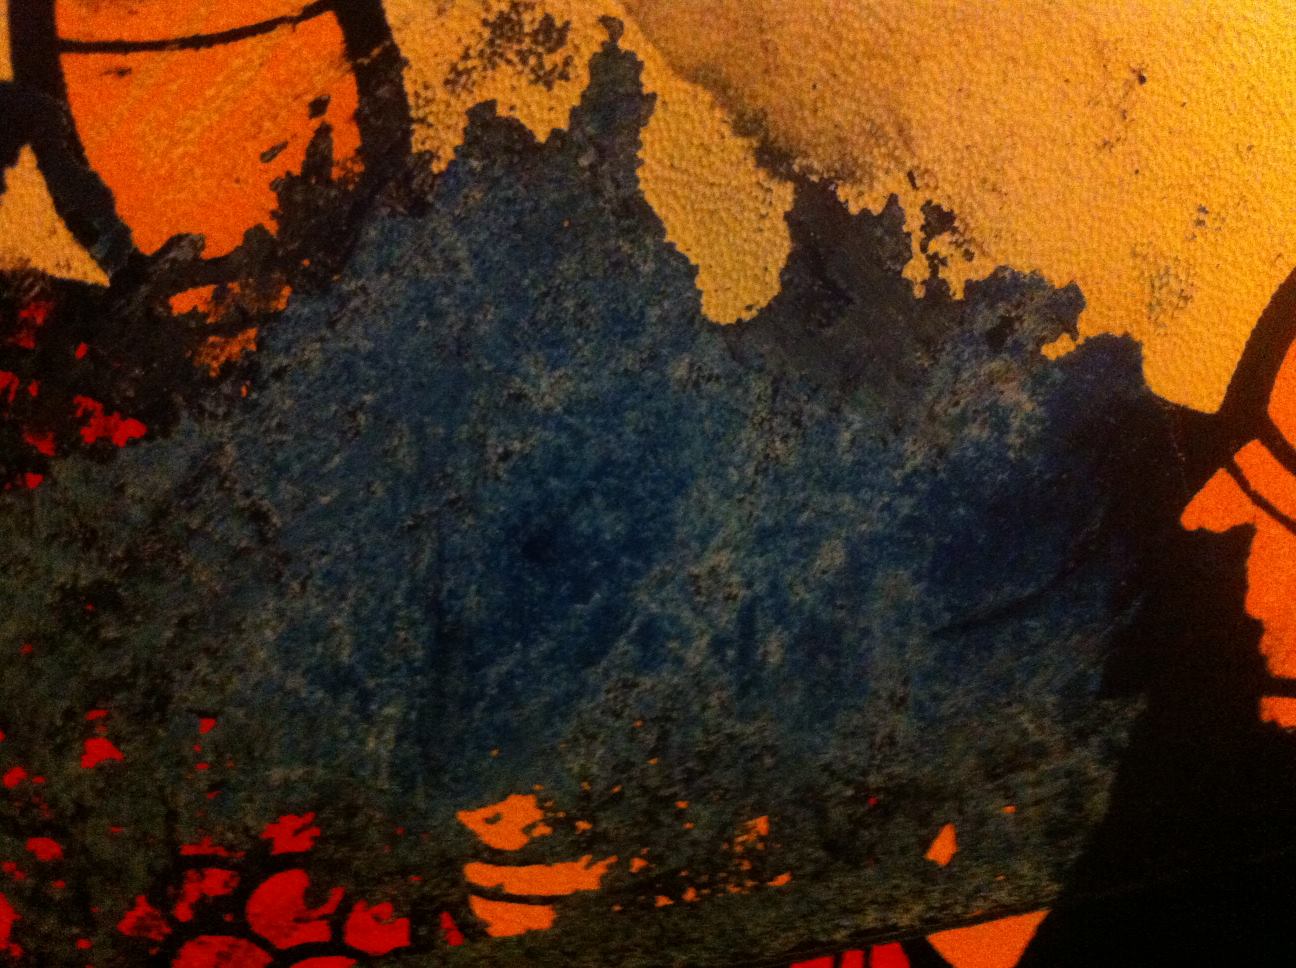
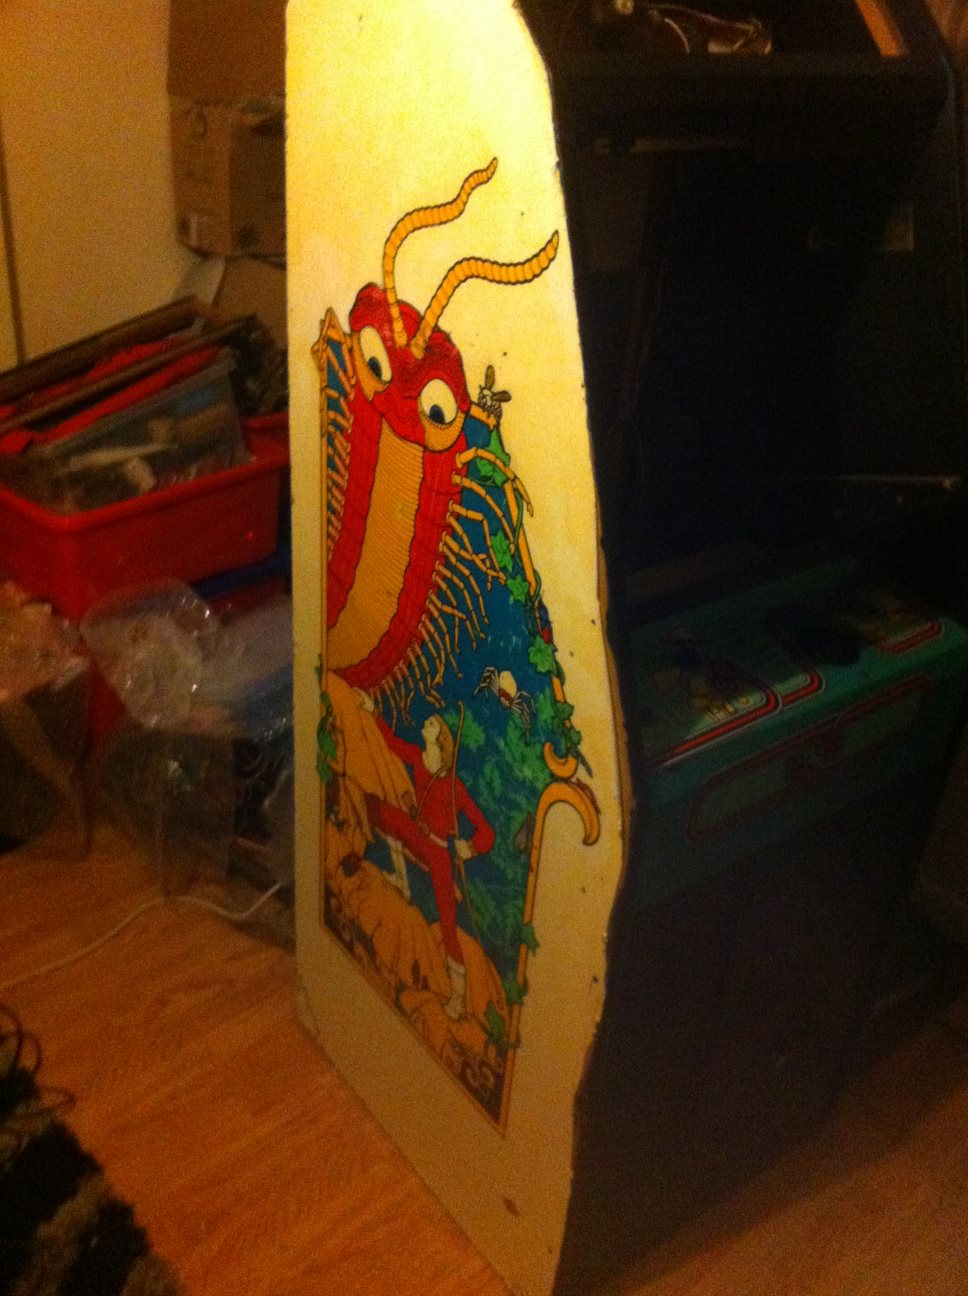
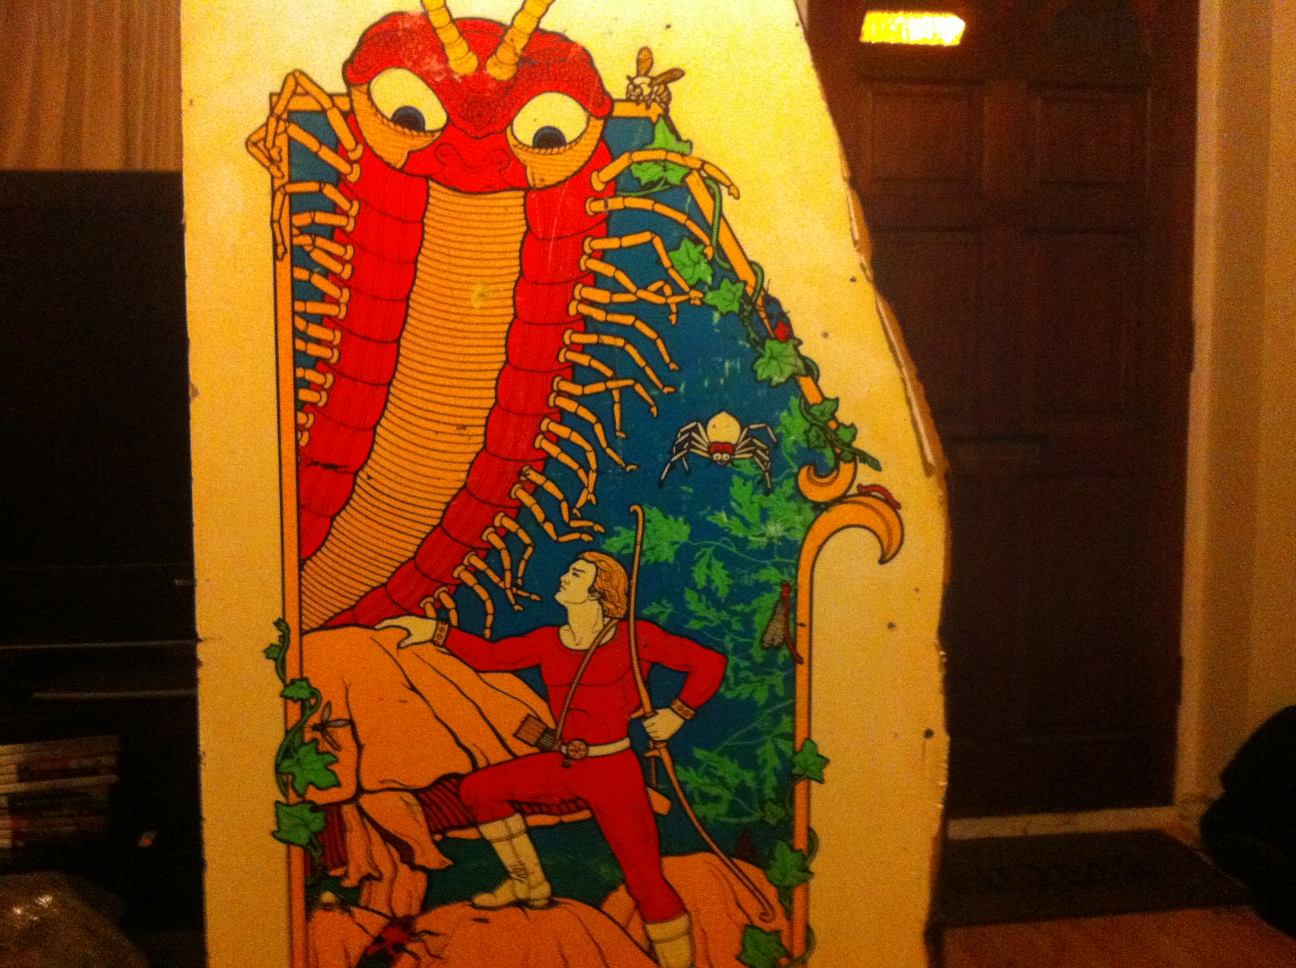
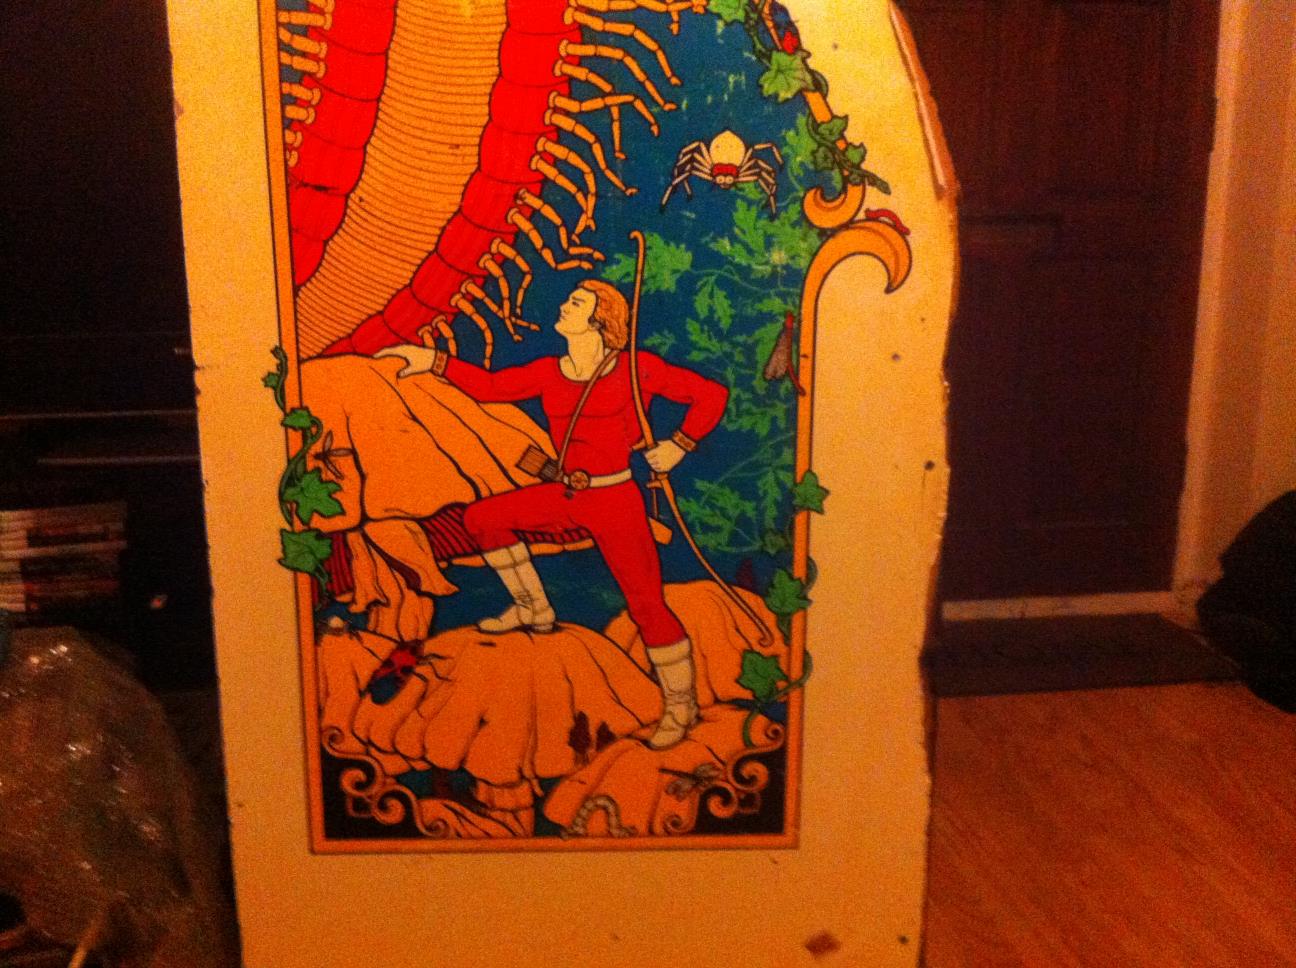
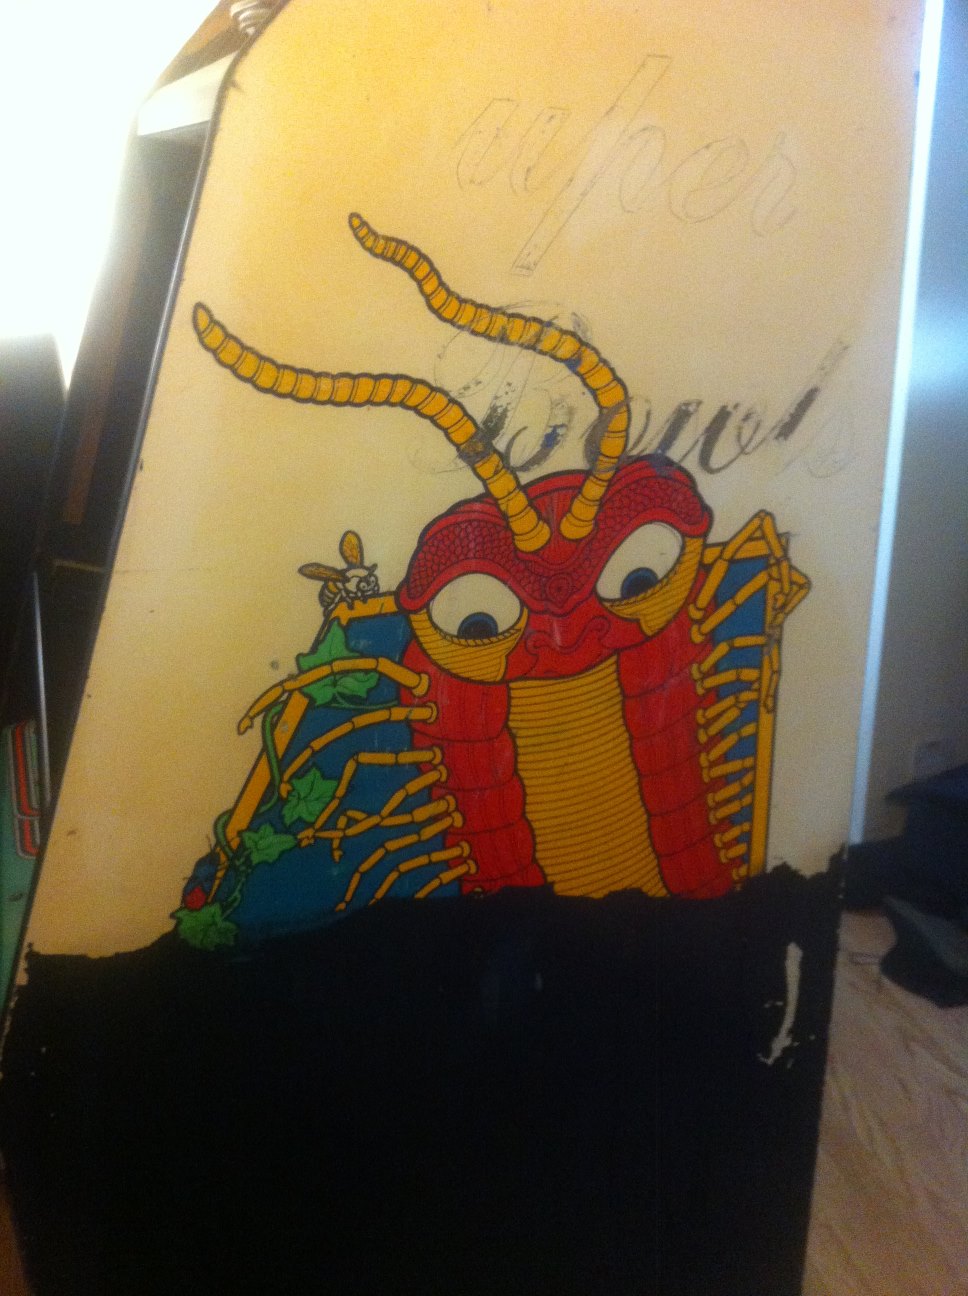
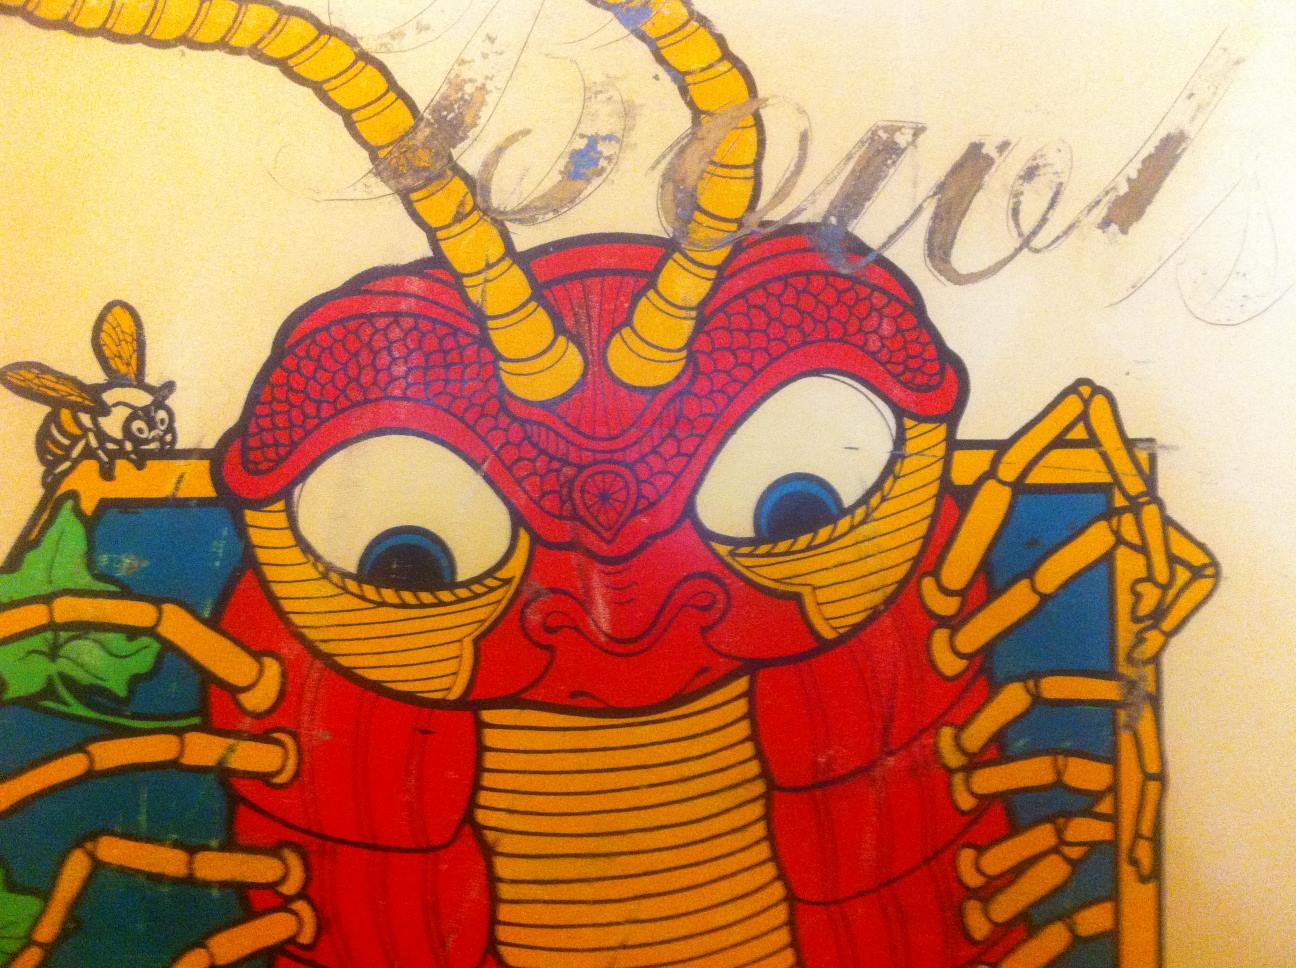
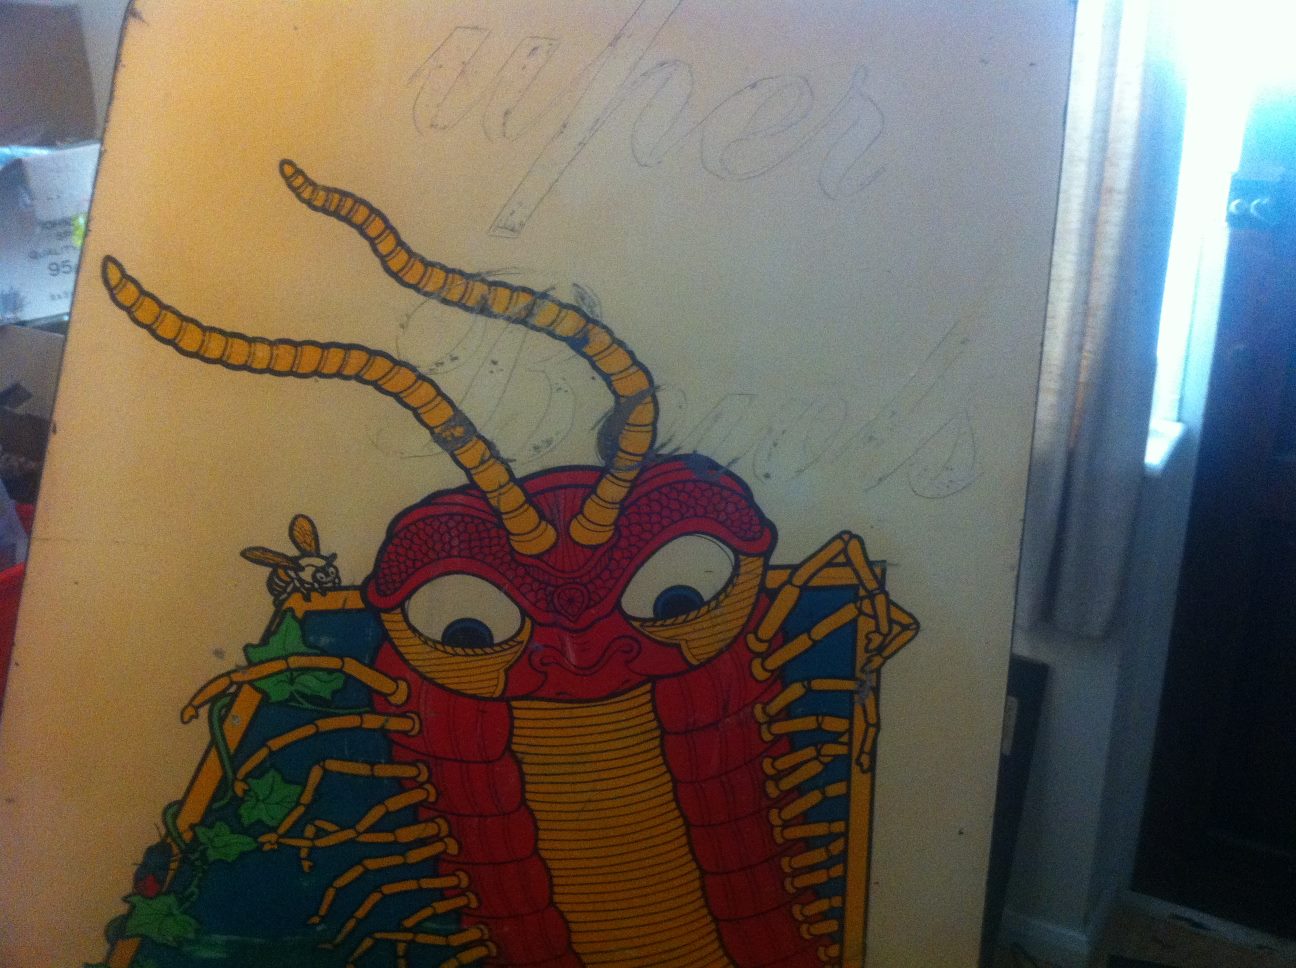
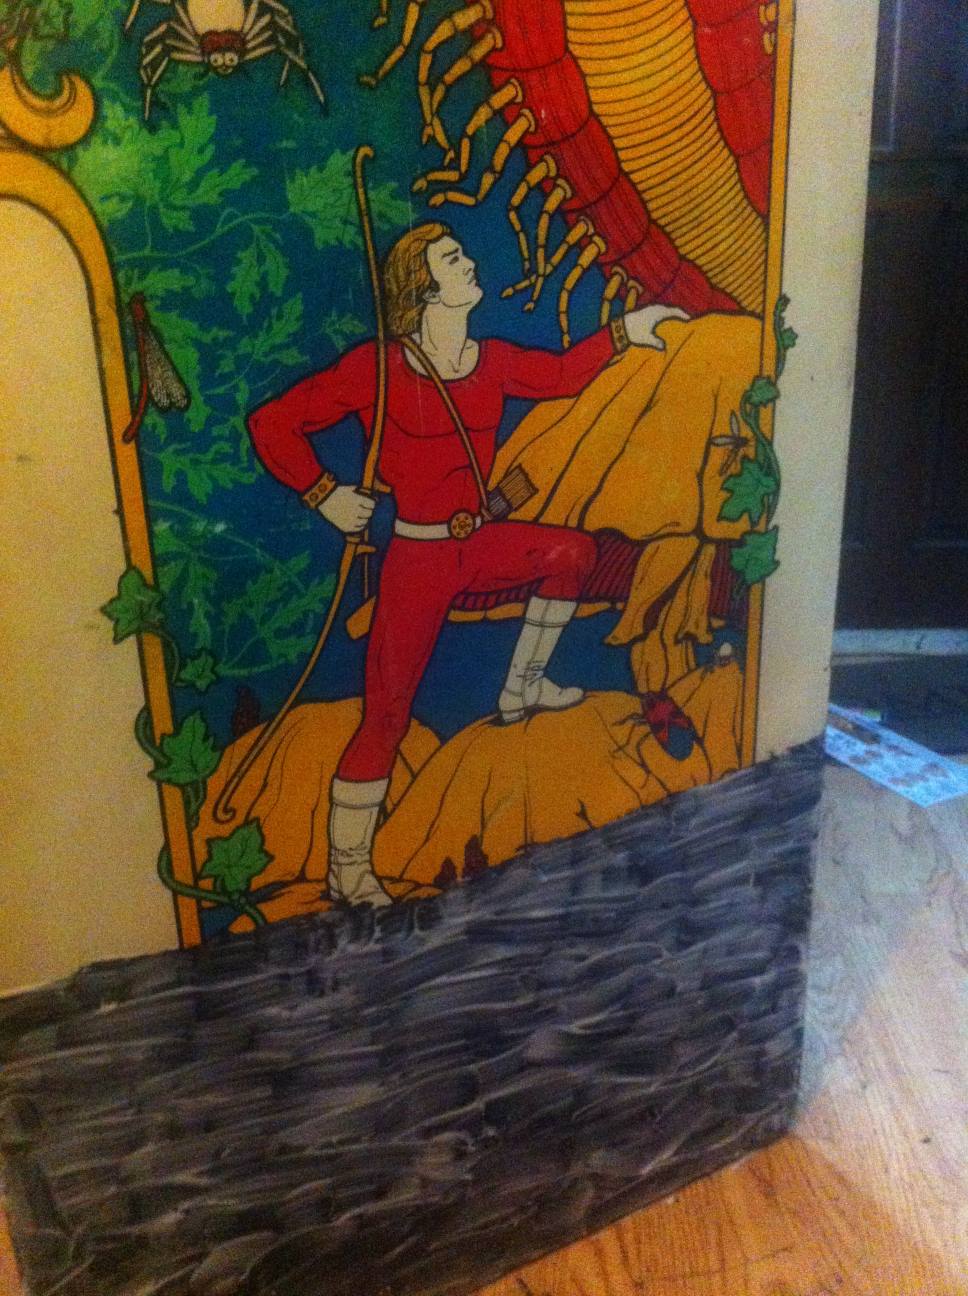
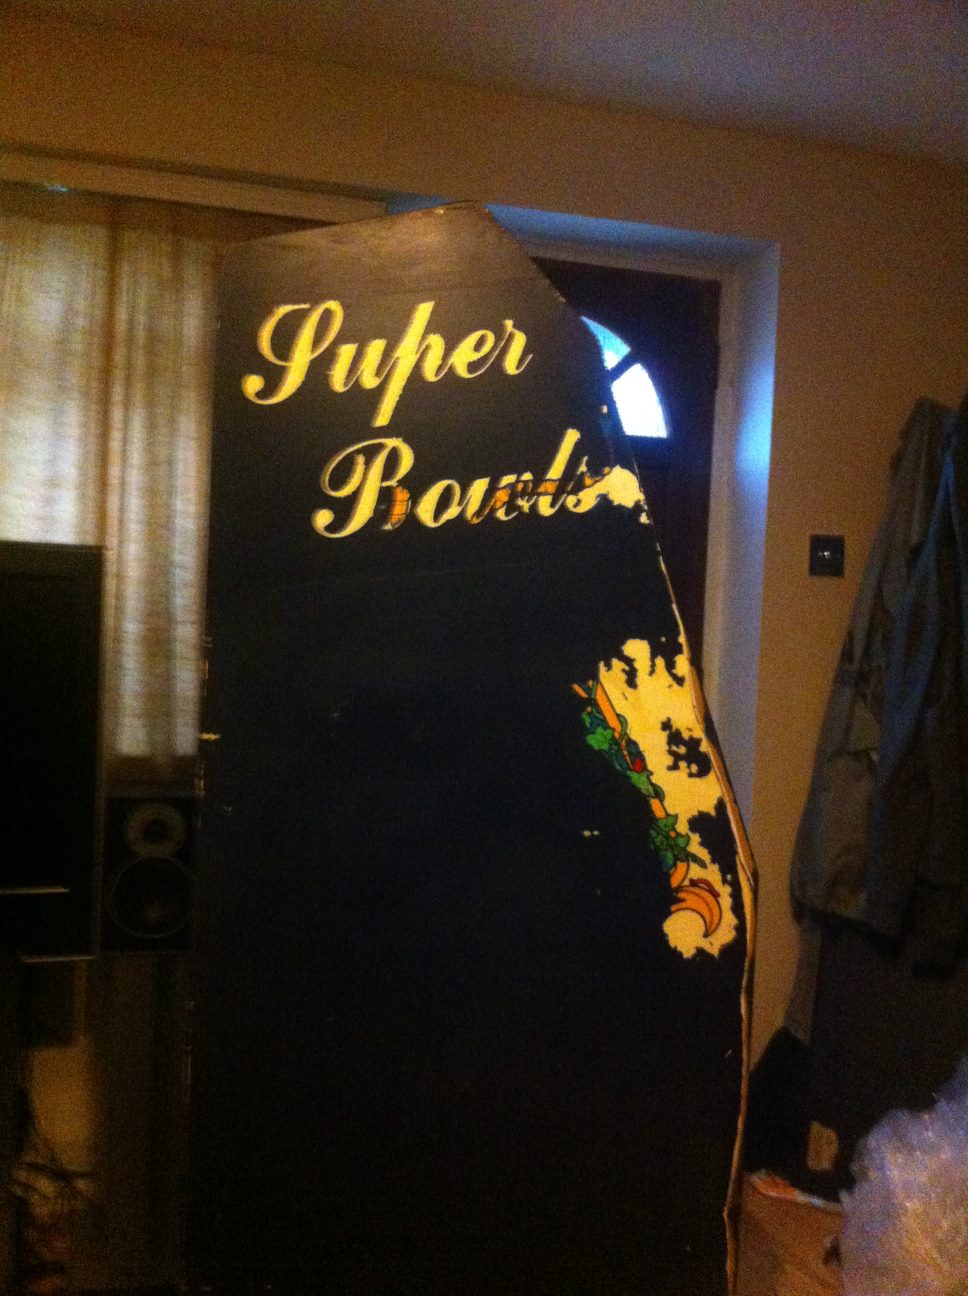
I couldn't resist scraping some of the black paint off and found it was very brittle towards the front edge, it was flaking off nicely until it started to thicken up so I stopped in case the finish underneath would get damaged. This is what I've revealed so far:
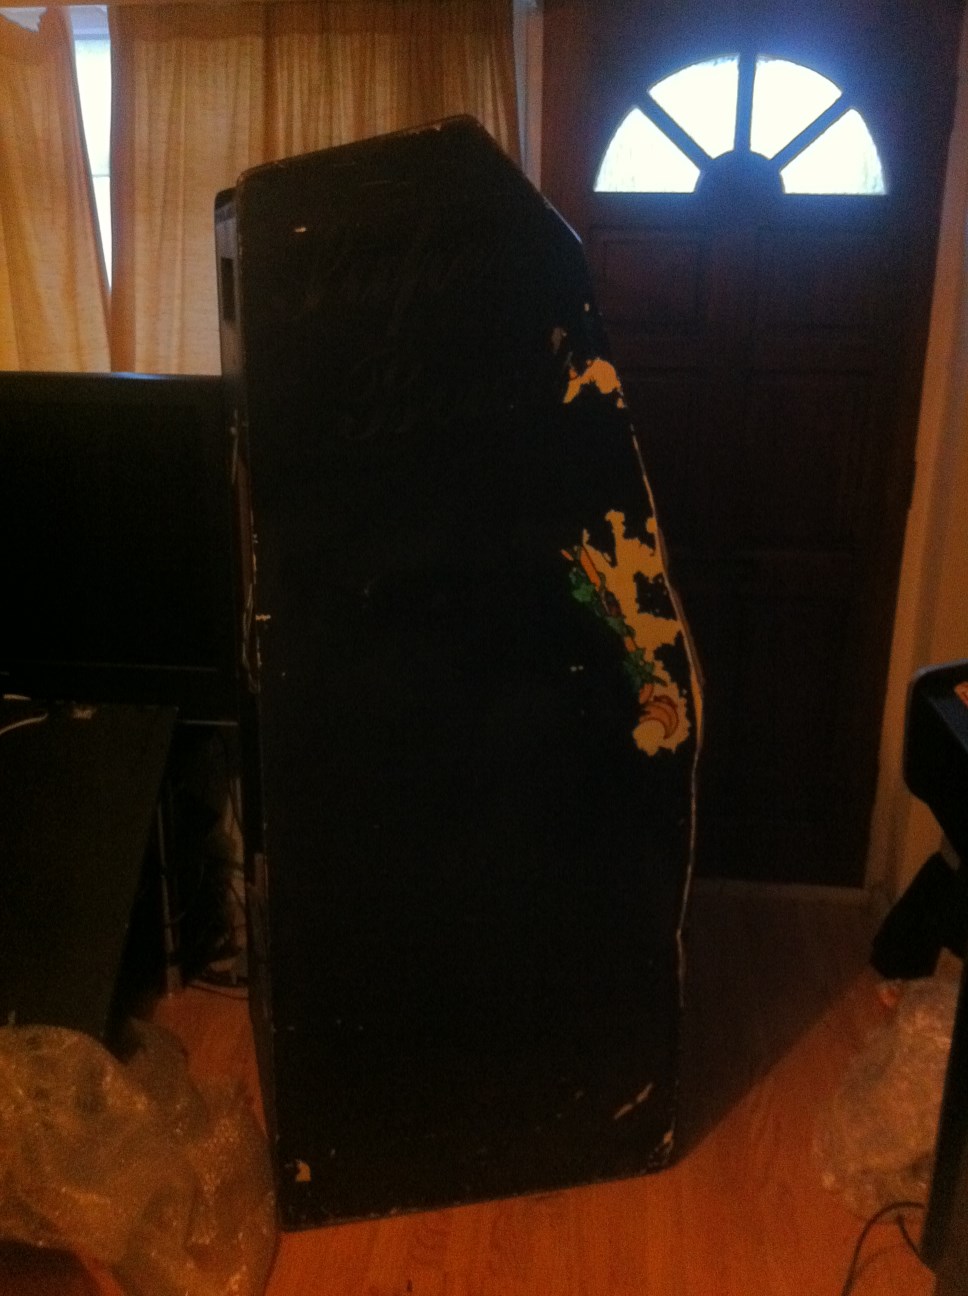
milliside1.jpg

milliside2.jpg

milliside3.jpg


Super Bowls!!!!!!!

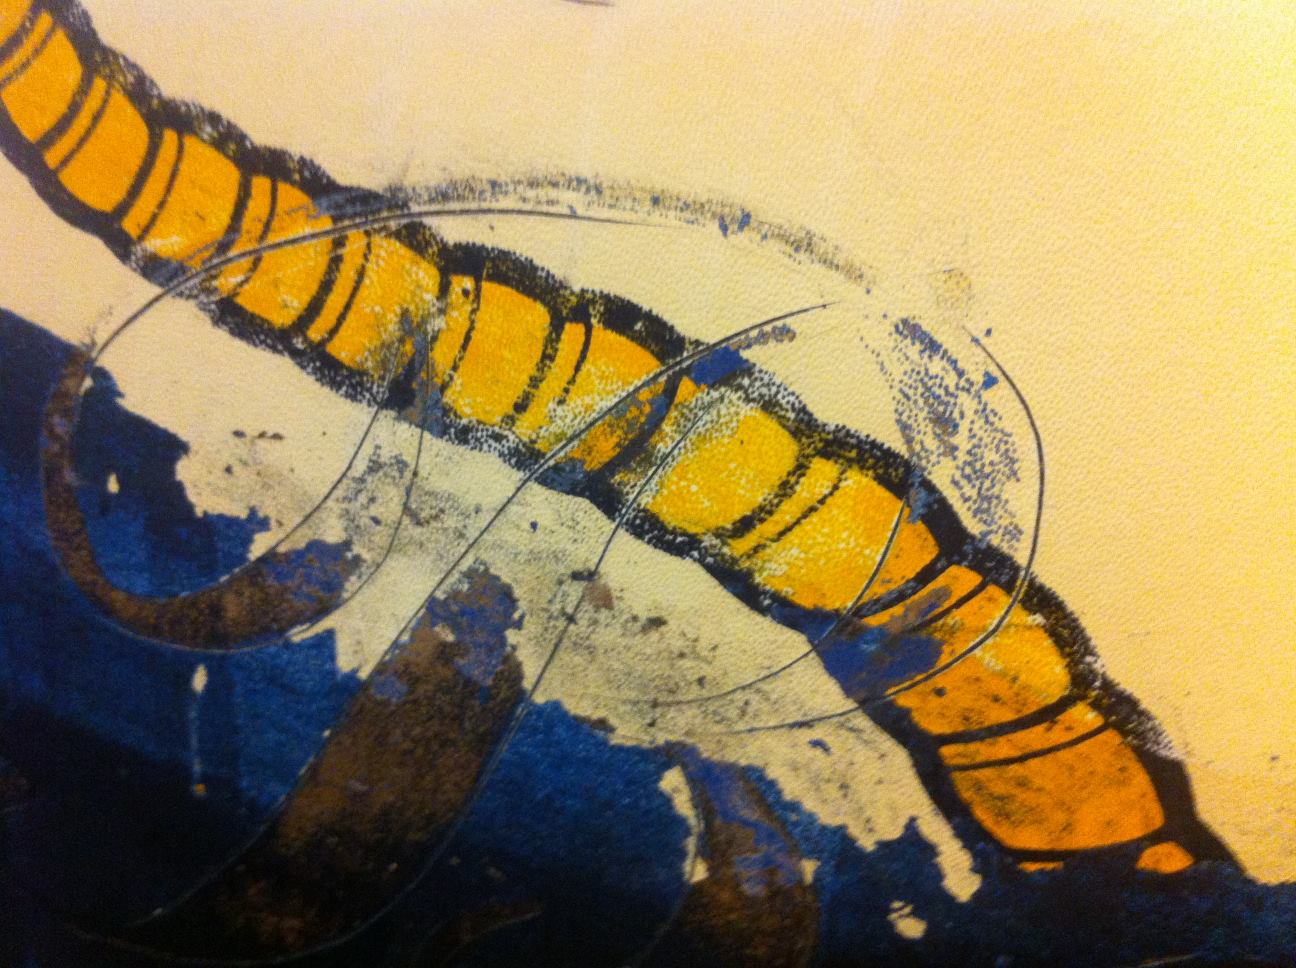
Underneath the very thin black paint is a layer of sparkly Super Bowls blue, so I actually have 2 layers to get rid of. I'm going to try some 3M safest stripper and see how that goes, I will try a couple of little areas first and test out some different curing times to make sure none of the original paint is disturbed if possible. The lettering was stickers of some sort and thankfully lifted off.

It's always going to be a bit of a gamble as the art underneath might be rubbish anyway, certainly there is a lot of yellowing in patches on the white colour and it's going to be untidy around the edges, but it's definitely worth having a go and trying to save this art.

I don't yet know how far I will go with restoring it - for now I
want to get the missing parts and see if I can get a working game, I might not do too much to the woodwork apart from a spruce-up, and eventually get the other artwork reproduced. I have far too many projects on the go at the moment so as usual this won't be a quick turn-around job but I'll post up once I tackle the sides, just waiting for the stripper to arrive (insert amusing comment/image/gif here) then I can get on with it.
smiley1.gif

ianski2014-10-24 19:48:52
 

LAZORIAN

Active member
vacBacker
Feedback
2 (100%)
Credits
260CR
Small update:

The replacement control panel arrived from the U.S, really nice that it's fully populated.
The trackball is a bit grungy but still rolls, I haven't serviced it yet, no doubt it will need new rollers. Luckily parts for these are still available, in fact they are still being manufactured so shouldn't be a problem if the opto boards have failed etc.

Obviously as this is a Euro model the overlay that's been applied doesn't quite fit and is a bit wonky, but will do for now.
I think I lucked out getting hold of this although it wasn't cheap. It does mean I have a spare control harness with cone buttons and fire button which will be useful.

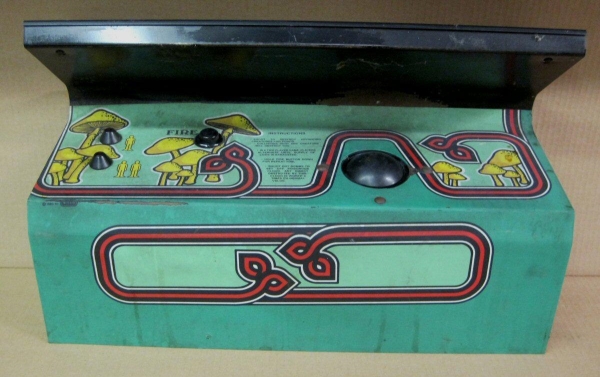
This is the picture of it from Quarterarcade:

millicontrol3.jpg


Pretty filthy!

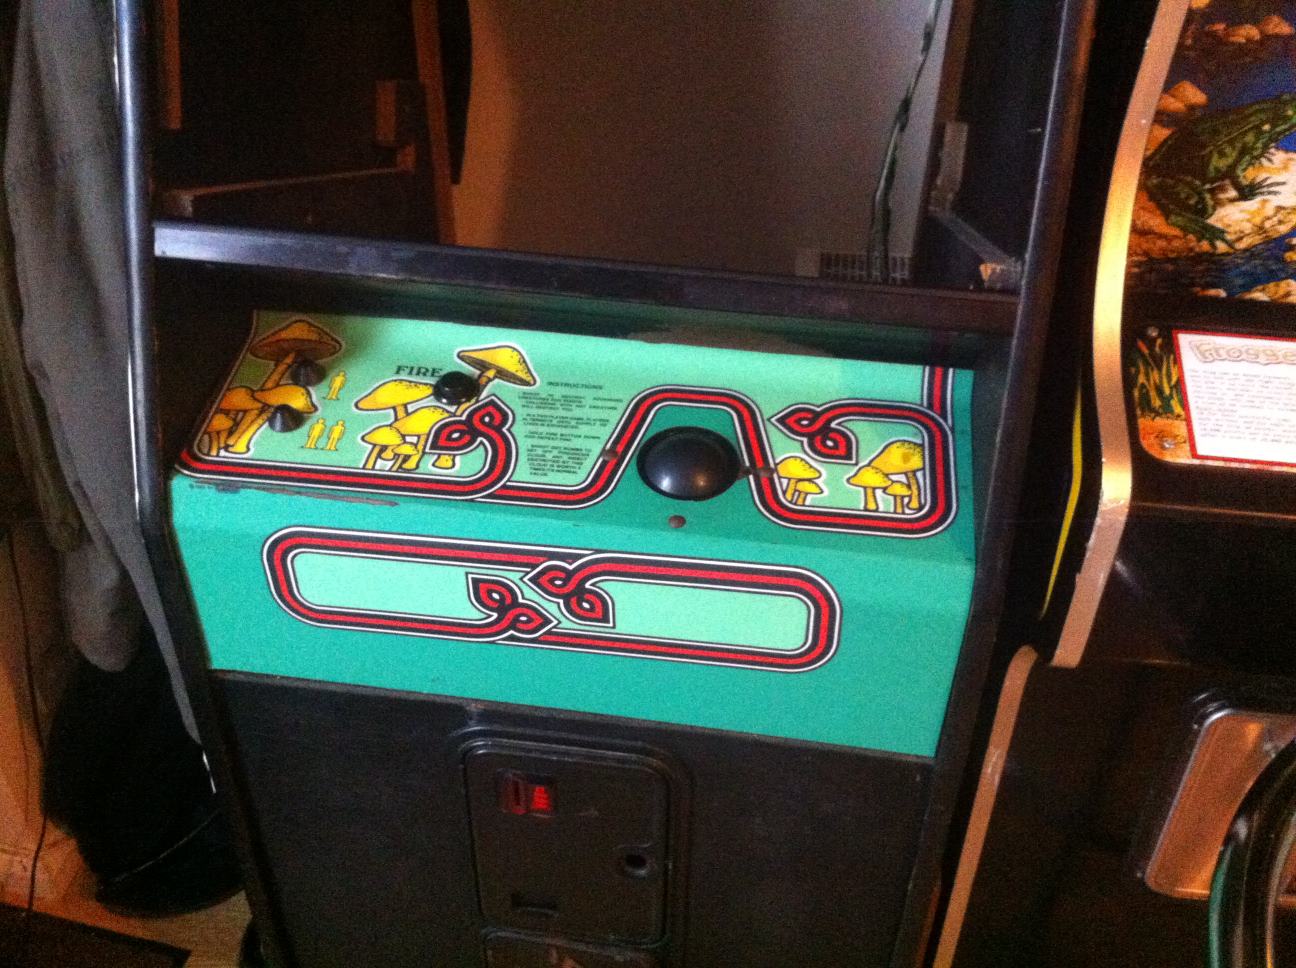
After a good session with cillit bang and magic sponge here's how it came out:

millicontrol1.jpg

millicontrol2.jpg


Apart from the wear it came up quite nicely, Its starting to look a bit more like a millipede now.
I actually prefer the Willis overlay to the Atari one, although it would
be nice to get one that fits properly. Gotta love those mushrooms
smiley1.gif


The good thing is it came with the bottom retainer bracket, currently attached to the panel, so I think I have pretty much all the fixtures I need although I'll have to make a cardboard monitor surround.

I hoped the paint stripper would have arrived by now but didn't, so I'll just have to be patient and wait for it.

Next I want to check the loom I have and compare it to the internal pictures of RGP's cab, some modifications might be needed although electrically the Euro cab is quite similar to the US version apart from the voltage differences of course.
Again the manual is great because it has full details of both versions so I can see exactly whats needed and how its put together.
 

LAZORIAN

Active member
vacBacker
Feedback
2 (100%)
Credits
260CR
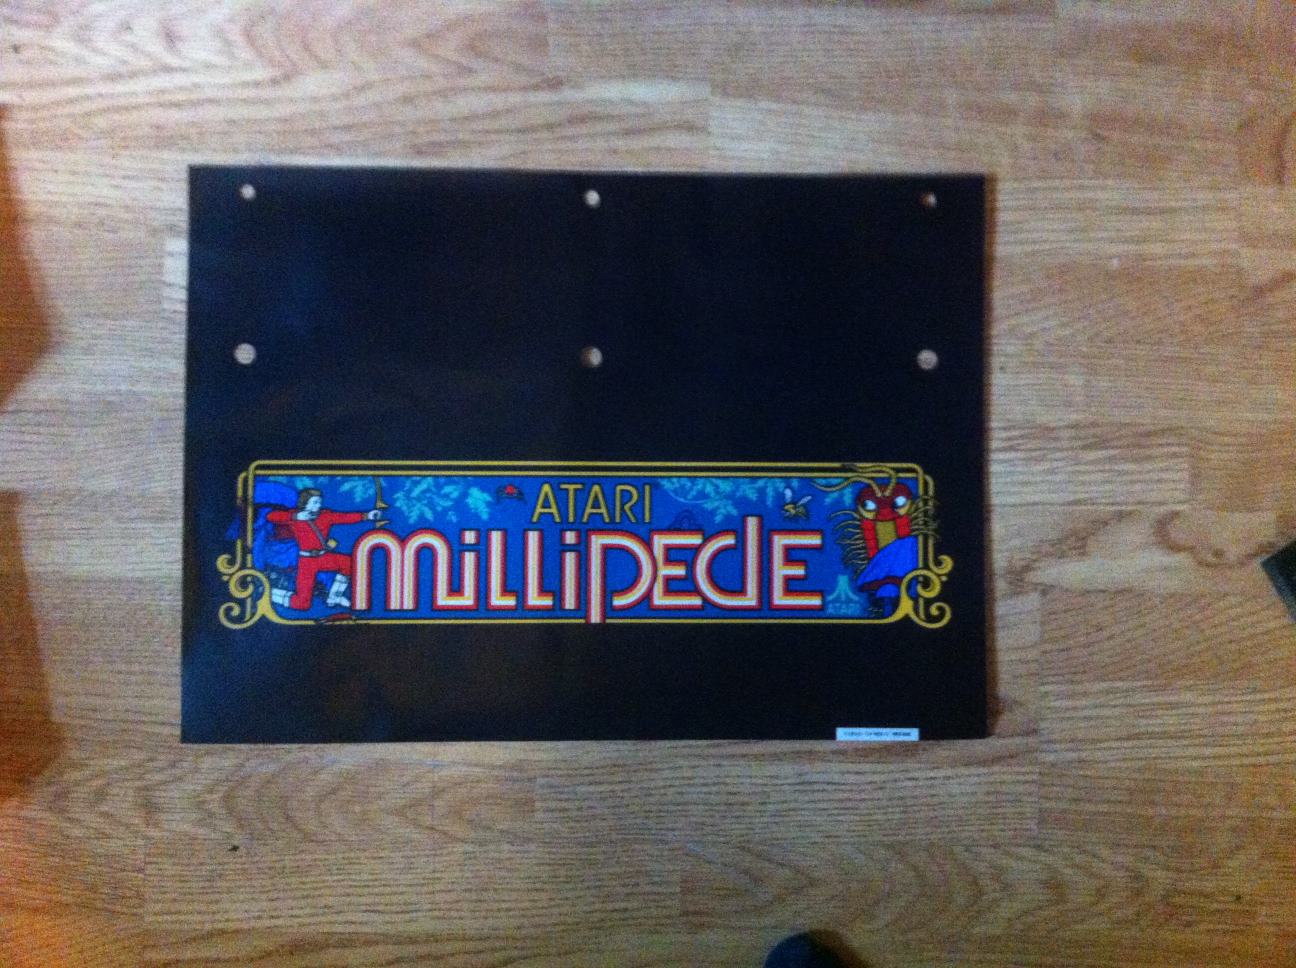
I got this marquee decal included with the deal, and although its from the US version it might be good to use for now until a reproduction of the original can be done:

millimarquee.jpg


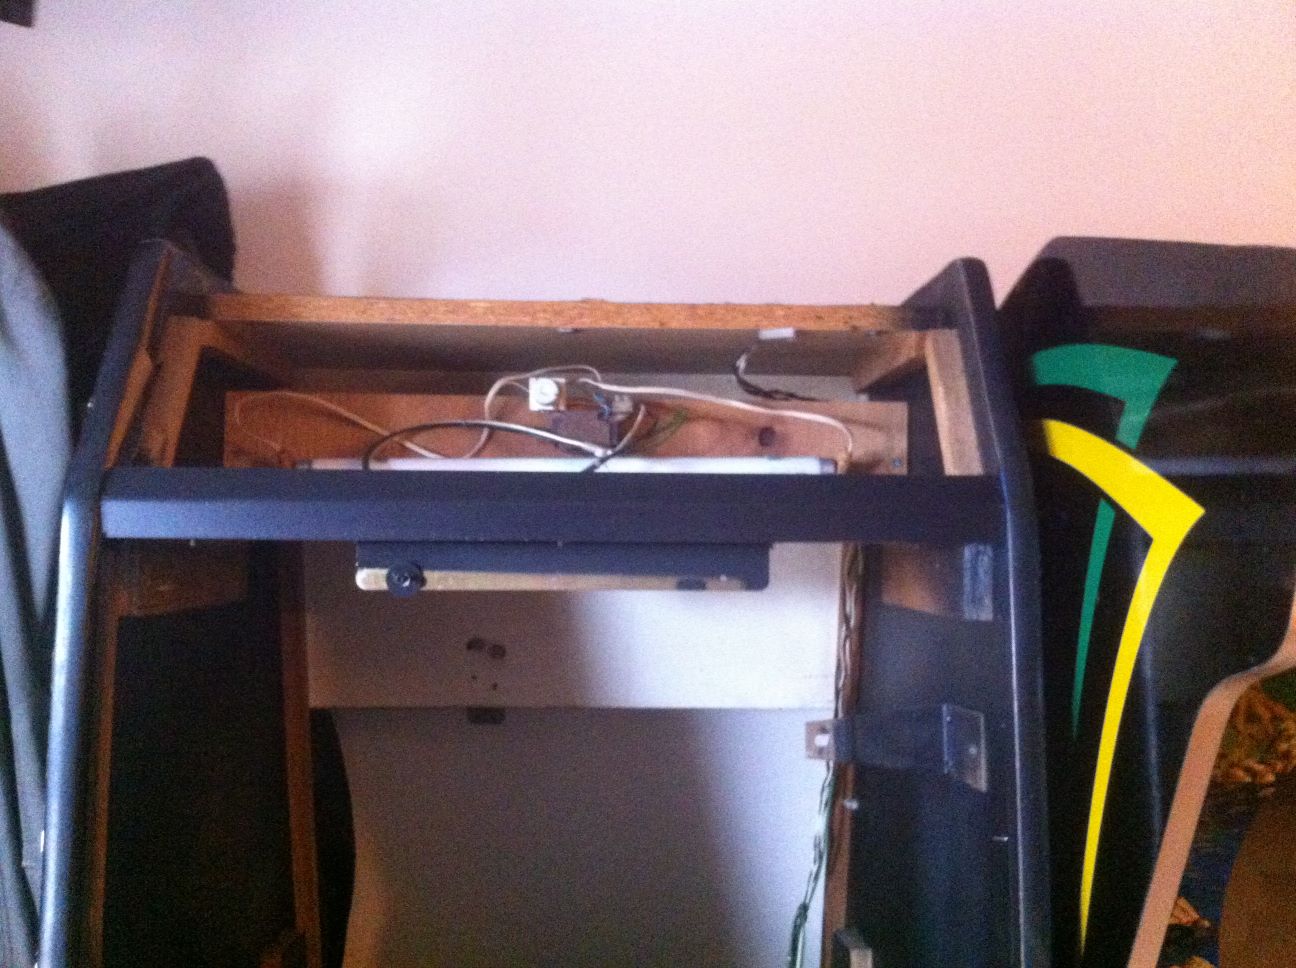
The cab also came with a spare top which has either been cut or someone has made it so it will fit. The decal might get trimmed down a bit but should look decent for now, just need to get a bit of glass or plexi to fit in the gap.
The marquee window unbolts from the top so it's just a swap over. It also means I can leave the original alone which is cool:

millitops.jpg


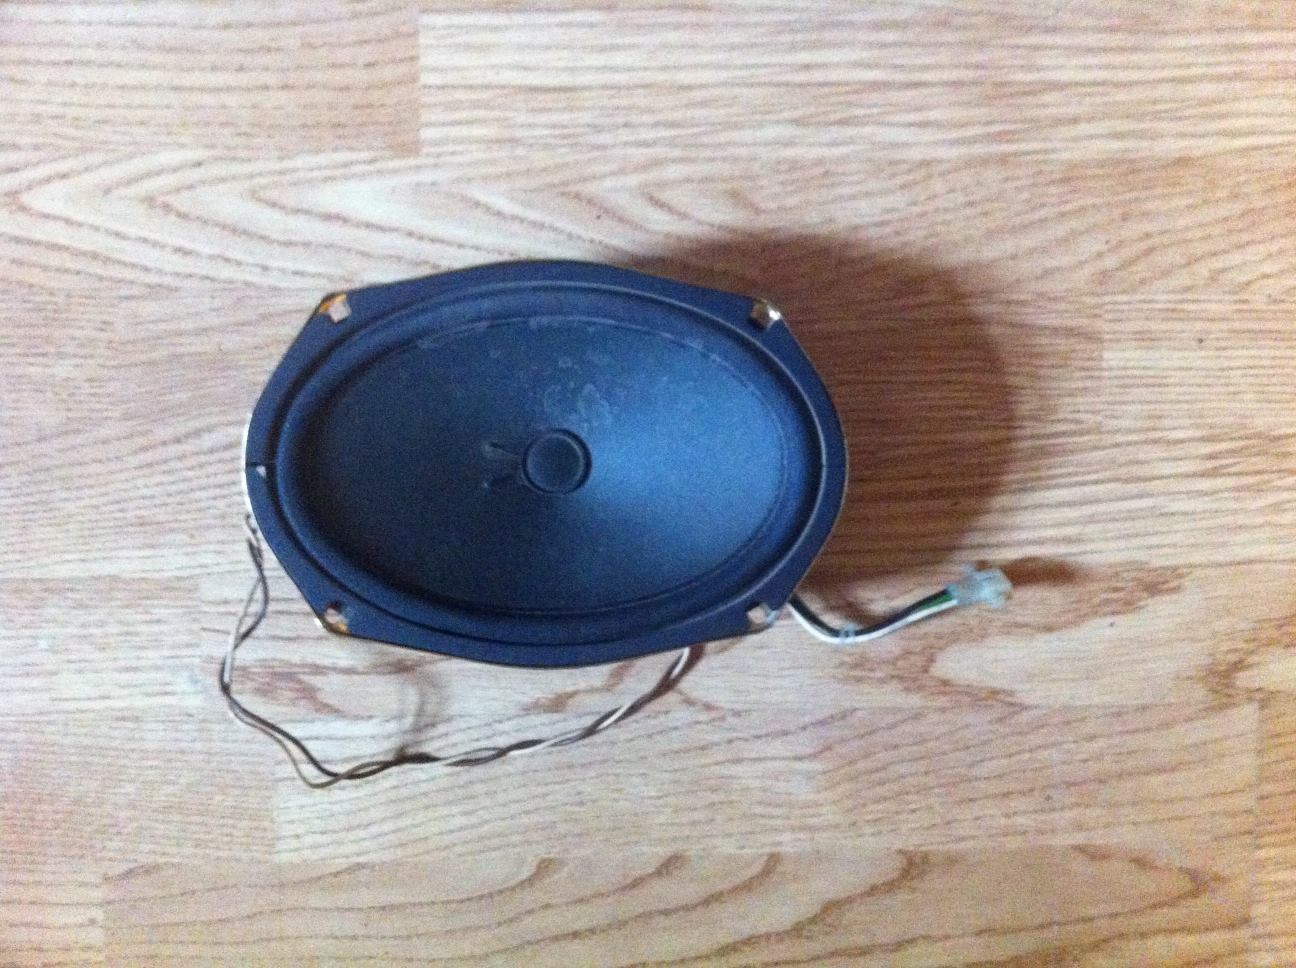
The only trouble with this idea is where to put the speaker, as it normally takes up half the marquee space, so it would put a big shadow over half the lit marquee...

millispeaker.jpg


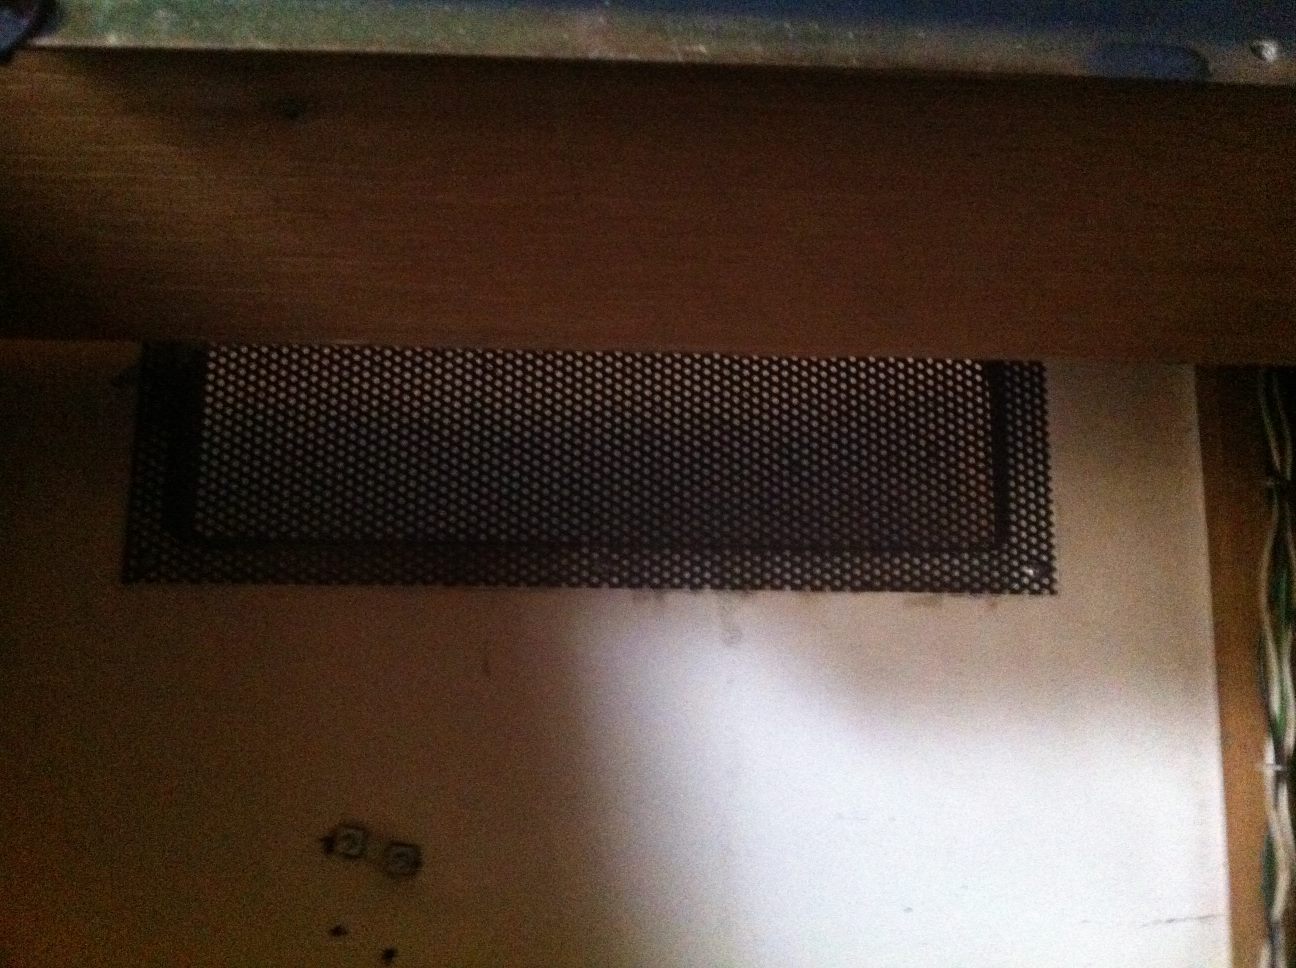
It's not ideal but I reckon I'll mount it at the back of the cab so the sound comes through the rear grille.
The good thing about this is I don't have to alter any wiring as it will reach, and apart from a few screw holes it won't affect the interior of the cab.

milligrille.jpg


I also have a spare top retainer bracket that's not been painted super bowls blue, so I swapped this over too:

millibracket.jpg


I have an AR2 on it's way now, so apart from a monitor the pieces are coming together. I do have a WG4600, its not spare and for one of my other machines, but looks like it will fit.
I doubt the connectors are the same for it, I haven't checked the loom yet but if I can get it in temporarily at least I can test if the monitor works, and see whats going on with the board.
I need to clean up & test the power brick first before doing any of this though.

I don't have any coin door parts so I'll need to credit up by
touching wires together, I'll insulate any loose ends to make it safe.

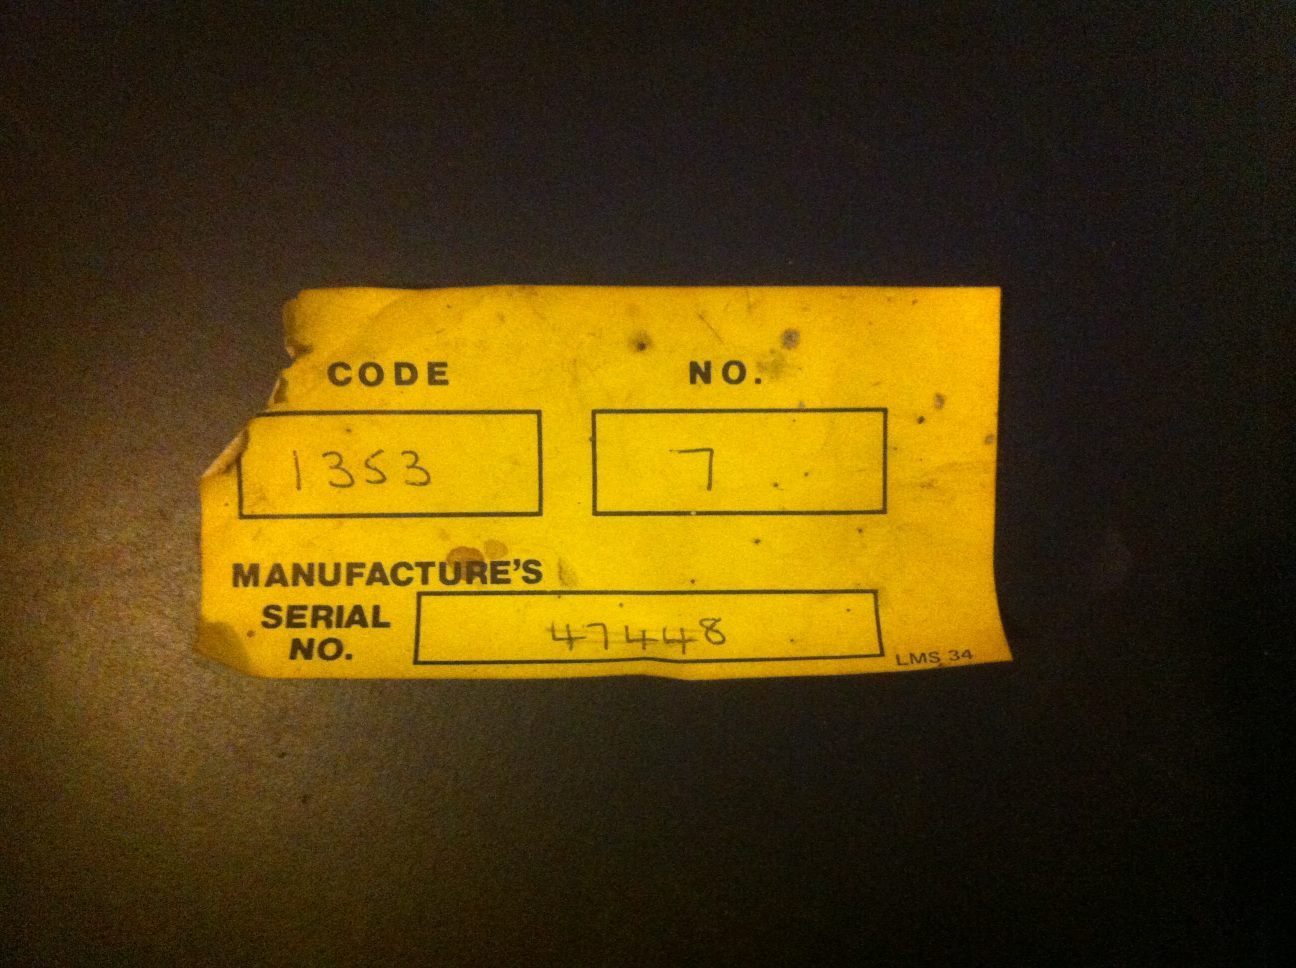
I found this serial sticker inside the cab, dunno if it actually belongs to it. If it is from this machine I find it hard to believe they made 47 thousand of them, more likely to be number 7...

milliserial.jpg


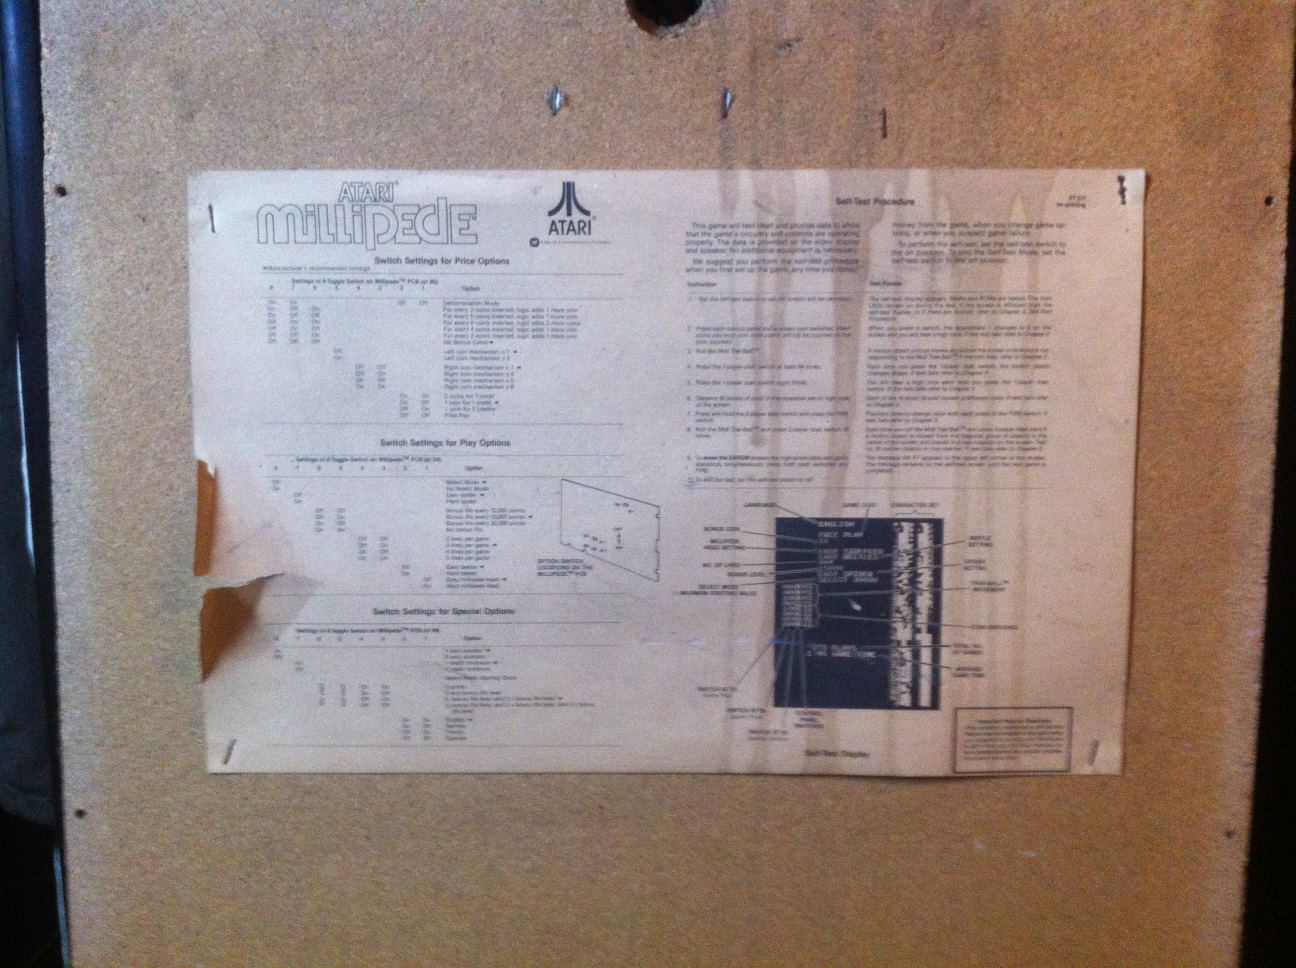
Here's a pic of the back door interior, proving this cab was originally a Millipede:

millidoor.jpg


millioverlay.jpg


So, I have this overlay left over. There's little point in fitting it as it will have the same problem as the Willis one I have on there - not designed for the Euro cab.
If this is any use to anyone they can have it, it has a couple of scuffs on it but otherwise nice condition. Collect from Arc-Aid next Month or give me a shout if you want it
smiley1.gif
 

LAZORIAN

Active member
vacBacker
Feedback
2 (100%)
Credits
260CR
The 3M safest stripper arrived so I had a go at the sides, now some
more black paint is off you can see the real condition of the cab, it's
obviously led a bit of a hard life with various repairs done here and
there.
I experimented leaving the stuff on and increasing it by 10
minutes until I found a sweet spot of roughly 1 hour, it depends on how
thick the black paint has been applied so got mixed results.
Here's
what's been revealed, although the pic is taken under artificial light
so is coloured there are plenty of browny-yellow patches on the white areas...

milliart2.jpg


milliart1.jpg


Although the stripper does a decent job of removing the paint it still reaches spots of the artwork so some parts are more worn.
You can also see some small areas of bubbling, presumably where the stripper has gone too deep, have to be careful with that!

milliart7.jpg


Some areas are coming out better than others, the lower red part here looks pretty good:

milliart8.jpg


It's a horrible messy job, not made any easier by having 2 layers of paint. Here you can see the blue underneath the black layer:

milliart5.jpg


I'm going to carry on and finish this side to see what it looks like in the end, I was toying with the idea of maybe masking over the artwork and respraying or removing the white & spraying those areas if it looks good enough to keep, but tbh it might be better to strip it so repairs to the wood can be redone.
I sadly just missed out on a set of what appeared to be NOS sideart that was offered and then withdrawn for sale after I asked for dimensions, ho hum...
smiley24.gif
 

Bensonrad

STILL looking for an Outrun & Paperboy!
vacBacker
Feedback
68 (100%)
Credits
940CR
If the black does come off, I'd be inclined to keep the more used look on the sides rather go minty white. Gives it a bit of character. :)
 

LAZORIAN

Active member
vacBacker
Feedback
2 (100%)
Credits
260CR
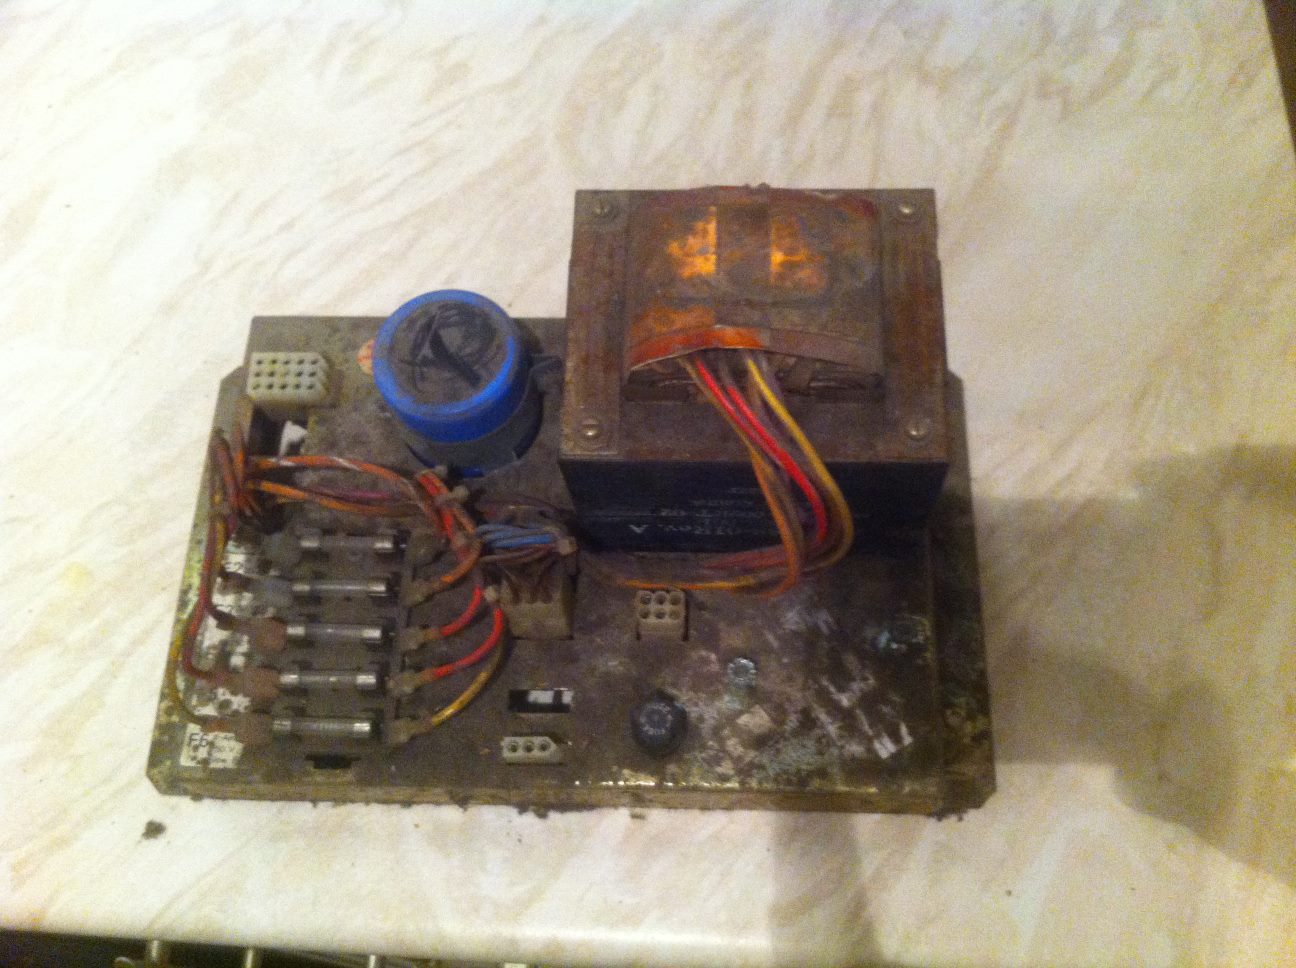
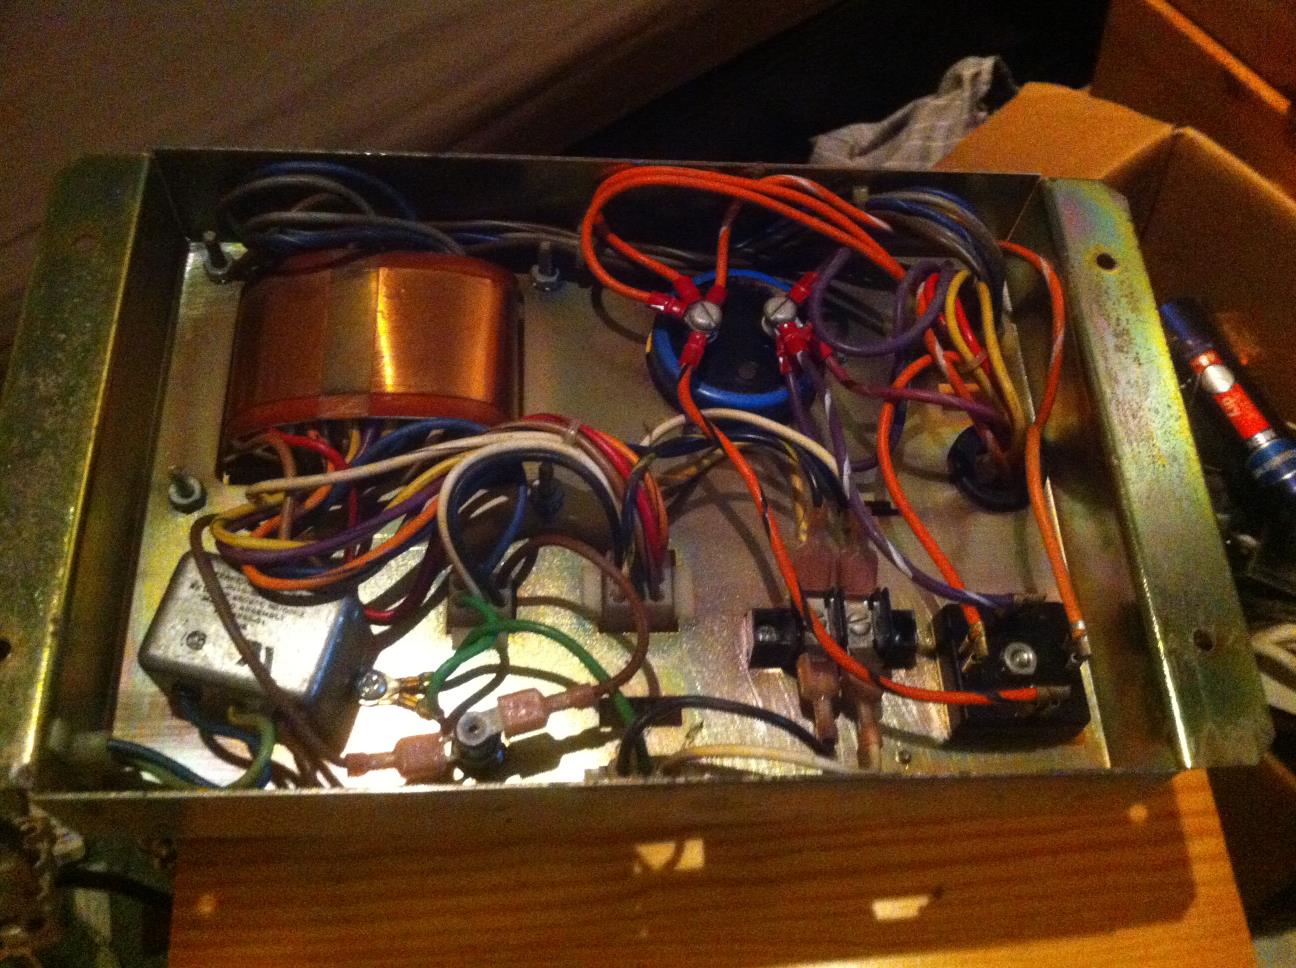
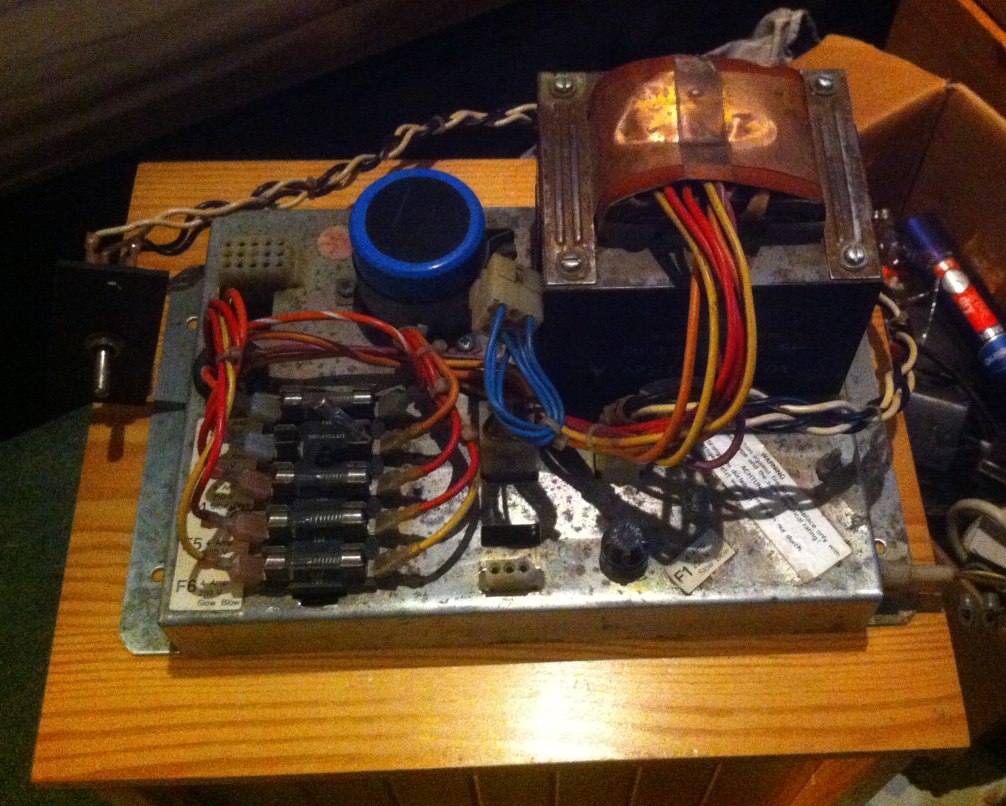
Whilst I am dithering about the sides I took a look at the power brick, it's pretty filthy but the inside is nice and clean:

millibrick1.jpg


millibrick4.jpg


I gave it a quick clean up, I'm not sure if I'm going to strip it and redo the metal yet although ideally this should be done, perhaps once I have a working cab it will be something I look at again.

millibrick2.jpg


I sorted out the mains plug & switch then gave it a test, I heard the transformer hum so tried out the 10.6V first, which gave me a nice little spark and blew the 32V fuse.
smiley24.gif

I can't see any obvious signs of shorts, and the reference I was using for the pin voltages could be wrong, although shorting is a symptom of capacitor failure too.
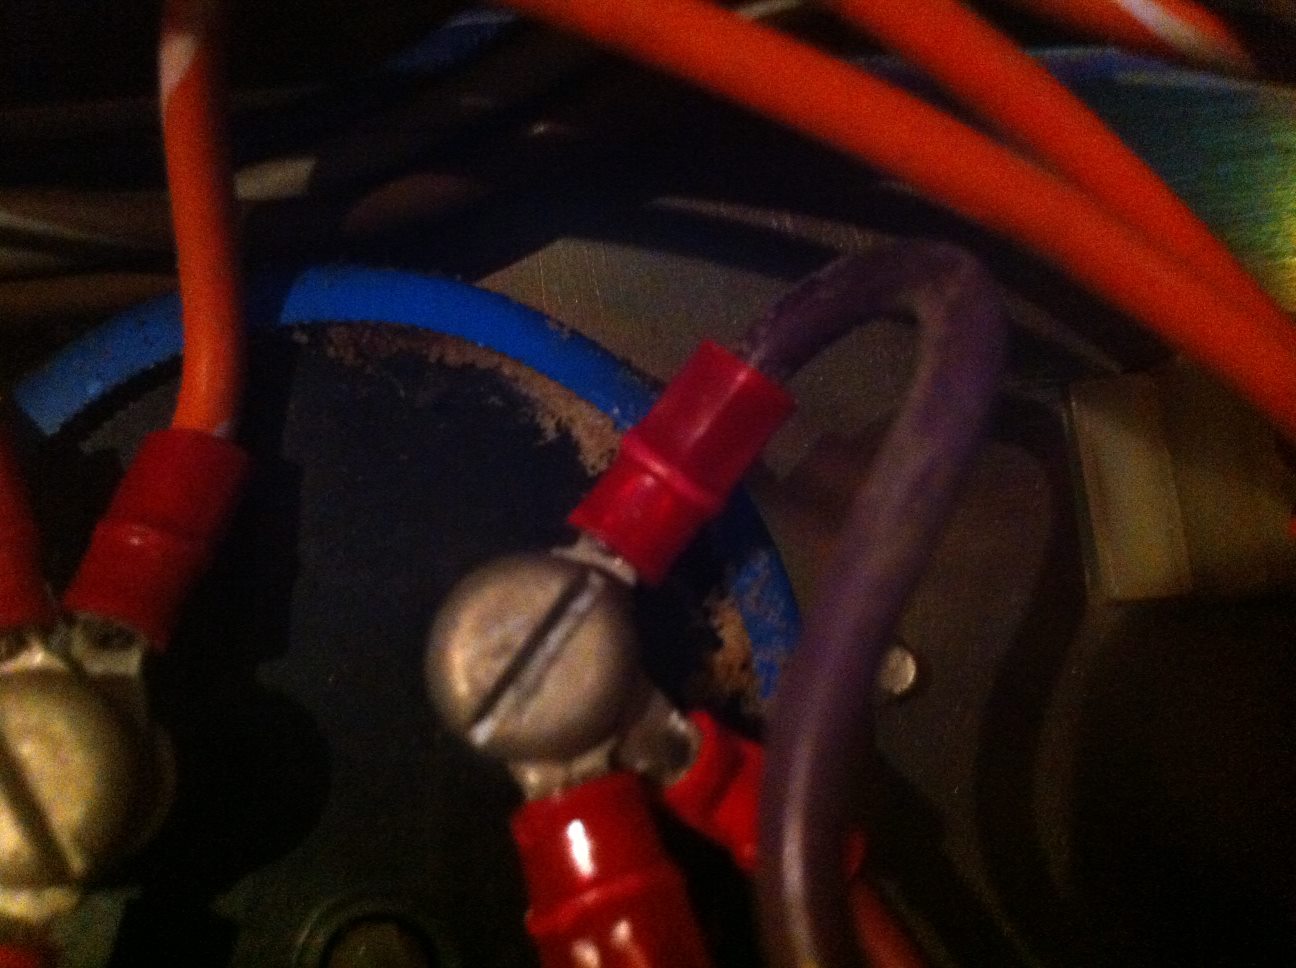
Looking closely underneath the big blue it looks like it might be leaking as there is some crystally residue around it.
Unfortunately my multi meter doesn't do capacitors so I might risk another fuse although it looks like it needs to be replaced and could be the fault of the short / fuse blowing.

millibrick3.jpg


Better grab myself one of these and a new fuse then try this again
smiley1.gif
 

LAZORIAN

Active member
vacBacker
Feedback
2 (100%)
Credits
260CR
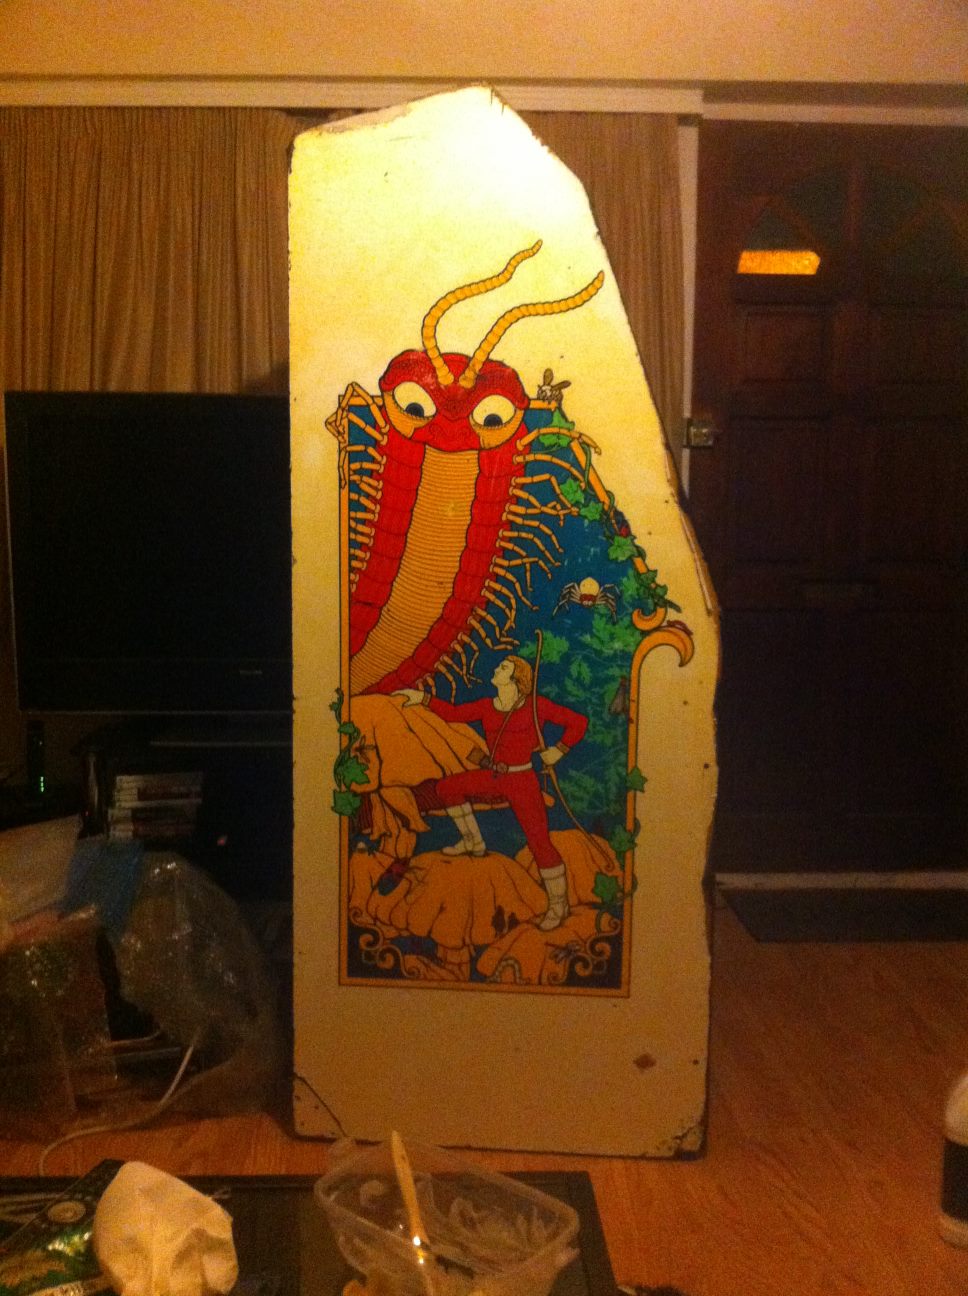
Went to town with the stripper tonight (this thread is just full of puns isn't it?) and finished the left side...

milliart9.jpg


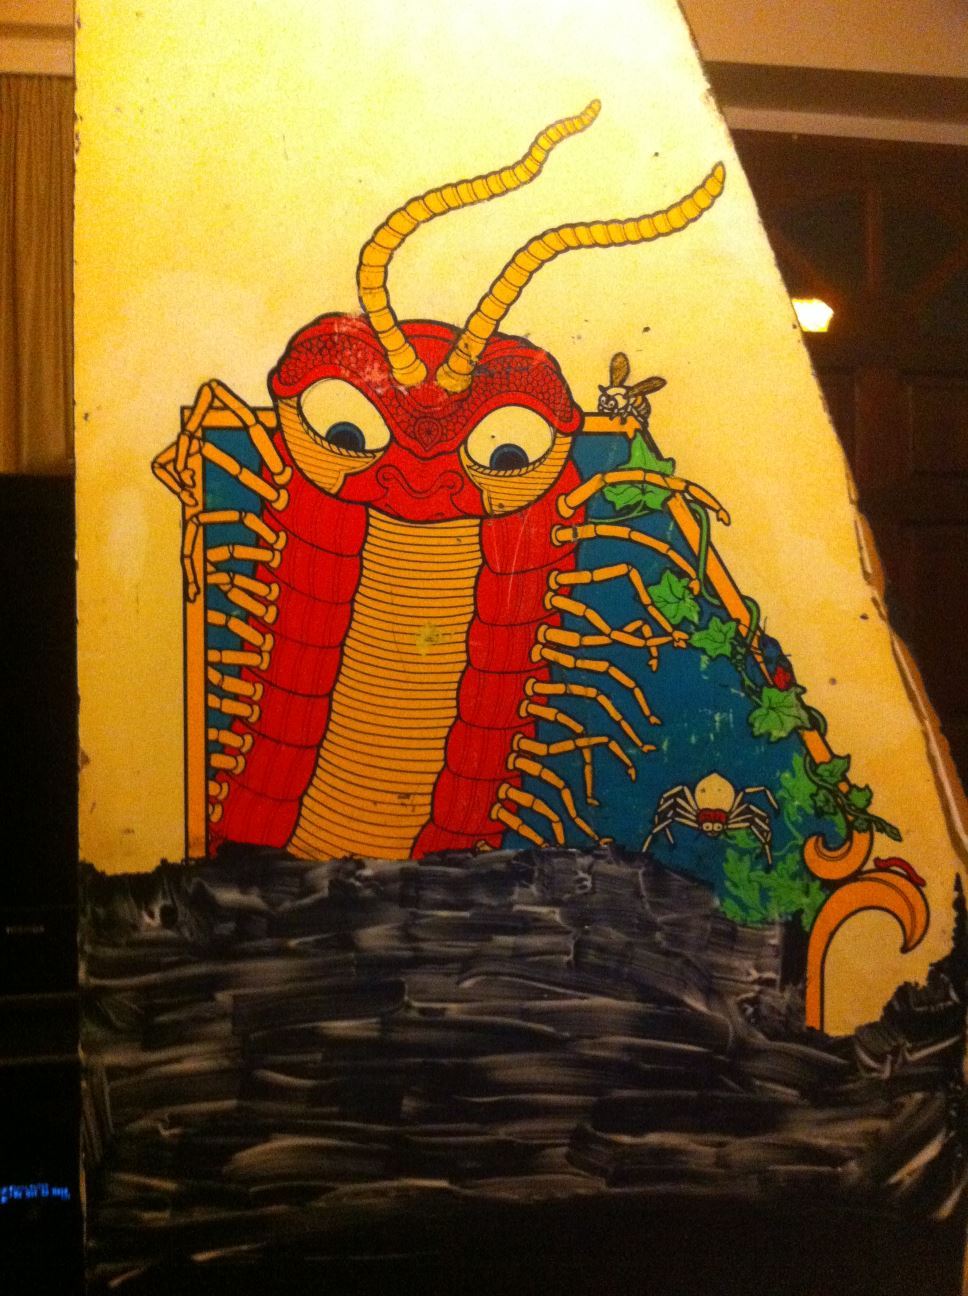
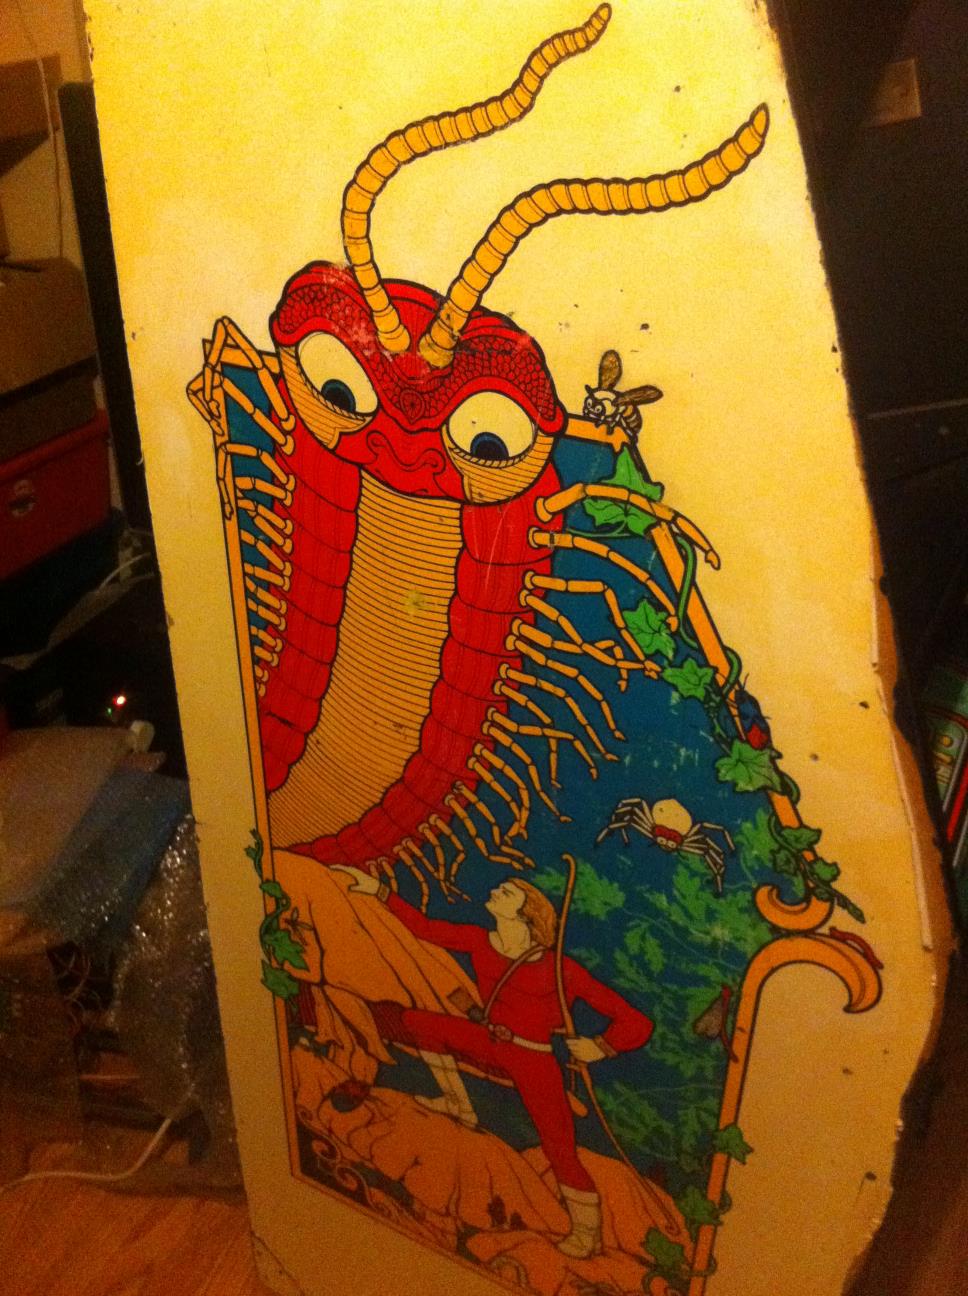
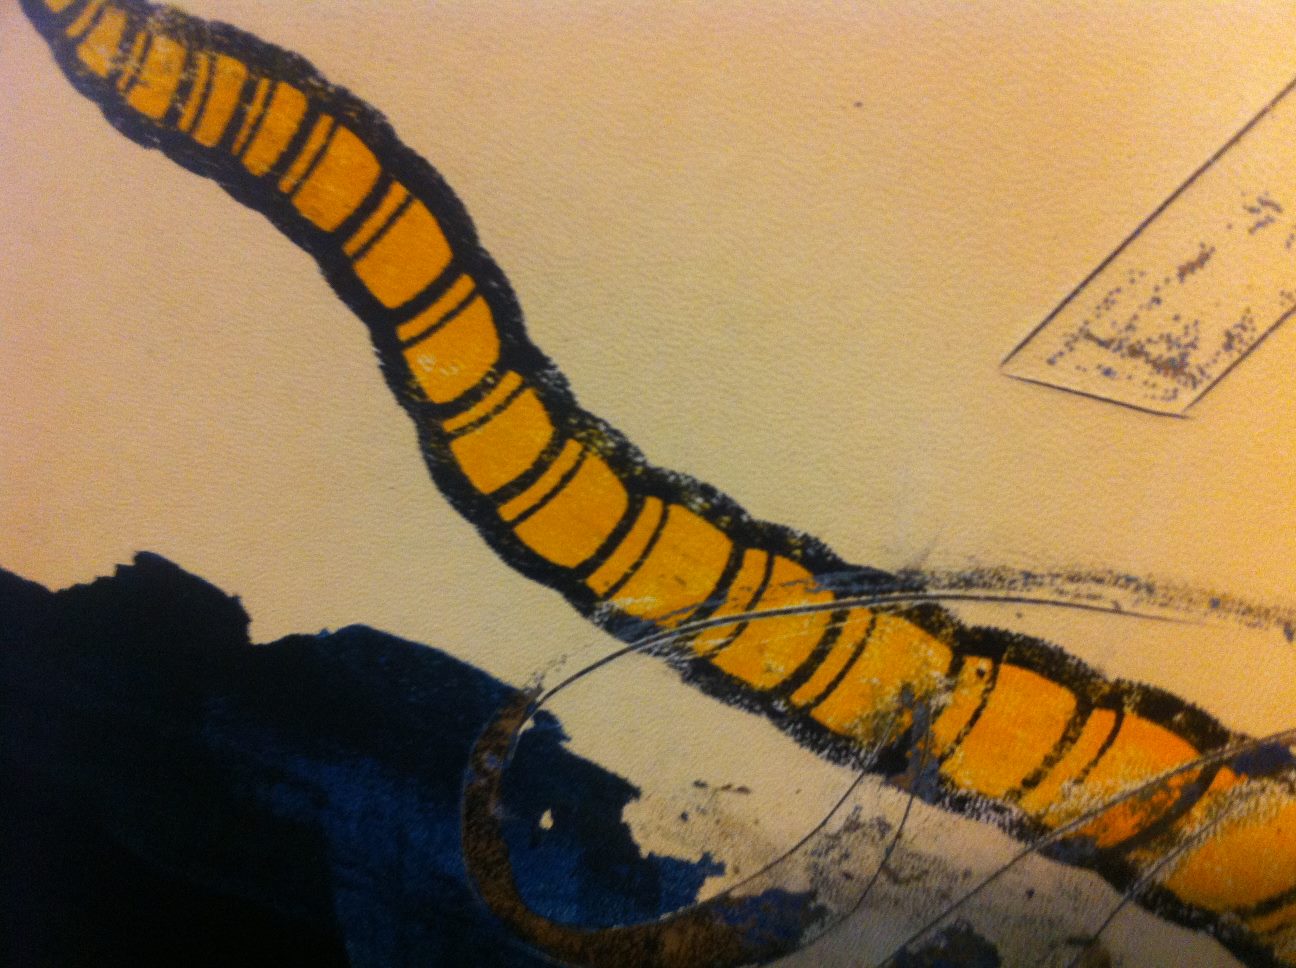
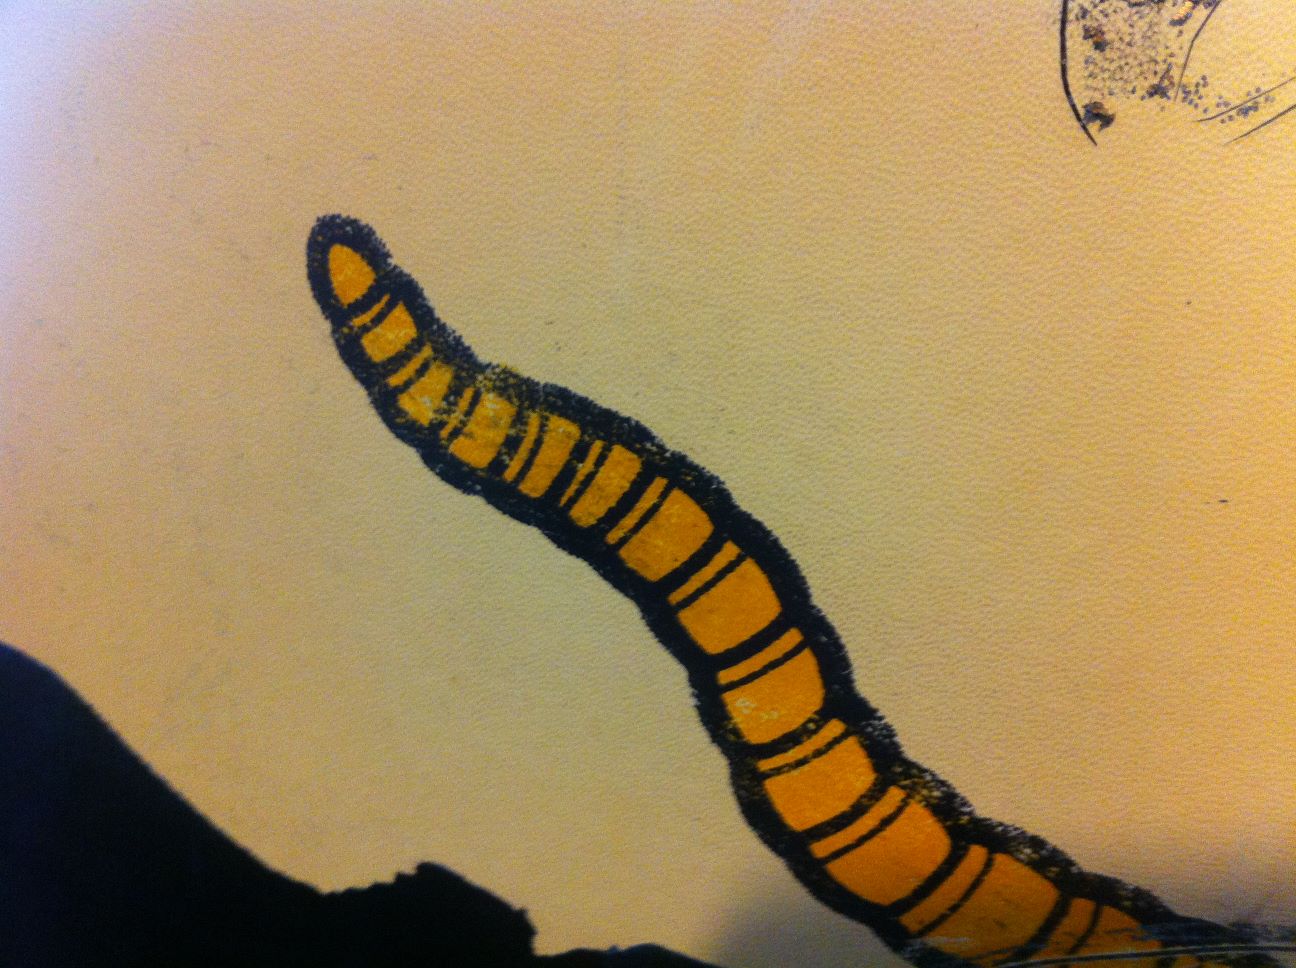
Ooh look a Millipede has been revealed!

milliart10.jpg

milliart13.jpg


There it is, bona fide Euro Millipede artwork!
smiley17.gif


milliart11.jpg

milliart12.jpg


My technique definitely improved as I went on, in the end I went with coating a 2 foot square each time and leaving it for around 30 minutes or so, then scraped it with a credit card, this took most of the paint off, then I used one of those silver dish washing pads (the ones that are supposed to be safe on non-stick material) to rub the excess black off.

Once the worst was gone I used lots of wet magic sponge to lightly go over everything as lots of black streaks and blotches need to be got rid of, I concentrated on the worst staining then gave it a once over, toweled it dry and gave it a final wash down with Mr. Muscle window cleaner (I swear by this stuff, it's like the UK version of "Simple Green").

It's not perfect but I have side-art, so as it is original and hasn't been reproduced yet I will keep it as it is, I'll do more detailing on it where some stains still exist but overall I'm pretty happy with the result. I'm still not decided on what to do about the rest of the cabinet, it's had a fair few repairs in it's time as you can see...

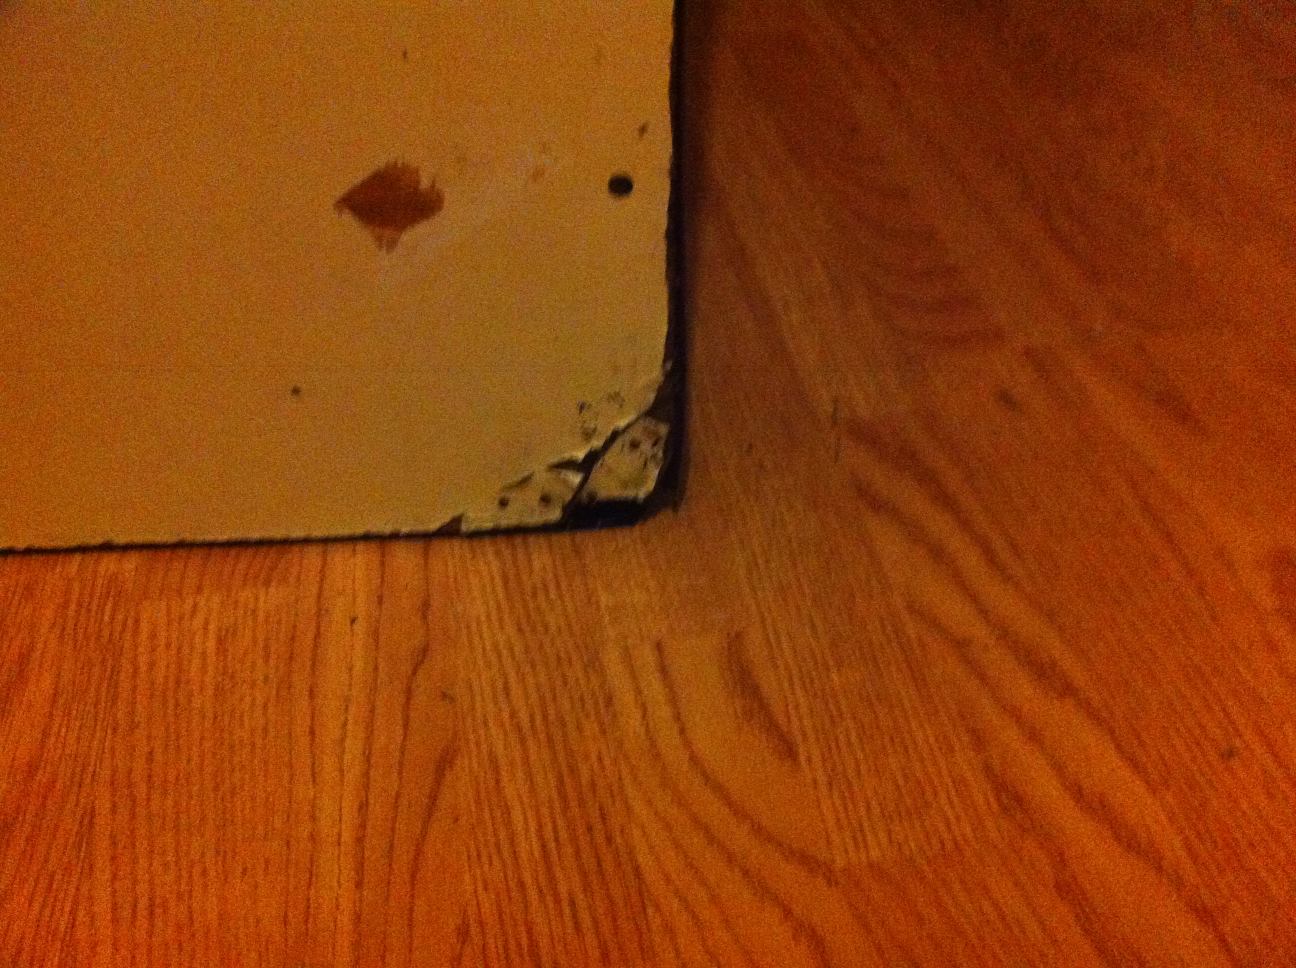
millicorner1.jpg

millicorner2.jpg


If I could mask off the artwork really well it might be worth tidying up the edges, doing the repairs then spraying it an off-white. I don't want there to be a huge contrast between the two but it could make the overall cab much nicer while keeping the original art intact.

I really love this artwork and seeing it revealed makes me very happy even though the condition isn't as good as it could have been, I'm sure if I repeated the process again I'd make a better job of it...
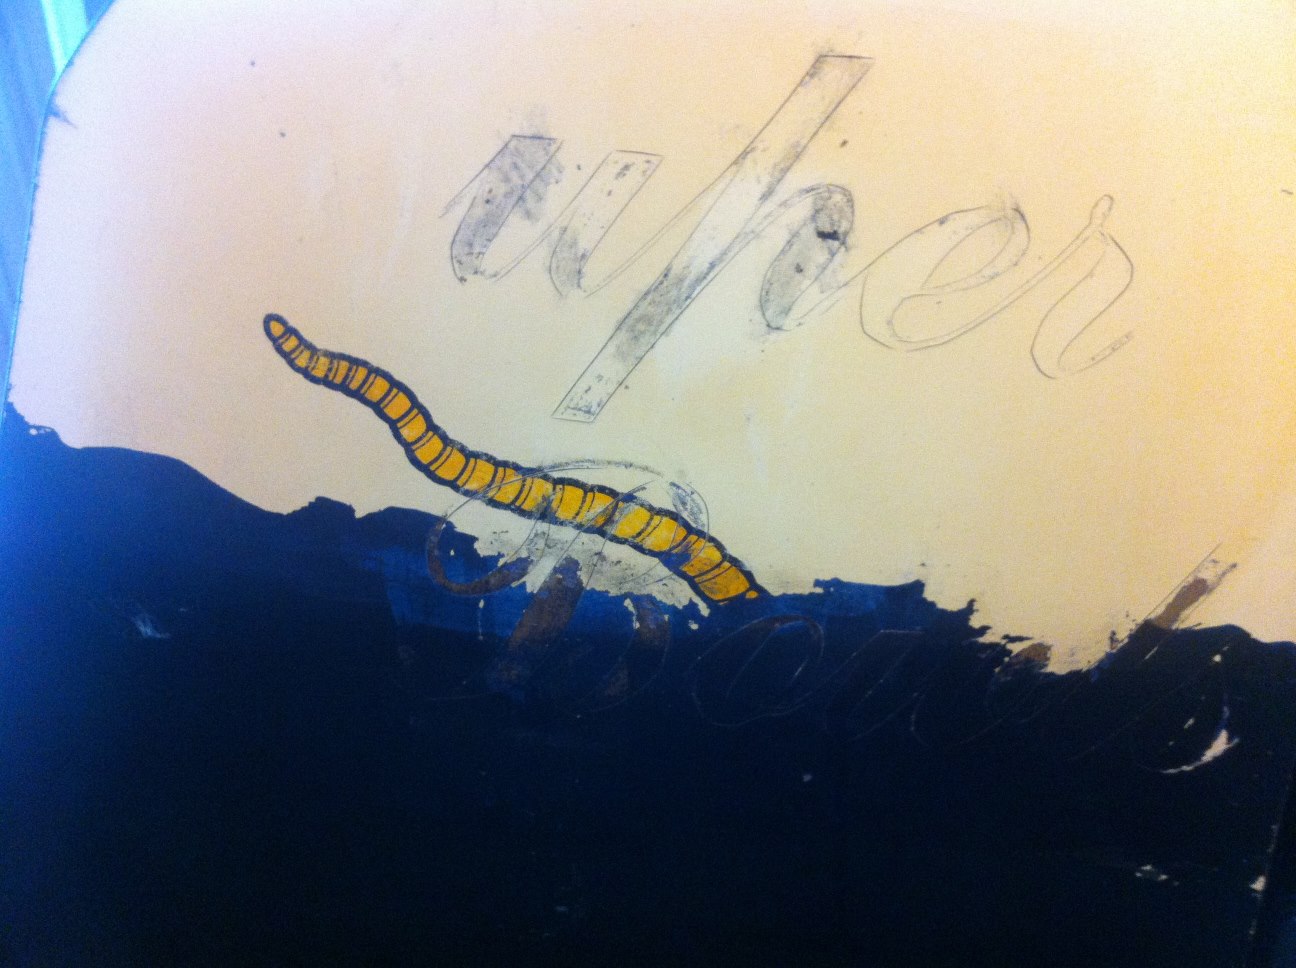
Hang on but I still have the other side to do, the trouble is this side doesn't have super bowls stickers on it, but the lettering has been kind of "carved" into it, so even if I reveal the art okay it will probably still have lettering showing across it.

That's it for now, I'm going to sit and look at the art for a while now just for the sake of it.
You have to admt, even though it's old and battered it's still very cool right?
smiley1.gif


milliart14.jpg
 

LAZORIAN

Active member
vacBacker
Feedback
2 (100%)
Credits
260CR
Nearly all my games have missing levellers, I suppose its inconvenient to lift the cabs up hence why they are often not there. I'm going to put wheels on my ones as its so much easier to move them around if I need to.
 

LAZORIAN

Active member
vacBacker
Feedback
2 (100%)
Credits
260CR
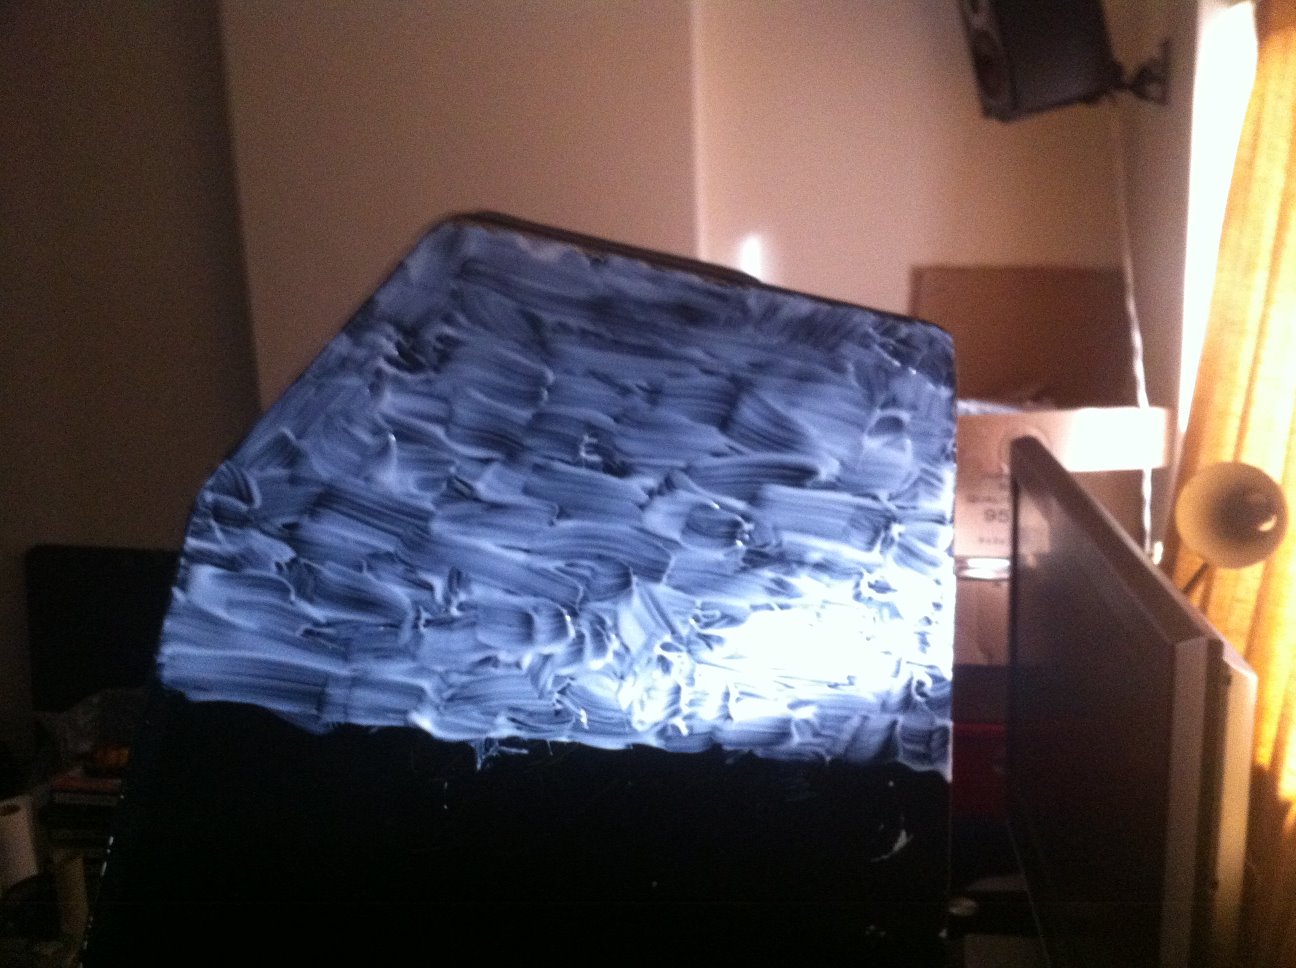
Made a start on the right side today, I'm a bit apprehensive about this one because instead of super bowls stickers for the lettering the side has been scored and filled in with gold paint, so that's 3 layers of paint on this section
smiley6.gif


Stripper on:

milliart15.jpg


Stripper off showing the mess underneath:

milliart16.jpg


This is a particularly hard section to work on because of the scoring, I don't think I can get rid of the marks which also got full of paint.
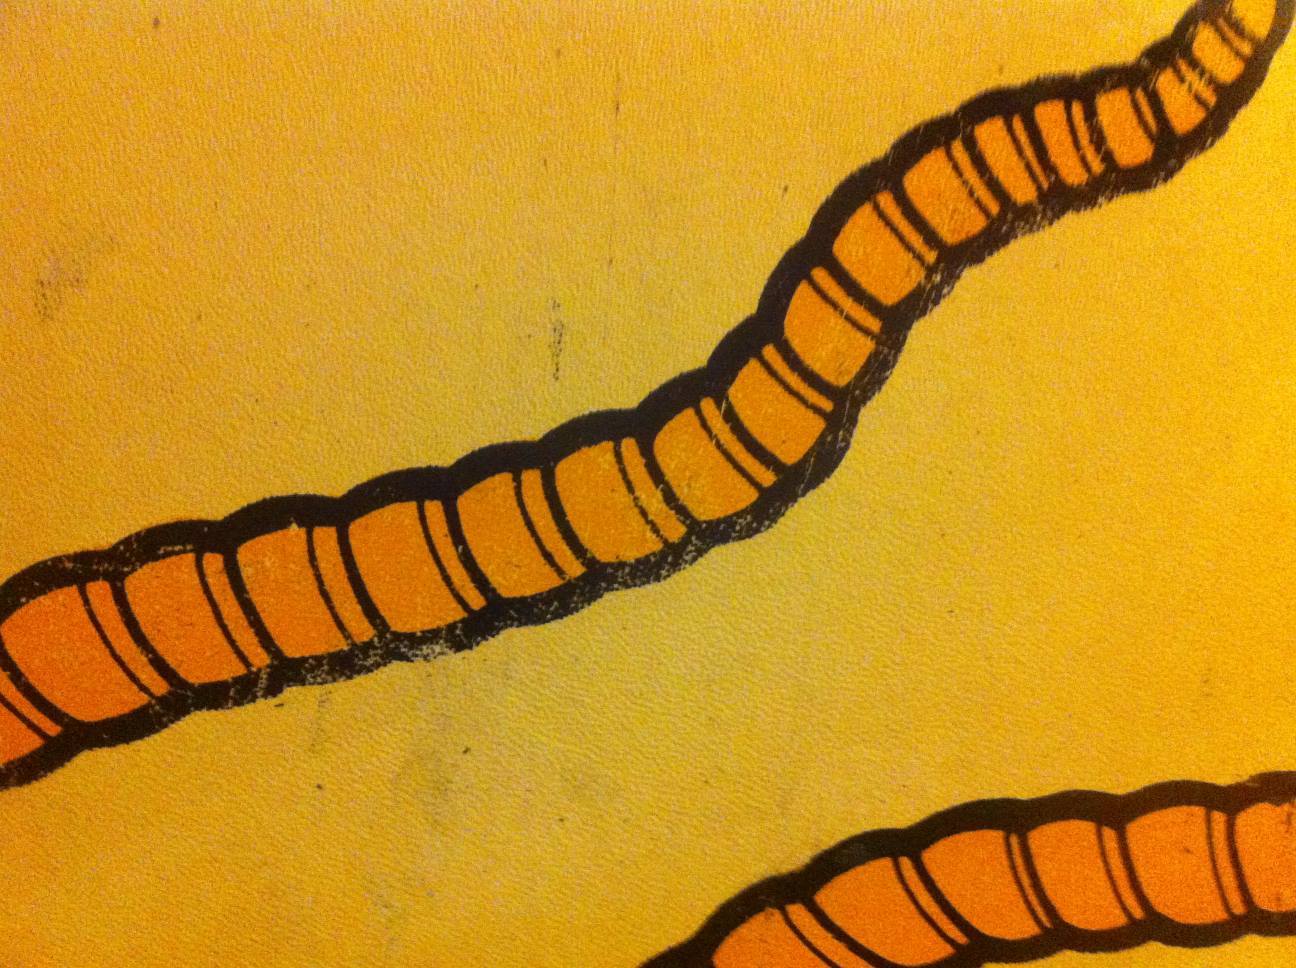
At least the lettering only goes down so far, I hope the Millipede's head has missed this. You can see how worn the artwork is though, poor tentacles are not looking too happy:

milliart17.jpg


milliart18.jpg


milliart19.jpg


Retouching the black shouldn't be a problem but matching the other colours might be tricky. I'll do the best I can with it and see what I can do about the scoring, it might be possible to cover it up a bit but I think I'll have to live with this marking unless the side art is replaced entirely.

I'm still waiting for parts for the power brick but in the meantime I checked out the loom I got with the cab. Actually it's about 1-1/2 looms but typically as this is a Euro cab some of the connectors are different, I haven't quite worked out where all the plugs go yet so I need to study what materials are available and refer to the schematics.

It's not going to be a quick job but it should be possible to work with the loom I have, I have spare harnesses for the control and service panels which have matching connectors at least which will cut down on the amount of rewiring I need to do, but it does mean I'll need to trace all the connectors for these to make sure they go to the right place. The wire colours are of course different between the US and Euro versions and it looks like I have 3 different revision harness parts here
smiley24.gif


I decided to trim off the curling sticker from the edge as I didn't want any more peeling off and I intend to spray around the edge to tidy things up a bit.
I took a couple of shots in daylight which makes for much better photos on this iphone camera and shows how the left side looks now I've done a bit more cleaning up. On the whole it's starting to look decent but still needs loads of work to make it nice:

milliart21.jpg


milliart20.jpg
 

LAZORIAN

Active member
vacBacker
Feedback
2 (100%)
Credits
260CR
Finished stripping the right side, I suppose apart from the lettering it came out pretty similar to the left side, in some places there is a bit more wear but the overall effect is about the same, not perfect (but then again it never was going to be) but infinitely better than the black paint, it's identifiable as a Millipede now.

I'll spend a bit more time going over some of the areas, there are still bits of paint stuck on that didn't come off very well, so a little bit more detailing should make it look a bit nicer.
Again I'm going to touch up some of the black areas where its got streaked. I really don't mind a few battle scars on cabs as it does give it a bit of history and character, and the chance of finding a *really* minty game is slim (unless you are Alpha 1 of course lol).

Here's the pics:

milliart22.jpg


milliart23.jpg


You can see the fair amount of wear to the art, it's a bit of a shame I couldn't remove everything perfectly but considering how it was when I got it I'm still pretty happy with the result.
Even on my most minty cab if you look close up you see loads of marks & scuffs, these things were out on location in sweaty arcades and fairgrounds so it's fair to expect wear and tear.

milliart25.jpg


As suspected the lettering shows up quite a lot, and there are areas I still need to deal with, the gold paint used is a right sod to get off!

milliart24.jpg


Only 1 final section to go!

milliart26.jpg


Aha! Another nice big chunk of filler exposed and a few more scuffs and scrapes appeared.

Well that's all the stripping done, that was hard core, what a horrible nasty filthy messy job that was... never again... unless something like a Popeye turns up of course
smiley1.gif
 

Bensonrad

STILL looking for an Outrun & Paperboy!
vacBacker
Feedback
68 (100%)
Credits
940CR
Just missed out on a Millipede Euro cab in Leicester, would have needed a lot of work to get it back to fully Millipede rather than the jamma it had been converted to. I spent too long looking to see if I could get the missing parts and then lost out. gutted.
 

LAZORIAN

Active member
vacBacker
Feedback
2 (100%)
Credits
260CR
Yeah the corners aren't too clever, but to be honest in the flesh it really isn't that bad.
One day I might get round to working on the side art reproduction, I'm planning on having a go at the marquee & cp anyway but I'll use the temporary marquee I have for now and concentrate on getting the wiring sorted out, monitor fitted etc. so the game is at least playable.
 

strykr

Active member
vacBacker
Feedback
11 (100%)
Credits
1,347CR
Bensonrad said:
Just missed out on a Millipede Euro cab in Leicester, would have needed a lot of work to get it back to fully Millipede rather than the jamma it had been converted to. I spent too long looking to see if I could get the missing parts and then lost out. gutted.

You've got enough projects on Ben, buy a worker
smiley1.gif
 

aeroflott

A different league
Feedback
16 (100%)
Credits
1,052CR
Given the sh1tty job they made of slapping the black and blue paint on, surely it would have been easier to leave the original artwork alone when converting it to Super Bowling?

That said, if ever there was a case of leaving he original art as is, this is it. I think it looks really cool aged and weathered like that.

Quite a task taking this project on - hats off to you sir.
 
Top