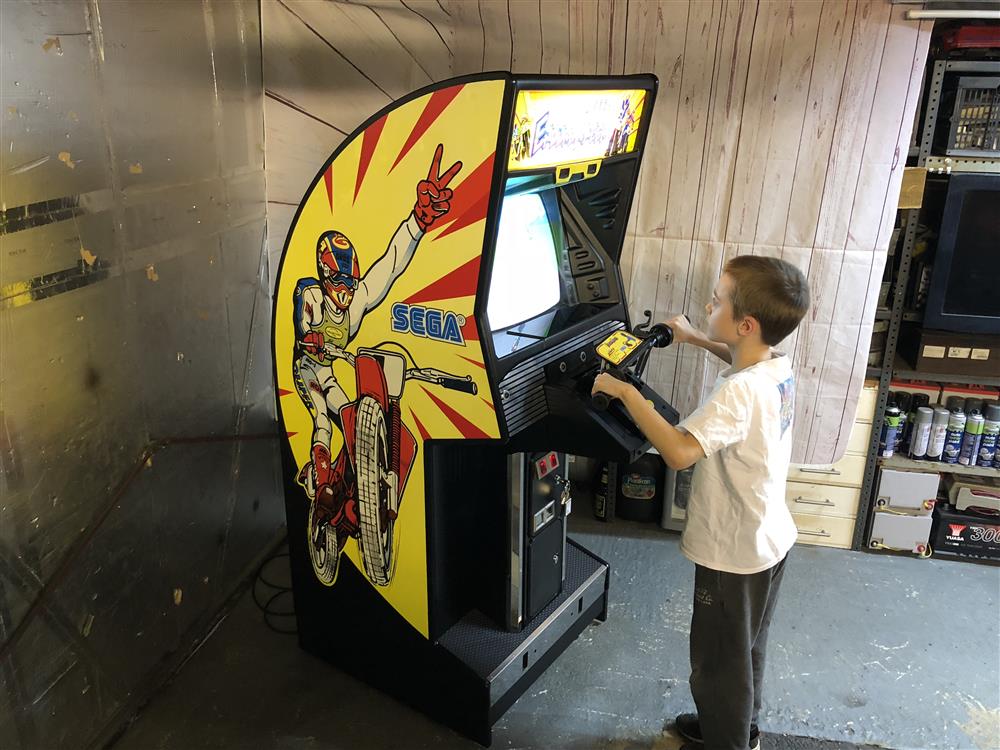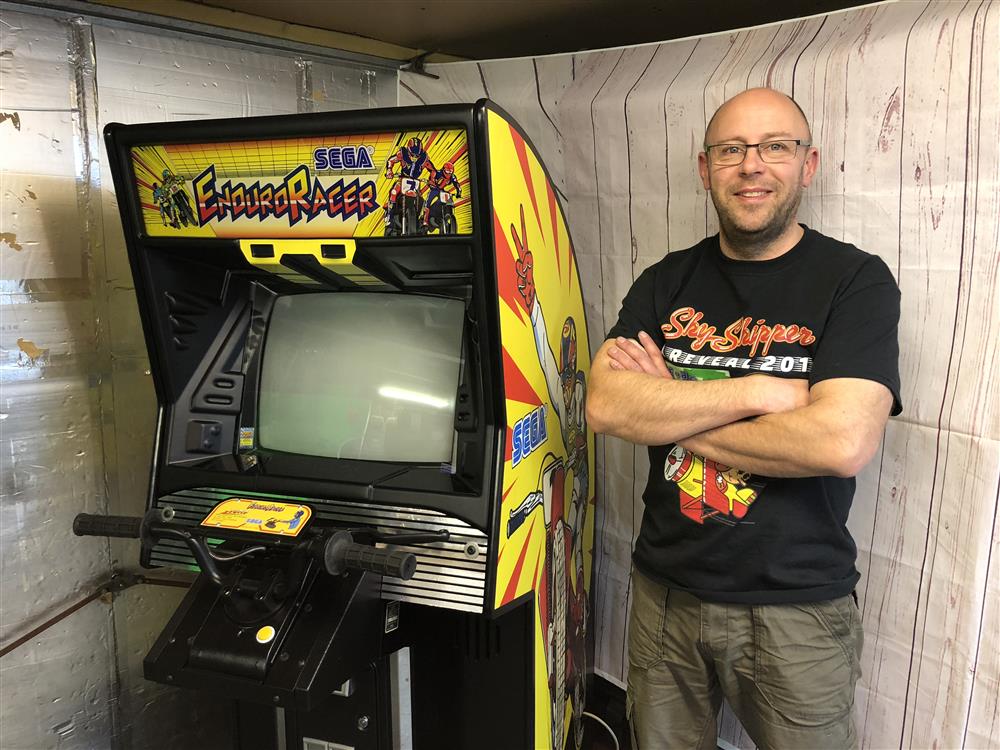
Enduro Racer Project - Dorset

Feedback
1 (100%)
Credits
46CR
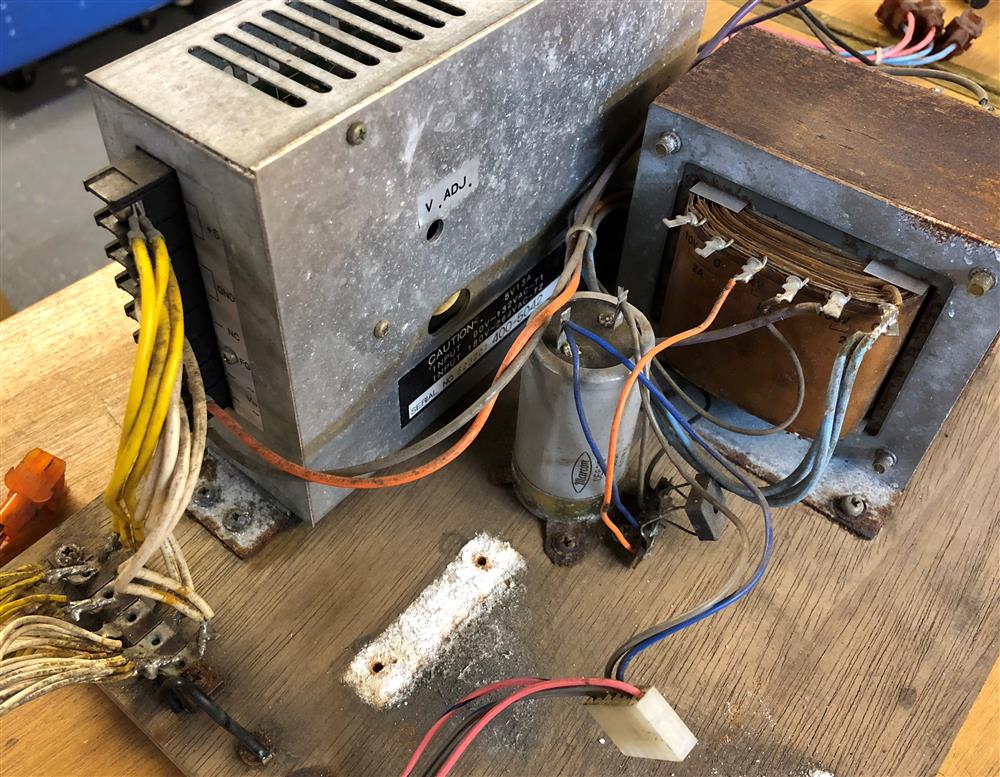
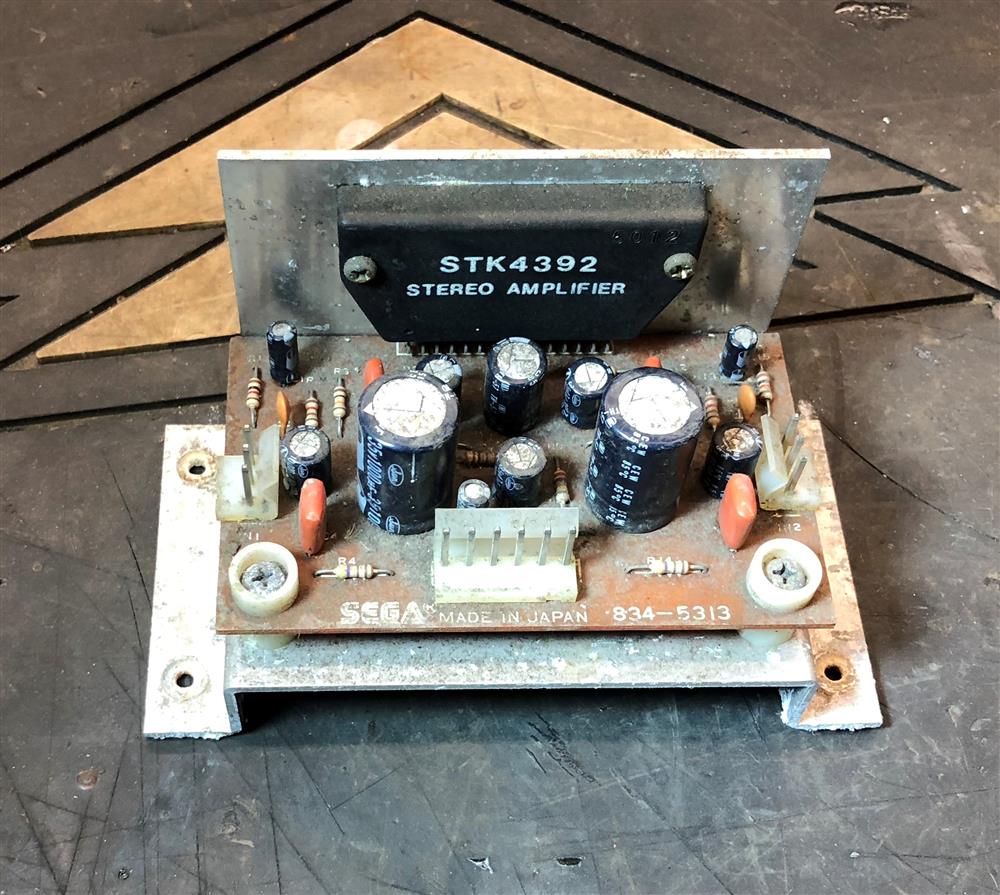
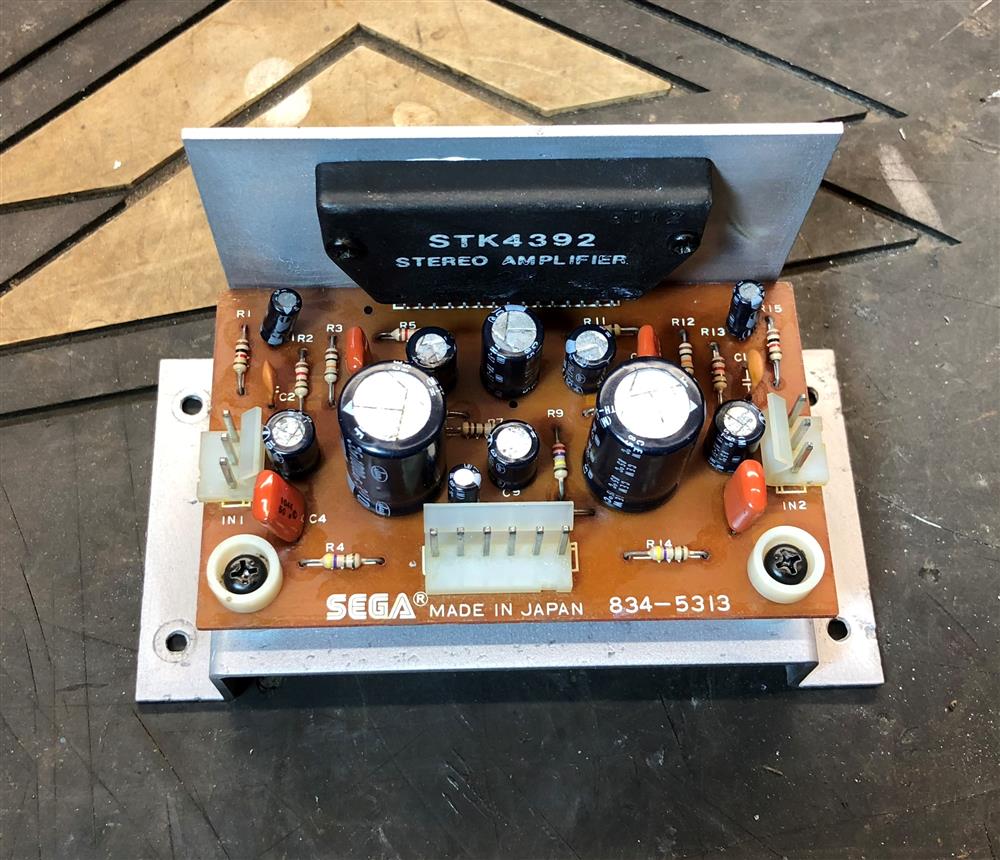
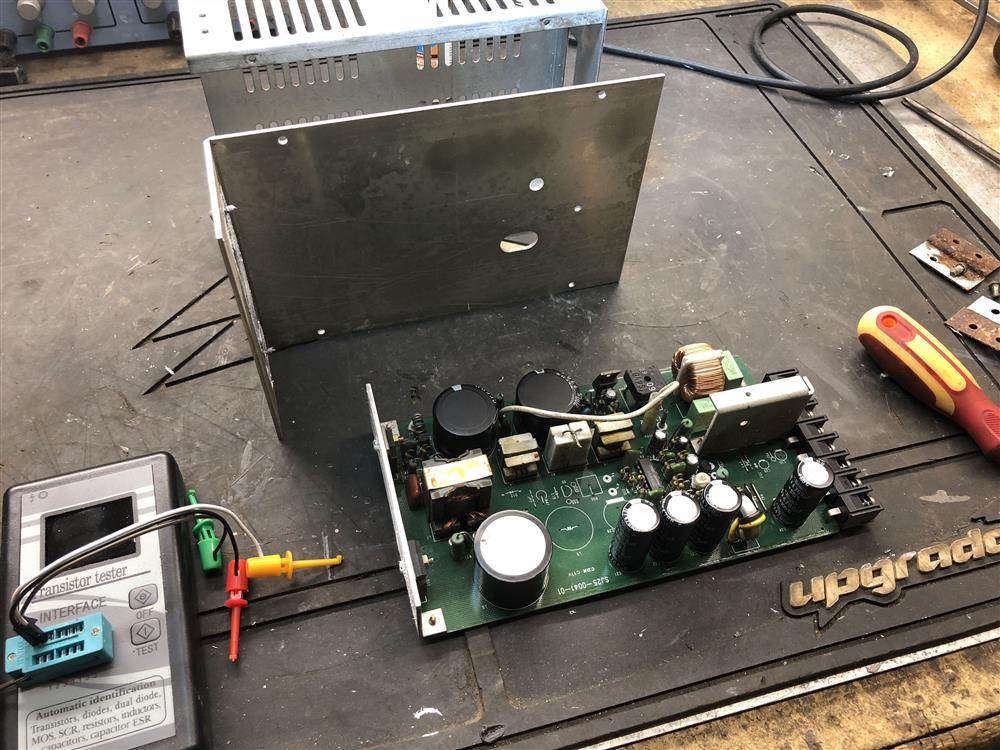
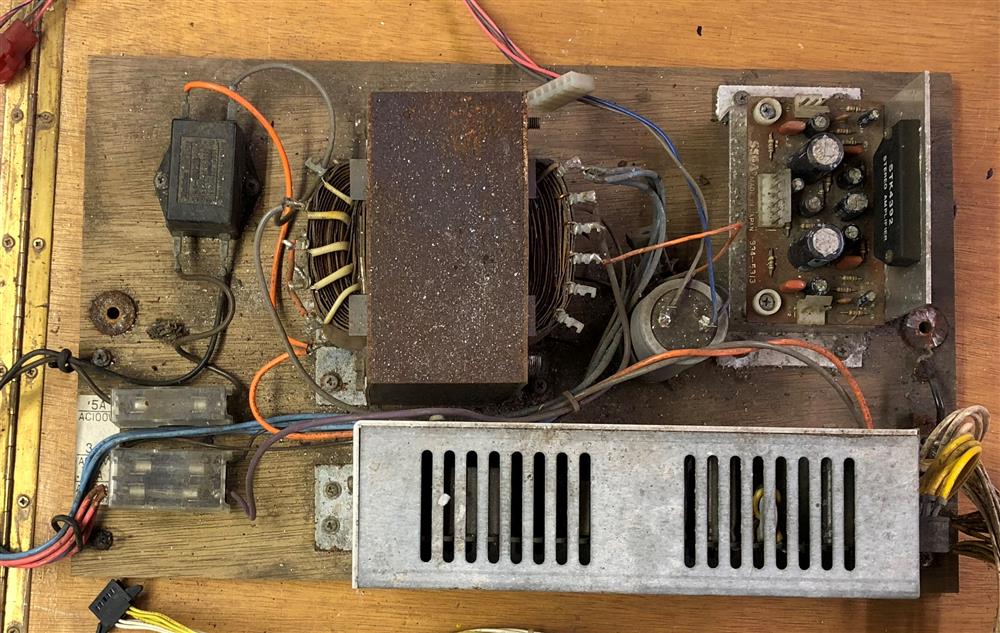
Lots of stuff done over the last few weeks, 3 areas in progress but i like to post when something is ready.
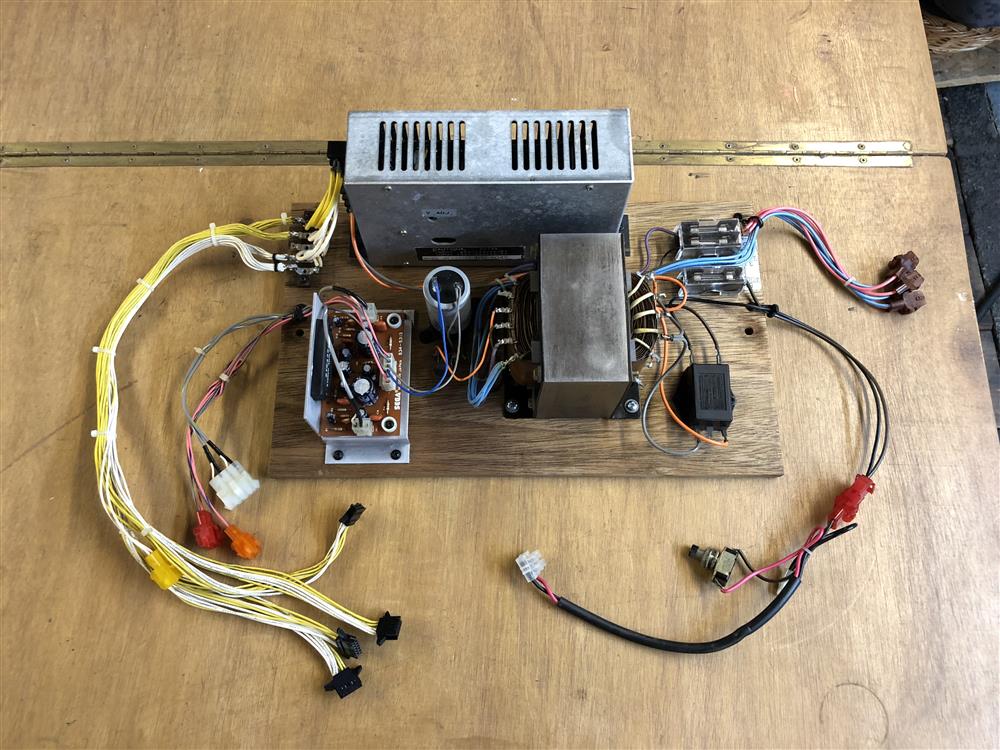
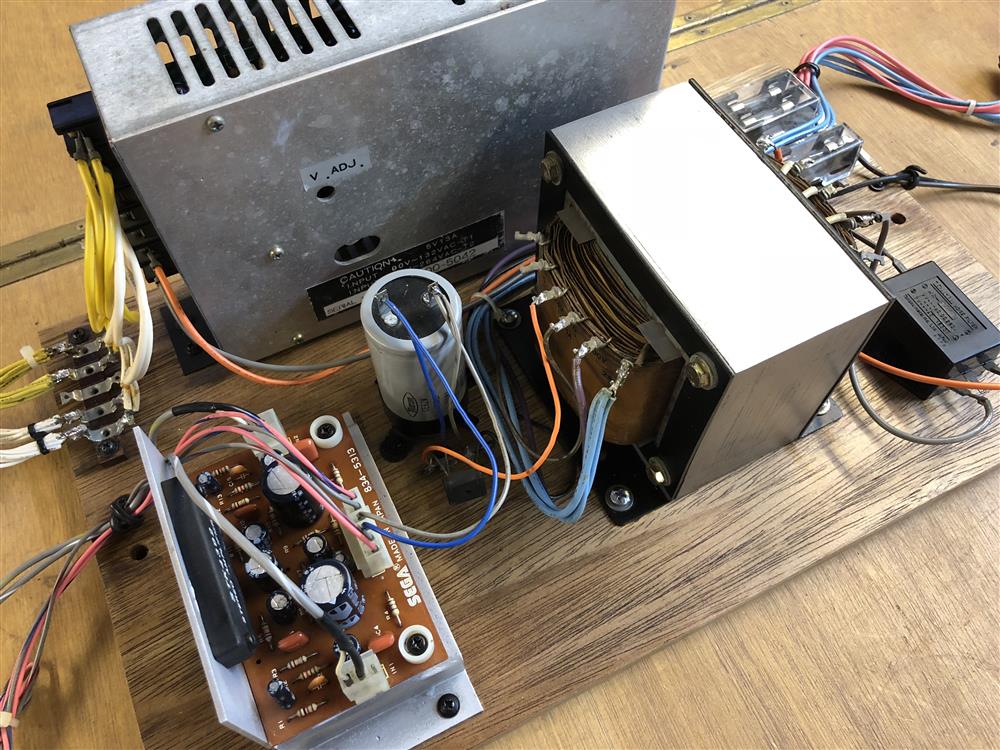
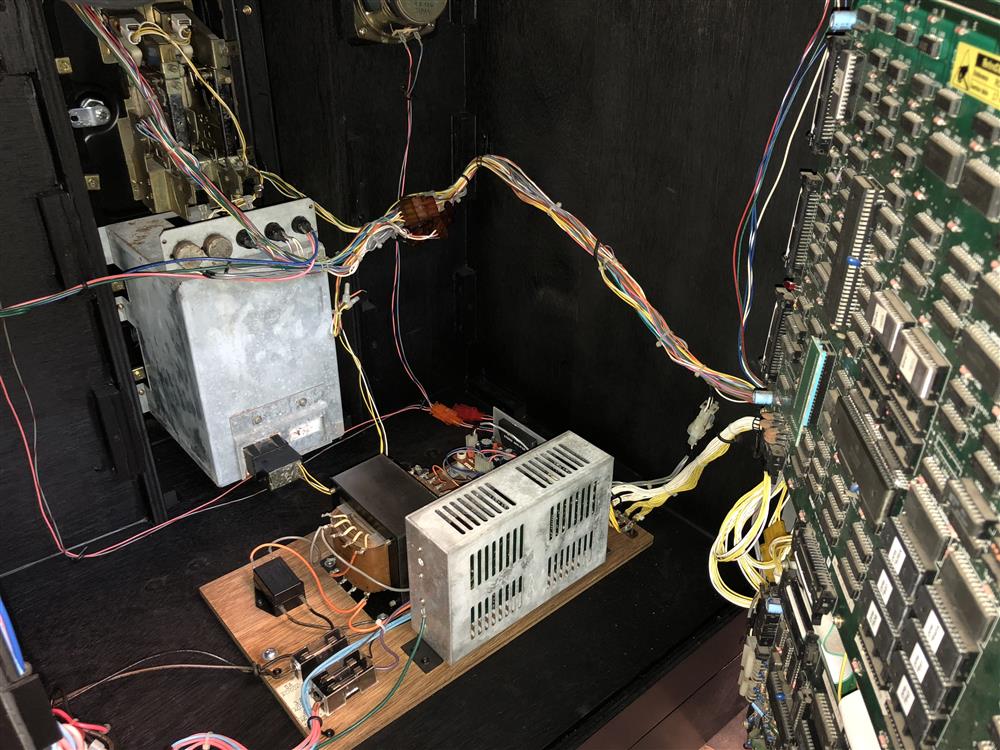
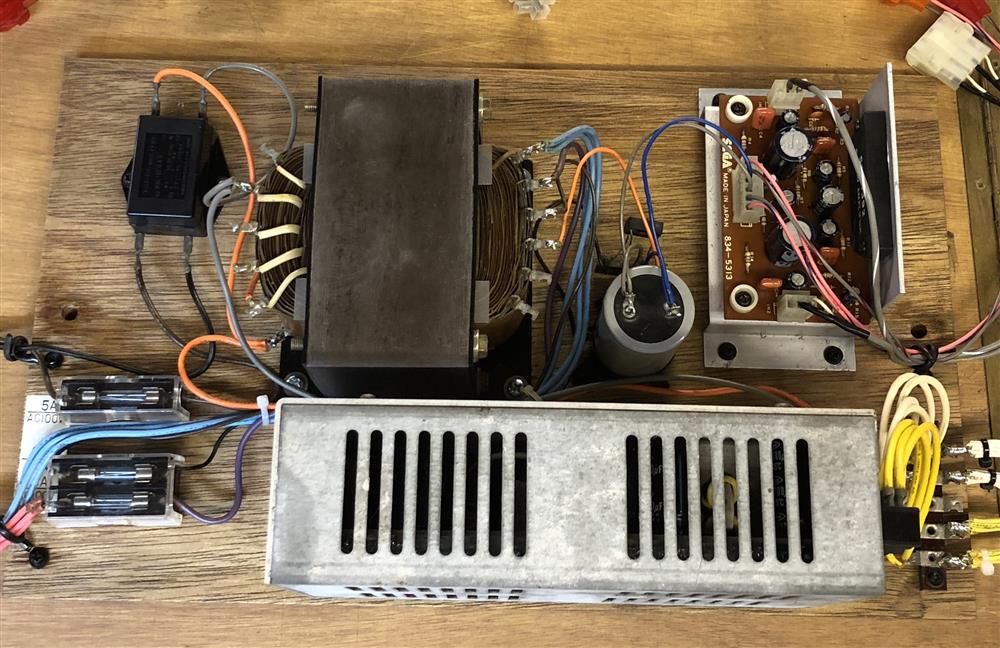
That something is the PSU and AMP all stripped, caps checked and replaced where necessary.
IMG_01062_Custom.jpg


IMG_9785_2_Custom.JPG


IMG_9992_2_Custom.JPG


IMG_0101_Custom.JPG


IMG_9987_2_Custom.JPG


IMG_9988_Custom2l_-_Copy.JPG


IMG_0012_2_Custom.JPG


IMG_0022_Custom.JPG


IMG_0109_Custom.JPG


IMG_0110_Custom.JPG


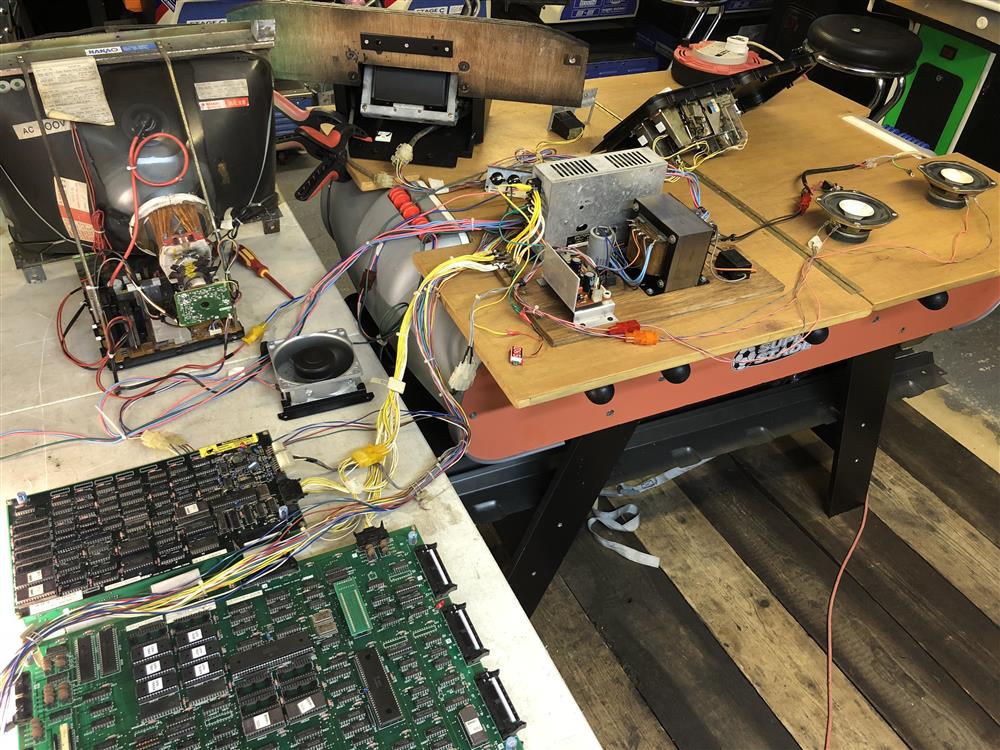
As usual i went over the top by using laquer on the transformer body so it wont rust again for a while, grit blasting all the original screws and painting them. Varnishing the wood and so on, washing all the wires and spraying all the ends with contact cleaner. Lots more going on here, waiting on a slot cutter for the T moulding, Thursday will be a bench set up and its first switch on since i have owned it. Mark at Retro Clinic has run the boards but i've not even opened the box he sent me yet!

blazerfrazer2018-02-20 22:08:03
 
Feedback
1 (100%)
Credits
46CR
Since purchase and speaking to people i have learnt that there were 3 types of cabs, 2huwman pointed out that mine is an in between size with a removable seat. The large stand up version and the full DLX.
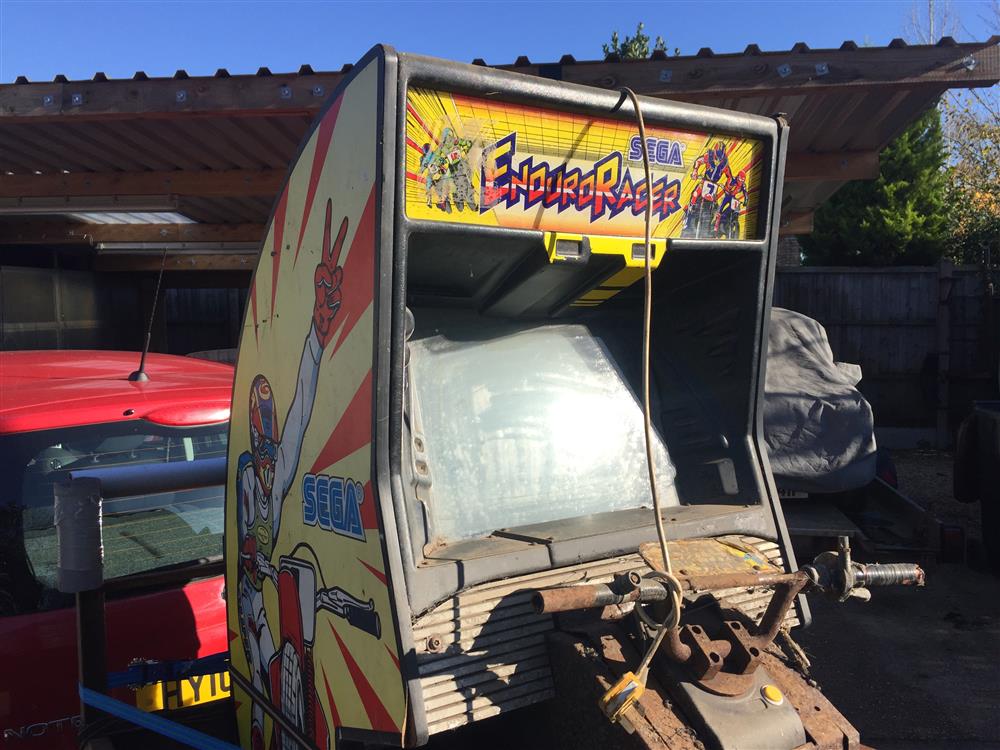
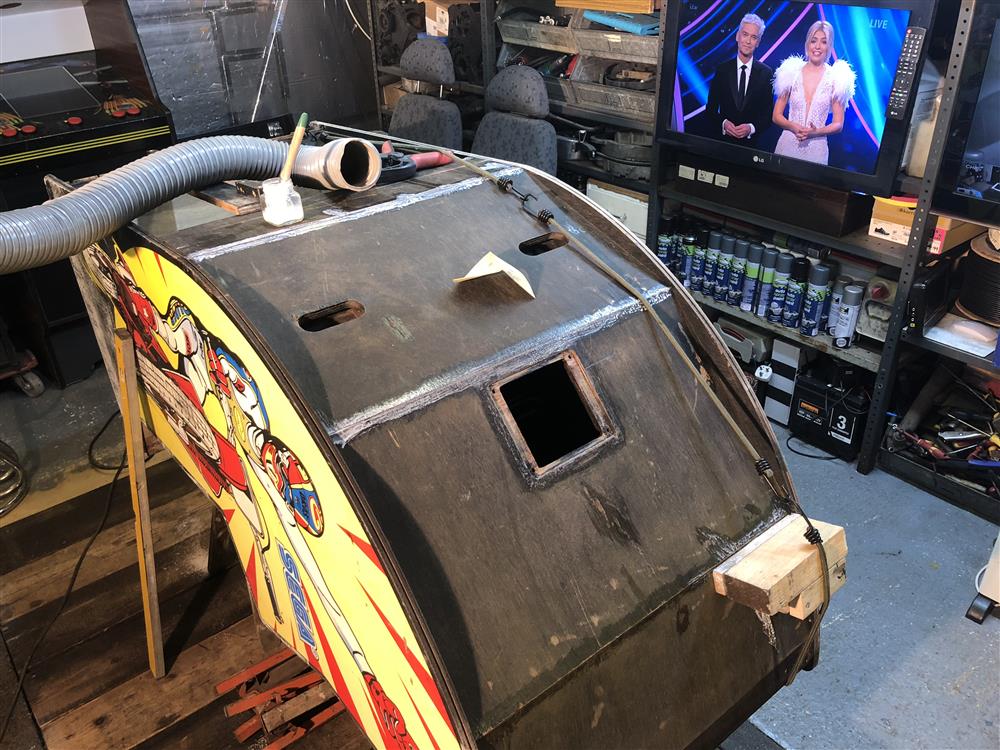
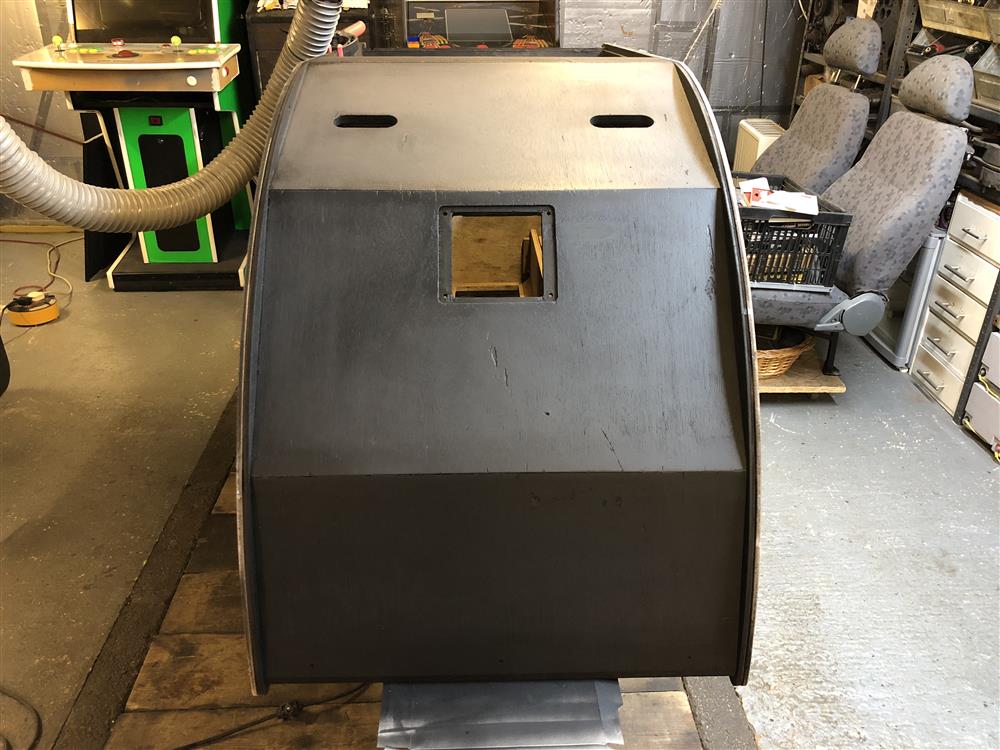
This explains why mine seems a bit low when stood in front of it unlike the stand up. I killed to birds with one stone by making a heavy duty trolley which allows me to move the cab around as its sat in front of the garage door and it also brings the height up to the height of a full stand up version! I am still going to restore the seat for when i take it to shows etc but its just not practical having the seat sticking out in my garage all the time.

IMG_9813_2_Small.JPG


IMG_9821_Custom.JPG


IMG_9822_Custom.JPG


All joints are glued and screwed.

IMG_9830_Custom.JPG


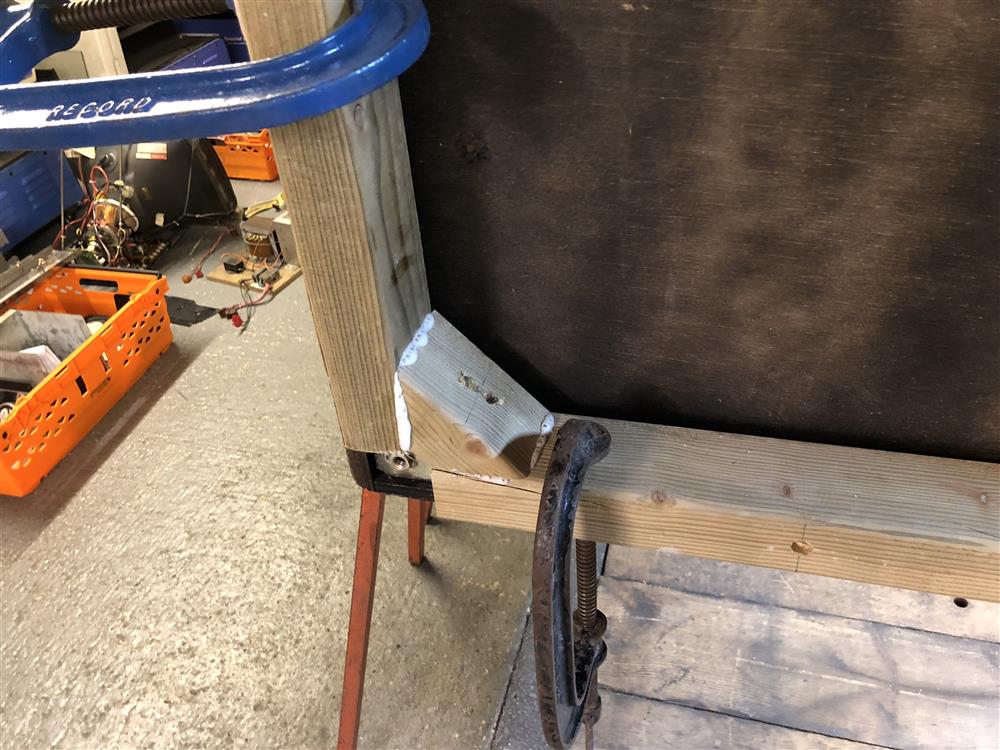
The front got a bit complicated as i had to design it around the existing 4 legs and the metal channel that locates the slide in seat. Its designed to be snug but easily removable to allow the use of the seat later on.

IMG_9831_Custom.JPG


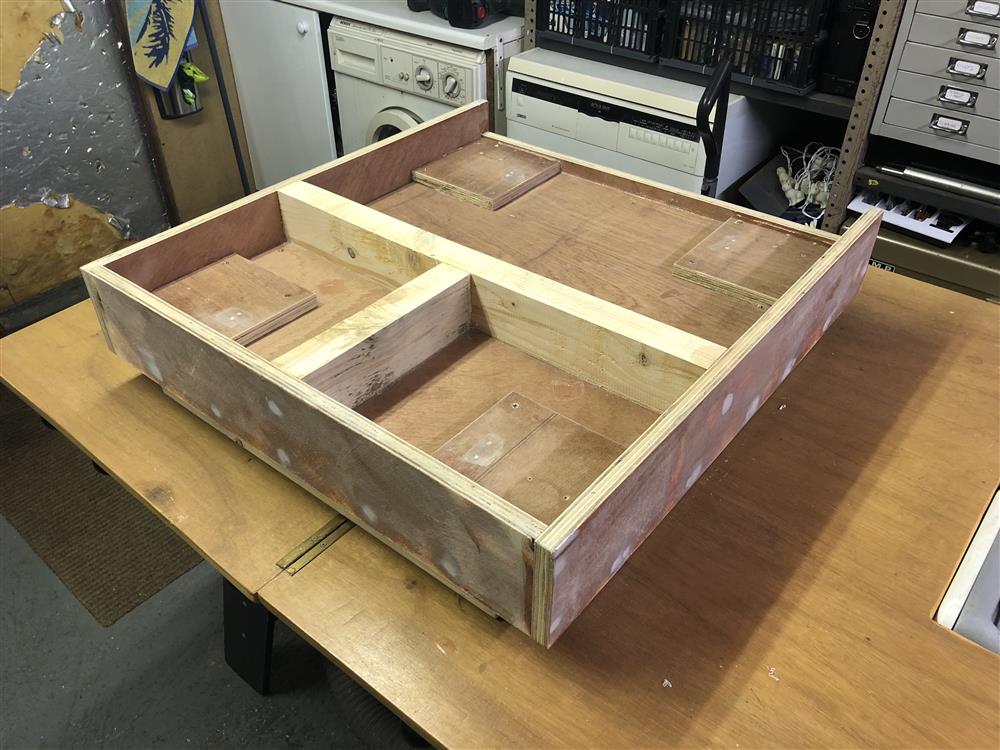
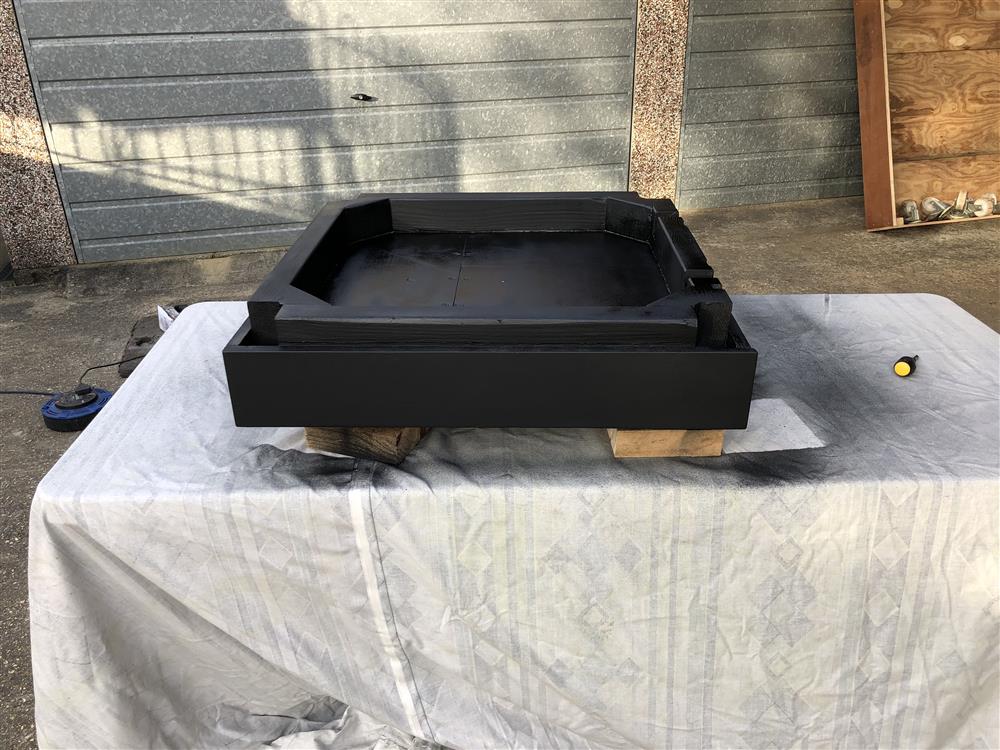
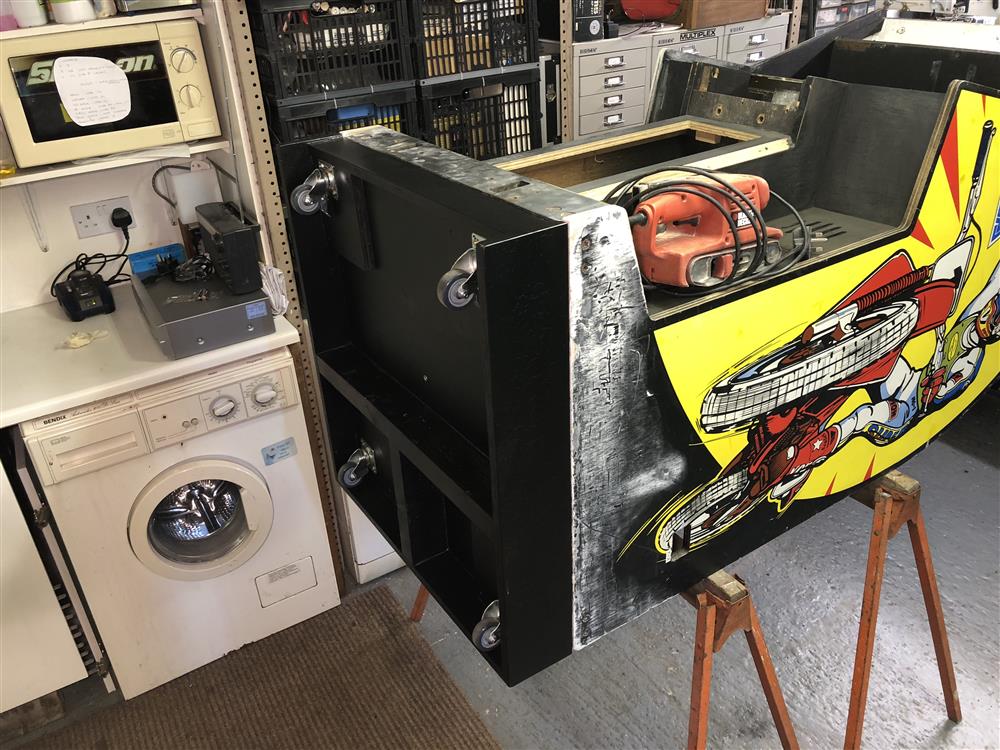
The underside is reinforced for the wheels and the 4x2 allows sack trucks to go under at the back and find a solid hold for transport.

IMG_0005_Custom.JPG


This picture makes it clear how it goes under the machine and only leaving the sides visible. It also shows the additional height gained. The wheels will be hidden as the sides are only 20mm from the floor. Basically it moves around like a Dalek! The front wheels lock and there is just enough room to get your foot in to do so.

IMG_0119_Custom.JPG


I was very careful to make sure the trolley delivered the load directly into the sides of the cab and nothing into the floor. The floor locates it but the sides do all the work.

blazerfrazer2018-02-20 21:59:35
 
Feedback
1 (100%)
Credits
46CR
OK so i checked the
power and had a healthy 5.2v at the PSU but i then realised i should have
been measuring it at the PCB, i did this and found only 4.3v! so thanks
2huwman for the nudge, I’m not thinking straight, its 1.50 am as i type this.
I cranked this old PSU up to max and can only manage 4.7 at the board. As a
result it only fails one in 5 so it looks like i need to sort this PSU. Couple
of odd things i notice, one is the start button, it’s always on?!? I
thought it was supposed to flash only when a credit is in and also when i am
in the test menu the start button won’t make any changes when pressed. I
thought perhaps the button had gone wrong but it works to start the game after
a credit is in.

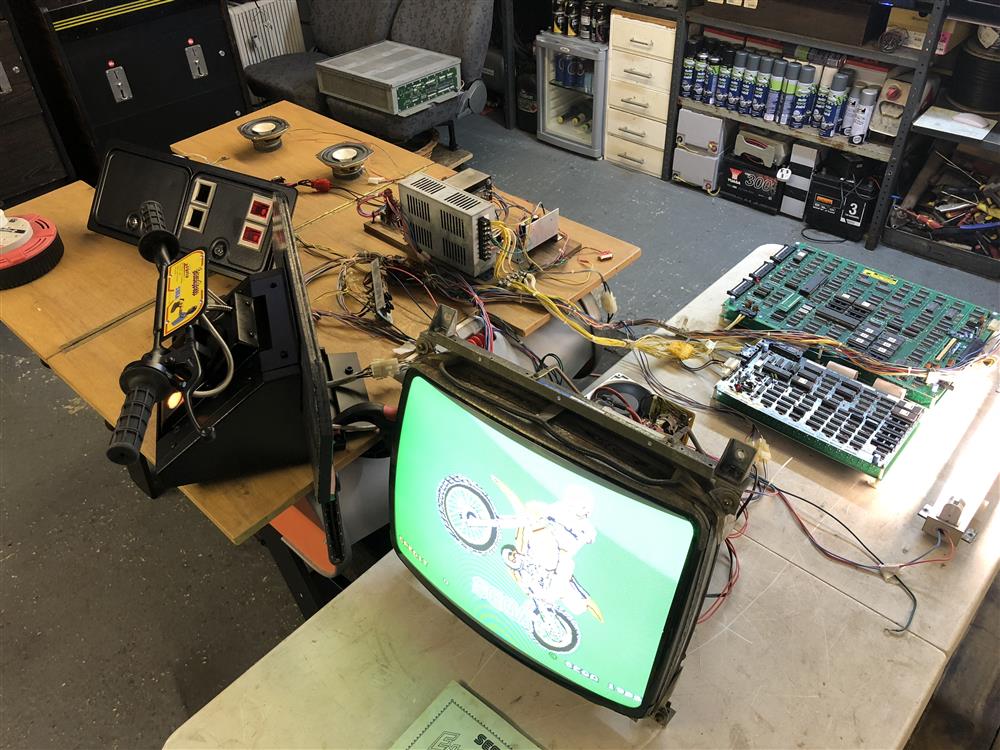
here is it running.
https://www.youtube.com/watch?v=VgvZI4DhO24

I'm really happy!

Frazer

blazerfrazer2018-03-27 10:33:31
 

paulcan69

Can reburn OTP EPROMs! Fear my power!
Feedback
11 (100%)
Credits
903CR
Good stuff
Like you say fix/replace psu and you shouldn't have to crank it full to achieve 5v
Something could be causing that
First try psu
Loom could also be corroded/resistive
2 wires the same length and thickness should have the same resistance
Too much resistance on a power wire may cause this?
Given how corroded that cab originally was its possible some of the wires have taken on moisture
We get it all the time with cars we fix at work due to cars are always outside
 

paulcan69

Can reburn OTP EPROMs! Fear my power!
Feedback
11 (100%)
Credits
903CR
And your right
It should only flash when credit is inserted
Turn the psu down
Then remove bulb and retest
Just to see if anything changes at that point
Again bravo for all this work
Nice to see one saved and so nicely done
I bet loads of them got chucked away
And harvested to make space harrier pcbs run again
Lovely work on the resto so lovingly done!!
paulcan692018-02-23 07:53:56
 
Feedback
1 (100%)
Credits
46CR
Been a few weeks and lots happened since. The
voltage issue turned out to be a faulty vault meter! and the start button issue
turned out to be poor and carless assembly! with all that done i moved on to
finishing the cab.

IMG_0538_Custom.JPG


Some of the wood has started to delaminate on the edges, i used watered down PVA glue to soak into the wood and keep it pressed flat over night to dry, this worked really well.

IMG_0558_Custom.JPG


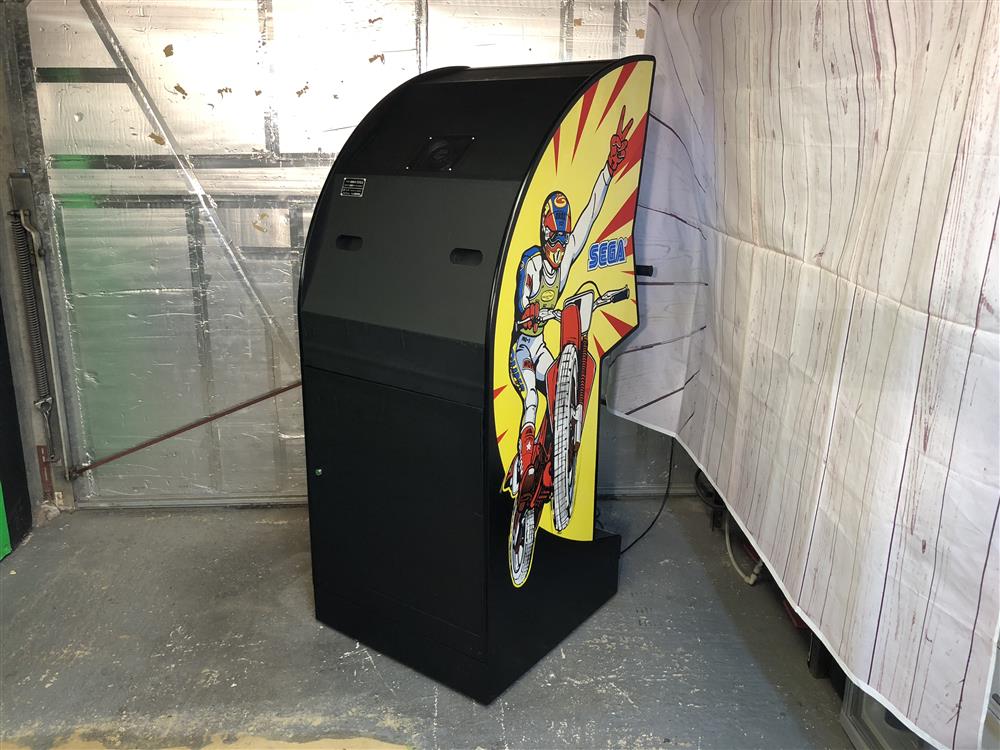
I didn't bother to fill and repair any of the damage on the back because there was so much of it and i wanted it to keep it as it was and not turn into a 100% restoration where i felt i couldn't use it or take it any where. Even the sides i have planned only to touch up the paint and not fill the holes.

IMG_0559_Custom.JPG


IMG_0588_Custom.JPG


IMG_0590_Custom.JPG


IMG_0681_Custom.JPG


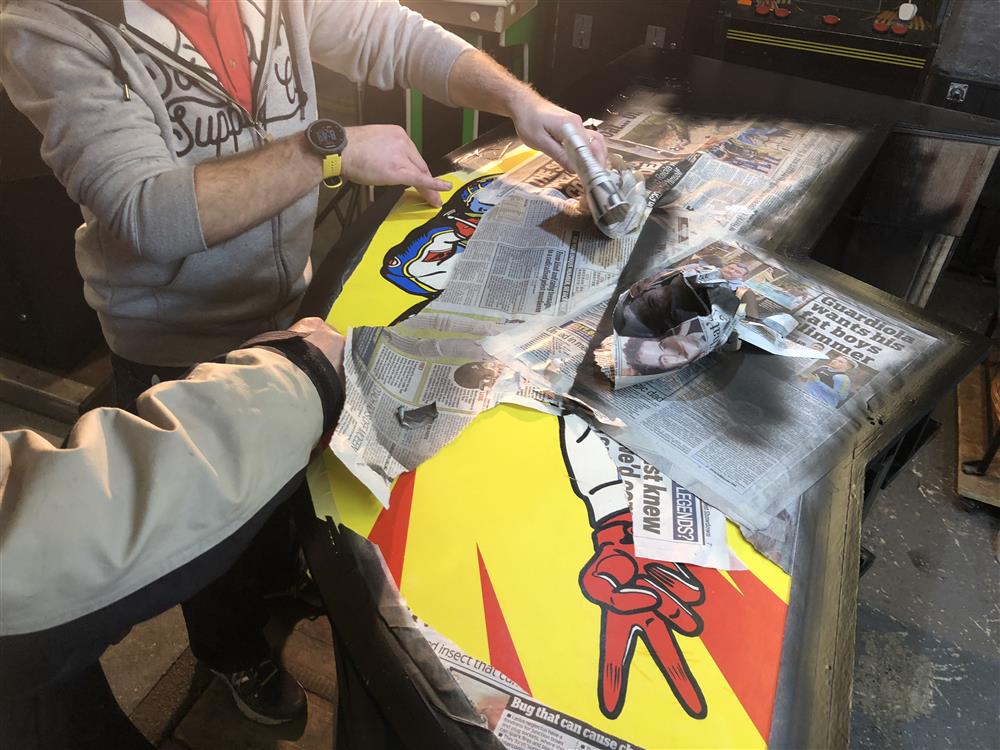
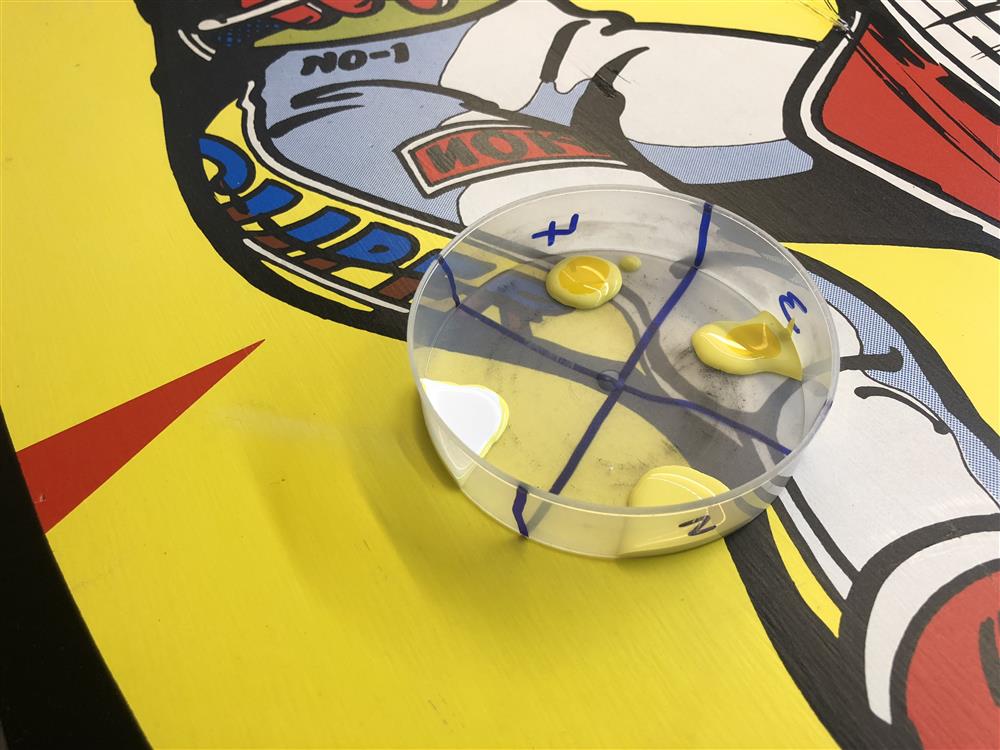
Because the cab was badly faded, i had to mix different shades of yellow when touching up.

IMG_0684_Custom.JPG


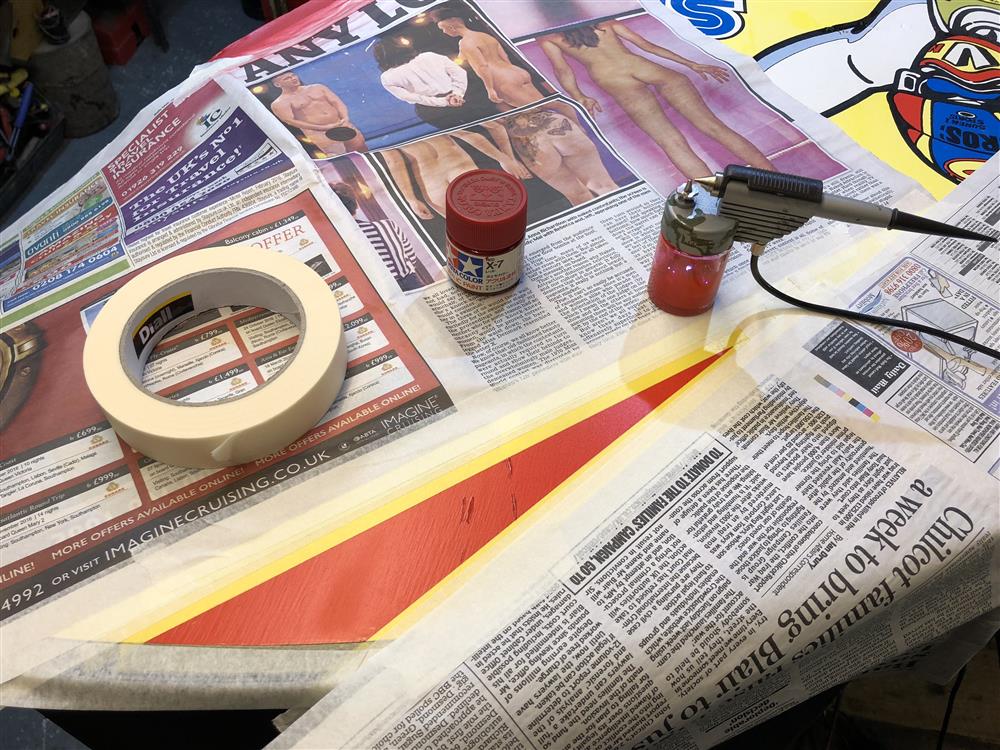
The red was nearly impossible to match... I gave up and used Tamiya paint in my air brush to repaint the outer spikes.

IMG_0649b_Custom.jpg


IMG_0409_Custom.JPG


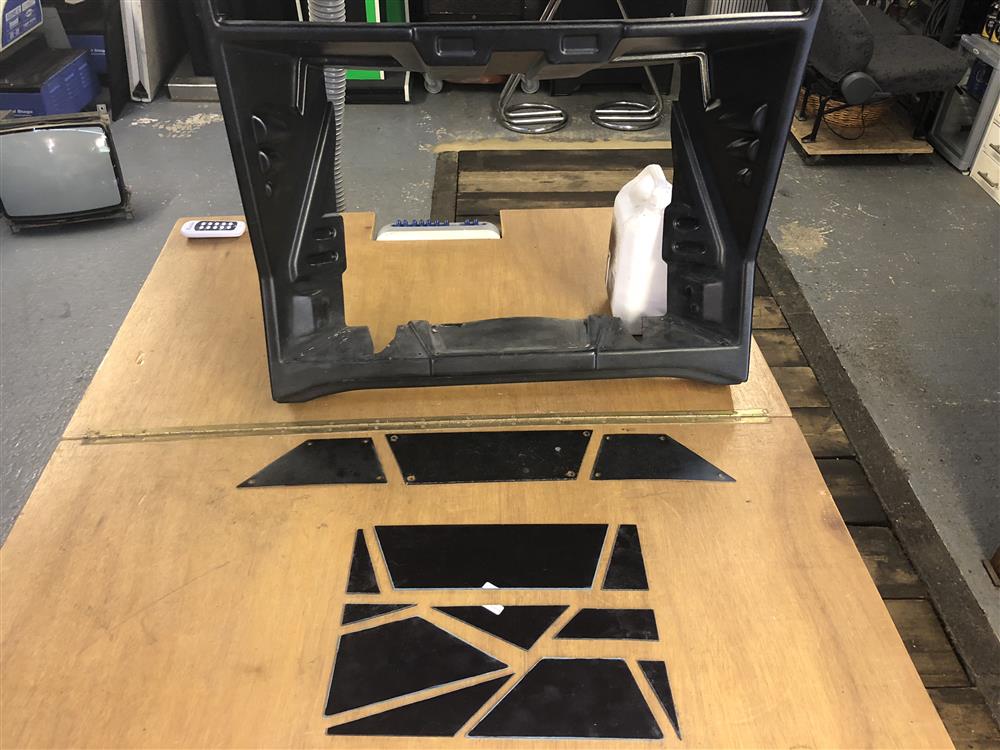
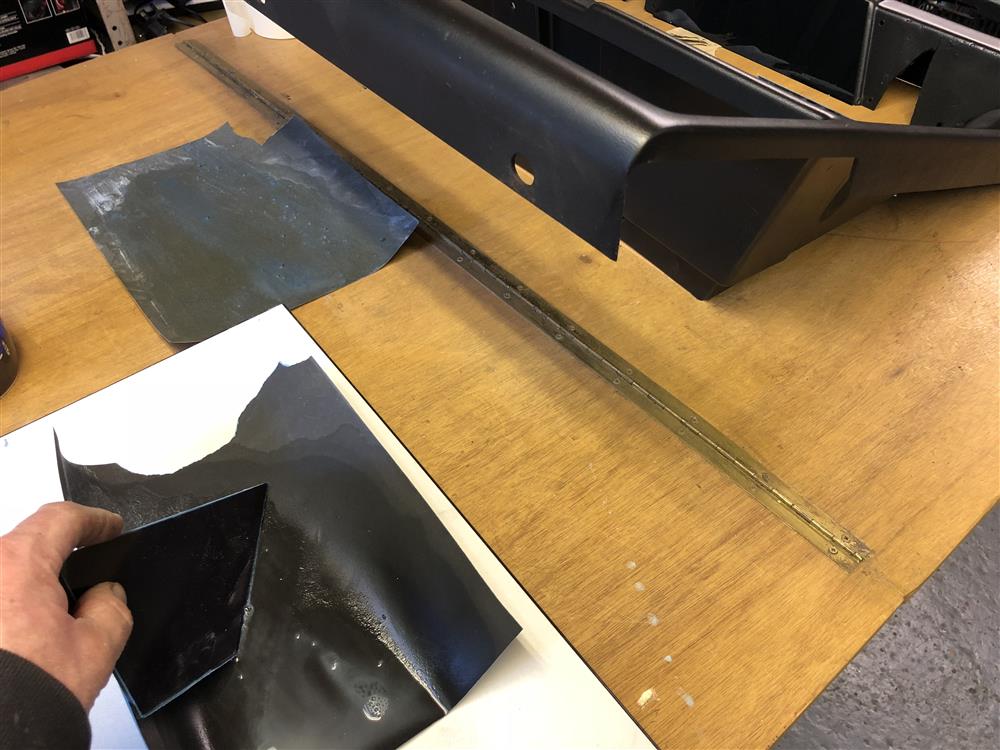
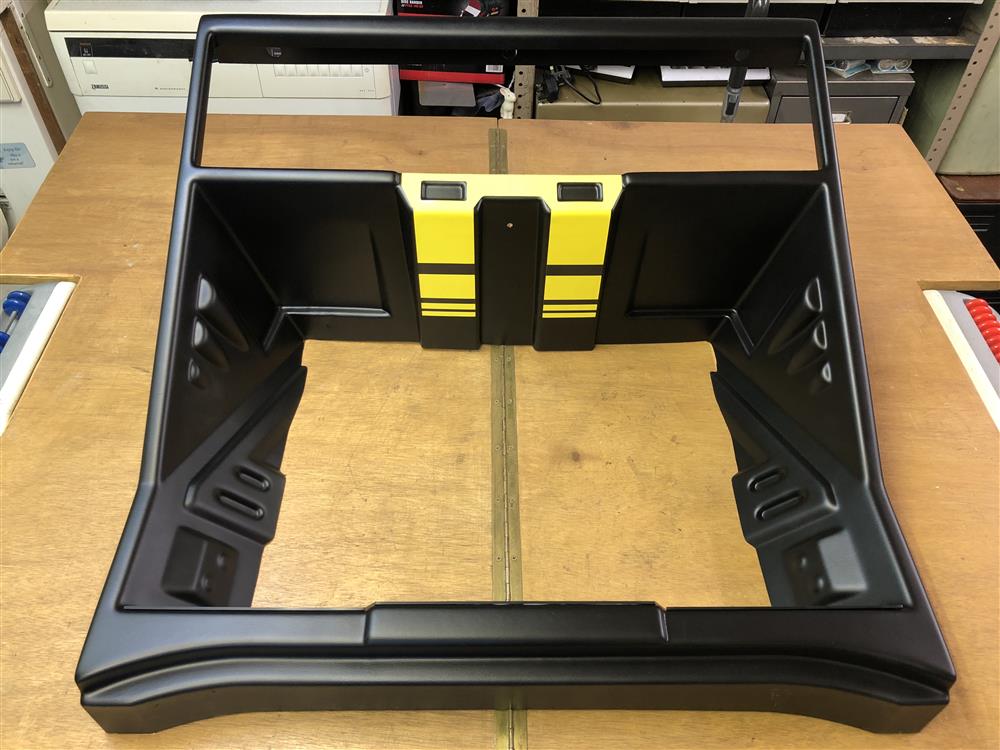
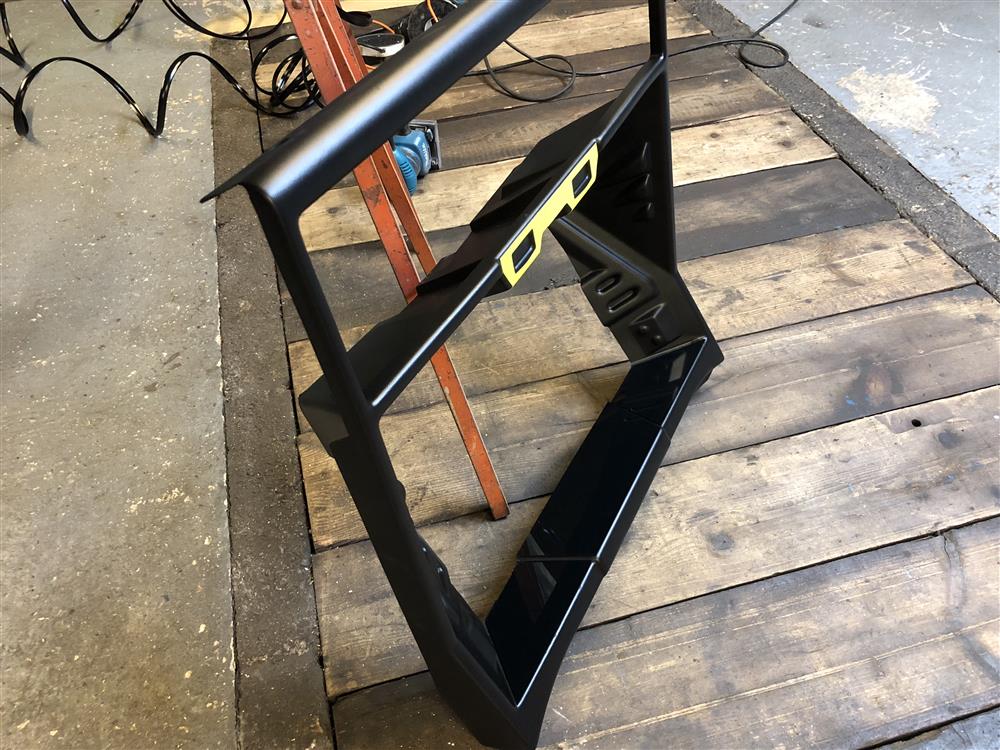
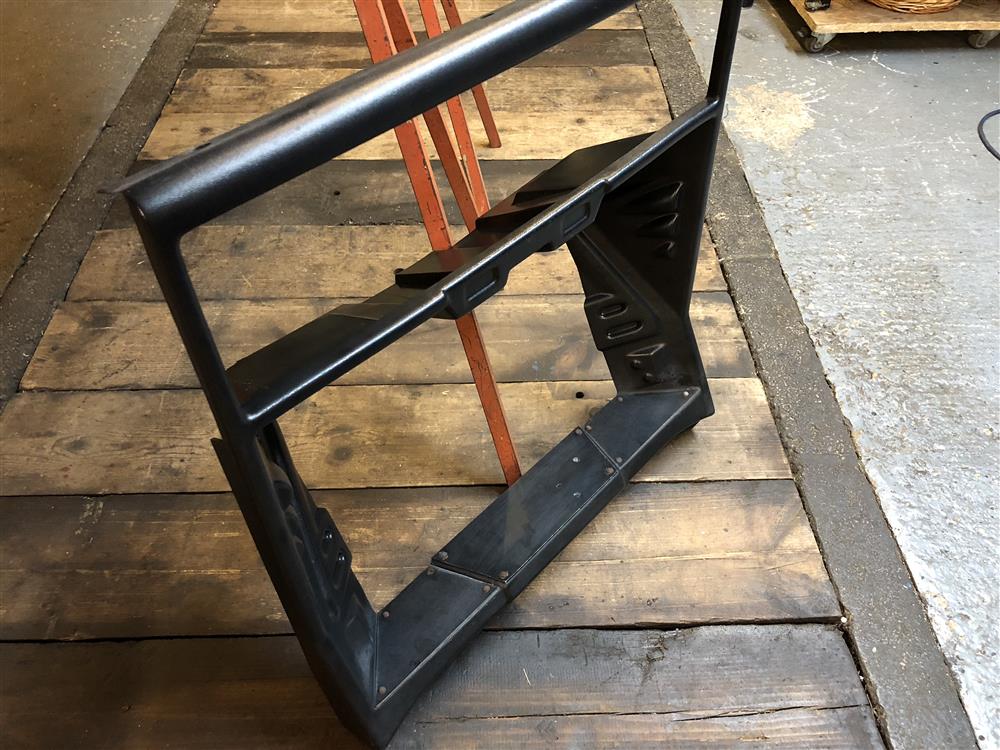
Monitor bezel was in a state, I used proper plastic bumper paint in satin before sticking new black perspex on with panel adhesive. I made sure the edges were nice by using 1500 wet and dry on a flat block.

IMG_0412_Custom.JPG


IMG_0421_Custom.JPG


Muddymusic for the decals!

IMG_0420_Custom.JPG


Before and after.

IMG_9789_Customj.JPG


IMG_0806_Custom.JPG


IMG_8453_Custom.JPG


IMG_0809_Custom.JPG


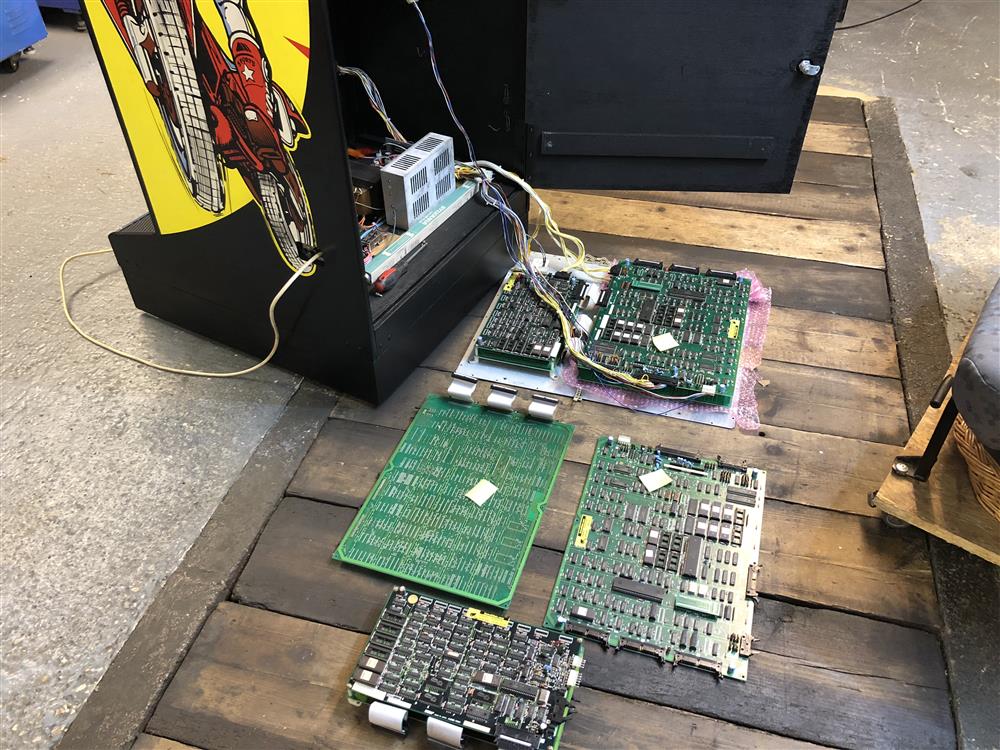
I had some trouble with boards going faulty again, both sets actually so I managed to mix and match until i got a working set, the remains are on their way to Retro Clinic again.

IMG_0830b_Custom.jpg


IMG_0868b_Custom.jpg


IMG_0878_Custom.JPG


IMG_0853_Custom.JPG


IMG_0828_Custom.JPG


IMG_0909_Custom.JPG


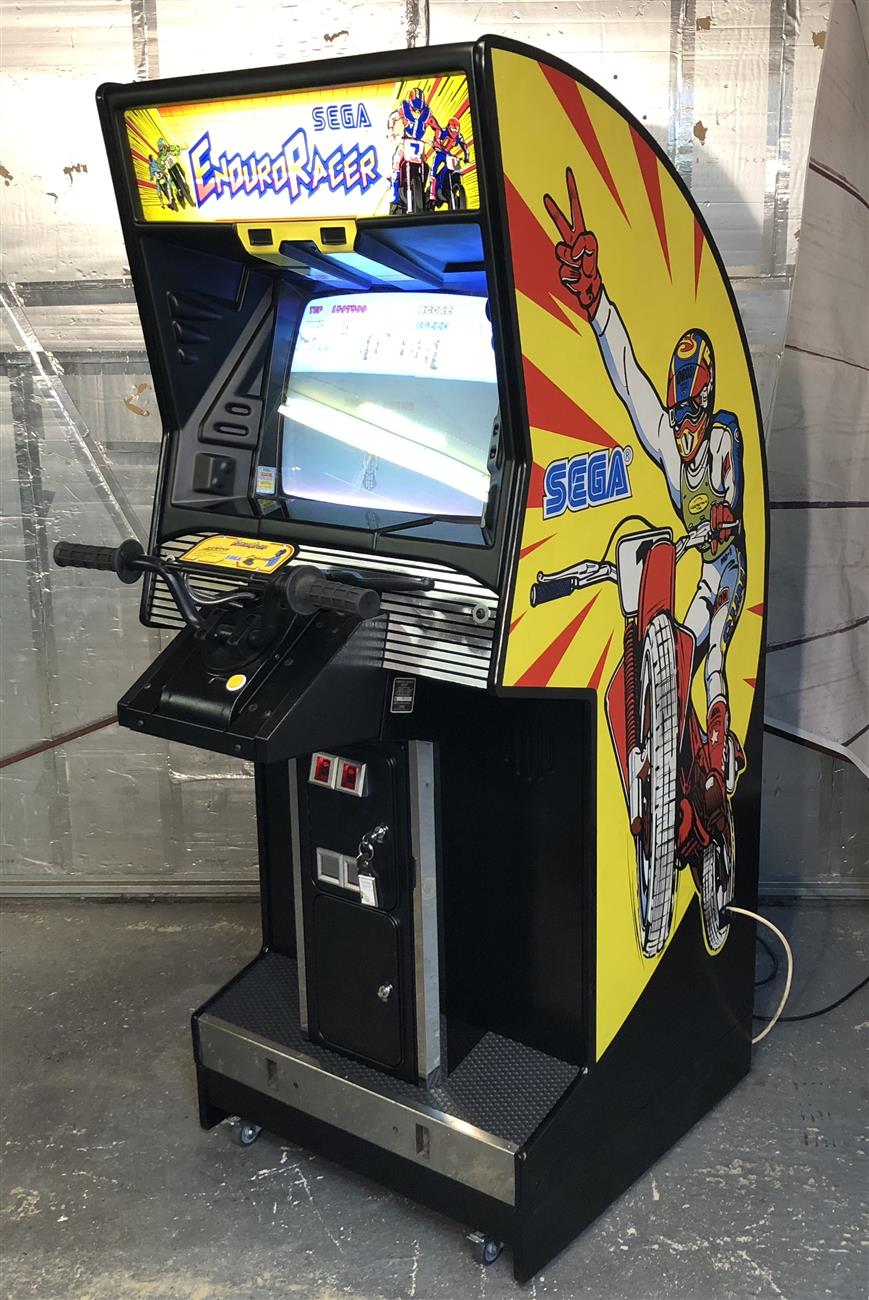
Really Enjoyed the project and the people along the way have been most helpful. The machine is finished with regards to the Revival meet in May, meaning i still have to restore the seat, if there is enough time i will get that done but as it stands with its platform it can come as it is.

IMG_8447_Custom.JPG


Just a little flashback to when i got it.

Here is a time-lapse video of the final assembly, Enjoy!

https://youtu.be/1SnV-xQBFVQ
 

Shun

Active member
Feedback
1 (100%)
Credits
489CR
I've said it before and I'll say it again, the machine is beautiful! You totally knocked it out the park with the restore mate.
Looking forward to seeing it in person in May
 

Robotgreg

Active member
Feedback
2 (100%)
Credits
208CR
Frazer, that is absolutely stunning mate! I would have never have believed you could got it anywhere close to this condition when we picked up what looked a complete wreck...

It's been amazing seeing it progress in person and you should be immensely proud of a fantastic job!
 

dj_yt

Active member
Feedback
3 (100%)
Credits
787CR
You should be proud of that restoration job. What a labour of love! Looks like you have a great space to work in which helps with messy jobs such as this.

Bad luck on the PCBs. They can be a real menace, especially if they've been badly stored in the past.

Some real pro skills in terms of restoring the bezel and touching up the paintwork.
 
Top