I'll log here work I'm doing on my Gorf cab.
Got this off Shaun, needs some finishing off where Shaun had started.
joystick restoration
----------------------
removed optic board dirty.
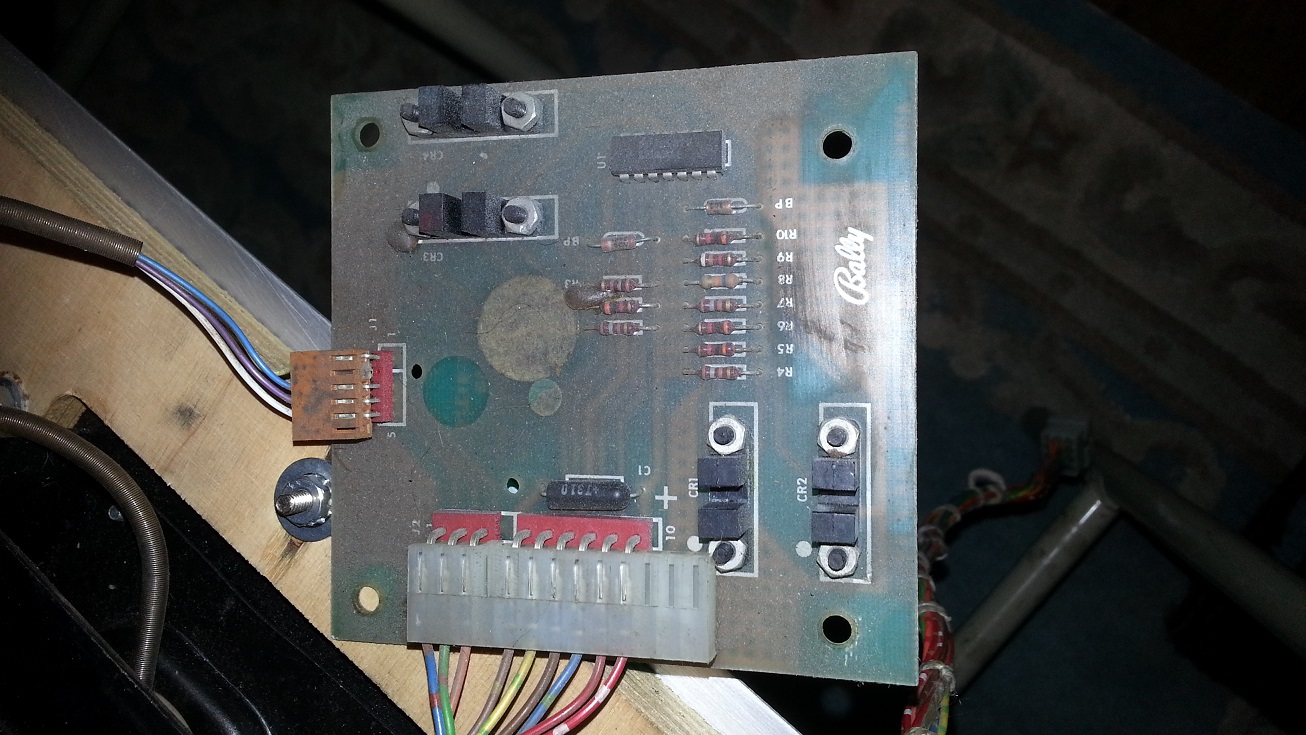
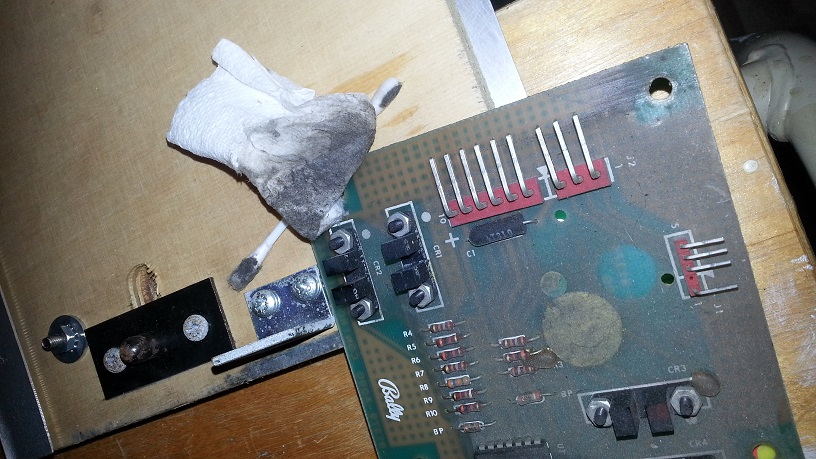
While cleaning found cracked solder joints on 3 pin connector, when I say cracked I mean the connector could be move around 30 degrees back and forth. reflowed all connectors.
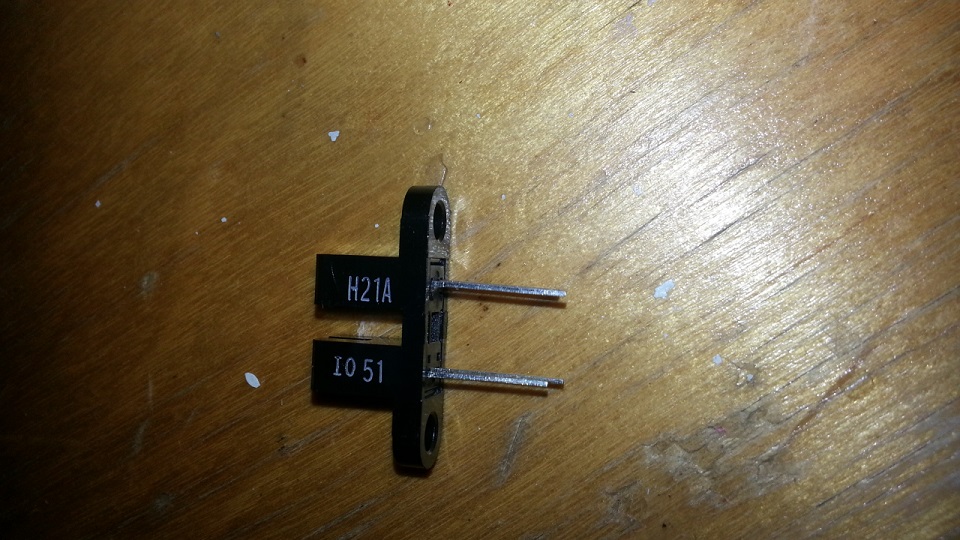
cleaned board. bad up optic, stuck open replaced optic s (thanks to terry for replacement) . joystick now works correctly.
Sound board failed
---------------------
sound failed with nice pop was burn evidence on audio board: replaced 330 ohm resistors at r4 and r1. replaced 4004 diodes at cr1 and cr2. replaced 2n4403 pnp transistors (had em laying around from pinball repairs) at q1 and q2. reflowed solder for tip31's. sound now working.
New back doors
------------------
Back doors swollen must have been wet at some point (bottom door is well shot).
Got some MDF to make replacements, removed all furniture from top and bottom doors (using spanners and hacksaws - like you do)
Got a few bits of gear out ready (took this picture after I'd finished)

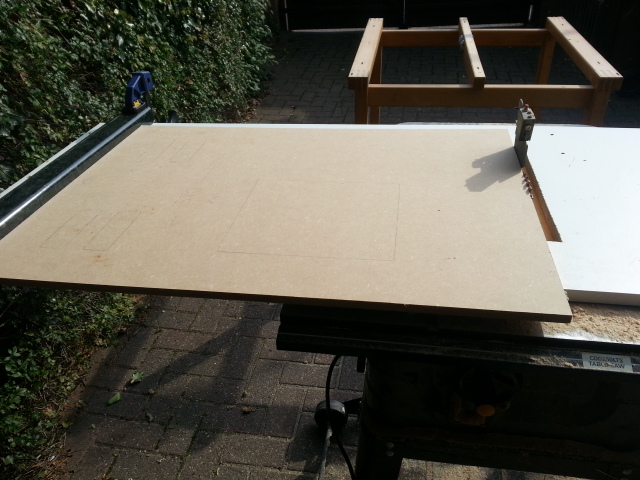
used old doors to setup table saw for cutting so I didn't have to measure

new bit of mdf cut to correct height, did the same for width of board
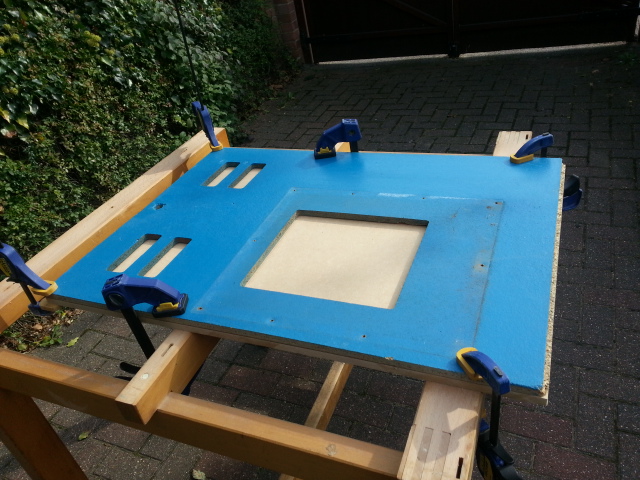
Clamp old piece over mdf ready to trace holes with router, need to flip this over for cutting as bearing is on bottom of 1/2 inch router bit I'm using. Using 1/2 inch shank for this job so I can cut without stressing router too much.
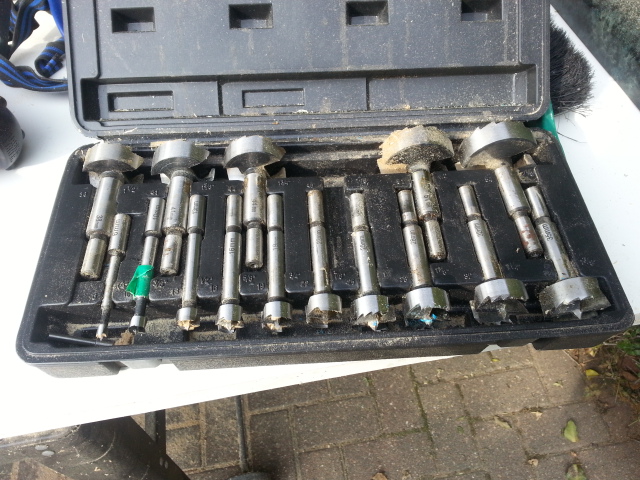
picked a 16 mm forstner bit out to cut some pilot holes for the router to go through, forstners are great for cutting super neat holes (like cp button holes)
mdf is a bitch for dust so where a mask (even if you look a c**k - too be fair the mask makes little difference)

First couple of vent holes cut
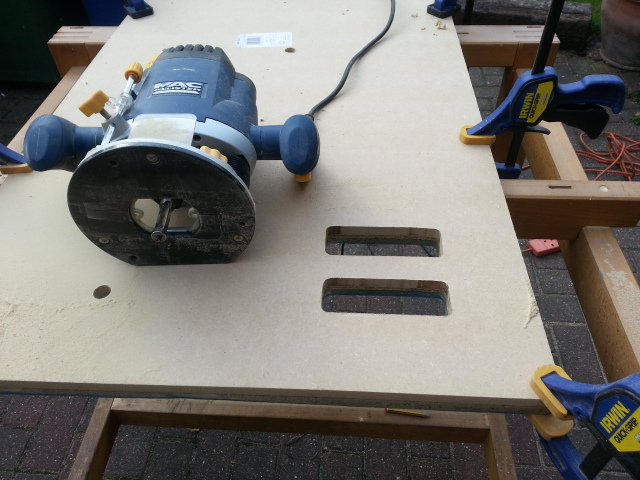
Finished top piece next to old piece
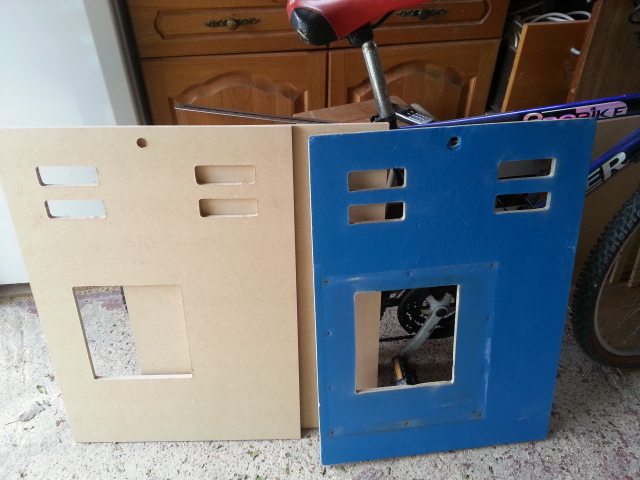
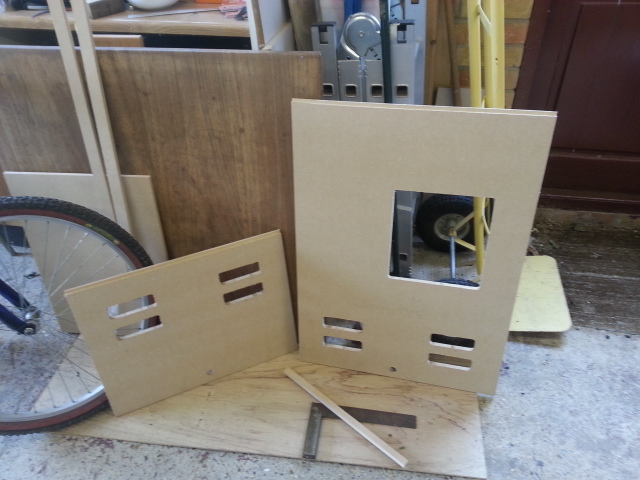
Bottom and top piece complete, rebates cut with table router
Pieces in situ, nice fit, need to sort out furniture and then some painting.
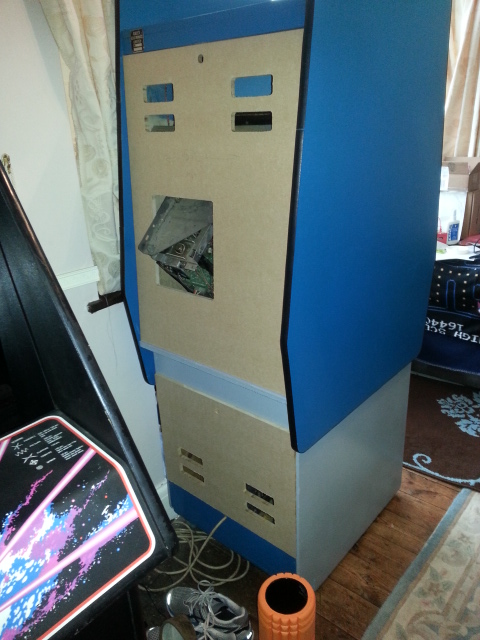
need to take 1mm of the bottom door, as the swelling caused me to make it just to large, be easy to run it through the table saw to do this. Still can't understand why midway didn't use a different shaped cab instead of having the monitor neck sticking out. bit odd that.
Hurray Banana2014-09-28 18:42:34
Got this off Shaun, needs some finishing off where Shaun had started.
joystick restoration
----------------------
removed optic board dirty.
While cleaning found cracked solder joints on 3 pin connector, when I say cracked I mean the connector could be move around 30 degrees back and forth. reflowed all connectors.
cleaned board. bad up optic, stuck open replaced optic s (thanks to terry for replacement) . joystick now works correctly.
Sound board failed
---------------------
sound failed with nice pop was burn evidence on audio board: replaced 330 ohm resistors at r4 and r1. replaced 4004 diodes at cr1 and cr2. replaced 2n4403 pnp transistors (had em laying around from pinball repairs) at q1 and q2. reflowed solder for tip31's. sound now working.
New back doors
------------------
Back doors swollen must have been wet at some point (bottom door is well shot).
Got some MDF to make replacements, removed all furniture from top and bottom doors (using spanners and hacksaws - like you do)
Got a few bits of gear out ready (took this picture after I'd finished)
used old doors to setup table saw for cutting so I didn't have to measure
new bit of mdf cut to correct height, did the same for width of board
Clamp old piece over mdf ready to trace holes with router, need to flip this over for cutting as bearing is on bottom of 1/2 inch router bit I'm using. Using 1/2 inch shank for this job so I can cut without stressing router too much.
picked a 16 mm forstner bit out to cut some pilot holes for the router to go through, forstners are great for cutting super neat holes (like cp button holes)
mdf is a bitch for dust so where a mask (even if you look a c**k - too be fair the mask makes little difference)
First couple of vent holes cut
Finished top piece next to old piece
Bottom and top piece complete, rebates cut with table router
Pieces in situ, nice fit, need to sort out furniture and then some painting.
need to take 1mm of the bottom door, as the swelling caused me to make it just to large, be easy to run it through the table saw to do this. Still can't understand why midway didn't use a different shaped cab instead of having the monitor neck sticking out. bit odd that.
Hurray Banana2014-09-28 18:42:34