Hang On Mini restore

chunksin

Active member
vacBacker
Feedback
21 (100%)
Credits
733CR
It's been about a year since I restored my grail cab Space Harrier, with the kids getting older and other projects and life getting in the way I don't have much time to do cab restores as regularly as I used to but it's a great distraction when I get the chance.

I've been on the lookout for a Hang On for a few years, put the feelers out several times but they never seem to come up for sale, I very nearly bought a full size cab from the US last year but was overspent on arcade stuff at that point. Hang On is a game I used to play back in the day, more so than Outrun, that was really popular so always had a queue to play and in many arcades I went to was more expensive too, a whopping 50p in some arcades! I preferred Hang On and Super Hang On when it arrived, a faster more challenging game with some amazing music too. I also had Hang On on the original Master System and when I got my grey import Megadrive, Super Hang On was the only game I had for a few months leading up to Christmas so I've played them a lot! What got me looking again was playing Frazer's cab at Revival back in 2019 (I think), it's just one of those games I can play again and again and not get bored.

I couldn't believe my luck in March when Smarty got in touch to say he'd be moving on his Hang On Mini and would I be interested, total no-brainer! we'd been chatting about SmartyPi on and off throughout his development and I was following the project with great interest and this cab ran SmartyPi and had the all important turbo button for SHO too
smiley1.gif


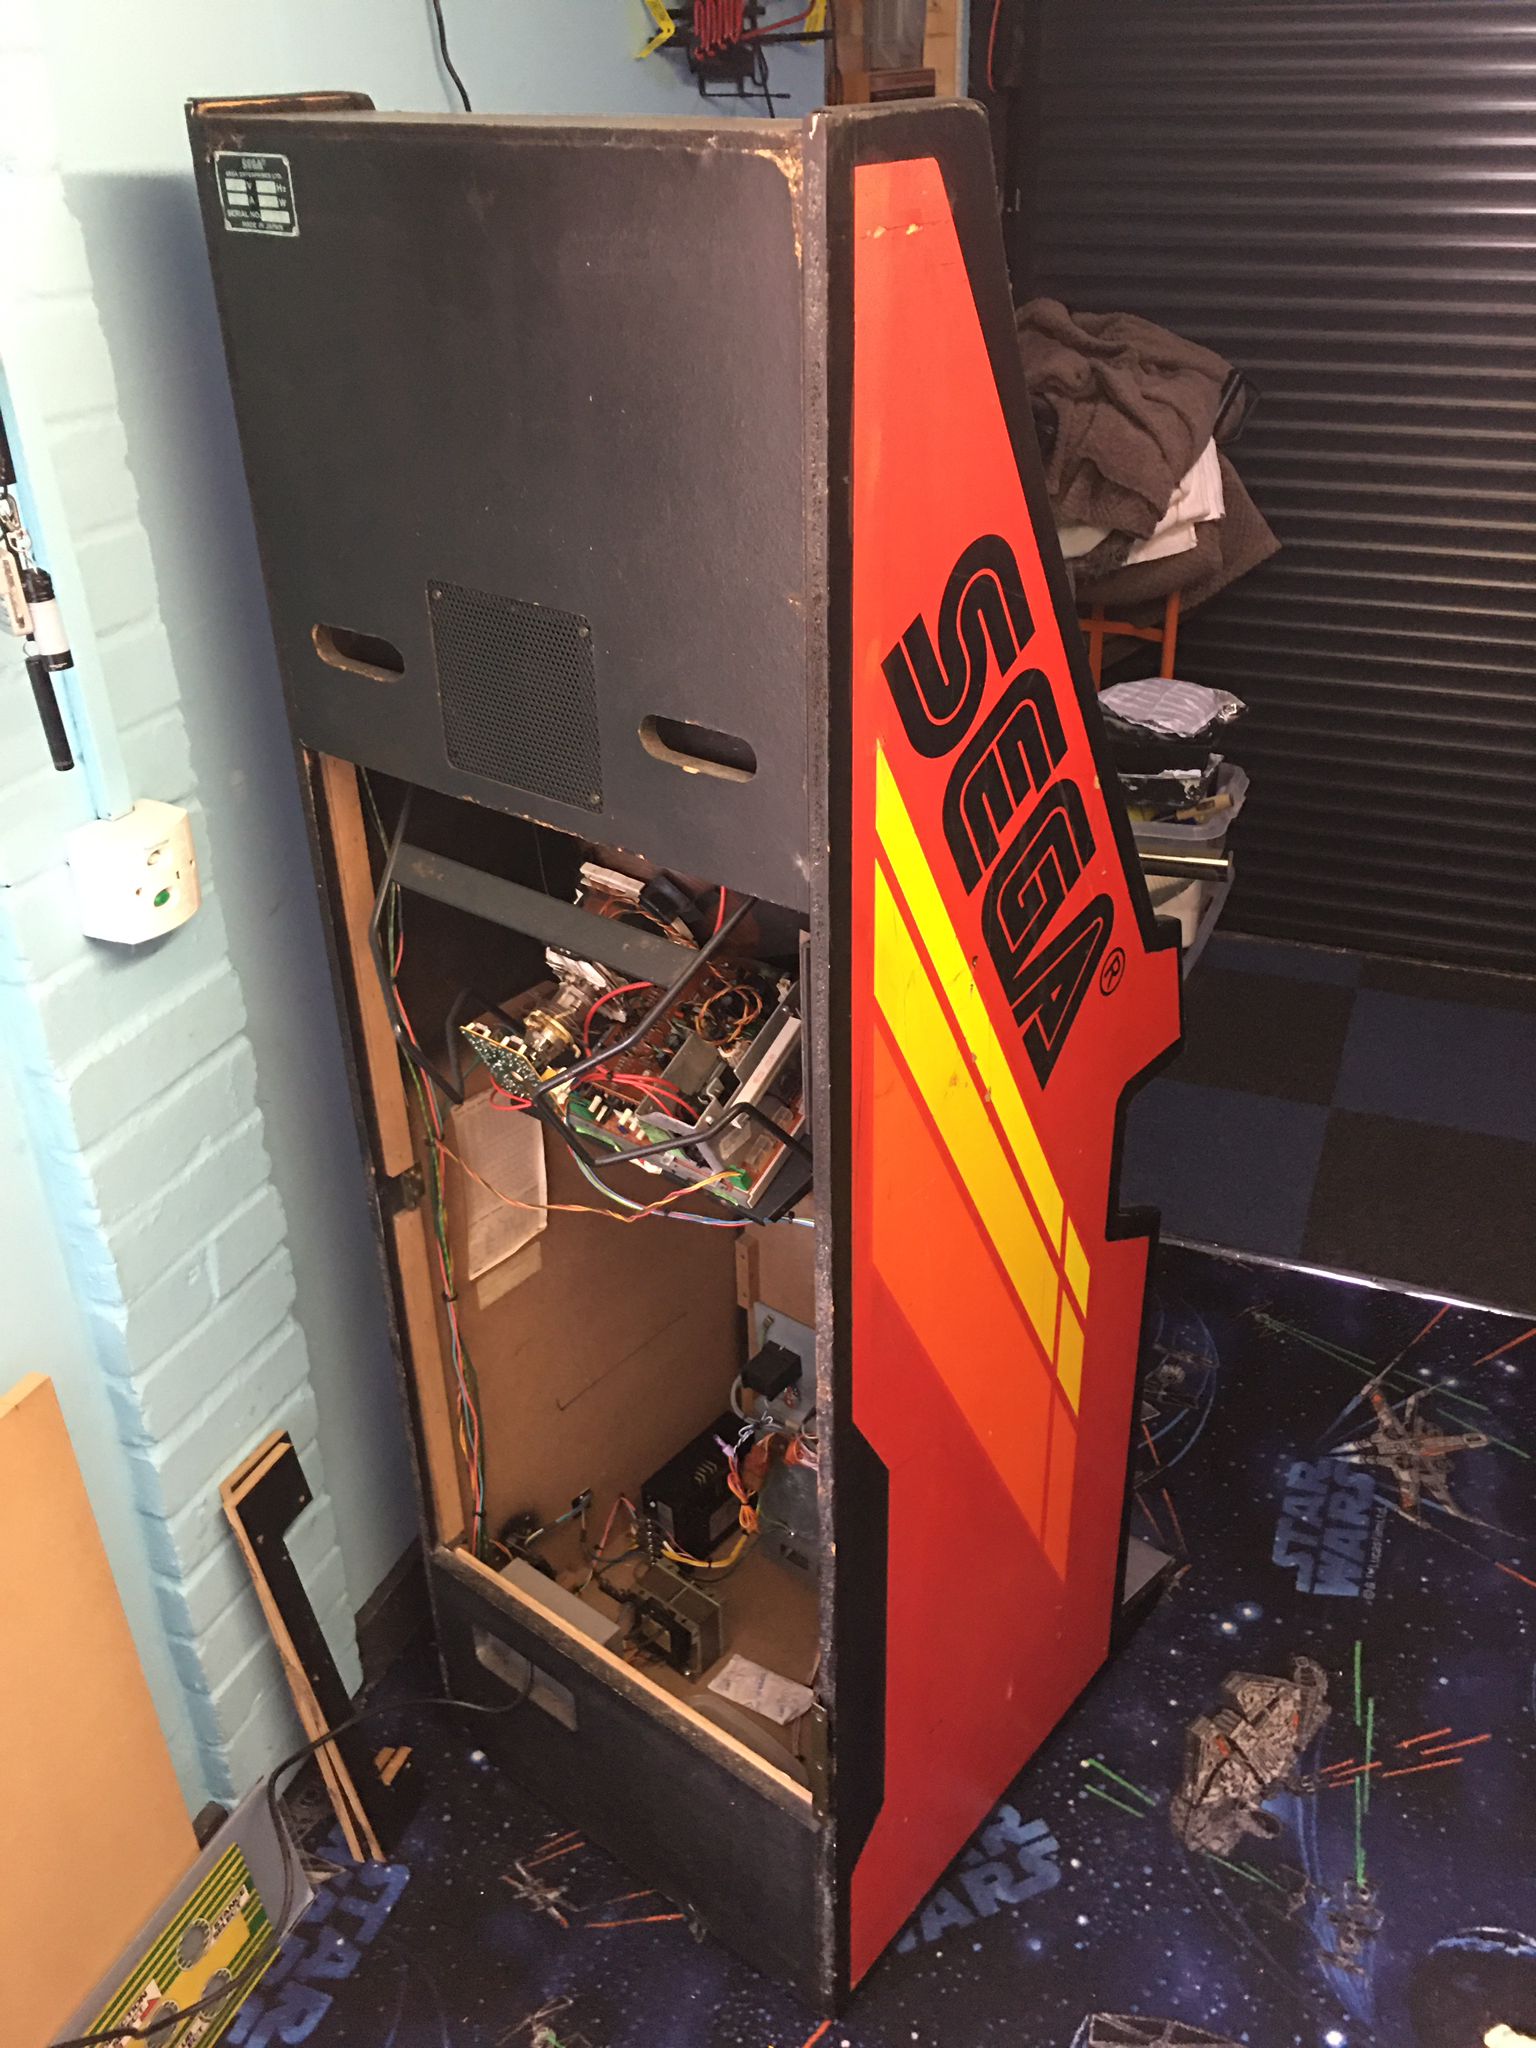
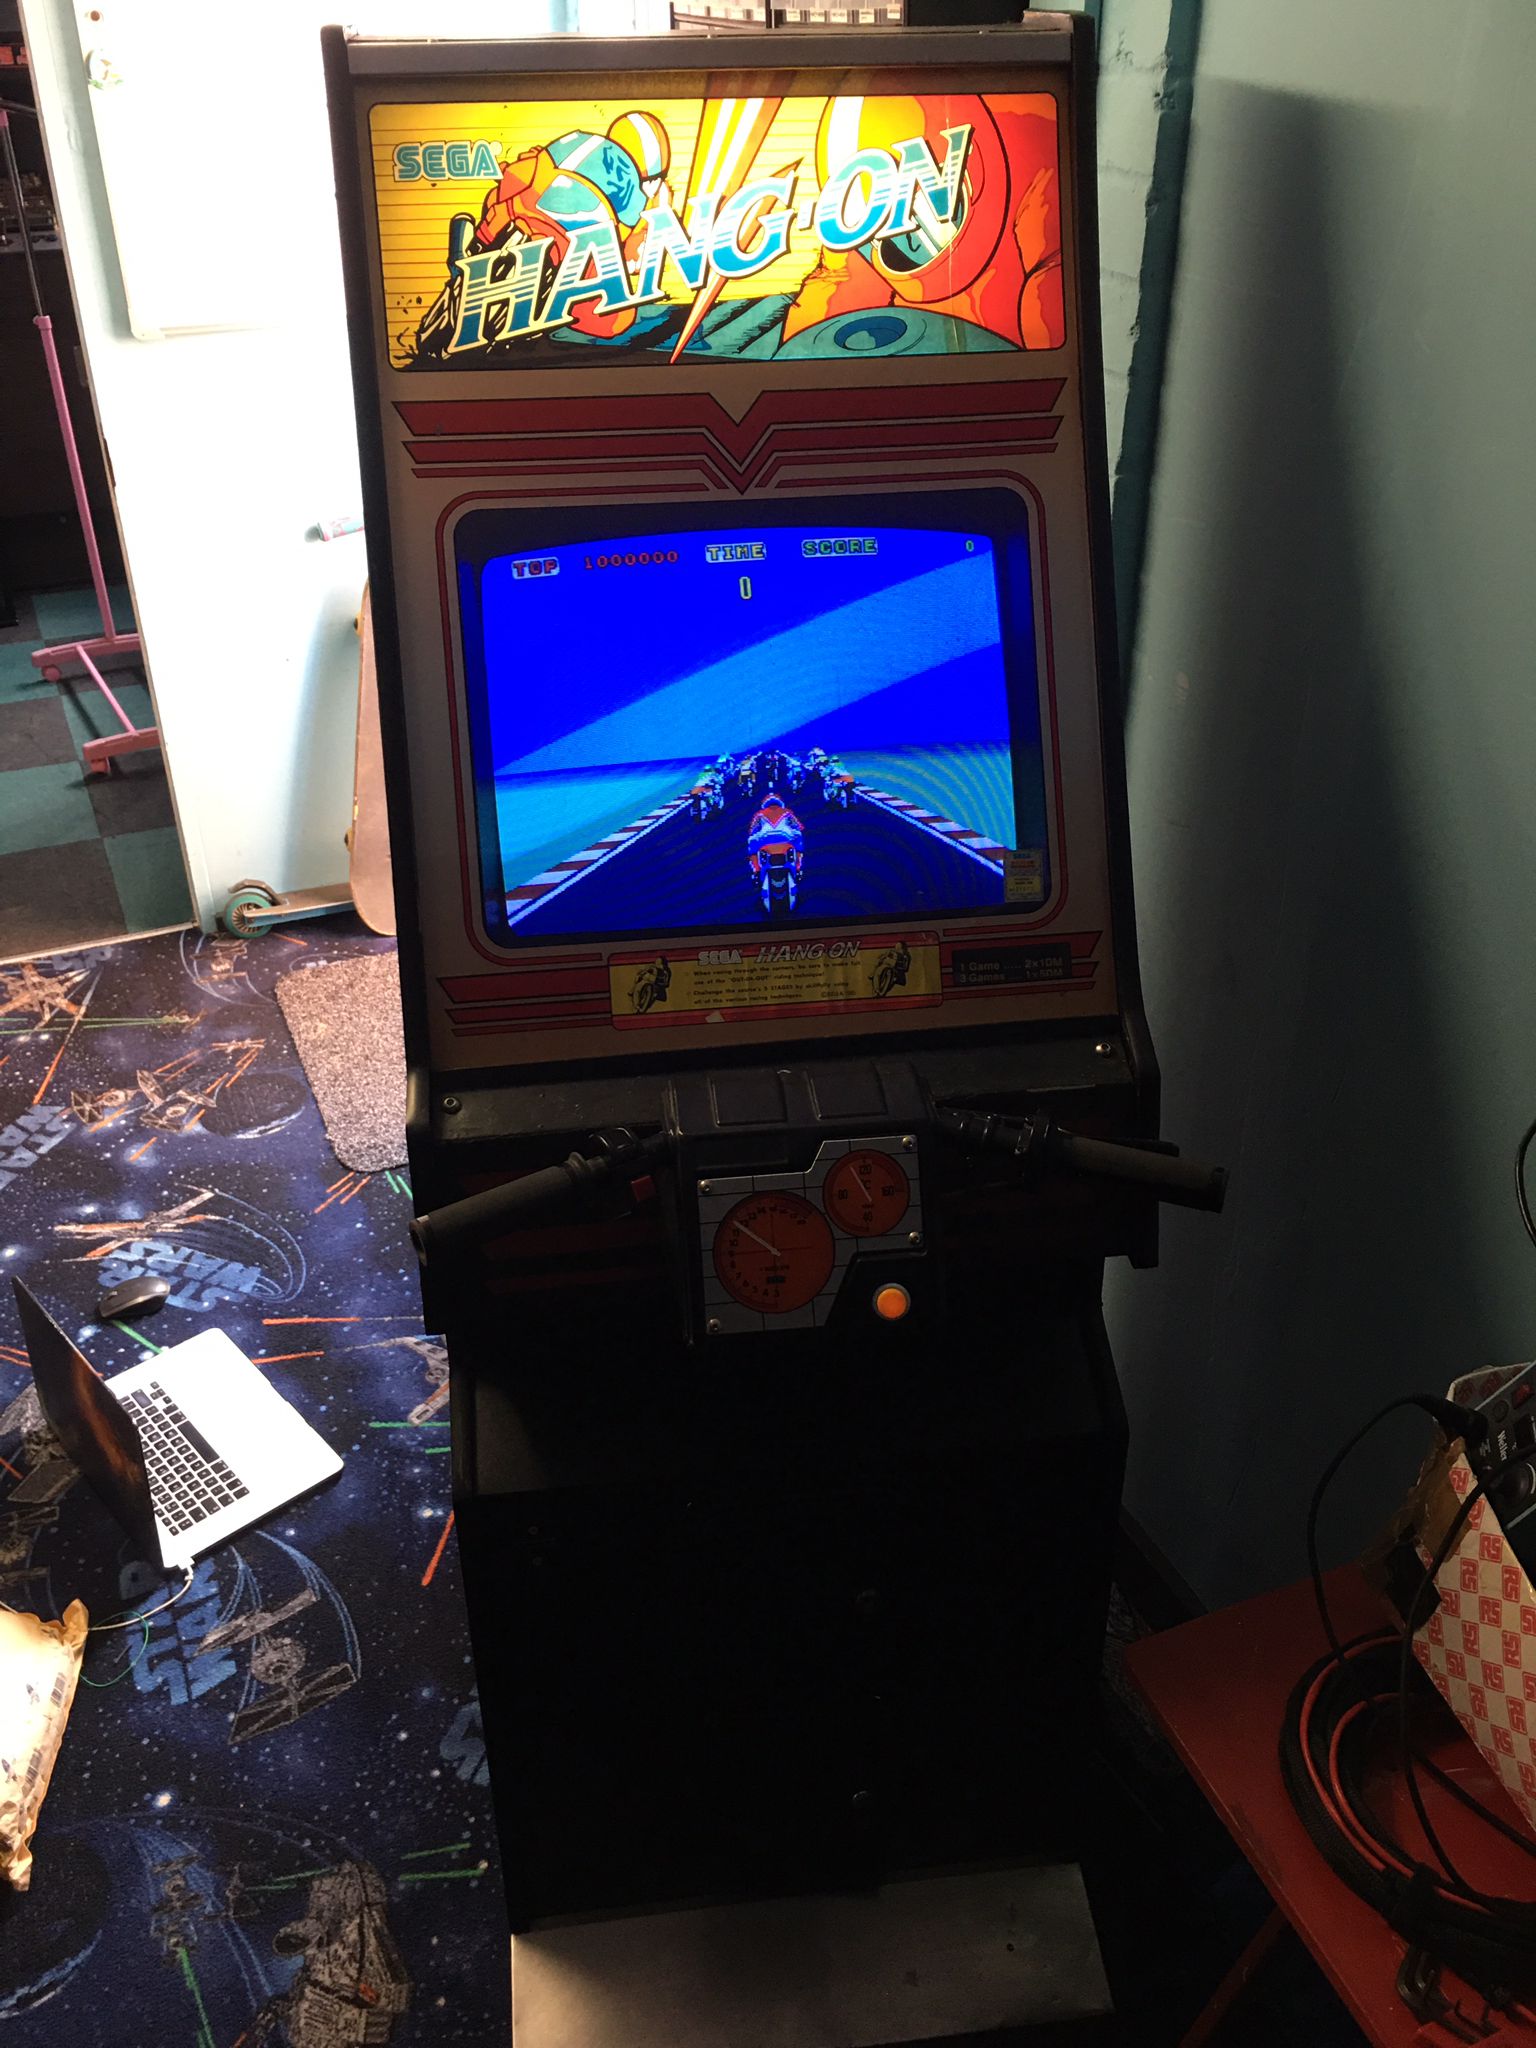
The cab has some history in the community and has been through several owners through the years, never quite making it to a fully restored state but is tidy enough and fully working. The stencilled side art with the giant SEGA logo is in decent condition and the cab itself is solid and doesn't need any major structural work doing plus Mart has done a great job on the wiring so internally it's very tidy indeed.

Some photos of the cab in its previous home:
HO-smartys.jpg


HO-smarty2.jpg
 

chunksin

Active member
vacBacker
Feedback
21 (100%)
Credits
733CR
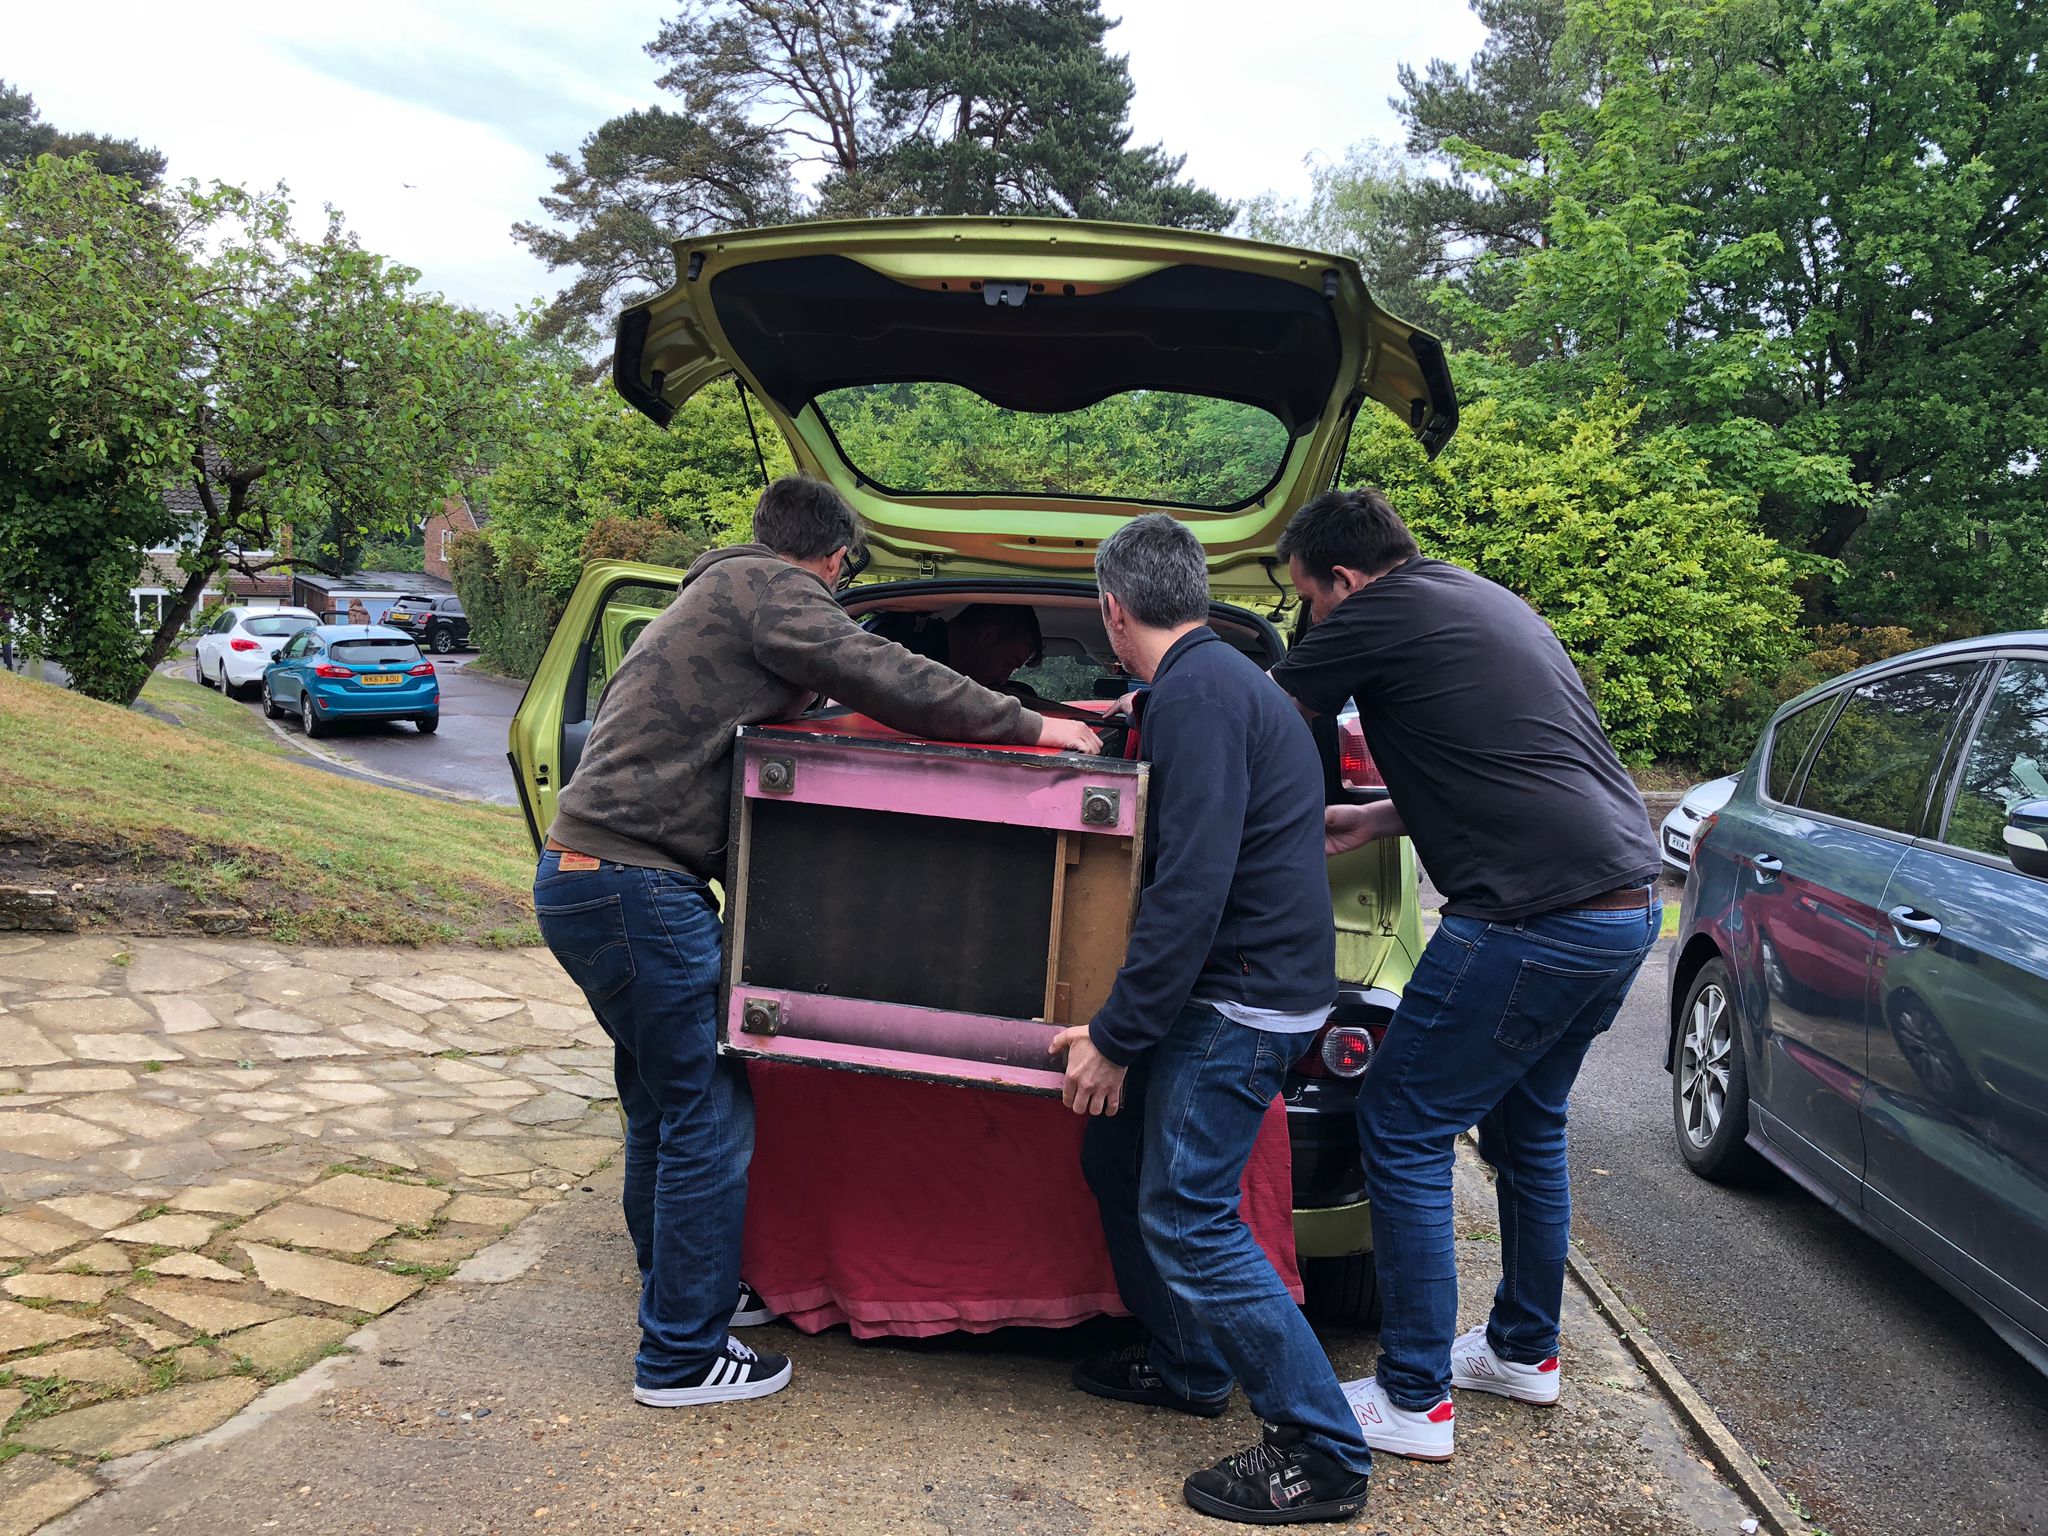
Roll on May and Mart organised a mini meet which was the perfect opportunity to pick up the cab (thanks to Flinnster and Moomootown!) No idea why the cab has a pink bottom
smiley3.gif


HO-loading.jpg
 

Equites

Chief Sheesher®
vacBacker
Feedback
35 (100%)
Credits
3,318CR
Looks great Rich.

I agree with you too, I think HO and SHO are better games than Outrun. I actually restored an Outrun mini to the highest standard recently, and once finished decided I didn't actually like the game and moved it on to someone who would appreciate the game more.

BITD, there used to be a computer game shop in Liverpool city centre called Bits & Bytes. They also had a couple of cabs in there, one of them was Hang-On. I would visit every other day, each day getting closer to the finishing line until finally I finished it one day, to the applause of the computer game shop staff!

I do think HO & SHO are different games though, and cannot replace each other.

I used to play SHO alot at Las Vegas arcade also in Liverpool city centre, playing it today, the sense of speed and exhilaration is still there.

I must get my hands on one again one day.
 

chunksin

Active member
vacBacker
Feedback
21 (100%)
Credits
733CR
You might not be able to make out in the pics above that the control panel was a bit scruffy, the controls had been repainted at some point in the cabs lifetime and were beginning to chip and the top part of the control panel overlay had been pulled off and then resprayed black over the top of the adhesive
smiley24.gif
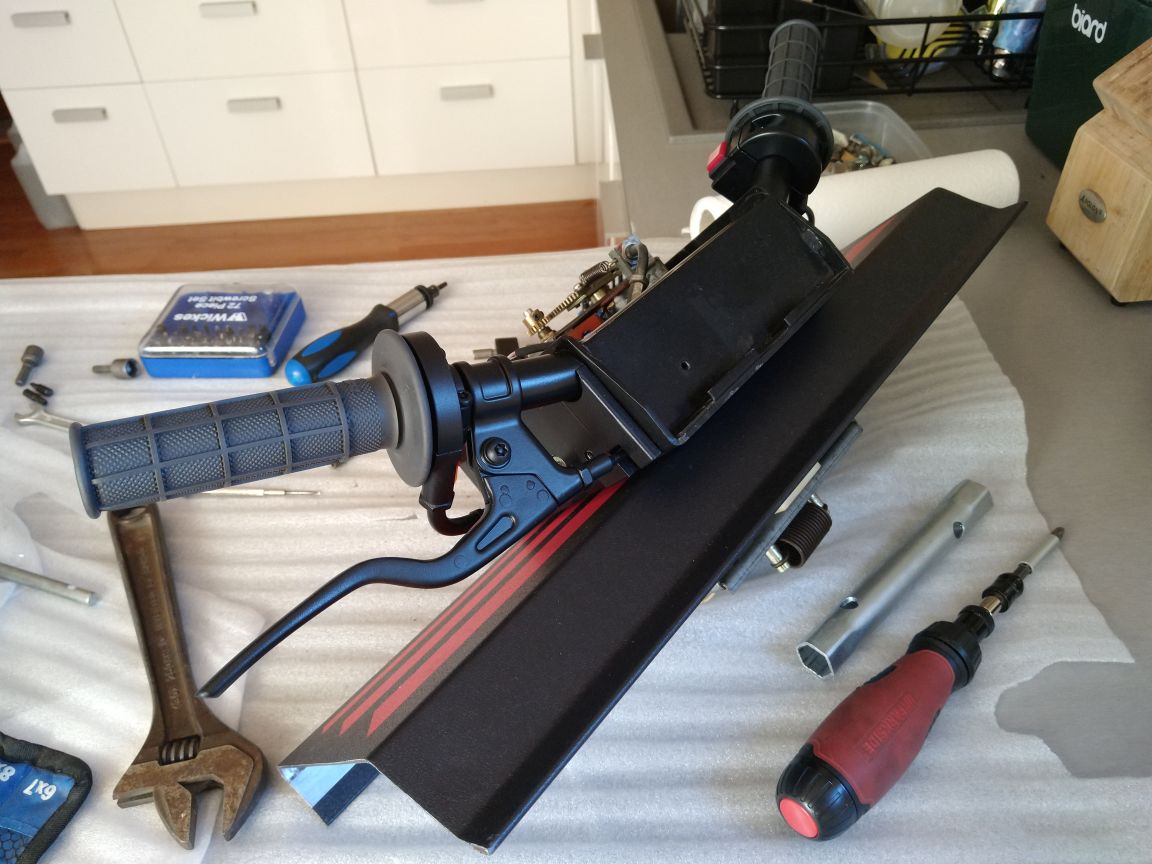
so I stripped everything down and took it all apart to see what was what. Crikey, it was a long job, the controls are like a Chinese puzzle, they only seem to come apart and go back together in a very certain order and if you miss one piece you are knackered! I also had to cut off the connectors from the back of the panel as they can't pass through the holes to the front. This had been done before so gave me a heads up otherwise I wouldn't have guessed.

I ended up with a few takeaway trays full of screws, nuts and bolts. Every part seems to be very substantial and almost over engineered, Sega built these to last.

HO-mess.jpg
 

chunksin

Active member
vacBacker
Feedback
21 (100%)
Credits
733CR
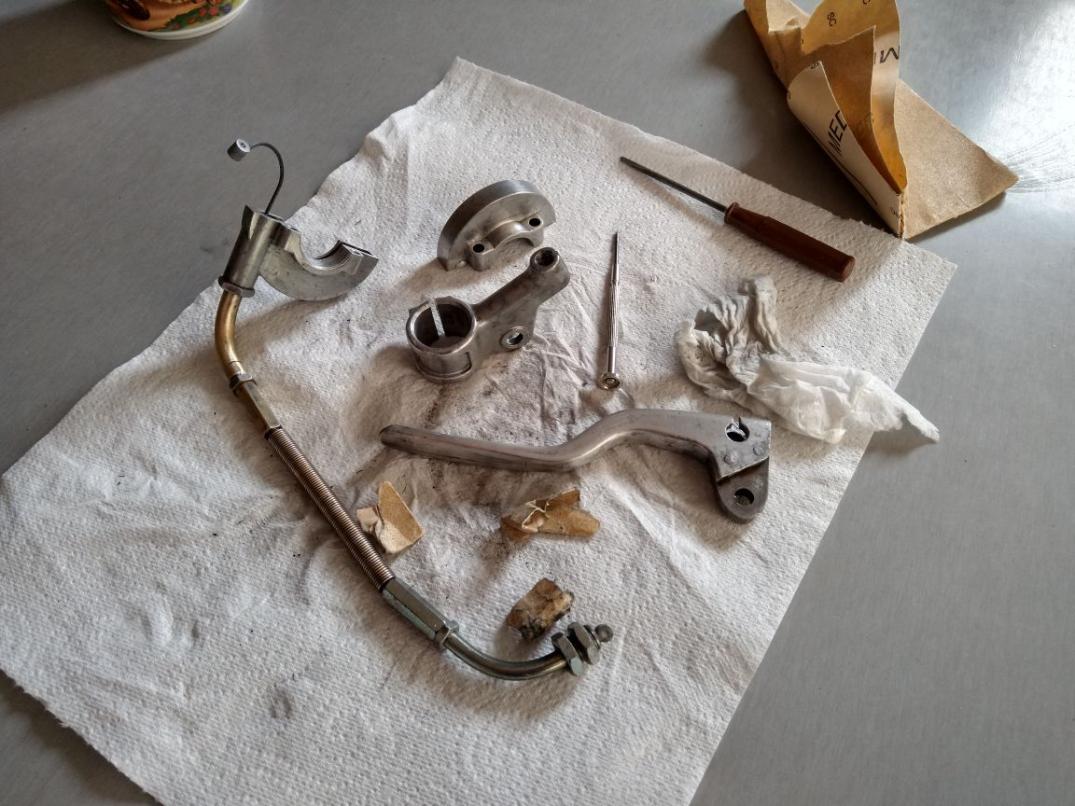
Next is the bit nobody likes but is still oddly satisfying, cleaning all the parts up, sanding things down to get prepped for painting. I've still not got a shortcut for this, I use a paint stripper bath, WD40 to melt off any adhesive and various grades of sandpaper. Took my time over a few weeks as I can only disappear into the garage for so long before I'm found.

HO-parts-stripped.jpg


HO-shiny.jpg
 

chunksin

Active member
vacBacker
Feedback
21 (100%)
Credits
733CR
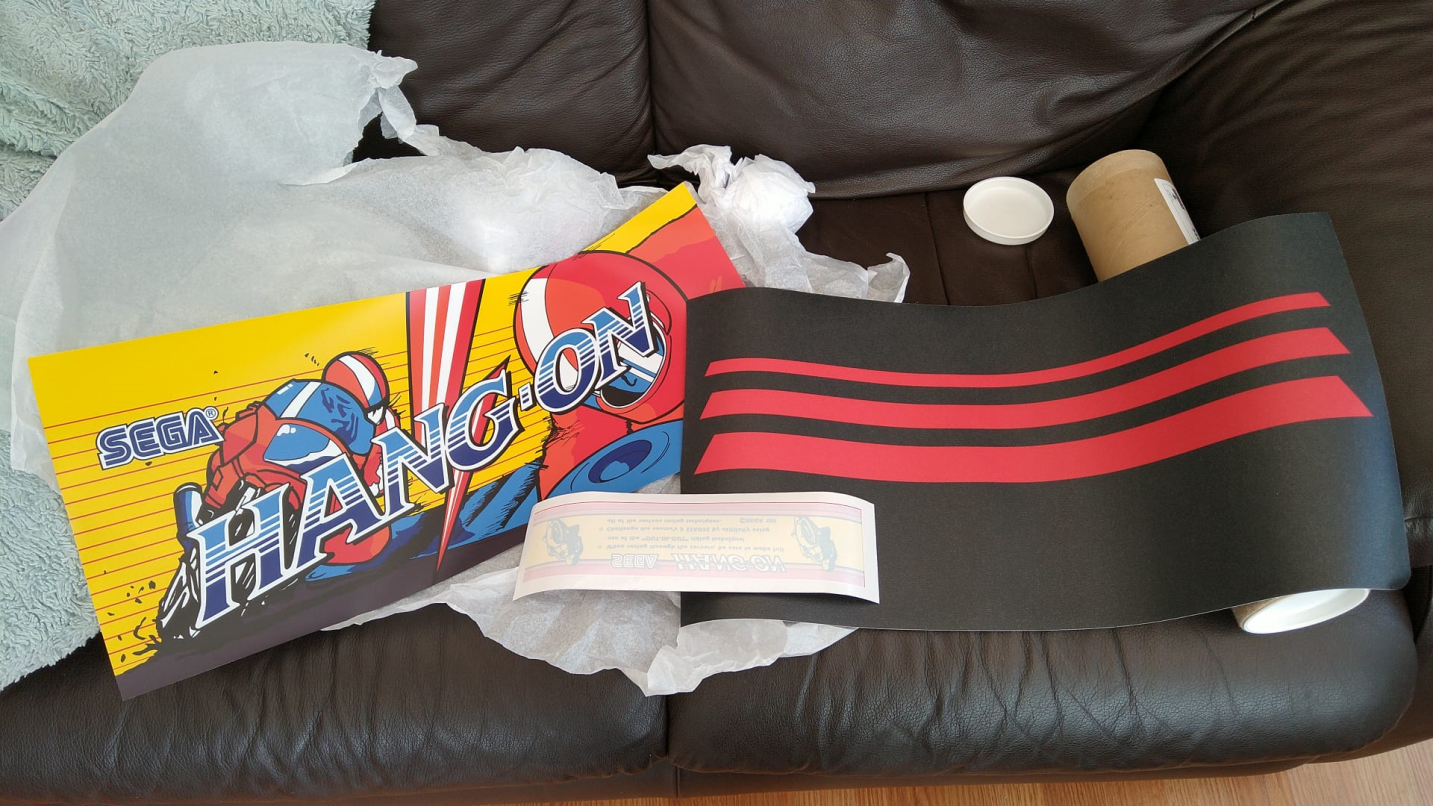
The cab side art is great and I'm really happy it needs nothing doing to it but the marquee was pretty grim! you can see in the pic above that the original yellow colour has discoloured over the years by smoke and grime so I ordered a new one from Olly muddymusic along with a new control panel overlay. Waited a few weeks and then the exciting day arrived when that big cardboard tube arrived with these inside. I also sent Olly the plexi bezel to be scanned and repro'd if anyone else ever needs one making up.

HO-art.png
 

chunksin

Active member
vacBacker
Feedback
21 (100%)
Credits
733CR
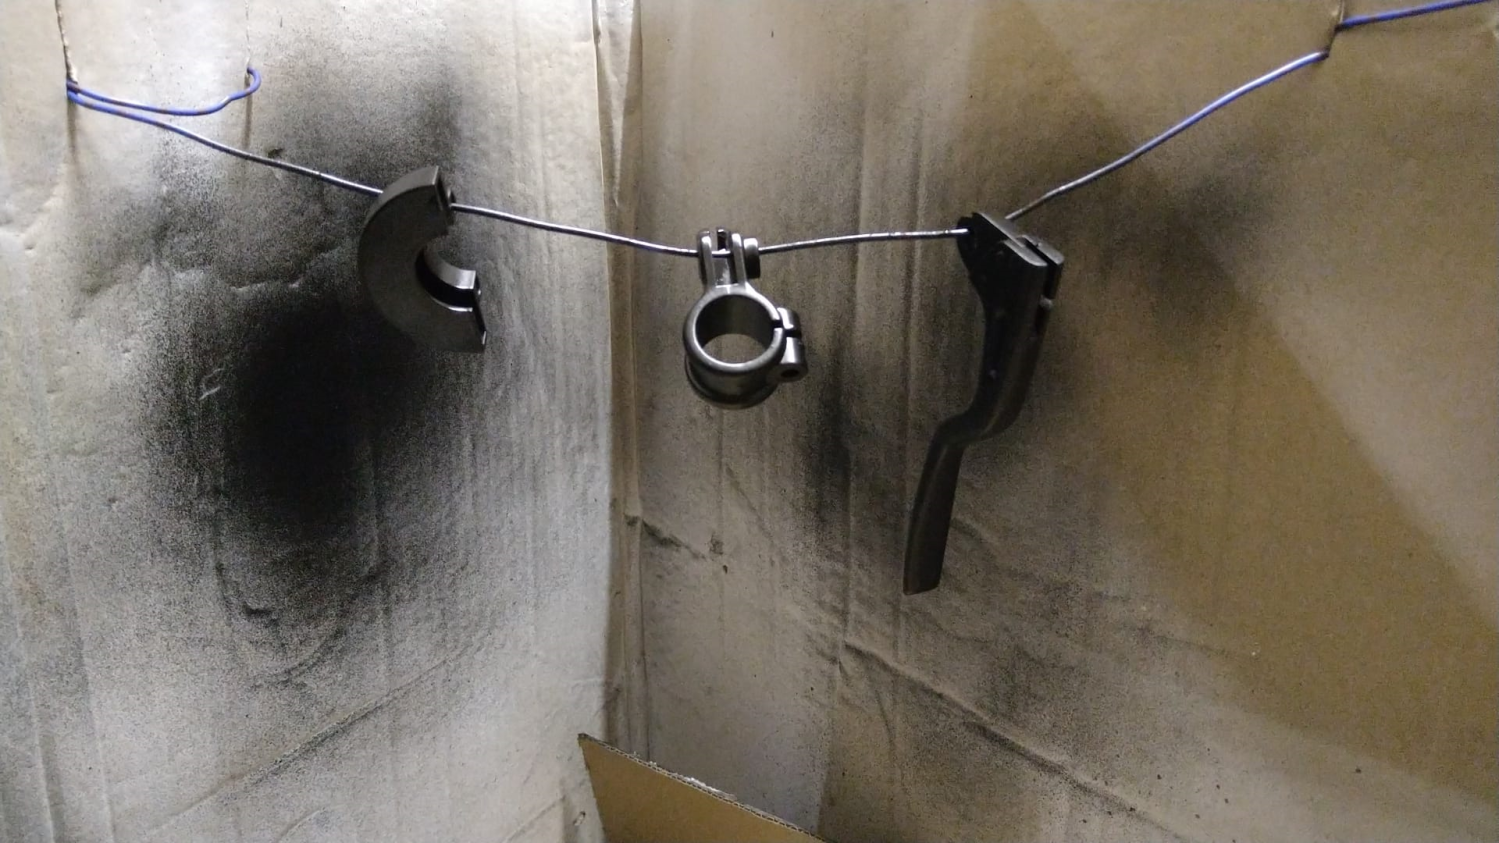
Next job on was painting. I hate painting. I'm terrible at it and have never had any luck with spray painting in the ten years I've had cabs. I've tried own brand paints, Plastikote, Rustoleum, whatever I use I get it wrong or the paint is crap. I don't know if I spray too much on, spray too close, paint when it's too cold or too hot, I have no idea but I'm never happy with the results and often have to sand down and repaint.

This time I took no chances and asked an expert restorer who recommended this stuff: https://www.amazon.co.uk/gp/product/B009LHA922/ref=ppx_yo_dt_b_search_asin_title?ie=UTF8&psc=1

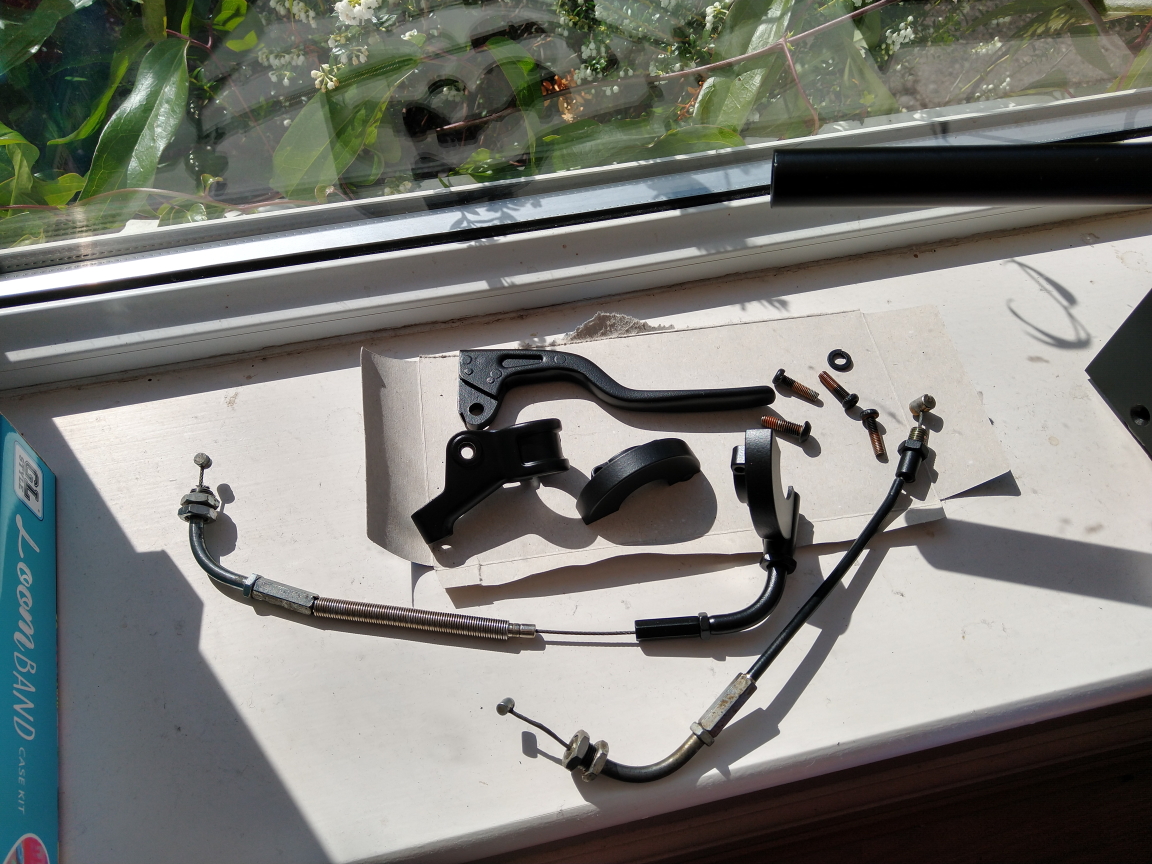
I set up a little cardboard paint booth in the garage and got cracking, followed the instructions and took my time, lots of thin coats, probably 7 or 8, left to dry for the right amount of time and am really impressed with the results, the finish is great and seems pretty hard wearing. I left all the parts on a warm conservatory windowsill to cure for a few weeks before handling them much just in case.

I messed up a little bit on the brake handle, a tiny bit of fluff got stuck in the paint so had to sand and repaint but this paint is a definite recommendation from me!

HO-paint.png


HO-paintcure.jpg
 

chunksin

Active member
vacBacker
Feedback
21 (100%)
Credits
733CR
Onto the control panel overlay, never a fun job this one and you generally only get one go at it! I tend to stare at this one for a while thinking I must get round to doing it but chickening out. I had a few spare hours when the kids were out of the house and had a crack at it. Done a few before but never with this many bends in it so was a bit nervous this time. I used a couple of good clamps to set the position of the overlay then removed about a third of the backing from the top or bottom and get that stuck down so I'm not trying to do too much in one go. It went pretty smoothly and only a few air bubbles that got popped with a needle and the air squeezed out. Great quality overlay this, nice and thick with an extra layer of transparent textured vinyl, should last a good while.

One recommendation for trimming any artwork is this: https://www.amazon.co.uk/Olfa-SAC-1-Slimline-Stainless-Graphics/dp/B000BKA6IA/ref=sr_1_5?crid=P00KVM6J5JKG&keywords=olfa&qid=1658247245&sprefix=olfa%2Caps%2C88&sr=8-5 for really clean cuts, takes a lot of stress out of the job.

HO-CPO.jpg
 

chunksin

Active member
vacBacker
Feedback
21 (100%)
Credits
733CR
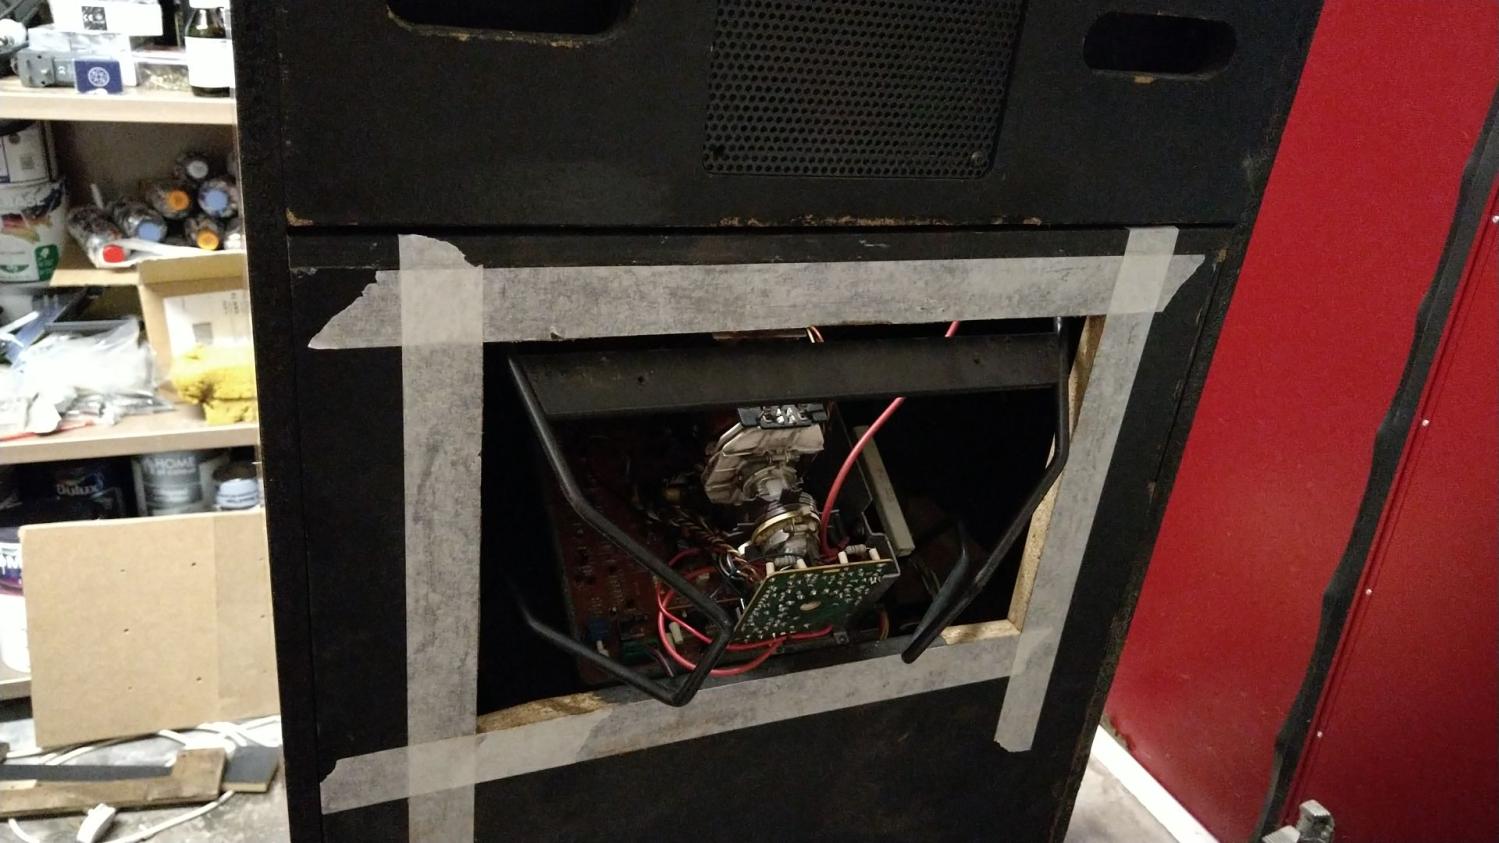
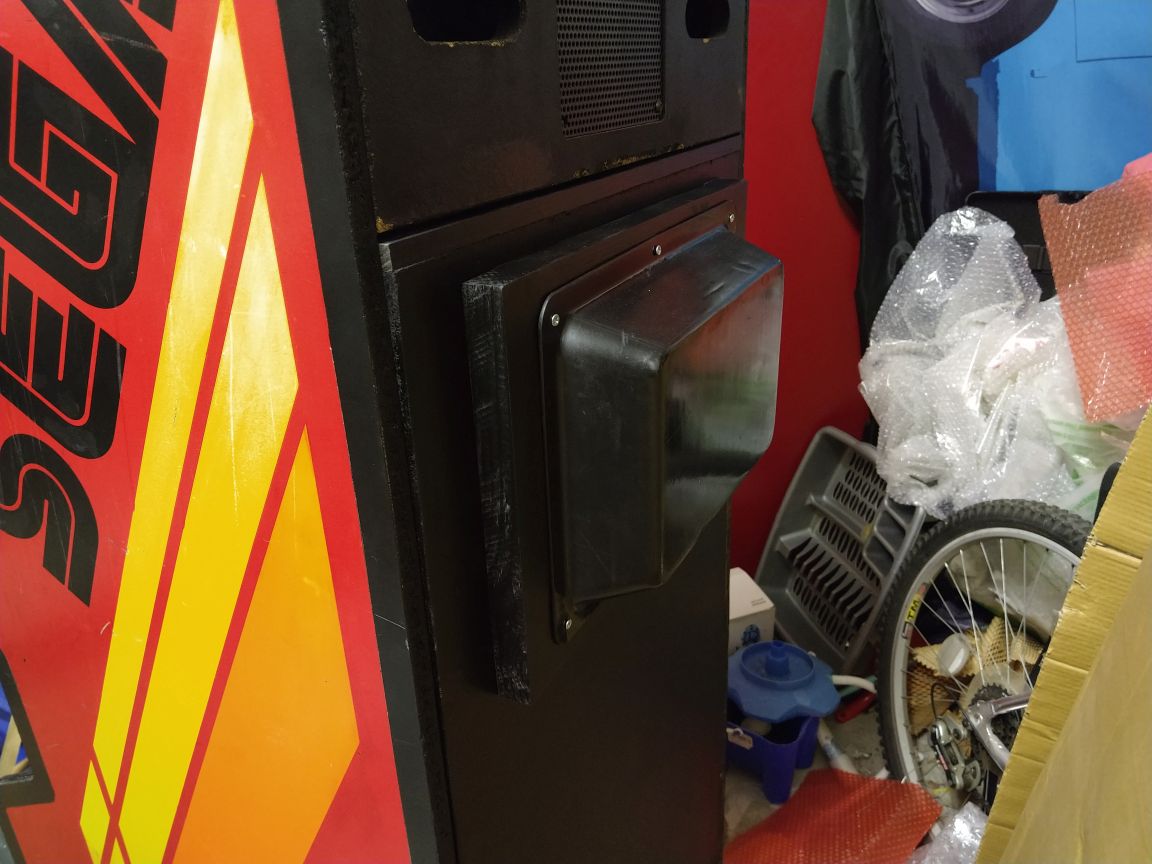
Next challenge was the back door - you'll notice in the pic of the cab at Mart's that it wasn't attached, this was because the original Sanwa 18 inch monitor has been replaced with a 19 inch Hantarex and the frame doesn't fit with the original door. The Sanwa would have had no protection around the neck of the tube at all with just a plastic box screwed over a hole in the back door protecting it so I needed to come up with a solution. One plan was to simply buy a bigger plastic box but I couldn't find anything suitable to replace it so instead I needed to expand the hole and build the door out slightly with a wooden frame. I'm not very good at thinking in 3D and luckily my wife has recently done a woodworking course so could help me out! I worked out the absolute minimum I could get away with chopping out of the door so that I could still use the original plastic cover and used a jigsaw to cut it out, then found the right size of wood to use around the outside so there was enough wood to screw into the door and cover the gap. Screwed it all together, filled in the gaps with filler, sanded and painted the whole back door.

Turned out pretty well I think:

HO-hole.jpg


HO-backdoor.jpg


HO-backdoor2.jpg
 

Vamino

Insert coin(s)
vacBacker
Feedback
22 (100%)
Credits
2,632CR
Looks good Rich.
smiley20.gif


I think that may have been Smarty's cab at Revival mate, I played a lot on it over that weekend and managed to 1cc it. I also think it's a nicer game to play over Outrun, I'd like one at some point but I just don't have the room.
 

chunksin

Active member
vacBacker
Feedback
21 (100%)
Credits
733CR
Equites said:
Looks great Rich.

I agree with you too, I think HO and SHO are better games than Outrun. I actually restored an Outrun mini to the highest standard recently, and once finished decided I didn't actually like the game and moved it on to someone who would appreciate the game more.

BITD, there used to be a computer game shop in Liverpool city centre called Bits & Bytes. They also had a couple of cabs in there, one of them was Hang-On. I would visit every other day, each day getting closer to the finishing line until finally I finished it one day, to the applause of the computer game shop staff!

I do think HO & SHO are different games though, and cannot replace each other.

I used to play SHO alot at Las Vegas arcade also in Liverpool city centre, playing it today, the sense of speed and exhilaration is still there.

I must get my hands on one again one day.

Thanks Nad, I saw your Outrun Mini and it's flippin' lovely, great restore on that cab
smiley20.gif
I've tried to play it since but can't get into Outrun, I'm sure if I'd played it a lot when I was a kid I'd love it more, the closest I got was playing the speccy version and playing the audio tape on my +2 for added realism
 

chunksin

Active member
vacBacker
Feedback
21 (100%)
Credits
733CR
Vamino said:
Looks good Rich.
smiley20.gif


I think that may have been Smarty's cab at Revival mate, I played a lot on it over that weekend and managed to 1cc it. I also think it's a nicer game to play over Outrun, I'd like one at some point but I just don't have the room.

Ah yeah, you're right, it was Frazer's Enduro Racer and Smarty's Hang On - seeing it in person again I forgot how huge the full size cab is, probably bigger than Space Harrier so glad I've got the smaller version. You're always welcome to pop over if you fancy a game any time Ian
smiley20.gif
 

chunksin

Active member
vacBacker
Feedback
21 (100%)
Credits
733CR
griffo83x said:
nice

i was offered one of these many years ago and a road blasters for £150 each hahaha

Whaaaat?! that must have been MANY years ago, the price of everything now, did you take either of them? Road Blasters is another of my favourite games from my youth, we used to go to France on holiday and the ferry had that and Rastan, spent most of my holiday money by the time we arrived
smiley36.gif
 

K1ngarth3r

Active member
Feedback
22 (100%)
Credits
845CR
That's a lovely looking machine. I played the red sit down one at the American Adventure theme park as a kid. The Intro music still gives me goose bumps.

Looking like it's getting some 5 star treatment.
 

chunksin

Active member
vacBacker
Feedback
21 (100%)
Credits
733CR
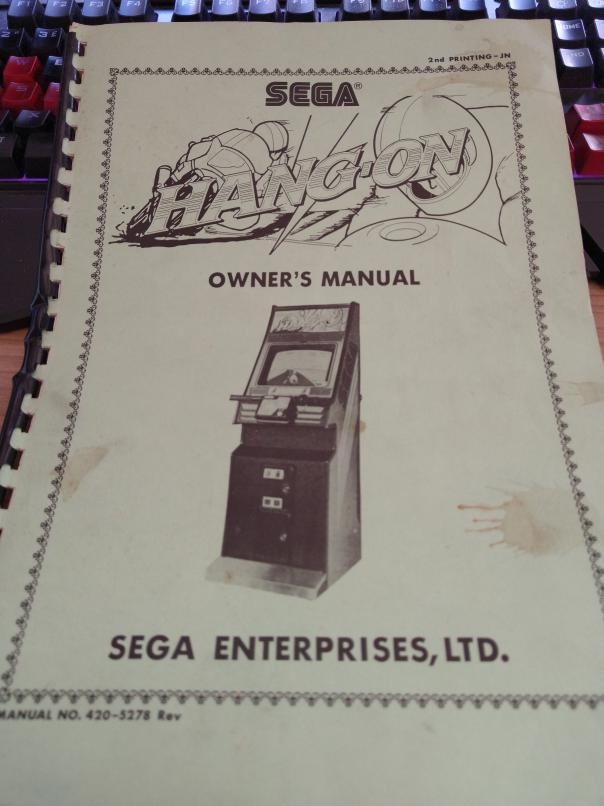
Last post to bring this up to date, I picked up a manual on eBay for the Mini version which I couldn't find in PDF format online, mostly so I could remember how to put the controls back together, a couple of bits fell off the back of the panel as I was unscrewing things and I couldn't quite work out where they came from, I'll scan that when I get a chance at work and upload onto archive.org.

When I took the controls apart there are 2 rubber stops either side of the handlebars which limit the range, whatever rubber they were made of had completely broken down to a thick black mush that you could stick your finger through, it was grim. I found some 10mm thick rubber sheet on eBay and trimmed it down to make some new ones, cleaned up the brackets and reinstalled them. I've seen a couple of others do a similar thing, just for reference the hardness rating is 70 Shore A in case anyone needs it, about the same as a trainer sole, works great.

I also looked into what the best handlebar grips to use, the ones that were already there were generic ones and they had no end caps so you can see up the inside of the handles which didn't look great and to be honest I wouldn't have been able to get them off without cutting them anyway. The originals were a kind of waffle pattern and you can actually buy replicas on eBay but the quality doesn't look the best. I went for a known brand, Renthal and the firm waffle type which are advertised as black but they are like a charcoal grey and look really nice when installed. This was a challenge too, I'd read about a few ways of installing them, some people recommend using hairspray to lubricate the rubber and once it dries it sets like a glue. Other suggestions were window cleaner spray or dish soap which I went with - these are not easy to get on at all and take a bit of brute force! now they're on they ain't going anywhere!

Putting everything back together was tricky, on my first attempt I forgot to add a couple of nuts that can only be screwed on if you hold the bolt from the back so I had to take everything apart again, I also scratched the paint and had to repaint and wait a while before trying again. The swear jar was full that day. Second attempt went much better, I wrapped the parts in thin foam packing during assembly just in case anything got bumped but it all survived without any damage.

The trickiest bit by far is the accelerator cable, you need to feed it in from the side, through a bracket and into the cog that turns the potentiometer - that is permanently attached to the main steering hub, you then have a plate that fits over the top with the brake cog assembly and pot plus all the wiring to feed through to the back of the panel. The kicker is you need to reattach a spring behind the panel after you put the panel back on! I'm sure there must be an easier way ... the good news was I didn't have any random bits left over so I know it's all secure and correct!

The all important bible:

HO-Manual.jpg


Making rubber stops:

HO-rubber.jpg


Control panel assembly:

HO-build.jpg


HO-build2.jpg


HO-build3.jpg


HO-panel.jpg


Chunksin2022-07-19 19:42:41
 

chunksin

Active member
vacBacker
Feedback
21 (100%)
Credits
733CR
I forgot, I also replaced the t-molding which had been badly trimmed down from a wider type, Sega in the mid 80s used 15mm or 19/32" which is like rocking horse poo to get hold of, I bought 19mm for Space Harrier and trimmed it down but it's a faff, Arcade World sell the correct width but its glossy (despite the photo on the website being matt
smiley7.gif
) but I tried it on the cab and it's less offensive than I expected so will stay for now.

The monitor repair is in another thread - it had colour and sync issues and took a bit of fixing but looks great now
smiley4.gif


Last bits to do, calibrate the pots as they got a bit out of whack during reassembly, I'll paint those control panel bolts black and reinstall the bezel and marquee when they come back from Olly and we should be all done!

Huge thanks to Smarty, Muddymusic and Blazerfrazer for their help
smiley20.gif
 

Mr20to5

Active member
vacBacker
Feedback
1 (100%)
Credits
1,364CR
Awesome work pal. Looks fabulous. Cannot wait to see the finished game.

I love both HO and SHO and also favour them over OR. Not sure why, if I'm honest, just do. I loved experiencing the rolling hills of OR but feel the exhilaration of speed is much better felt in SHO.
 

chunksin

Active member
vacBacker
Feedback
21 (100%)
Credits
733CR
Last last post today - speakers! the game has such great sound I did away with the stock speakers and got a pair of these: https://www.rapidonline.com/Visaton-2021-FR-10-8-Ohm-Round-Fullrange-Speaker-10cm-35-2909 and they are amazing for the size, plenty of bass too, makes the game sound fantastic, highly recommended over the normal brass no name 8 ohm jobbies. The spacing of the bracket holes was slightly smaller that the originals so I 'adjusted' them slightly with a drill
smiley2.gif


HO-speakers.jpg
 
Top