My Teenage Mutant Hero Turtle Project

JammaJames

Newbie
Credits
9CR
Hi

Here's the story so far...

I saw a TMHT cab being advertised on ebay, in full working order at a very attractive price so added it to my watch list. It sold very quickly so i emailed the seller to see if it did actually sell or if he had to remove the add to re-list again etc. He emailed me back to say that it had sold but if all falls through he would be in touch!

Around a week later i get an email to say that the cab had been on the guys van for a few days before delivery, but on delivery it wouldnt work so was then refused by the buyer? As it worked before he believed that it was just to be a bit damp, but asked if i would be interested in buying it as a non-working machine as he just wanted the space! We'll we haggled a price out and i hired a van and went and collected it!

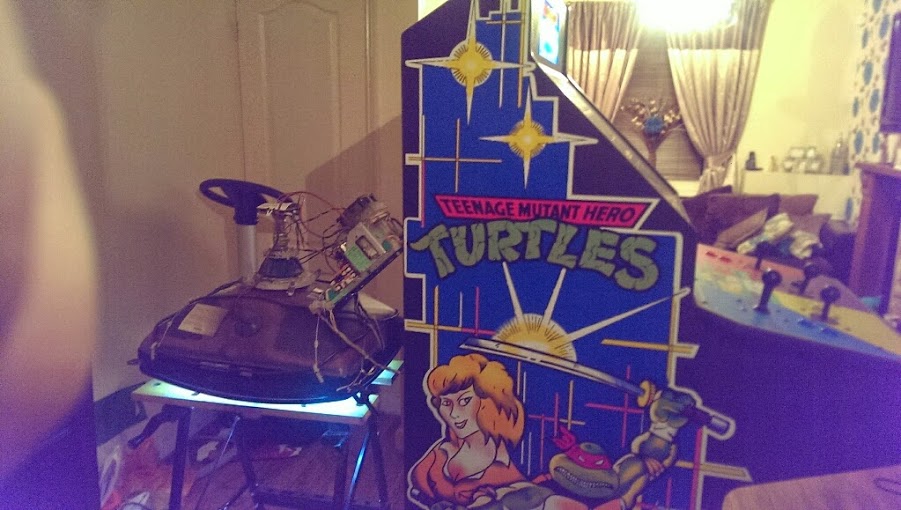
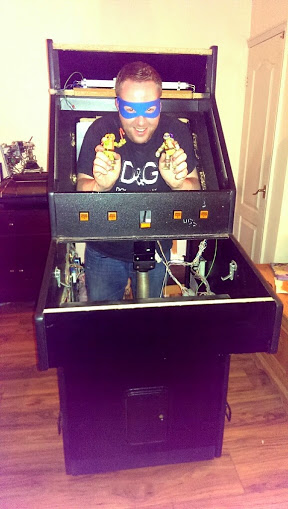
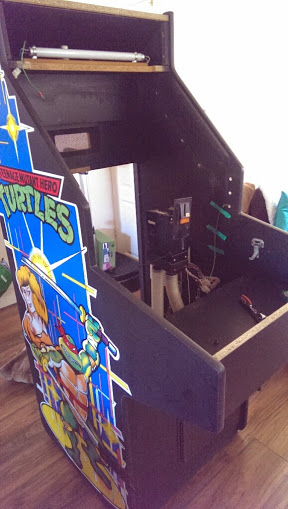
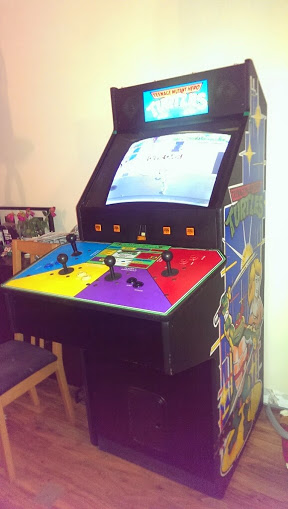
Here it is in its new home, my lounge...

%255BUNSET%255D.jpg


%255BUNSET%255D.jpg


%255BUNSET%255D.jpg


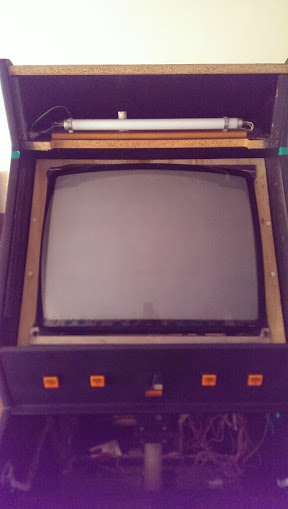
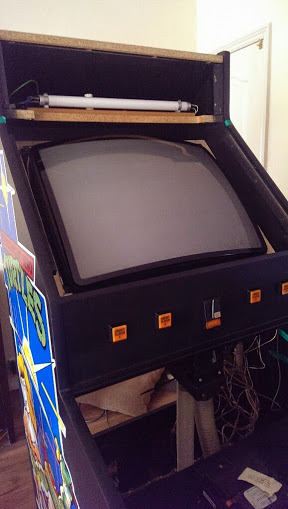
After sitting it with the back off for a few days next to a radiator i switched it on and all seemed to work, i had a rolling image from the monitor so after some tweaking i managed to get a stable picture...

%255BUNSET%255D.jpg


%255BUNSET%255D.jpg


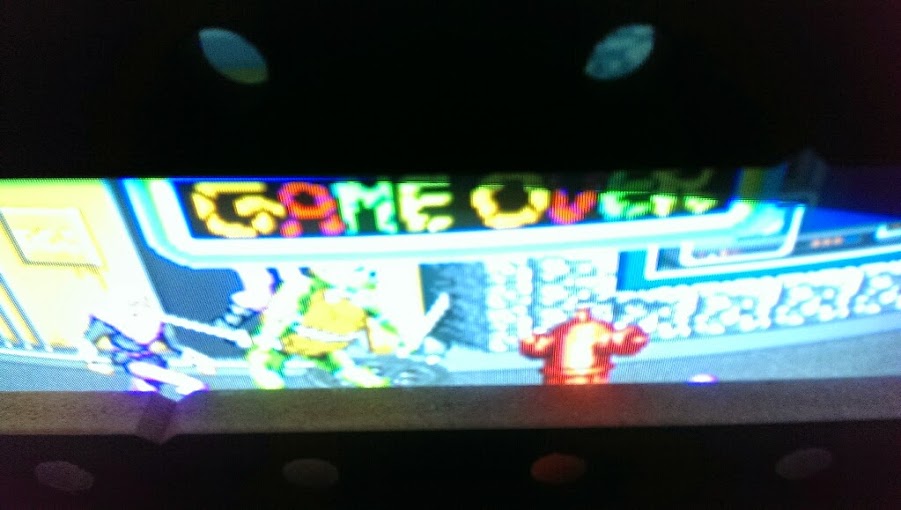
The picture seems a bit dark, although its very playable. After an hour or so of tweaking this is the best ive managed to get the picture...

%255BUNSET%255D.jpg


%255BUNSET%255D.jpg


Not quite like the picture its supposed to be...

tmnt_arcade2.jpg


tmntarcade.jpg


I'm not sure what would cause this, from googling I've found threats to suggest it could be the PCB or the monitor? I've looked at the Caps on the monitor chassis board and they seem to look ok, although i must say I'm no electrician! Unless anyone can suggest anything ill just do some more googling and see what i can find. Im very happy so far as i don't think this is a major issue at all and as i say its still very playable.

I do think its in a service mode of some kind as none of the front buttons light up and the only way i can get to play it is by pressing some buttons inside in the cab

%255BUNSET%255D.jpg


These buttons give the turtles their lives and also strangely the sound comes on when otherwise, unless in play, the sound doesn't work! I've found a manual to download online so im hoping this will help answer some questions!

Anyway even with these issues i still cant wipe this smile from my face, i keep saying to my work friends nevermind their PS4's or XboxOne's, classic arcade machines are where gamings at!!

JammaJames2014-01-14 21:22:08
 

mathj

Active member
Feedback
5 (100%)
Credits
499CR
is the monitor behind glass?

sometimes you find you can make the picture much brighter by removing the glass and cleaning off 10 years worth of dust from the screen
smiley36.gif


math
 

JammaJames

Newbie
Credits
9CR
Thanks guys,

Mathj - Yes the monitor is behind glass but it looks clean enough although i will double check this, i have the pictures working now so maybe you guys will get a better idea of what i mean, awsome idea though!

Philv85 - Ill go though the manual and look for this option, i cant see any on screen kind of menu so presume this will be something to do with the DIP switch options? I thought it might come to life when i pop some coins in but when i pop some in it does not seem to respond.
 

JammaJames

Newbie
Credits
9CR
Thanks!!

Philv85 - Thanks for the link it worked!! No i have sound on the demo mode!!

Ben76 - Im not sure what would be classed as freeplay as this is my first machine, however im guessing it was related to the red buttons i posted the picture of as whenever i press them its like that charachter has been credited.

When i put a coin in it gets ignored and none of the player or coin buttons light up?

Also can anyone share any light to what this does? (Its the chrome looking dial i circled in yellow?)

TMNT_PCB%2520what.jpg
 

JammaJames

Newbie
Credits
9CR
Brilliant, i was hoping it would be but i didnt want to adjust it just incase!!

I just want to thank you guys already as ive only been on here a few hours and you've all been so helpfull!
 

ben76

Hunts Spies
Feedback
7 (100%)
Credits
1,136CR
The coin slots aren't working if a coin falls through mate. Freeplay as in unlimited credits. Also the red buttons are service buttons basically if an engineer was working on it to test it no need for coins just press the button. You can move the service buttons to places like behind the coin return button. However I think its a good idea to leave them hidden and agree on how many credits at the start otherwise you'll find yourself pressing the button to get to the end and then get bored of the game. Best to say credit it as back in the day 20p 1 credit or 7 for a pound and practice getting as far as poss on them imo

- Ben
 

JammaJames

Newbie
Credits
9CR
Thanks for the info Ben! If I'm honest that's exactly what id like to do with it, I want to be able to put coins in and let all the buttons flash just like in the old days so then I can choose a character, then its just play and save!!

I need to make more time, I did look on line while I was at work to see if I could just buy a new mechanism to swap it with as an easy fix, however i couldn't find one. I'm sure there isn't much wrong with the mechanism which is in there, I just need to rip it out and have a look! The coin board seems new though, hopefully i can make some time this weekend.

I still feel I may need a new screen though, I'm tempted to keep my eyes open for a 25" crt as at present it only has a 20", I'm guessing it will be a simple swap, cut a bigger hole and make sure it has the right chassis?
 

cosine

Active member
vacBacker
Feedback
14 (100%)
Credits
595CR
The pots on the monitor chassis just might need a tweak, as it looks like the brightness/contrast are turned up too high.
There should be a row on pots on the circuit board beneath the monitor tube which will be brightness, contrast, red/green/blue gain, sync etc, so fiddling with them might improve the picture, though don't touch the tube, as there's a few thousand volts running though it, and it packs quite a tickle!
smiley36.gif


Not sure if a 25" CRT would fit? Bear in mind that the tube will be deeper, and you need to makde sure there's enough room in the cab for it, though it's a pretty big beast..
 

strykr

Active member
vacBacker
Feedback
11 (100%)
Credits
1,348CR
Nice cab mate, looks in good nick!

As for the picture, it looks a bit blurry as well, that may just be the pics tho, on the back of the monitor should be two pots, one for focus and one called screen which will add brightness, adjust carefully, you'll know its too bright when you start to see white lines appear on the screen.

I would say its highly unlikely the pcb is giving bad colours, how are you with a soldering Iron? Despite the caps looking ok, the monitor could probably do with a cap kit replacement.

Be careful when reaching for the flyback controls and in general be careful around the whole monitor chassis! They can carry very High Voltages even when unplugged/Off.

If in doubt, get some more pics up of the monitor and people can point you in the right direction. There may even be a local Ukv member who can take a look.
strykr2014-01-14 22:20:03
 

JammaJames

Newbie
Credits
9CR
Thanks Strykr, the cabinet, i would say, is in very good condition.

As regards the picture the brightness is all the way up! Im going to be honest and say ive probably only ever held a soldering iron 3 times in my life, i can put my hands to most things so would give it ago! I did look online and the replacement kits pictured seem to look the same as the caps installed, i can take a better picture if needed. Ive read alot about the flyback voltage so have been overly careful!
 

IndyJones

"Partial to Tooty Frooties"
vacBacker
Feedback
6 (100%)
Credits
375CR
Looks a great cab, I remember liking it from ebay, hope you get it sorted soon.

There will be plenty of people on here with advice if you do the cap kit job yourself, everyone says it's easy but I've yet to attempt it myself either but I'll have to in the end
smiley1.gif
 

JammaJames

Newbie
Credits
9CR
Well today I thought I would look at the coin mechanism, its a Mars MS111 which from google seems to be a standard unit. At the moment whatever coin I put in it it seems to just eject it. I know they don't need power to work but the plan was to take it out to inspect it.

I also get a strange beep from the unit when its left un-powered, it happens every 5 minutes or so, I'm guessing its going to be a battery/memory issue but as its in the lounge its pretty annoying!

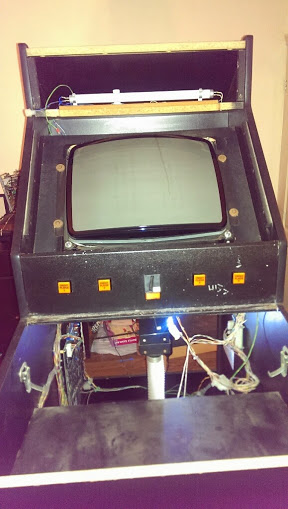
Anyway after deciding the best plan of action I had a few minutes spare so thought id have a quick play, I switched the unit on and I heard a popping noise coming from inside? There was no picture so I powered down and took the back off to see smoke coming from the back of the monitor, not the chassis but the actual tube where the plastic neck fits!

I guess from the moment I had a picture on it I knew it needed a new screen, now this will just confirm it i guess! So I'm now on the look out for a 20" CRT with chassis, or even a 25" CRT set up as there is enough room in there!
 

JammaJames

Newbie
Credits
9CR
Im due to update this later but i was wondering if anyone could help with some more info?

It seems the Crdit board may be faulty, it doesnt seem to be sending power through to the player switches or recognising a credit being put through? - The Credit board is a Quattro 1-4. I have tried Google searching for many hours trying to find info on this board or even a similar board.

Anyone know a board that i could swap this with as id much rather find something that will just plug and play?
 

JammaJames

Newbie
Credits
9CR
(Sorry for the poor picture quality, i have a faulty HTC phone!)

Well Last update was that I believed my monitor had gone, I don't know enough to fault find myself, I don't even own a multimeter, but i do know how to use google. I could see all caps looked ok and the board seemed fine to look at but that was about it. Rather than spend out on repairs (especially as the colours wern't there in the first place) I decided for me that to find a direct replacement would be my best option.

Trying to find a 20" Hantarex MTC9000 was no simple task, in fact it was a task that I've still not been able to complete.... However i have managed to get my hands on a couple of 25" Hantarex MTC9000's complete with chassis boards as a spares and repair kind of deal. The seller had purchased 2x cabinets and was ripping everything out to go MAME and just wanted shot of these monitors, he was local and told that they worked but couldn't prove this so we came to a deal and I took a chance.

I got it home and later that evening wired it up...

new.jpg


To see this...

2.jpg


Again apologies for the poor photo but the picture was fantastic! It was perfect in colour and everything i knew the original tube should have been. So that evening i set to work, I stripped the cabinet out as much as I could.

open.jpg


I decided to fit a new 3D screen instead...

open2.jpg


(Don't pretend you guys wouldn't have done the same thing!!)

open_3.jpg


Now as the unit was apart I decided to paint the front metal speaker and coin/player panels as they were a bit tatty, I used a can of mat black car paint and gave the buttons a good polish too...

panel.jpg


panel2.jpg


Then i decided to make the monitor frame, at this point (sadly) time was getting on, especially after popping out to get all the bits, so I didnt get round to taking any pictures of my handy work :(

As the frame was going to be thin I was unsure if MDF would be strong enough as these things arn't light so I decided to get some 18mm Ply wood, I cut out a frame big enough to fit around the monitor while keeping it tight, trimming bits off as I went. Then as I didnt have a cage to fit it into and I didnt want to screw this directly into the ply, I decided to make an aluminium bracket to attach directly to the monitor which will help the screen sit into the ply wood frame. I used 2x right angled aluminium strips, cut to size, bending the ends back to fit the monitors holes whilst creating a ledge to hold it in its mounted position. This is what it looked like fitted....

screen.jpg


screen2.jpg


Perfect fit! Now here's for some more assembled pictures...

panel5.jpg


panel3.jpg


screen_final.jpg


I must say I'm really happy with how its coming along. I know its not as big as some of your other projects but this arcade machine has always been a dream of mine and I can wait to finally finish it. The only issue left is the coin/credit board issue which has completely lost me, I'm sure I will figure it out in the end though!

Thanks
 
Top