Namco Pole Position Cockpit Restoration

Jon-A-Tron

Active member
Feedback
2 (100%)
Credits
248CR
Picked up this Pole Position (Namco) Cockpit from eBay a few months back. It's almost complete (missing lower seat section, rear plexi). It's in ok condition and not tested fully yet. Powered on but made squeezing noise from PSU so switched off early. Monitor didn't come on and PCB has battery leakage but can be fixed I would say.

Made a start on the restoration so heres some pictures.

Cab in all its Namco glory!
IMG_20190620_150345.jpg

Dirty monitor
IMG_20190620_150404.jpg

Chassis cleaned. Requires some work though
IMG_20190620_150408.jpg

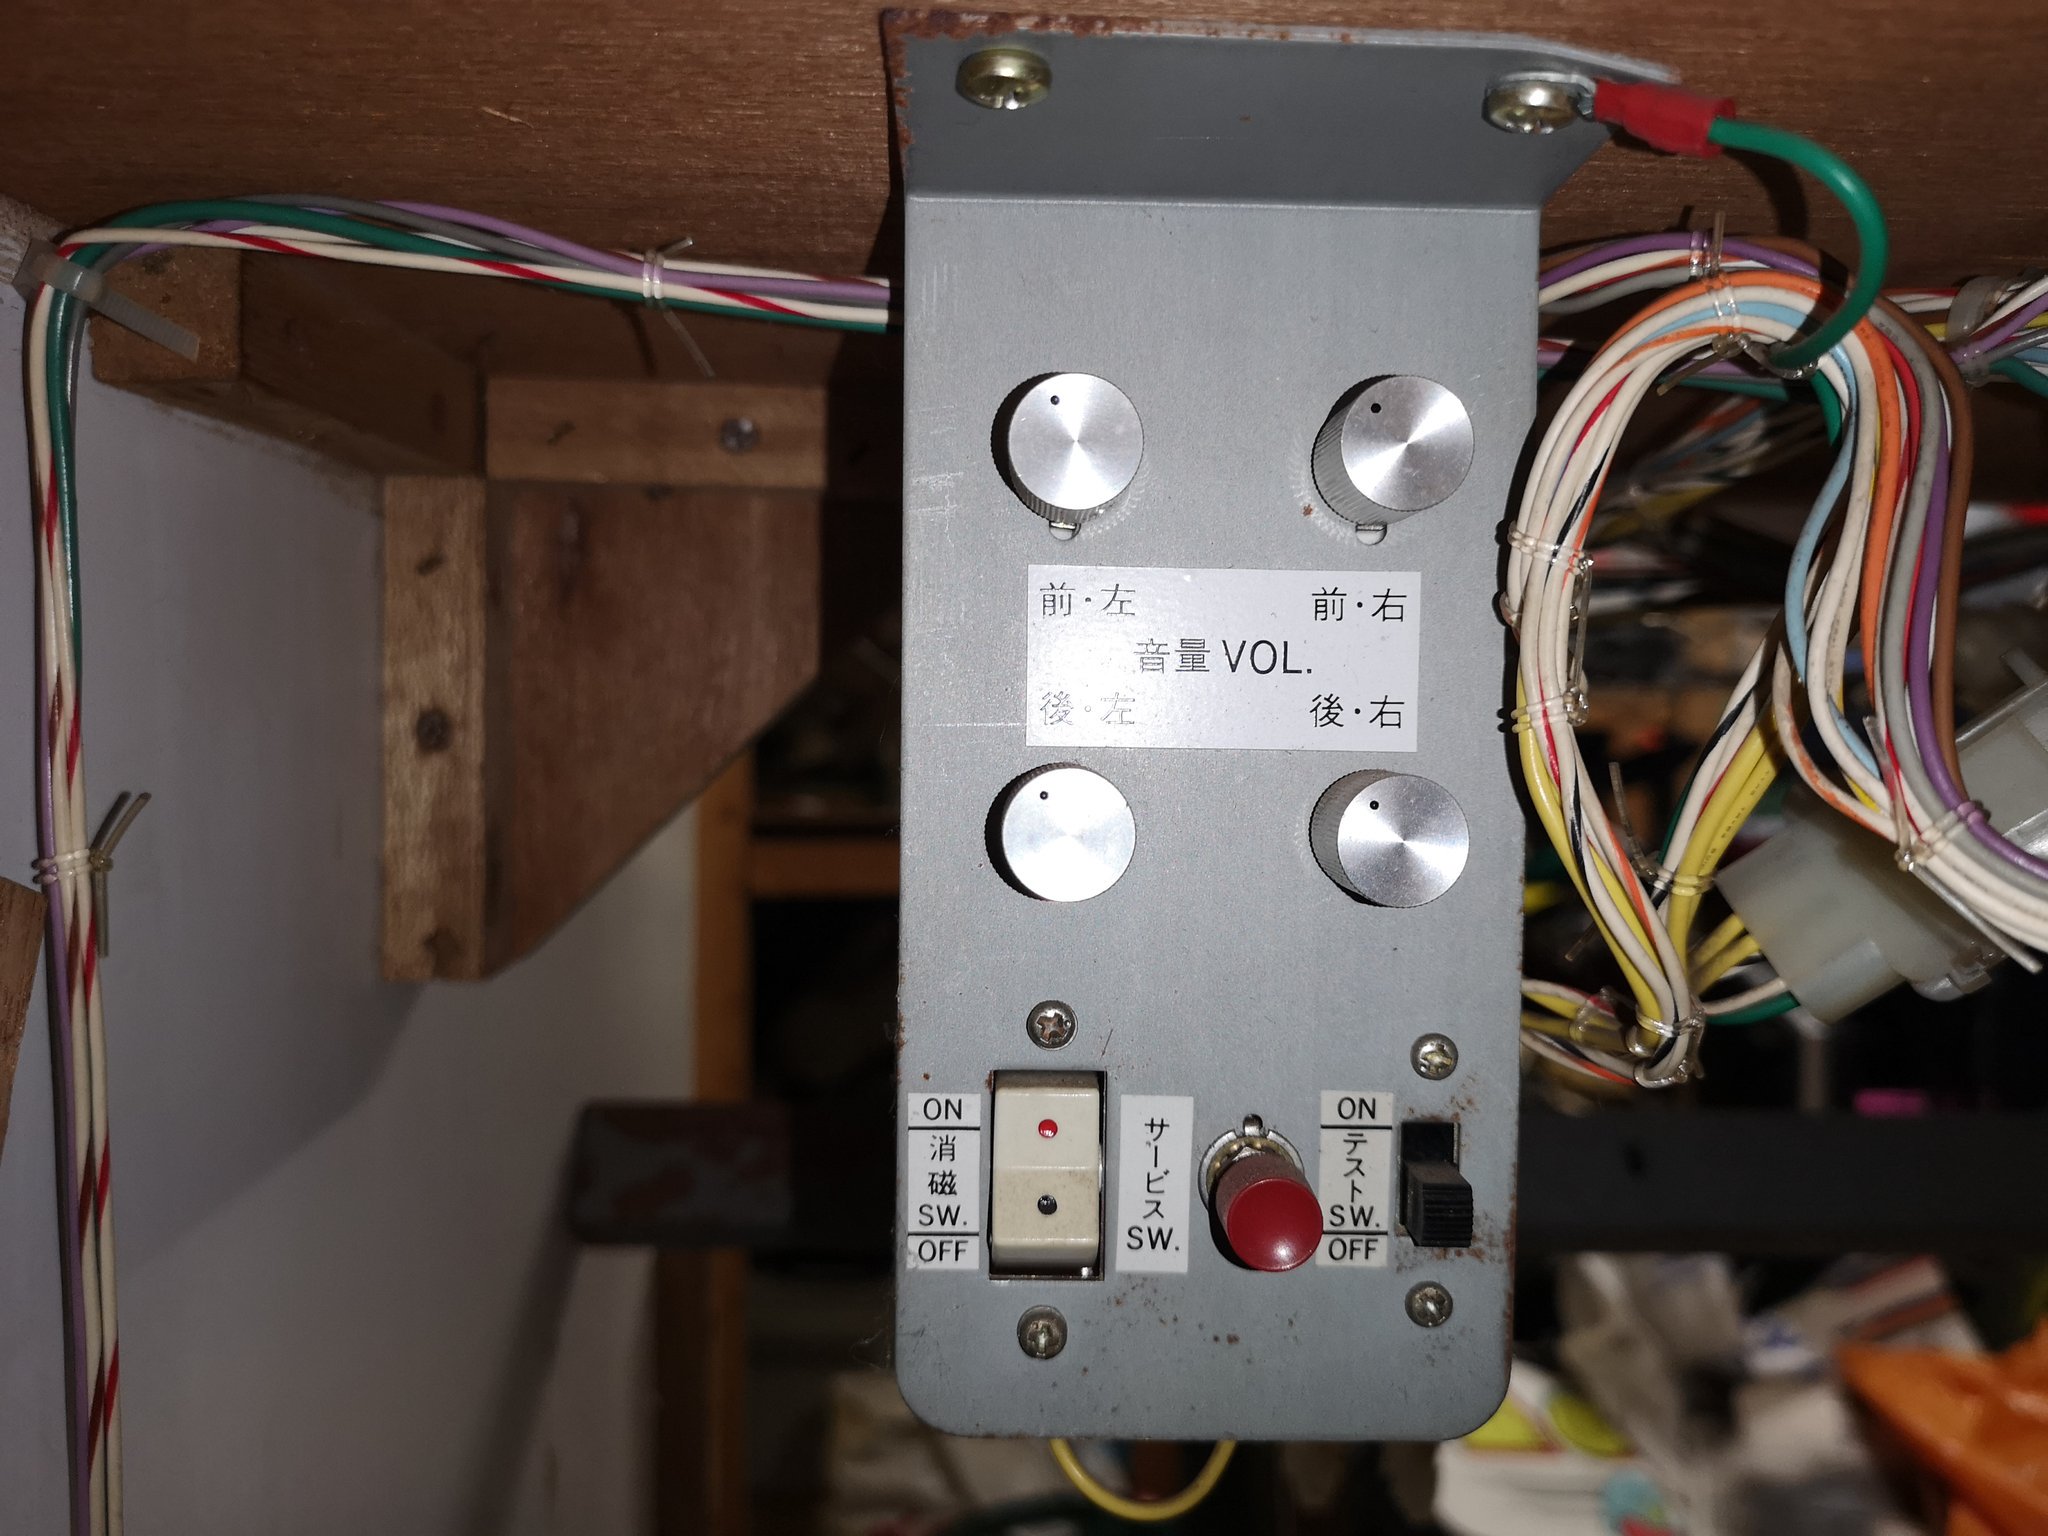
Nice service panel with original Japanese labels
IMG_20190620_150418.jpg

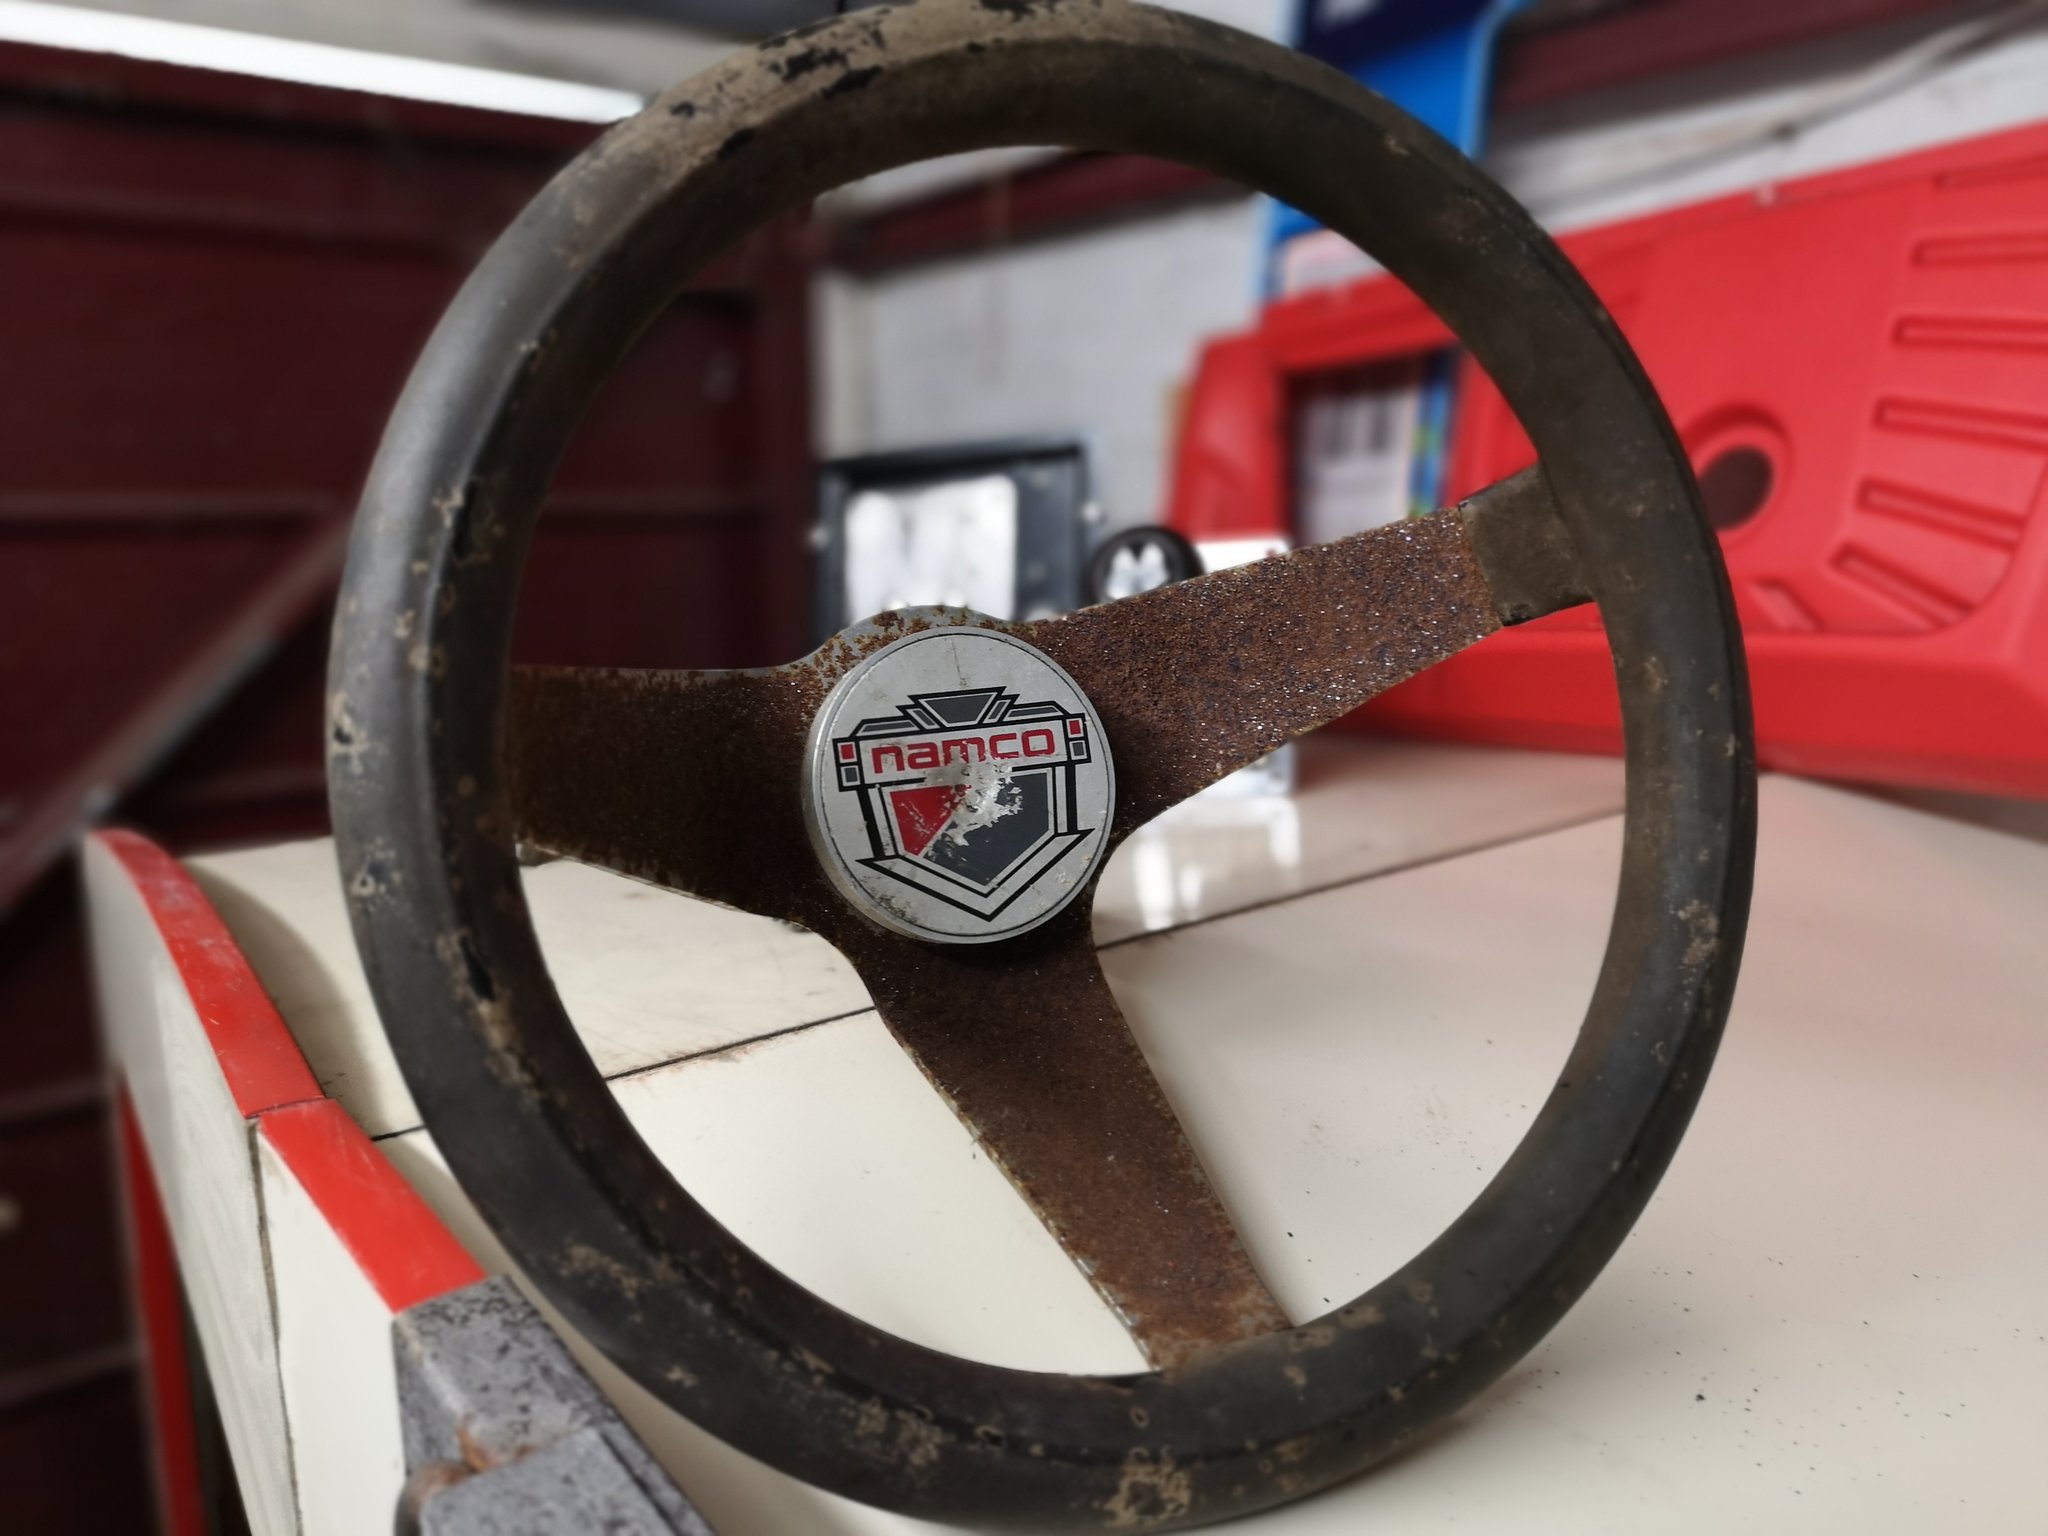
Steering wheel before..
IMG_20190620_150428.jpg

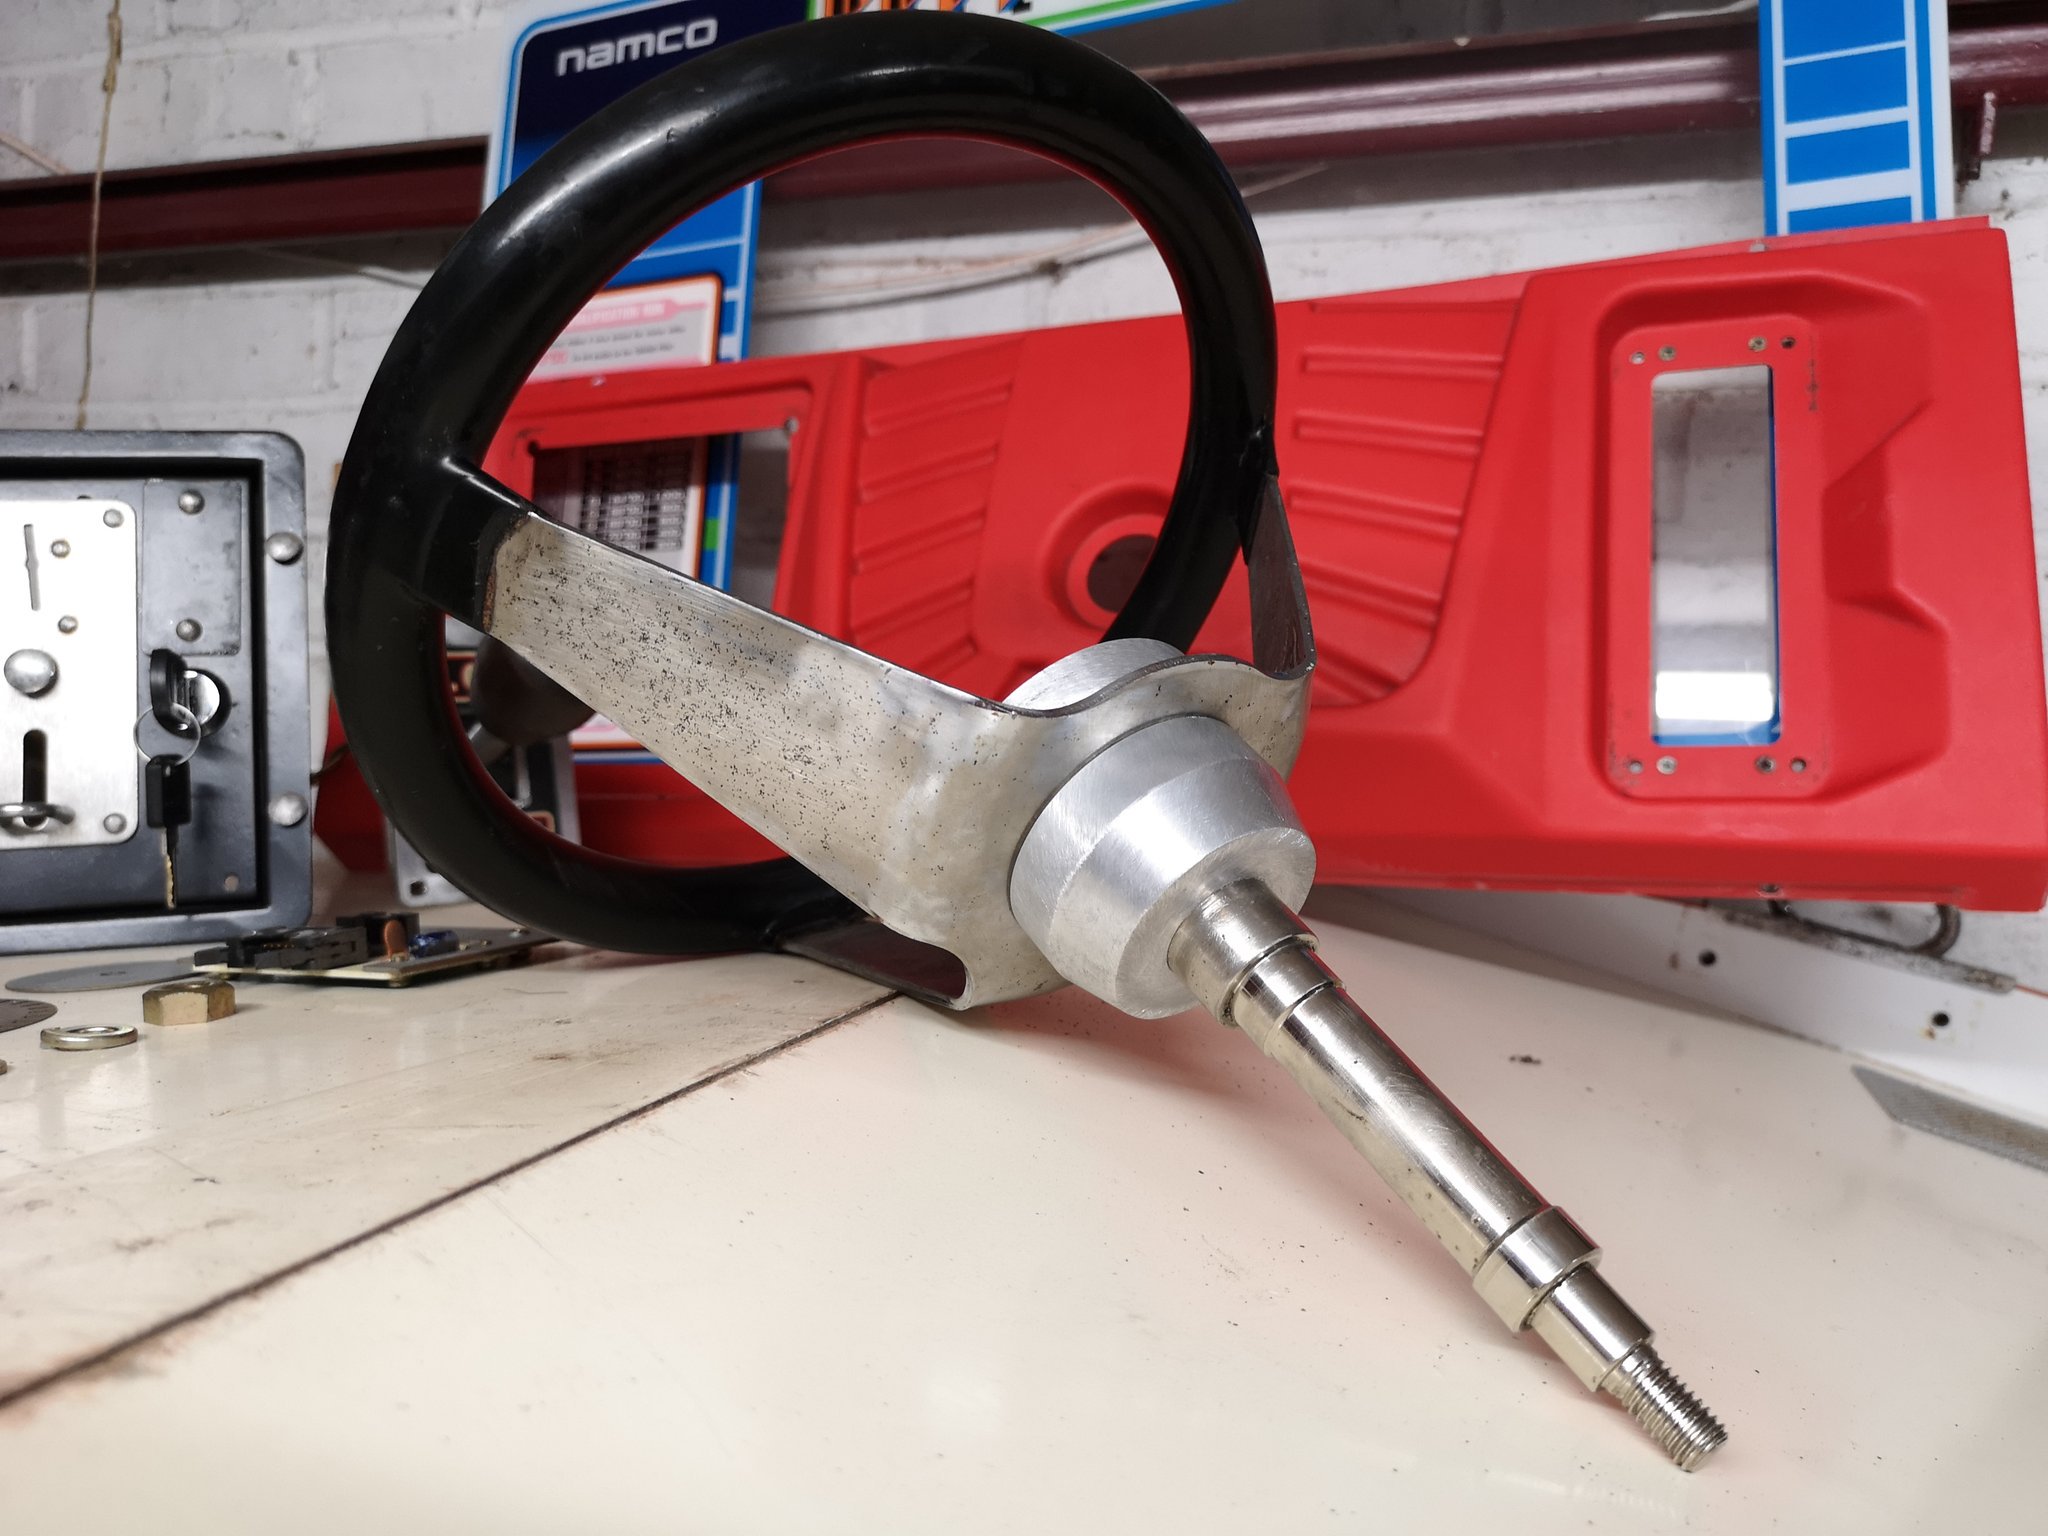
Steering wheel after..
IMG_20190620_150432.jpg

Steering wheel before..
IMG_20190620_150436.jpg

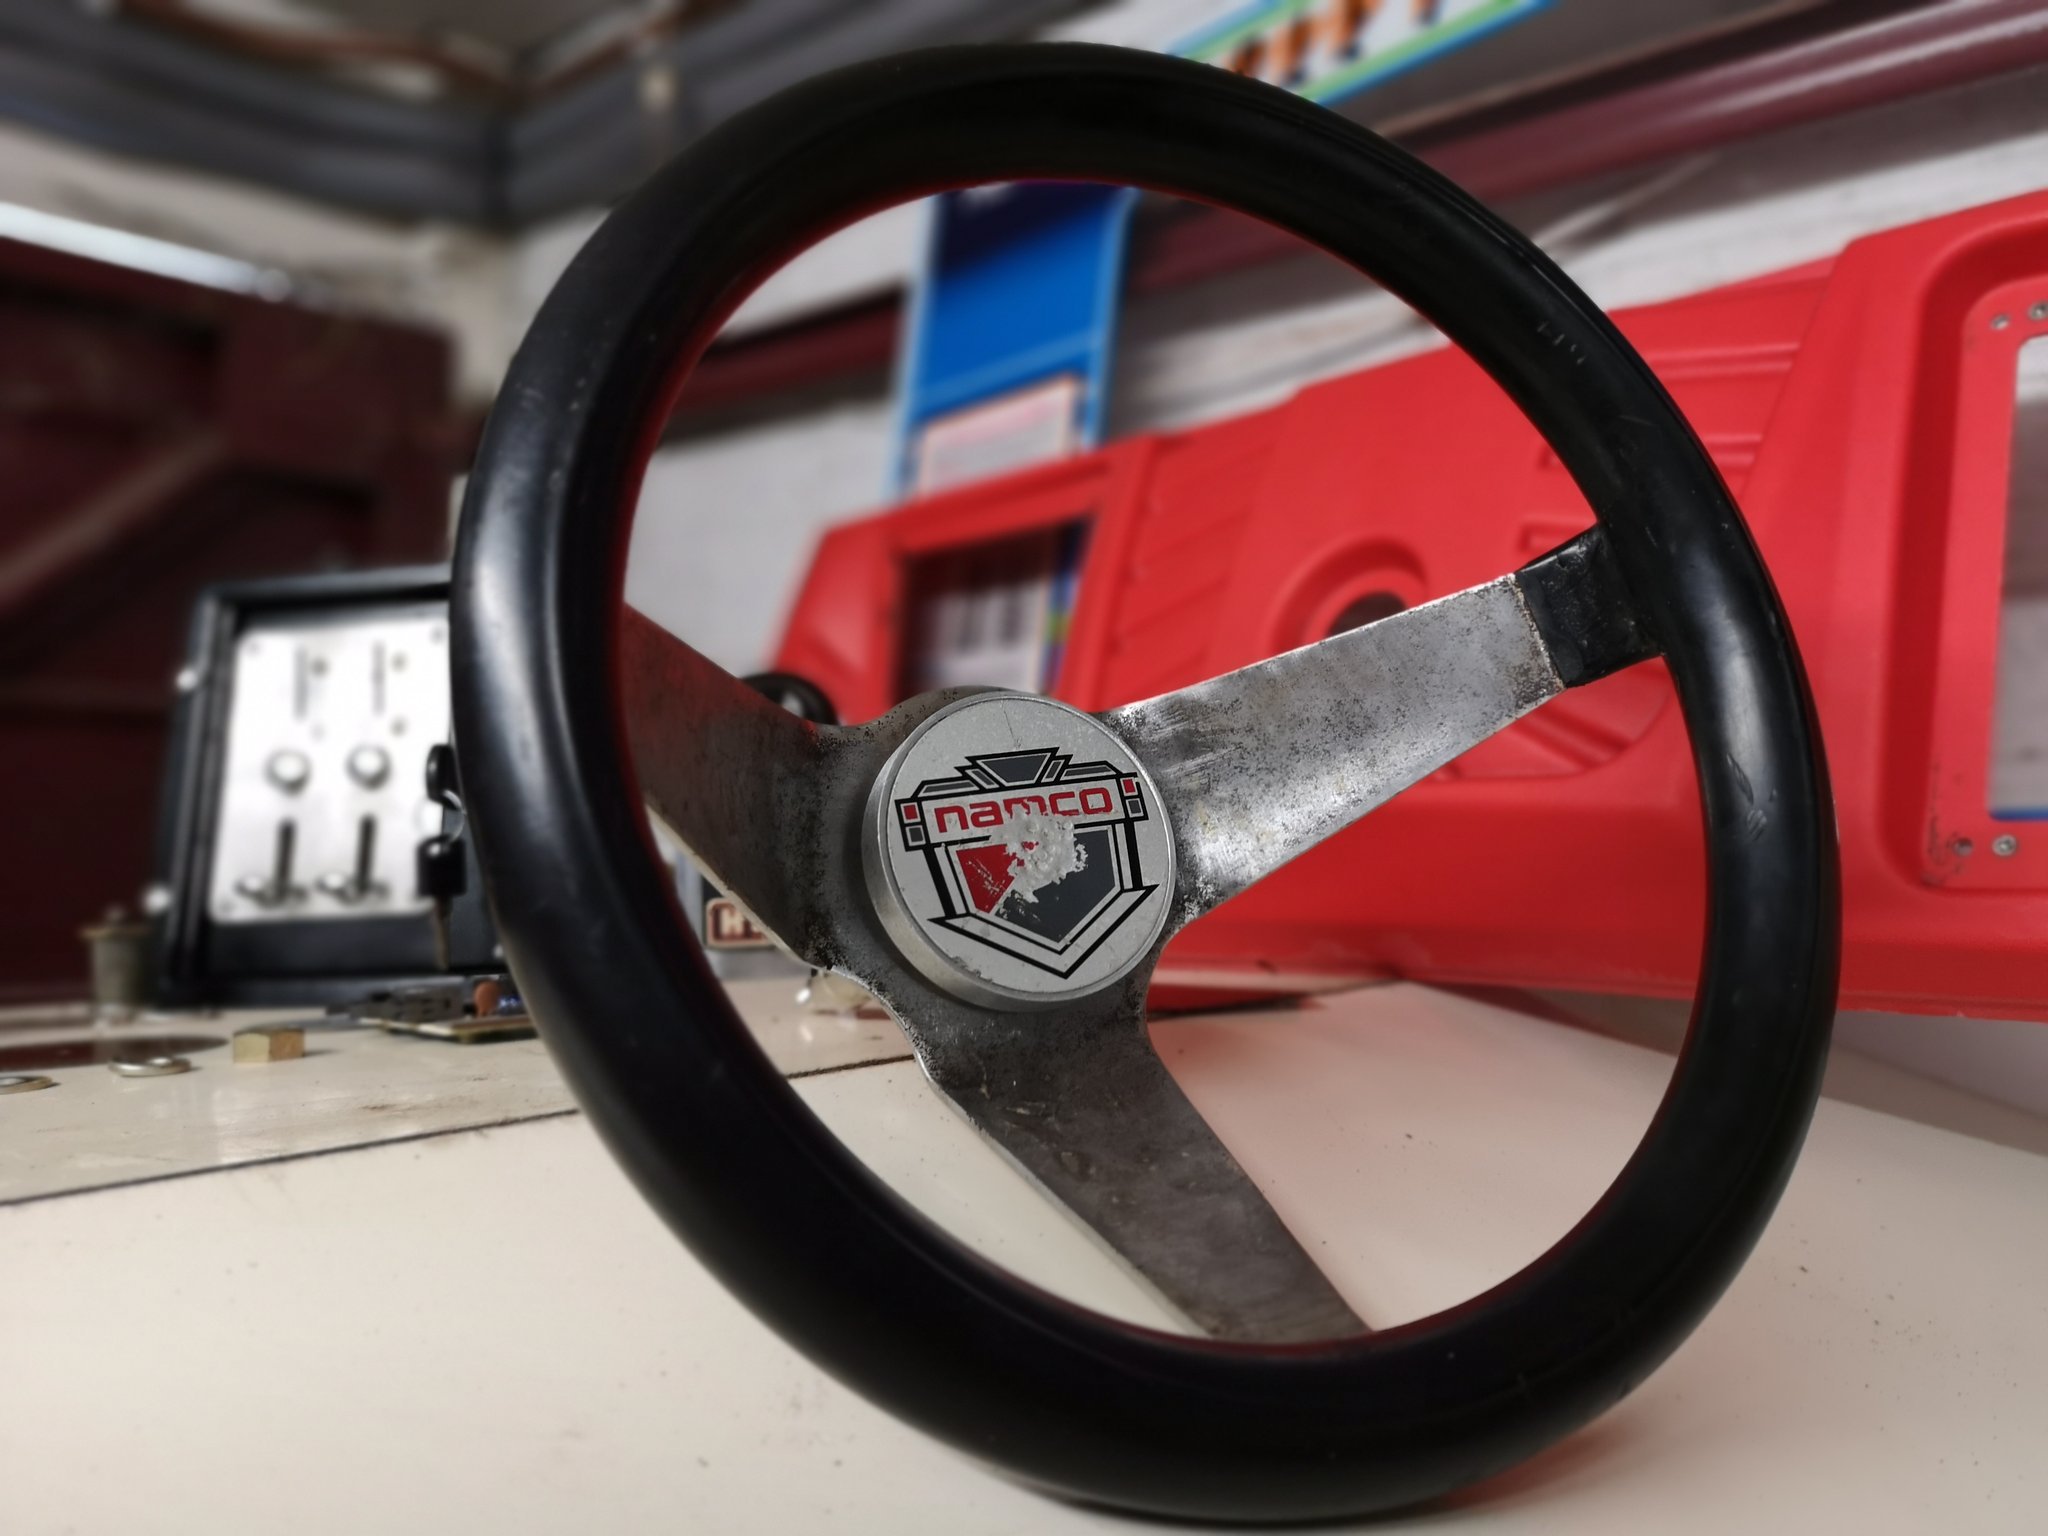
Steering wheel after..
IMG_20190620_150439.jpg

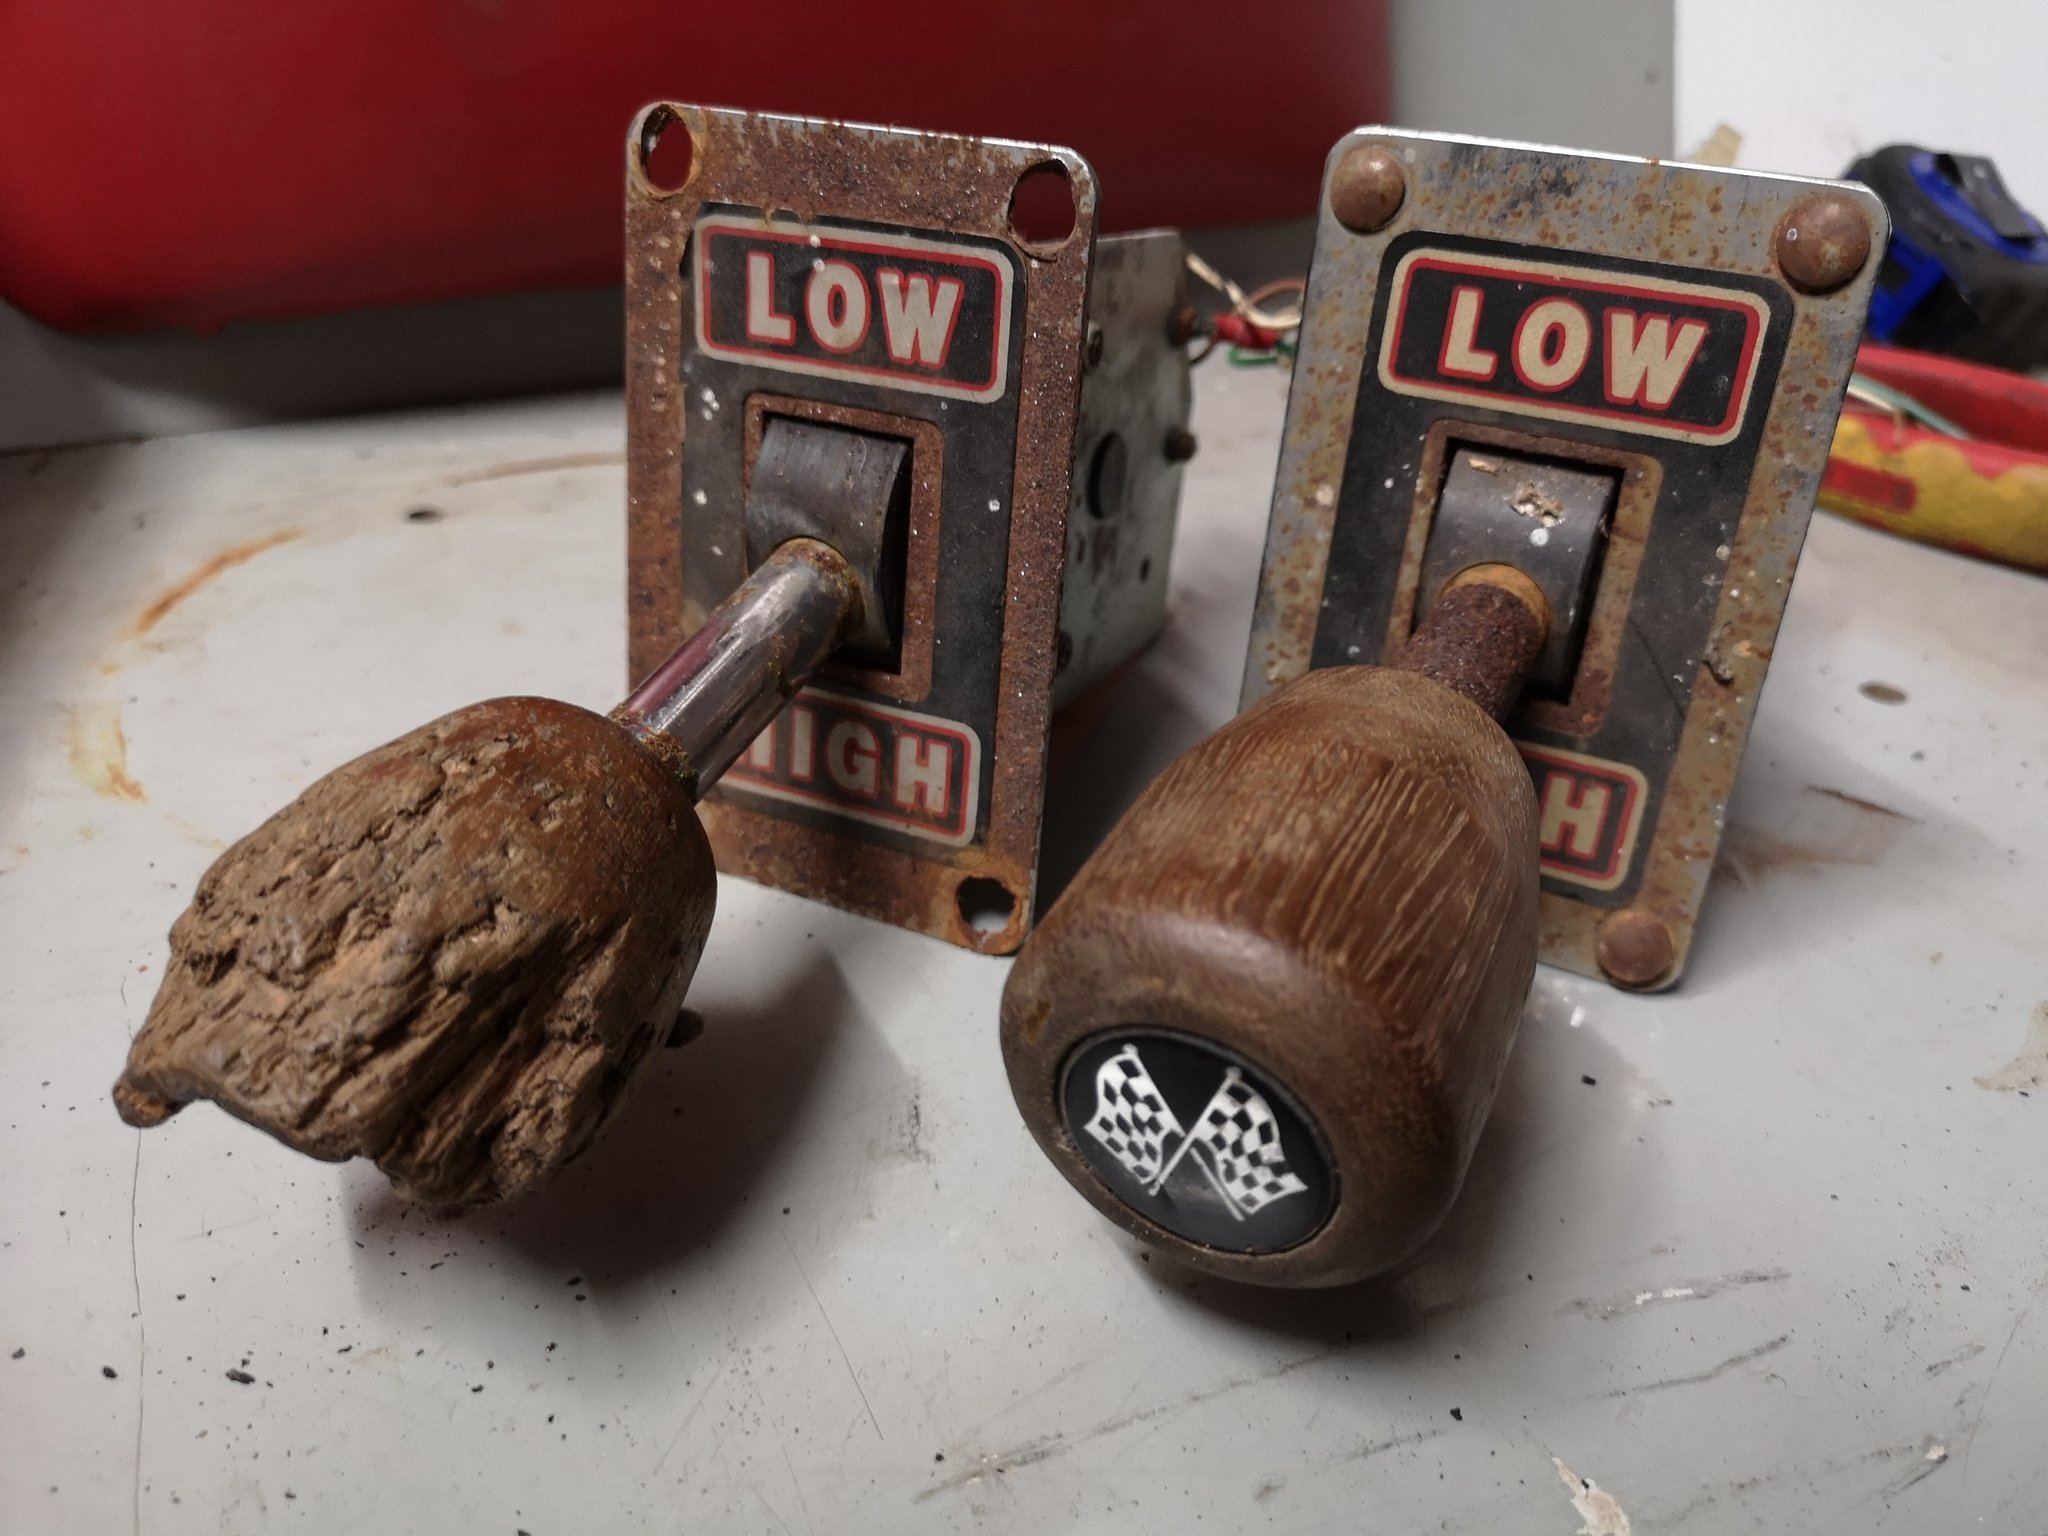
Gear shift as fitted. Looks like baby Groot
IMG_20190620_150528.jpg

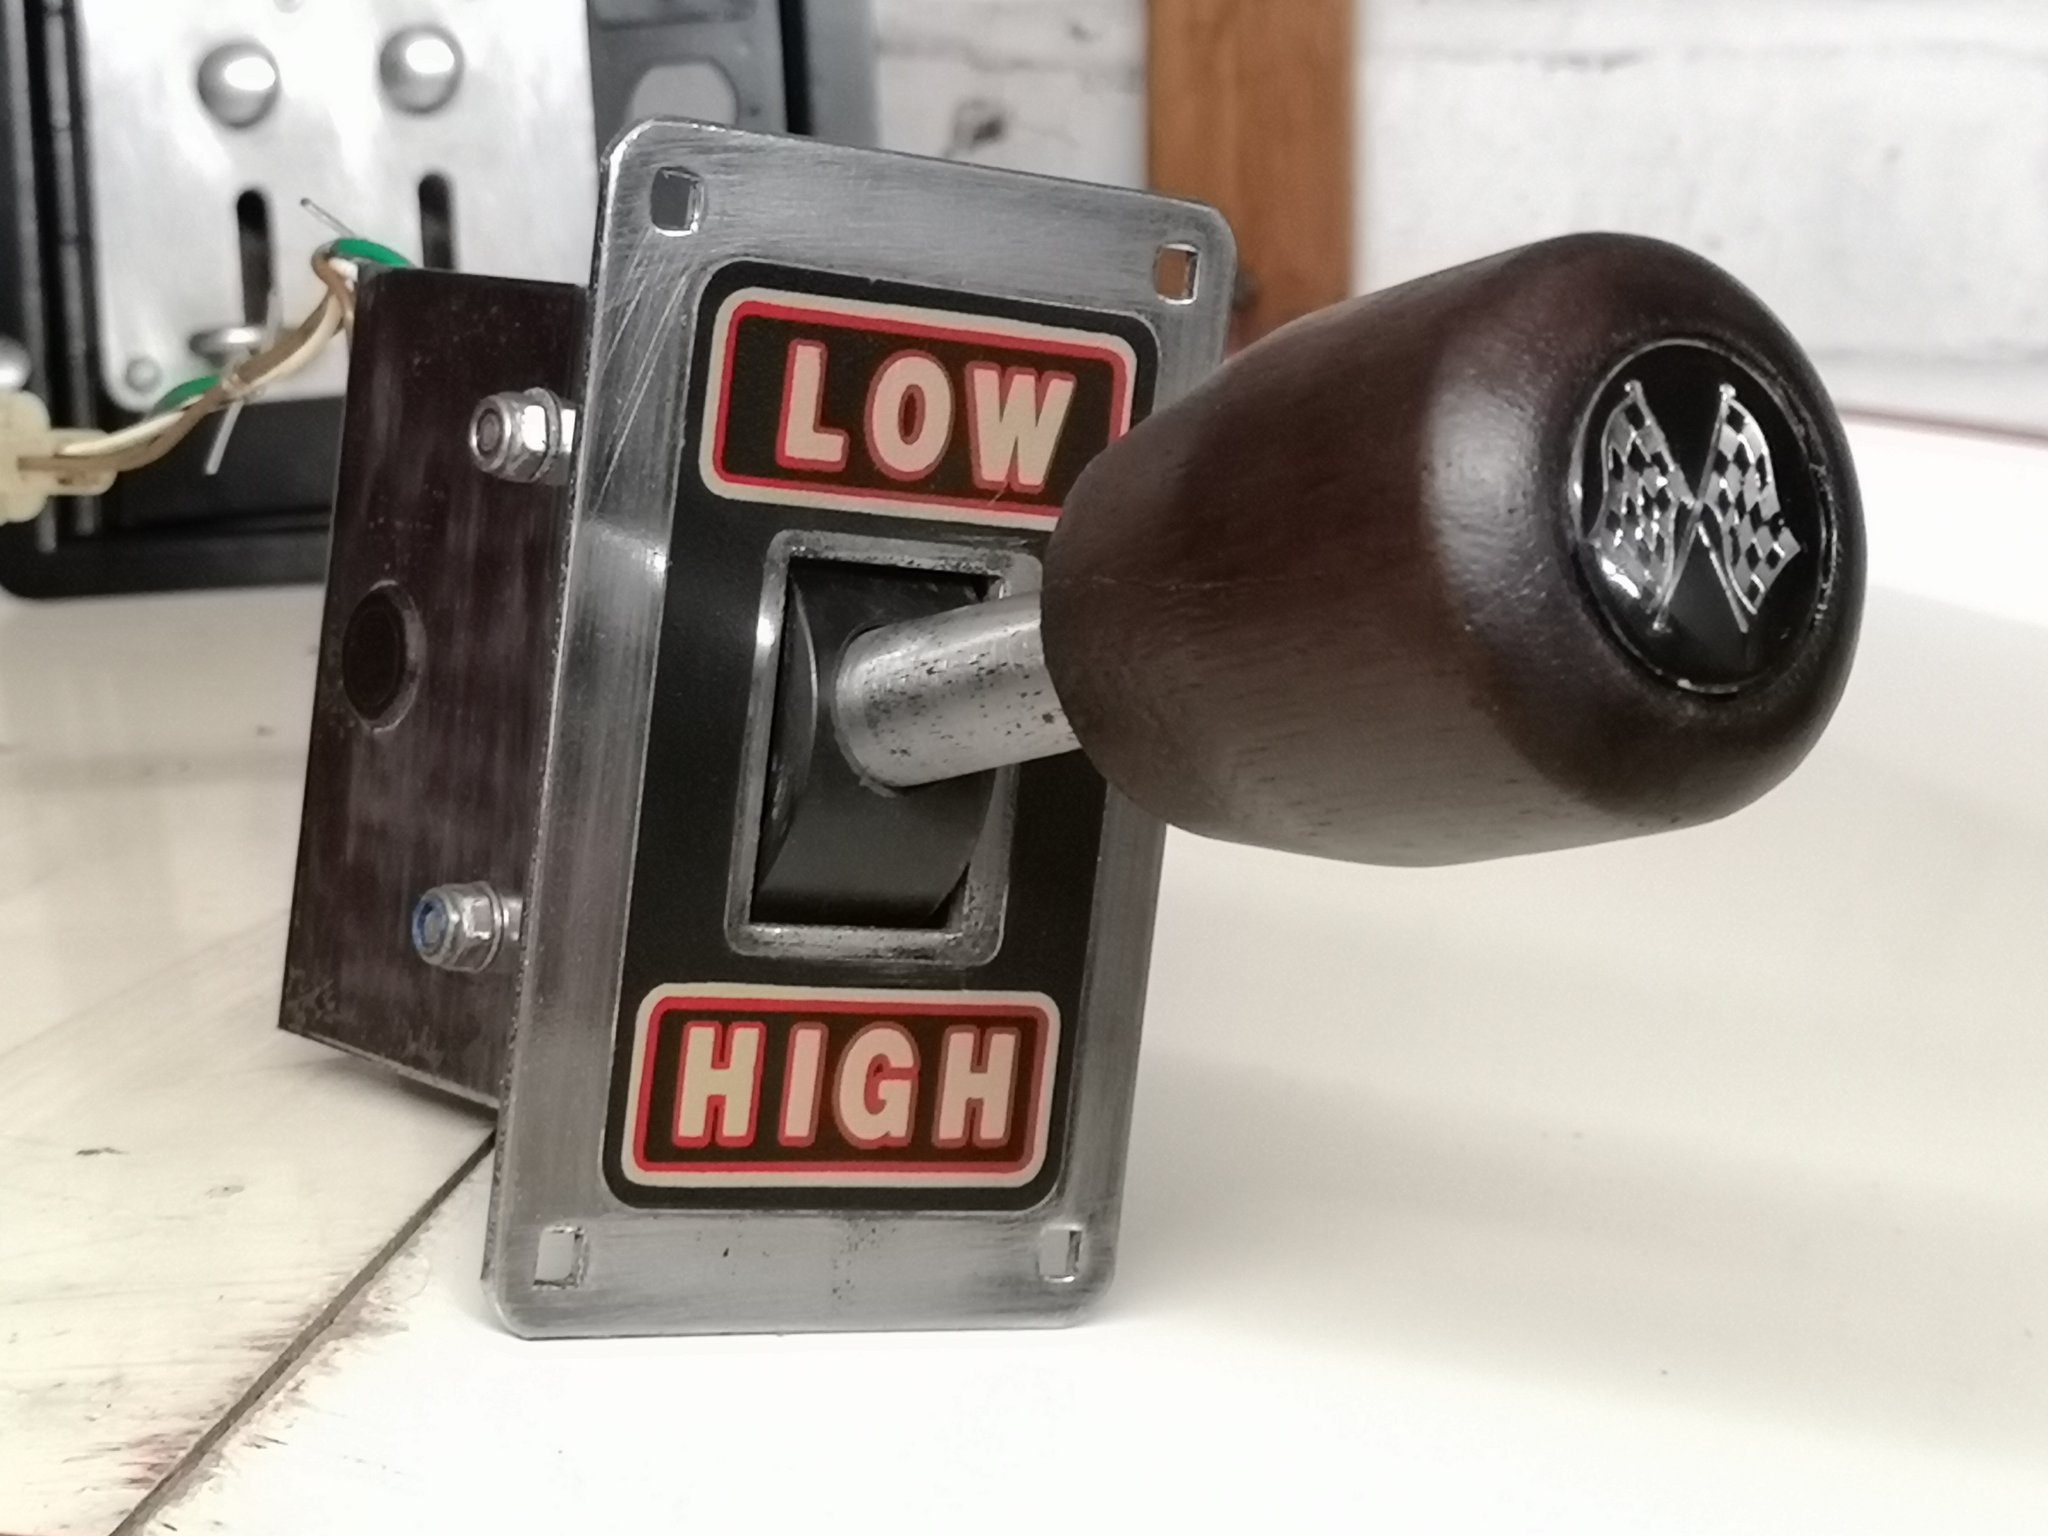
Luckily I had another one salvaged from the Continental Circus cab I got from the same guy.
IMG_20190620_150532.jpg

Restored shifter. Gave it a coat of varnish too.
IMG_20190620_150522.jpg

Coin door before..
IMG_20190620_150537.jpg

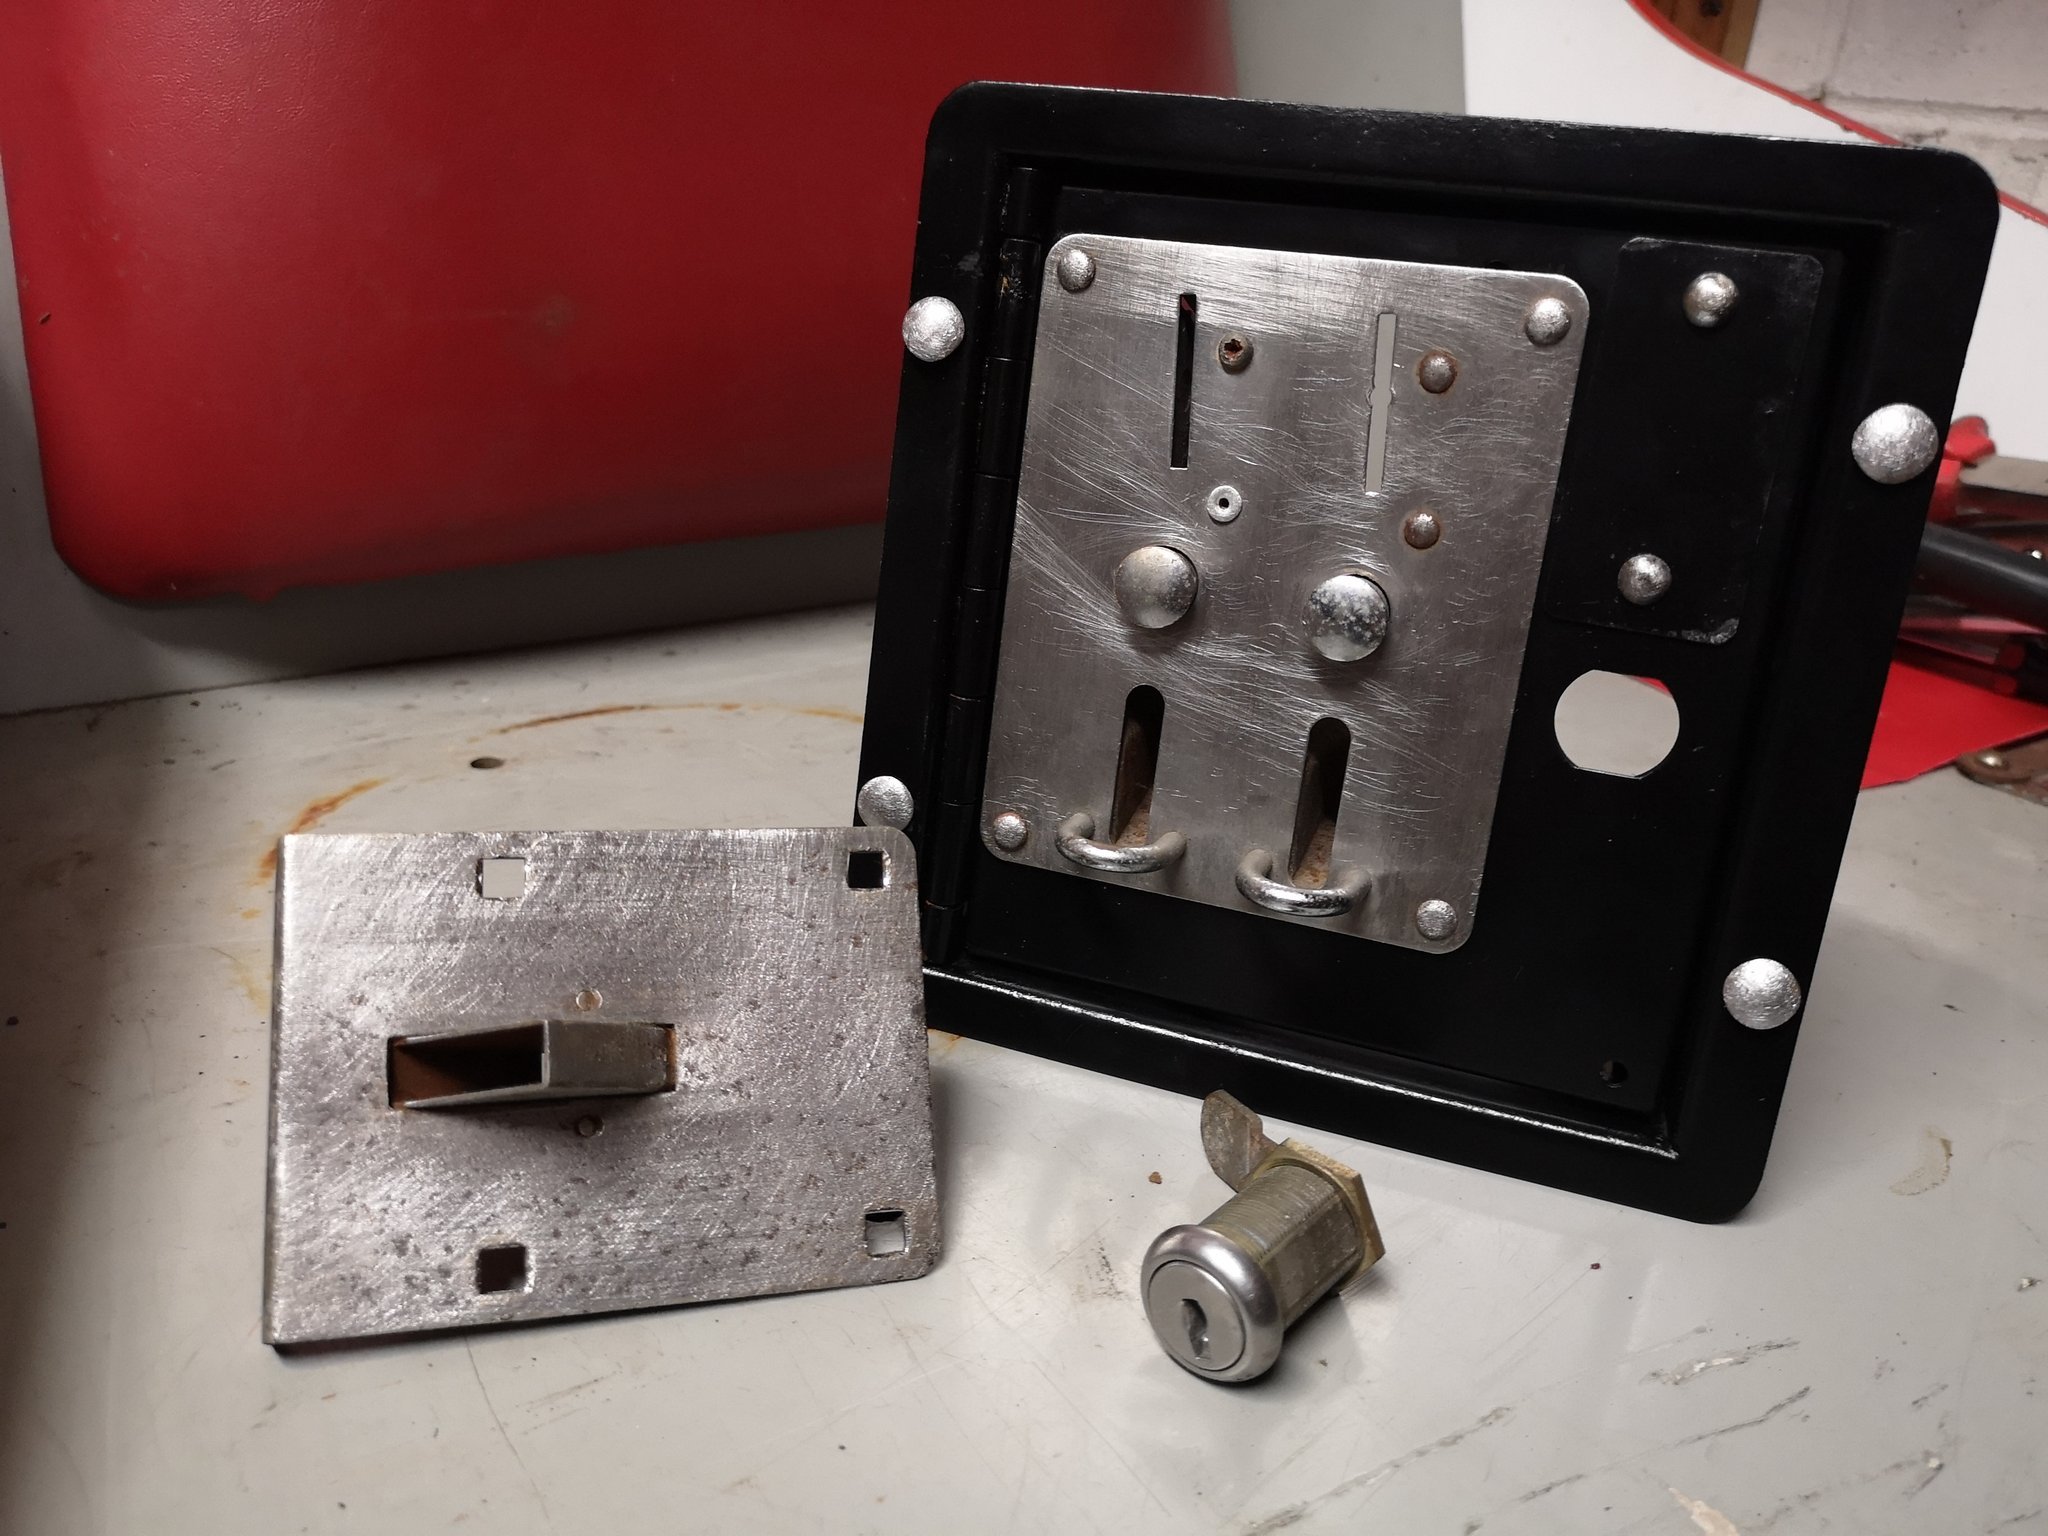
Coin door after..
IMG_20190620_150540.jpg

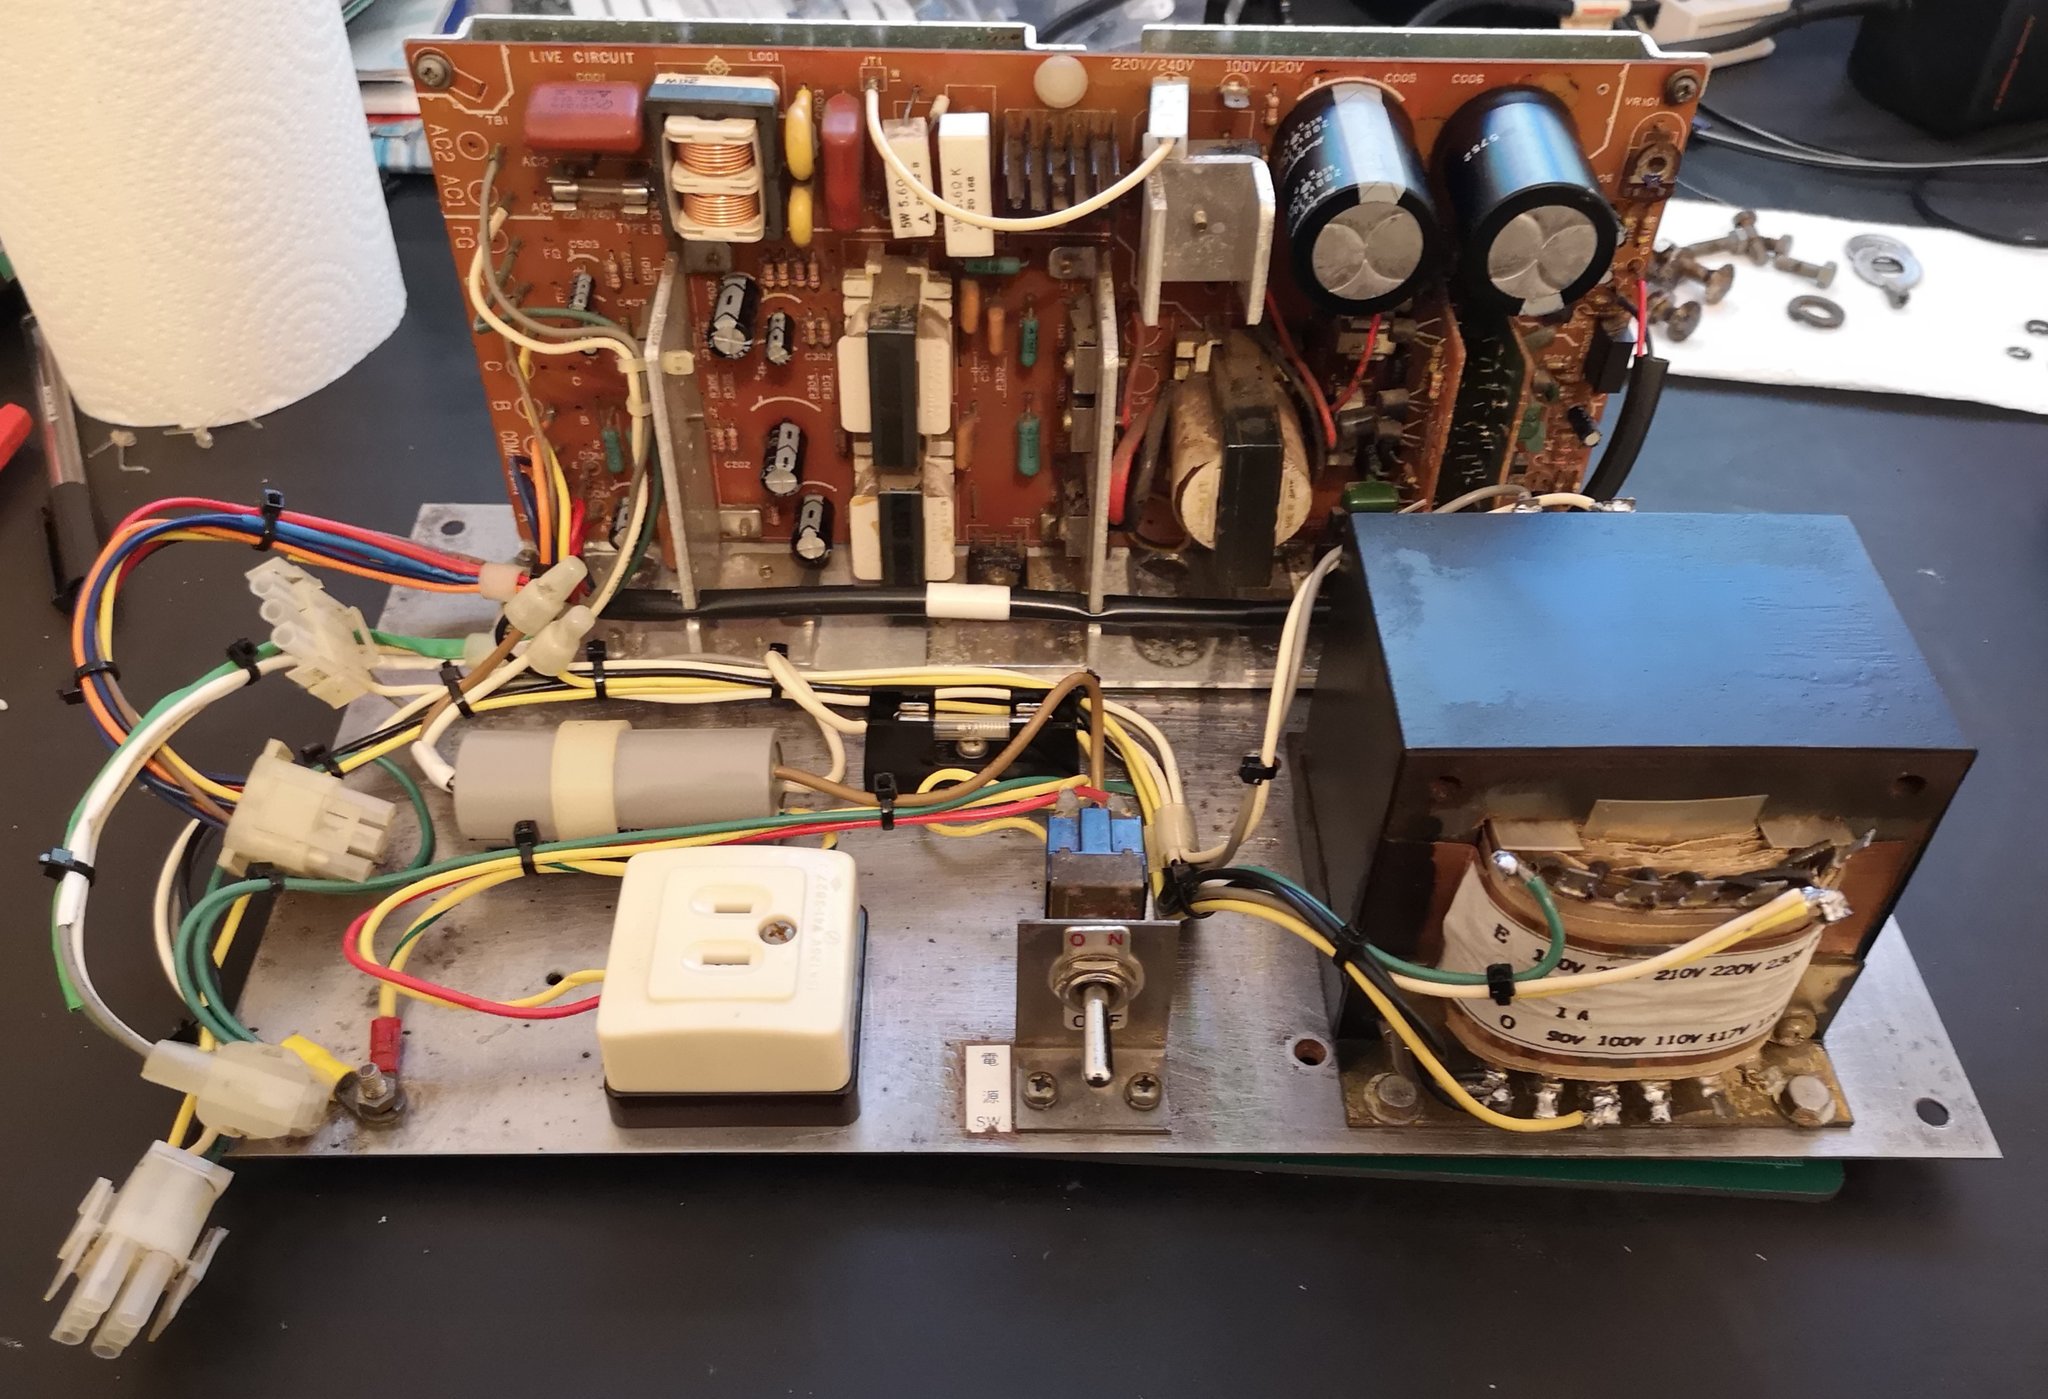
PSU before..
IMG_20190620_150552.jpg

Stripped down , cleaned and rebuilt.
IMG_20190620_150549.jpg


IMG_20190620_150641.jpg

IMG_20190620_150645.jpg


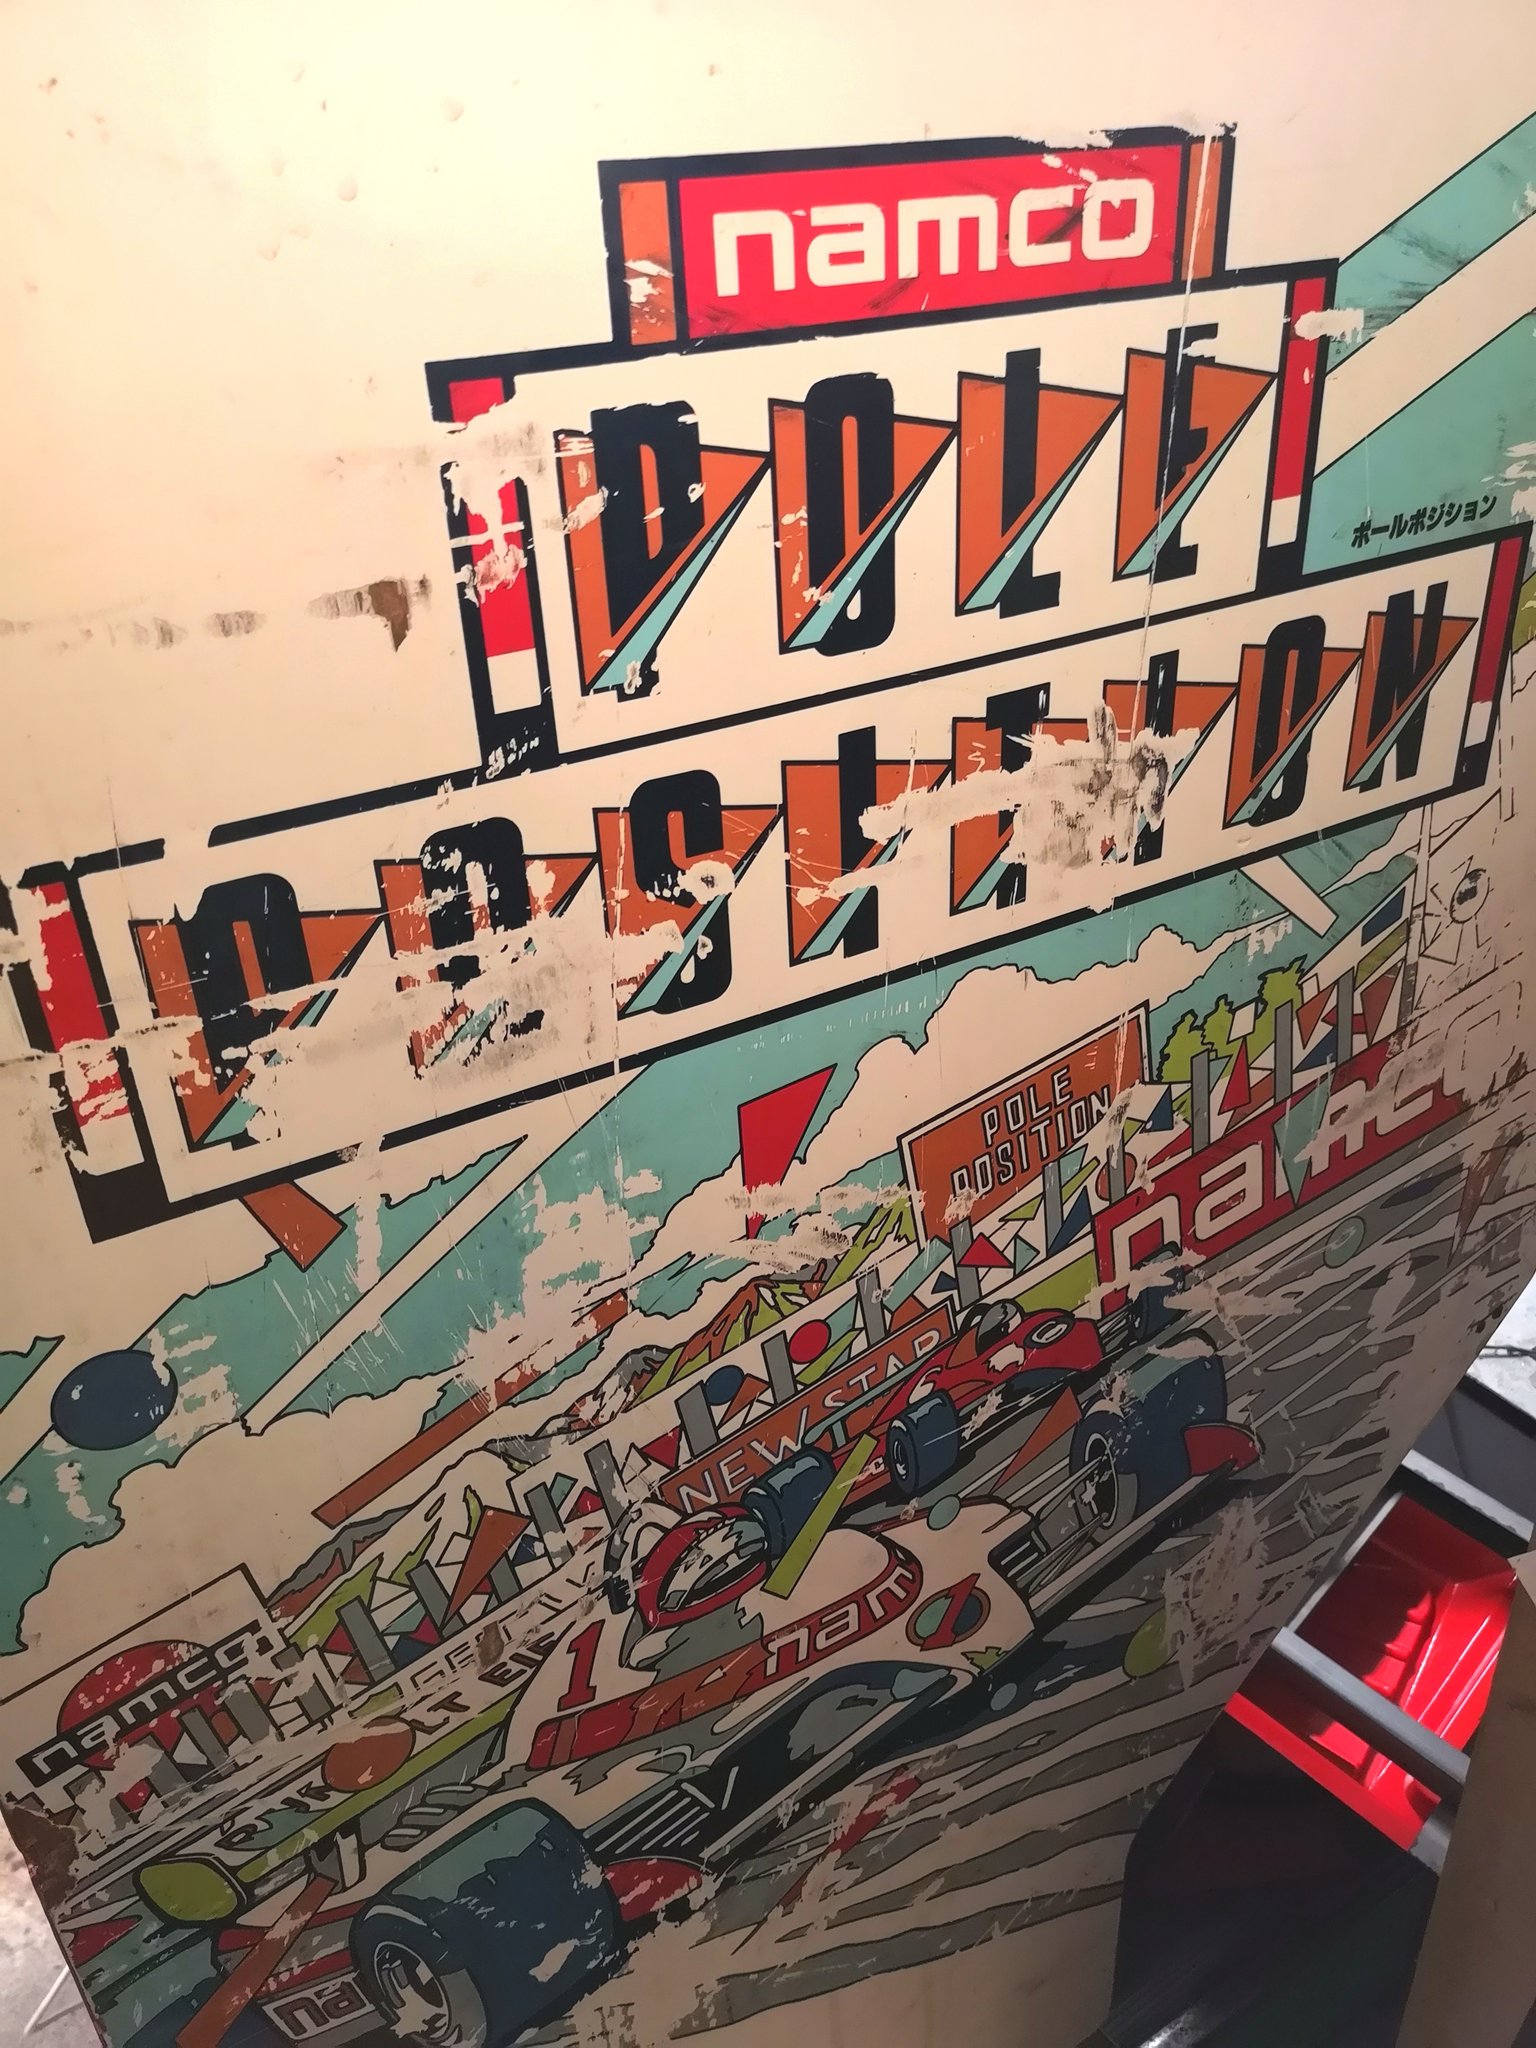
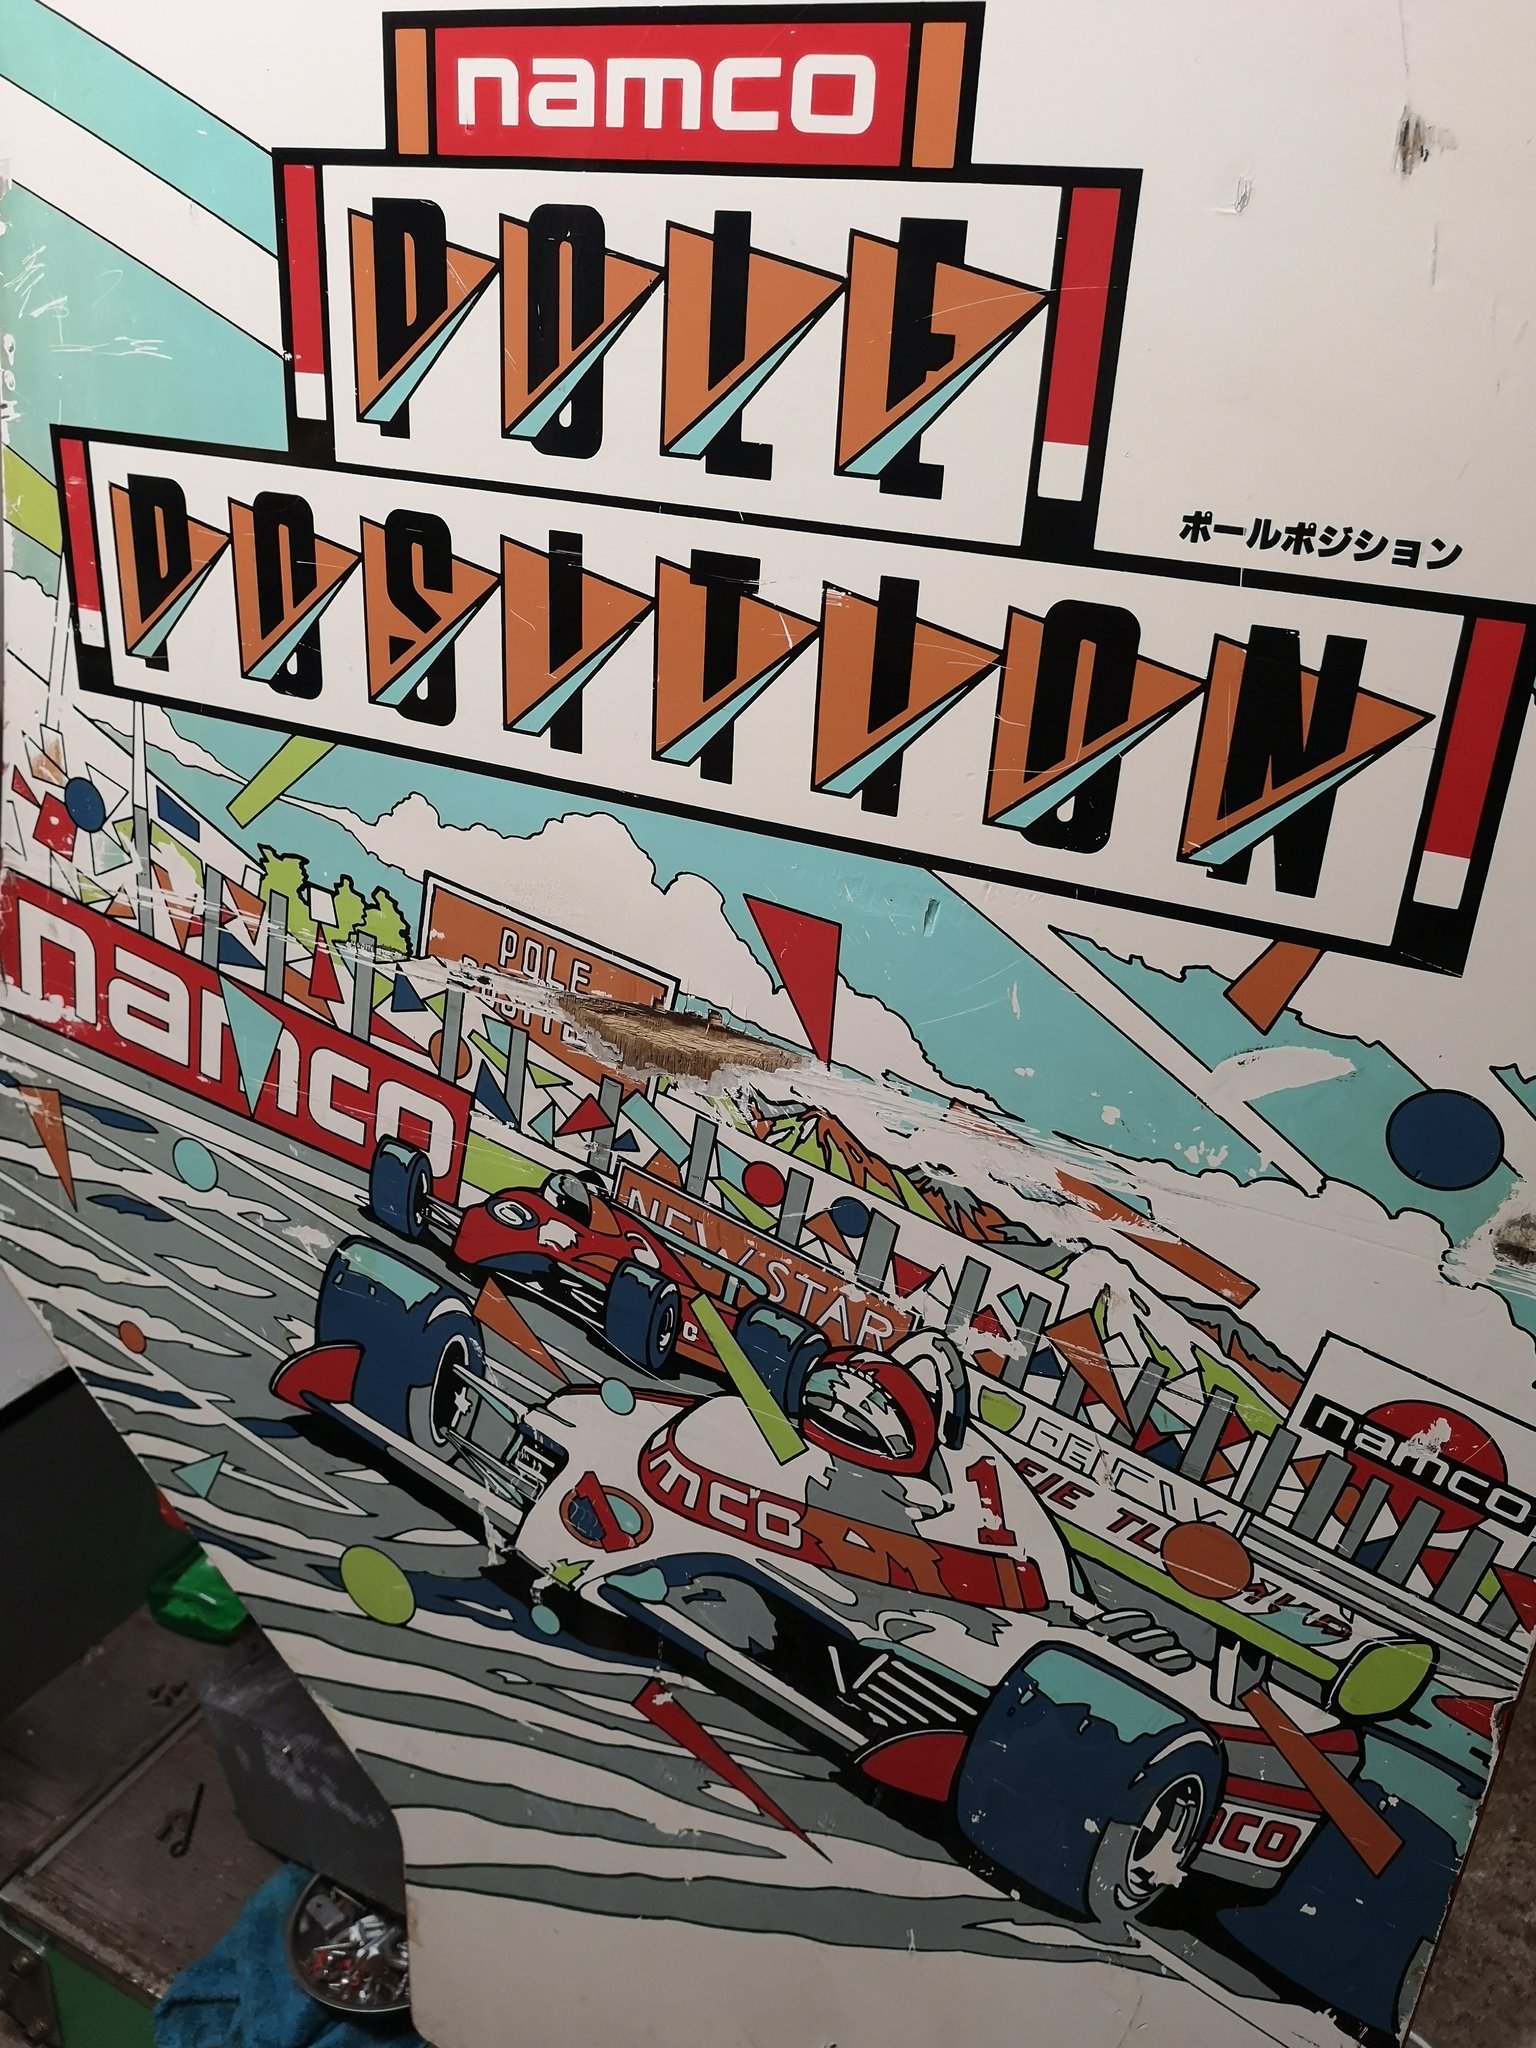
This is the side art as it is on the cab. Deciding what to do with it. Do I leave it as is? Or do I attempt to paint the missing parts back in? Or do I get new art made and fit over the top?

I post more regular updates on progress on Twitter under #polepositionrestoration if anyone wants to follow the progress. JonTron2019-06-20 15:33:35
 

Bods

Senior Member
vacBacker
Feedback
4 (100%)
Credits
5,033CR
I really like the Cockpit machines, something cool about the older machines with roof over the top so enclosed

Shame about the artwork, have similar issues with star wars, I worry about making it worse, was thinking could you do a stencil from the better side, specially the Pole Position Letters to help painting the other side, might be to much work though. Main thing first is getting the rest done and machine working

Recognised the Conti Circus Gear Shifter
smiley1.gif


I like your comment... I can't believe I own one to be fair, It's nice to see others appreciating a cab even in the condition it is, I'm the same, just happy to own something you thought you'd probably never get
smiley20.gif


What should be the rear window part be, are they Perspex originally, assume they are. Clear or tinted. wondering how you can replace that. I can bend it, but what I've done is a straight line bend, that's curved for a bit. Could be done, just wondering how

Nice to see this getting the love it needs mate
smiley4.gif
 

funhouse

Active member
vacBacker
Feedback
3 (100%)
Credits
362CR
I reckon focus on touching up the "Namco Pole Position" lettering.

Go slowly (it deserves it!) and use some masking tape to help with straight edges.

If a casual viewer can read that lettering then the rest will fit in fine.

It's much better to keep the original and touch-up rather than replace it.

Edit :"I can't believe I own one to be fair."

That's completely how loads of us feel!

When we were young the fascination we had for these things left us with a nostalgic desire for them.

LOL.

.......... NURSE !

funhouse2019-06-20 21:31:43
 

funhouse

Active member
vacBacker
Feedback
3 (100%)
Credits
362CR
I've used acrylic paints in the past.

They are good because if you change your mind you can remove them with isopropanol alcohol (check a small part of the original first as some plastics are damaged) or even water and a cloth.
 

Jon-A-Tron

Active member
Feedback
2 (100%)
Credits
248CR
Thanks for all the advice and guidance guys, really appreciate it.

For the plexi, I've taken loads of pictures of the one at Arcade Club and my plan is to work out the radius of the bend and make a wooden block to that radius. Then get a sheet of tinted plexi and gently warm it with a heat gun and bend it to the block. Thankfully it's only bent in one axis so I think it's achievable. If it works out I'll make a few just in case.

Making a stencil would be great. Maybe get some tracing paper and trace out the "good" side. Then transfer it to sections of card. I'll see what I can do. I think it's good that it's all cell shaded images as if I can work out the lines then the colour in the middle should be quite simple...maybe. Colour matching could be the biggest issue. Like you said, I'll take it slow and give it a try.
 

Bods

Senior Member
vacBacker
Feedback
4 (100%)
Credits
5,033CR
Thats the kind of idea i was thinking for curving the plastic, just need something to shape it over same as the cab, heatgun maybe and just warm that up over.

Watching Car SOS they have rear window done, curved both ways so they make profile of window and sheet of plastic goes in oven and comes out over that so radius curve in it should be ok

You appreciate and treasue these machines more when youve put all this work in, worth the effort

Totally agree with artwork, its only original so i like to keep it
 

Mr Bond

Active member
Feedback
2 (100%)
Credits
76CR
When you say acrylic paint, obviously it’s got to be mixed to be matched up, so what are we talking here, the type of acrylic paint you can get in tubes what artists etc use?
 

Jon-A-Tron

Active member
Feedback
2 (100%)
Credits
248CR
I took a picture of the sideart and used an App on my phone to workout the colours. I then took the colours to another website to workout the closest available paint pots that I could buy at Hobbycraft. Got a load of these model paints.
Screenshot_20190623_165901.jpg


Got them home and painted onto strips of paper to matchup against the sideart.
Nothing matches. The green is close and the red is nearly right but nothing matches close enough to use.
I did buy some black paint pens and they are perfect though.

I think I'll have to get those acrylic paint tubes and sit and mix them till I get it right.
 

Mr20to5

Active member
vacBacker
Feedback
1 (100%)
Credits
1,365CR
The acrylic model paints are good, but you are always going to have to mix, hence my earlier post. Even when you get a match, a foot further down it probably won't match because the cabinet will have faded differently over each panel, based on positioning in sunlight etc

Still doable, but lots of mixing/matching ahead.
 

_Matt_

Active member
vacBacker
Feedback
2 (100%)
Credits
936CR
Now you've bought all those pots you may as well have a go at mixing the colours to match. You will probably need to buy a white and yellow as well though.
 

funhouse

Active member
vacBacker
Feedback
3 (100%)
Credits
362CR

LAZORIAN

Active member
vacBacker
Feedback
2 (100%)
Credits
260CR
I used a black paint pen on my old one at arcade club, I only did the black lettering and didn't bother about the rest of the art - matching colours is a bit of an "art" in itself.

It's starting to clean up nicely. I've got good results on metal surfaces after sanding etc. using a scotch pad or even a magic sponge on brushed aluminium, it covers over the larger scratch lines and evens the surface a bit.

Reading this does make me miss my old one, I expect its the same for most people who move cabs on.

Fingers crossed you can get the board working - do be careful with those custom chip legs as they love falling off!
 

Jon-A-Tron

Active member
Feedback
2 (100%)
Credits
248CR
I did a small bit of the black lines and it makes a massive difference. Where there are long scratches that cover multiple colours, just breaking up the scratch by filling in the black sections hides the scratch well.
I will do all the black bits first and practice mixing the colours on something else before attempting it on the cab.

I can live with the metal bits as they are for now. I would like to chrome them out at a later date but I'm not going for a A1 perfect new look Pole Position at the minute. Just something I can be happy with, clean and working.
I'll give the metal a going over with the stuff you suggest though, especially on the wheel.
 

Bods

Senior Member
vacBacker
Feedback
4 (100%)
Credits
5,033CR
They don't have to be mint to enjoy playing them

sorting some areas of the artwork is probably like sorting the grout mould on tiles, I used the paint stuff on mine, the difference when it's white again makes it look like you've replaced the tiles for better ones. So I get what you mean

To get a classic machine cheap these days and get it working is what counts, tidy up a bit and that's all you need end of the day
smiley1.gif
 

Jon-A-Tron

Active member
Feedback
2 (100%)
Credits
248CR
On the wooden cabinet bit? I'm just going to use spray paint on my one. I plan to make the lower seat cushion out of a piece of wood, foam and cover in red leather. Close as possible match to the leather on the top part.
 
Top