Neo Geo MVS Electrocoin 6 Slot Refurb

jerryspaghetti

Active member
vacBacker
Feedback
32 (100%)
Credits
1,799CR
After seeing what a great job Chrisbeans did on his I decided it was finally time to clean mine up and restore it to its former glory.

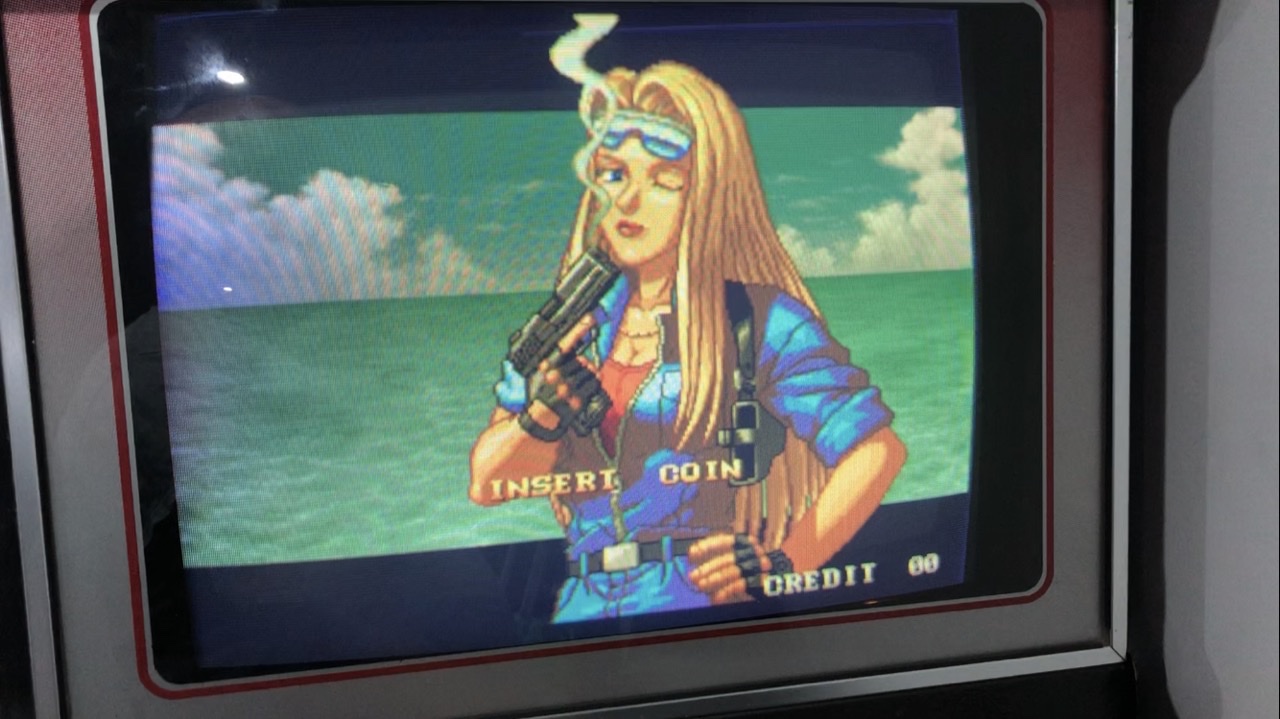
First issue was a faulty 6 slot board which had been working but something gave up and I was getting the following screen..
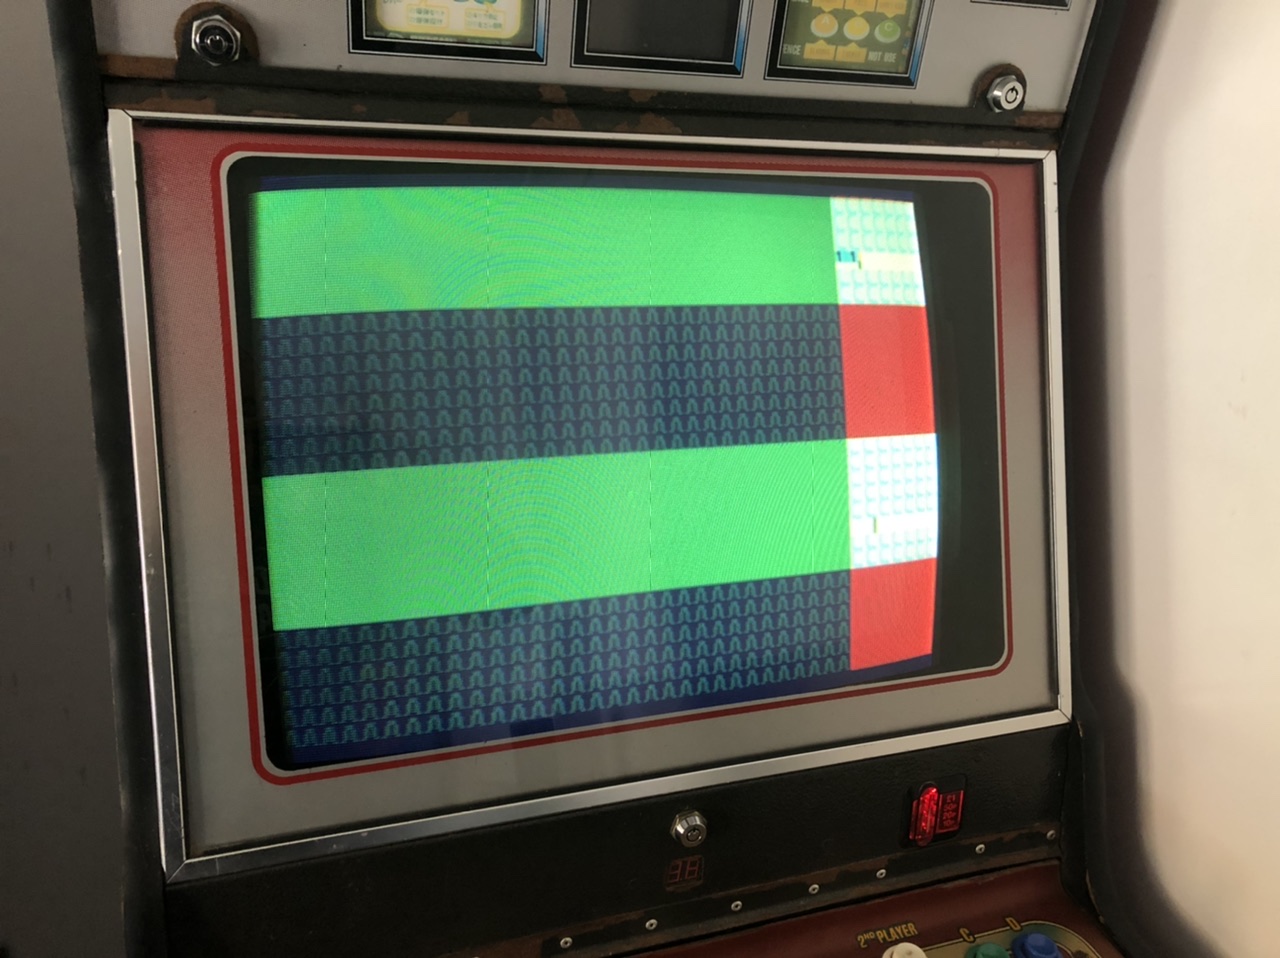
6888AFA1-0377-418E-8486-EE43142F1B46.jpeg


After some advice on the forum I tried adjusting the voltage on the original Hantarex PSU and had no joy. On recommendation I picked up a Diagnostic bios and was given the following readout…
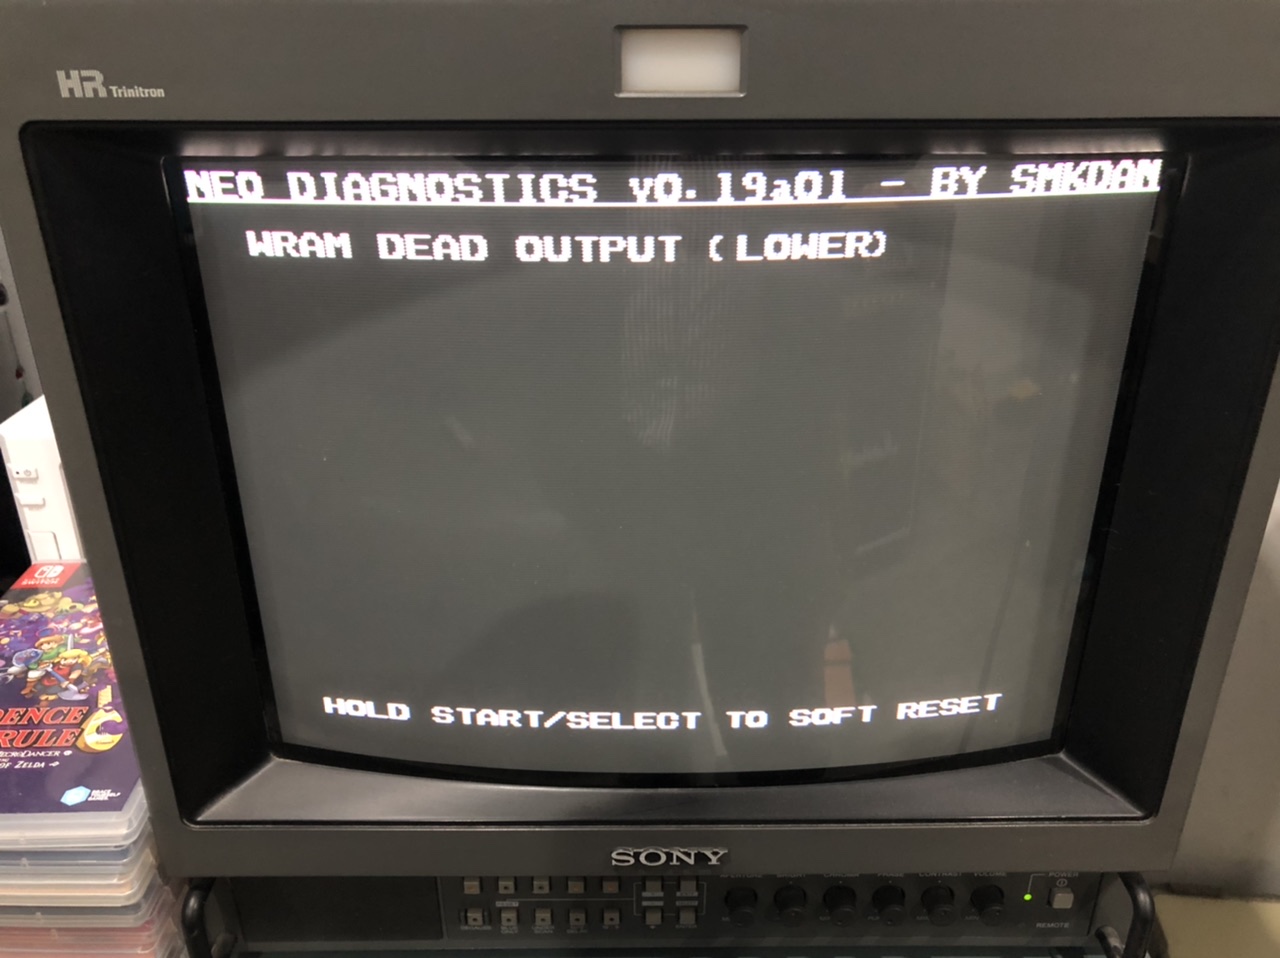
14850222-538F-4B14-9663-56D1CFD6DB70.jpeg


So a crash course in schematics led me to the following chip identification…
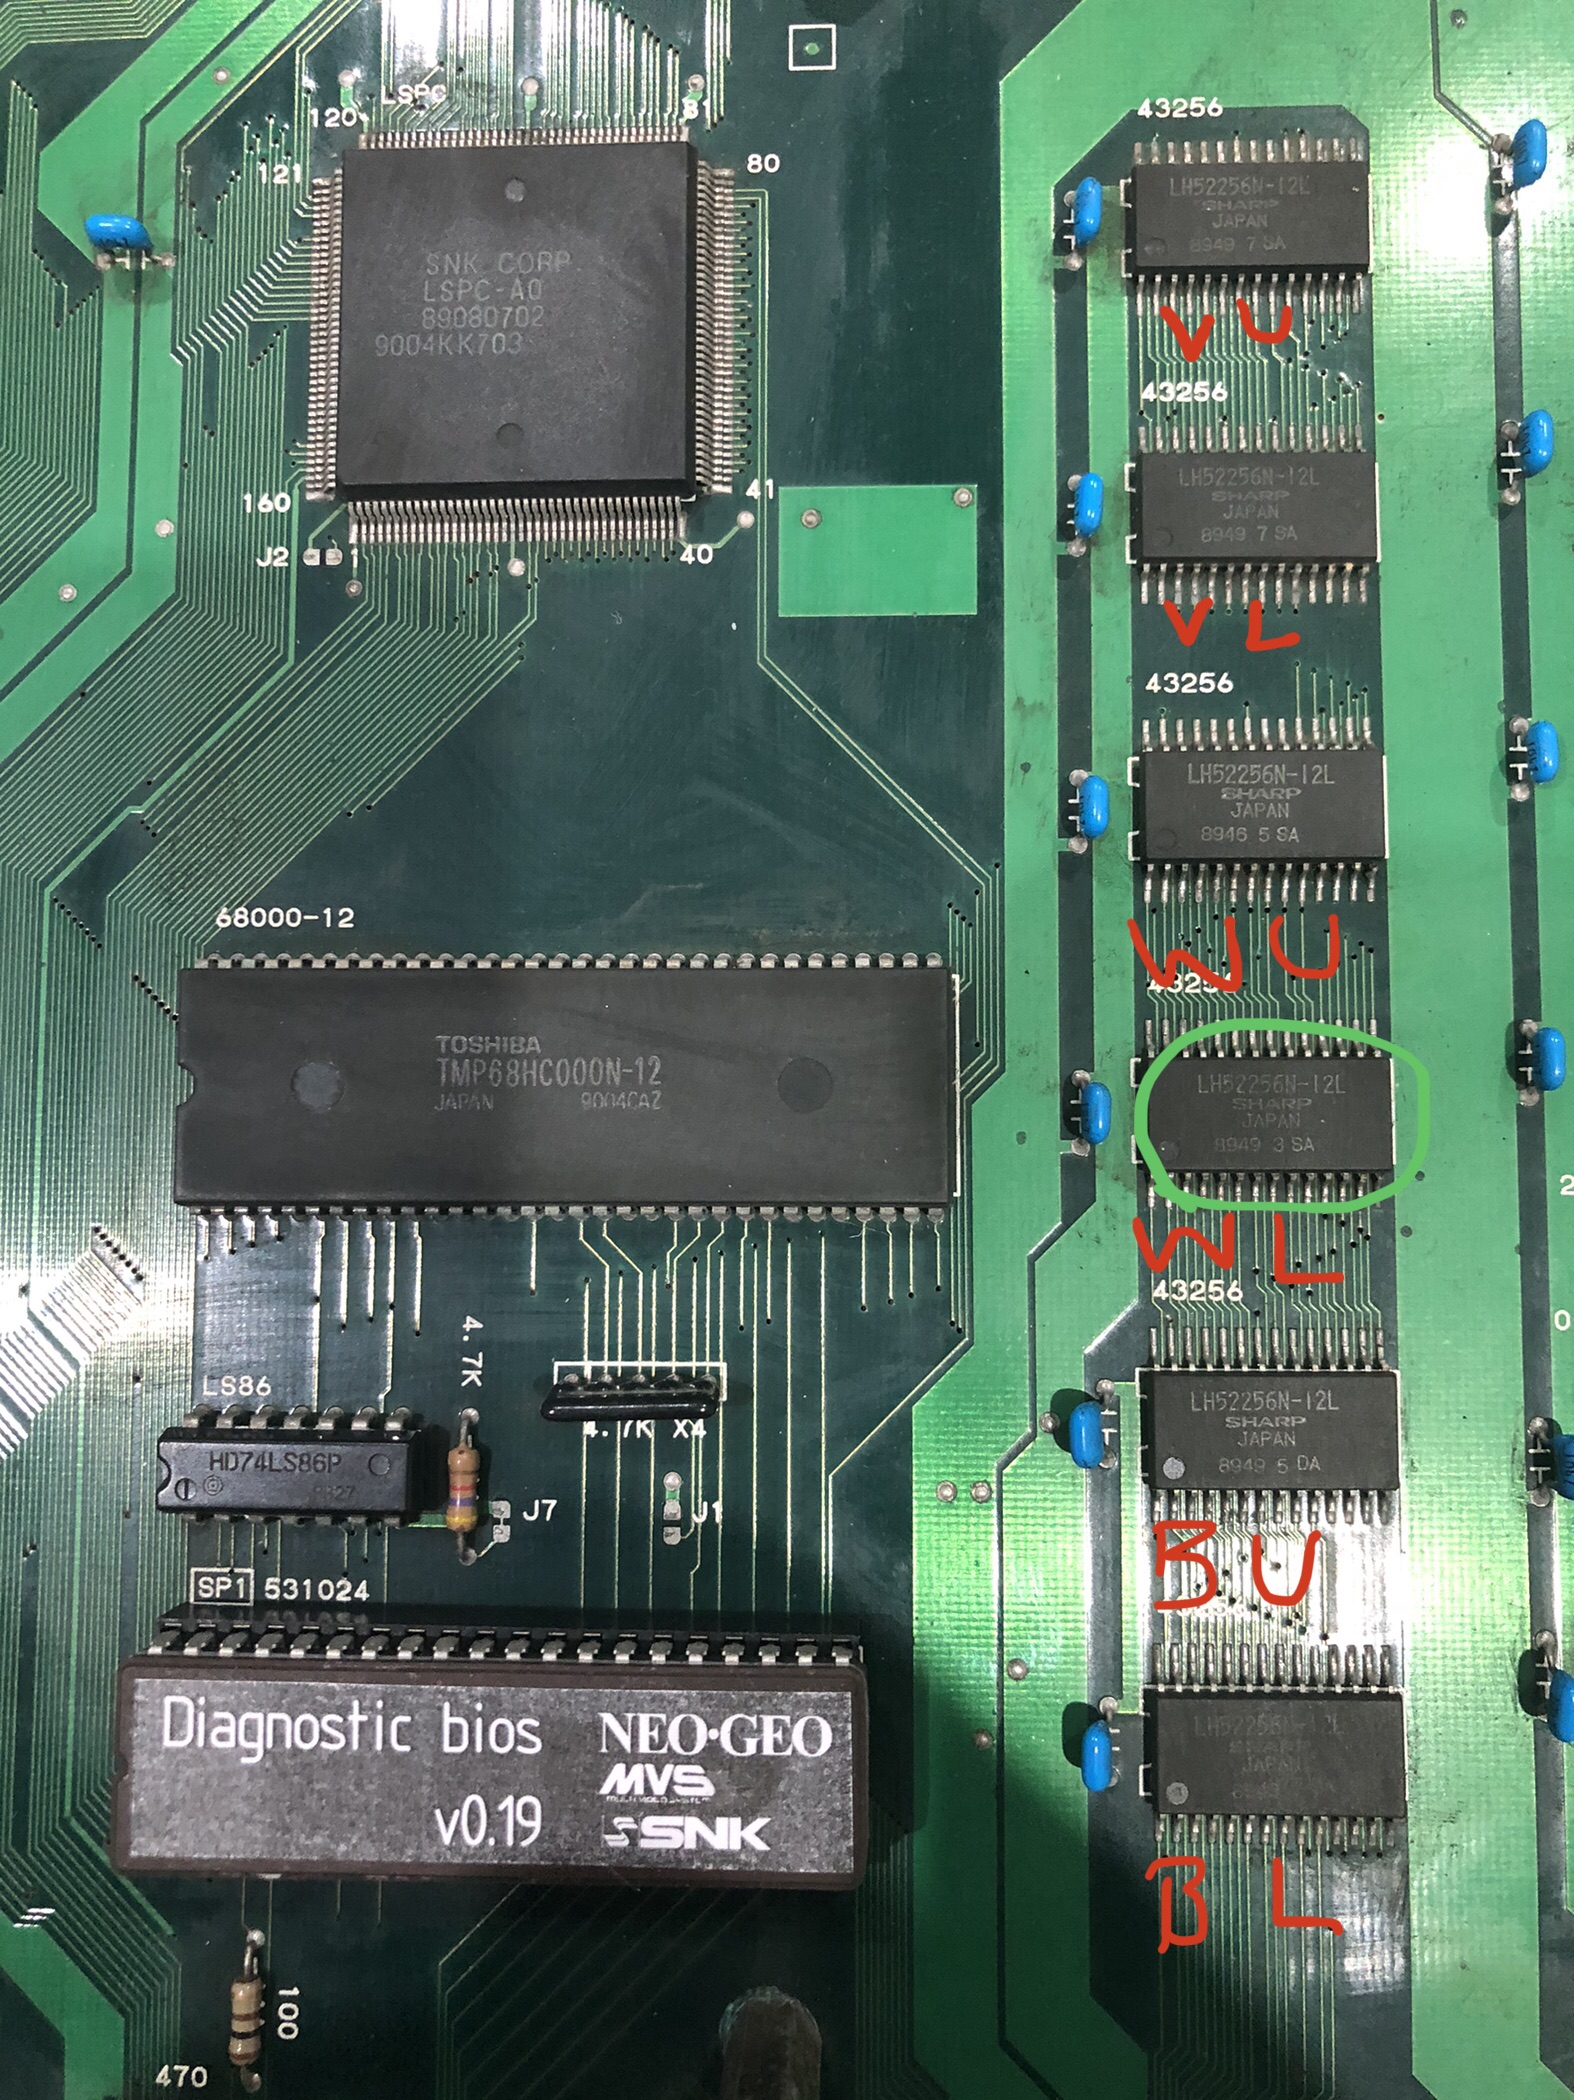
F8A6A33A-71F8-44F8-B5C9-902E044E959C.jpeg


I was nervous about replacing this chip myself due to the pitch of the pins but after ordering the replacements and watching a couple of Craig Goodwins repair Videos I built up the courage and got myself a decent little heat gun to help desolder the faulty chip. Thankfully they're not as small in pitch as some more intimidating chips i've come across so I gave it a go with the knowledge that if it didn't work i'd send it off to an expert.

After a good bit of messing around with solder wick I managed to get all the existing solder off and retinned the pads ready for the new chip.

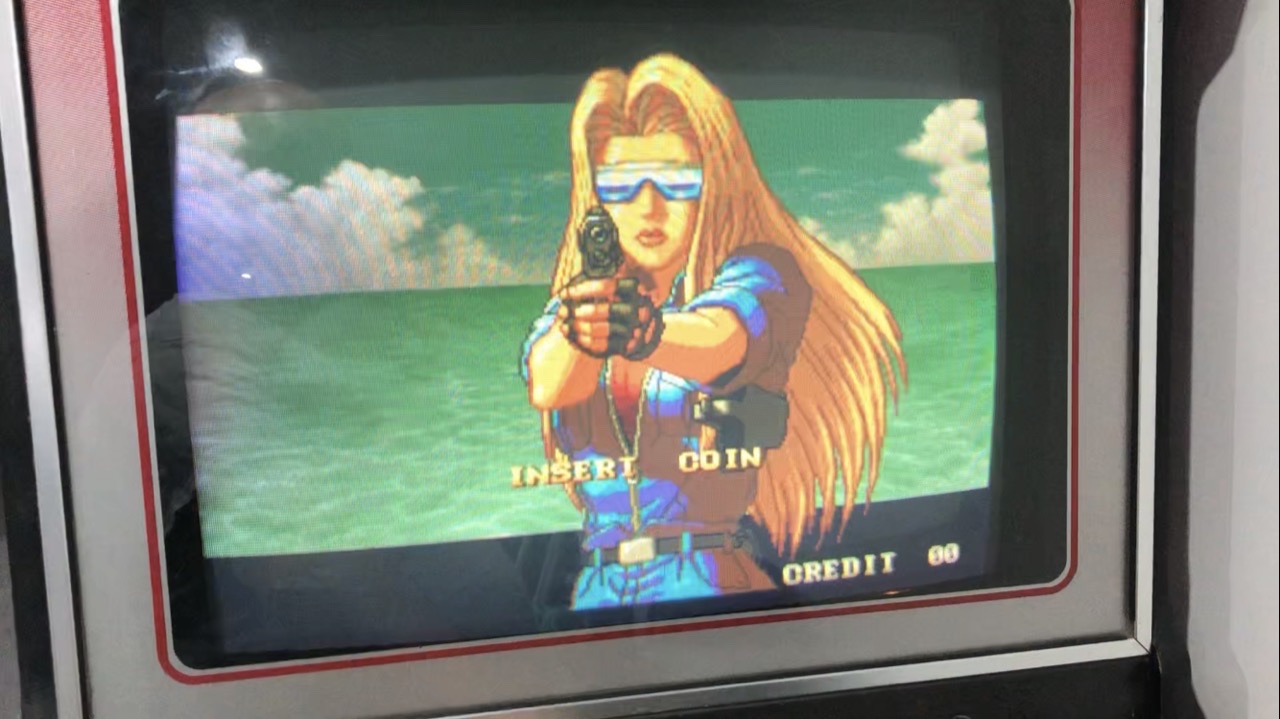
Delighted to say it went on nice and easy and after quadruple checks for any bridging I nervously plugged it back in and it had worked a treat! Plugged 6 carts in and they were cycling through perfectly with every slot working as it should.

I acquired the Unibios 4.0 and put that in there also for a bit of flexibility down the line.
EE514542-14FB-4705-9844-9078473F5834.png


7B7BDA07-AB5D-4894-8E15-FF3DBED5E68D.png


More updates to follow, but glad I got that problem sorted and a feather in my cap!jerryspaghetti2022-12-19 16:00:14
 

jerryspaghetti

Active member
vacBacker
Feedback
32 (100%)
Credits
1,799CR
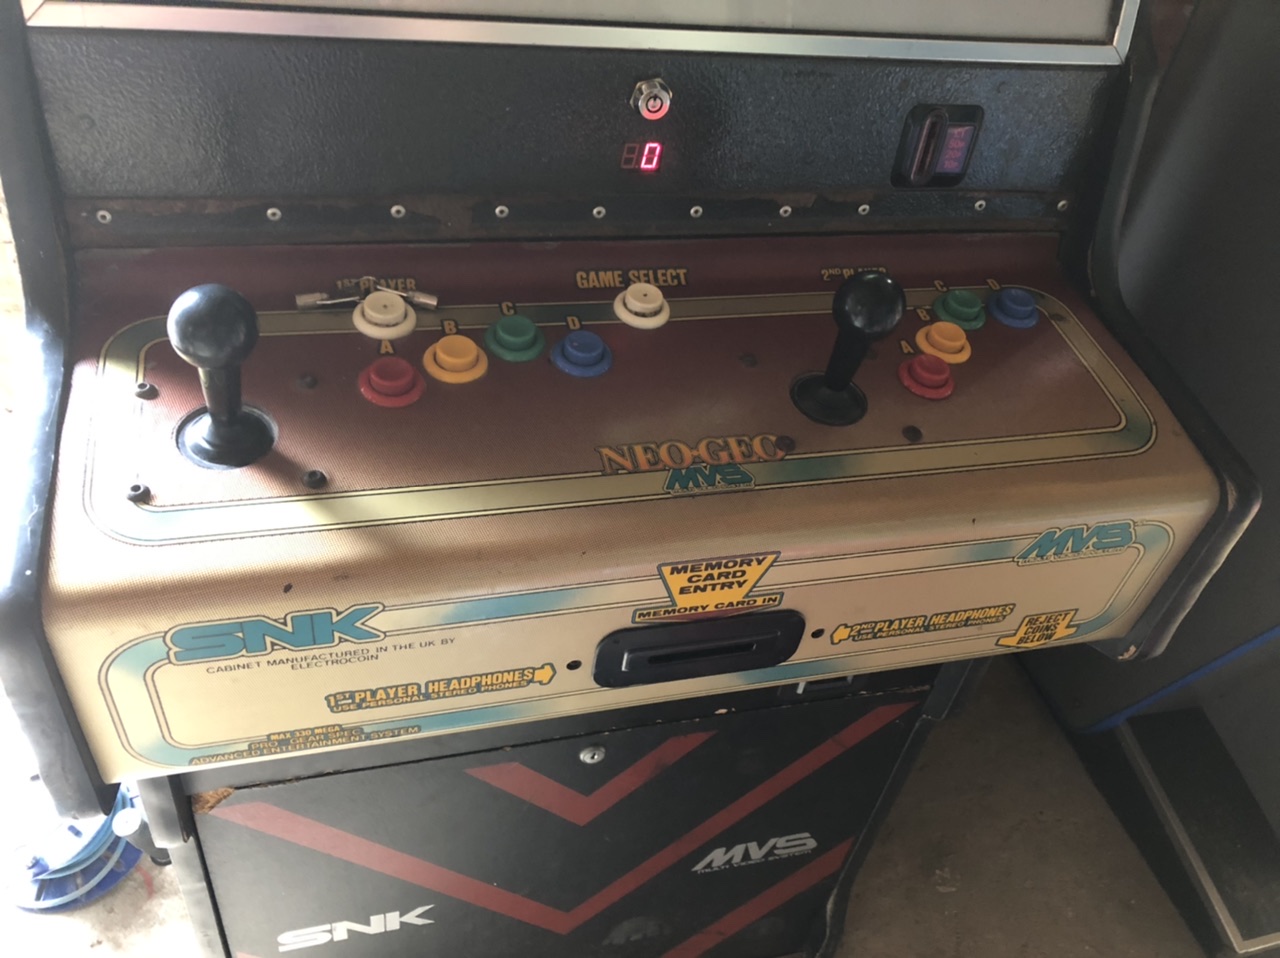
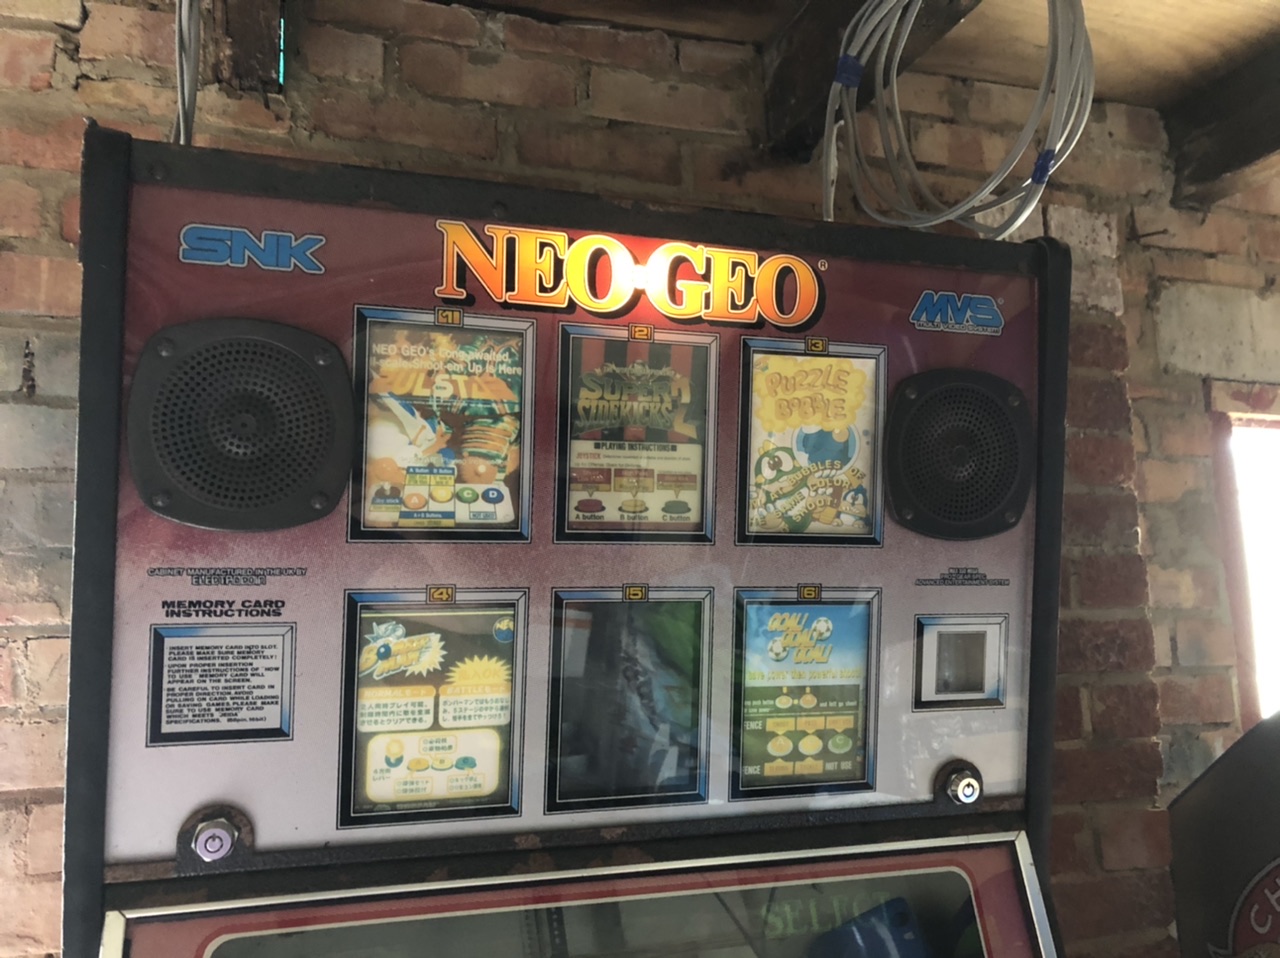
Always wanted a dedicated MVS cab and picked this one up in lockdown.

Couple of pictures of how I got it below...

85097A38-B265-4F87-938E-1CB677920DC4.jpeg

43D9708B-B0DD-433F-8801-09D40FF412D8.jpeg

4700DE72-1121-43AB-8A3A-B4D99DEEF09F.jpeg


THE GOOD:
Working 6 slot
Working Hantarex MTC9000 with zero burn
Fully intact harnesses
Original PSU
Clean and uncracked plexi marquee
Original glass screen with paintwork in good shape
Original leaf buttons and switches
Working memory card reader

THE BAD:
Monitor has convergence/degaussing issues
EL panels behind mini marquees have had it
Top corner has taken a bang and small section has cracked
Missing or unkeyed alike locks (there are 5 on the cab in total)
No coin mech
Joysticks might be aftermarket. Not 100% but they're loose and don't feel great anyway
Metalwork in a state, rusted, chipped or peeling
Few minor scuffs to side art/front panel art
CPO peeling and very yellowed
Small section of corner broken off front and back access panels so held in with screws
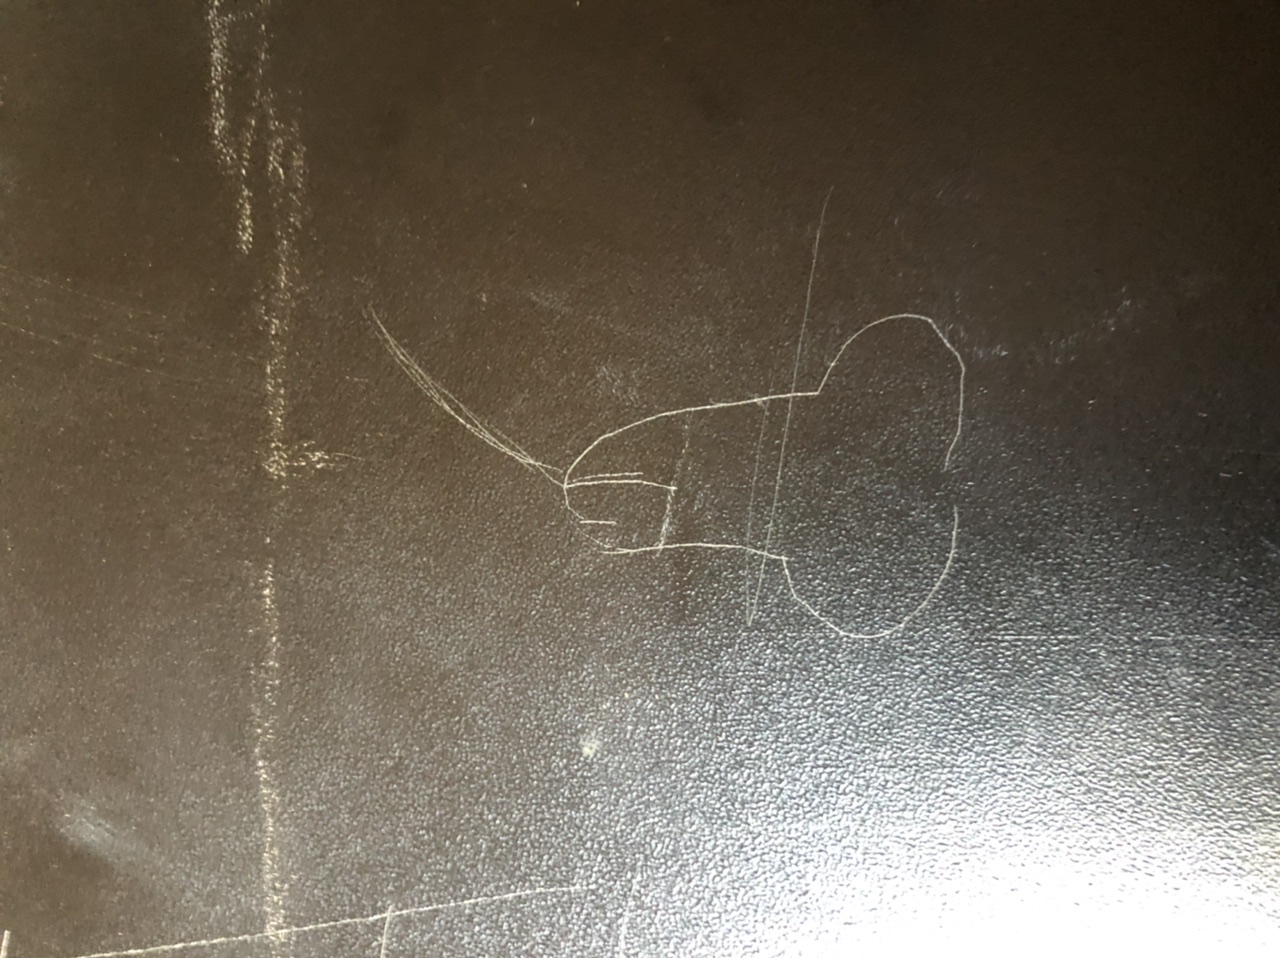
'Exploding Knob' artwork scratched into vinyl on back of cab (but I might keep that!)
smiley4.gif


E982E5AB-4F7B-45D9-BC67-8905CF572E95.jpeg


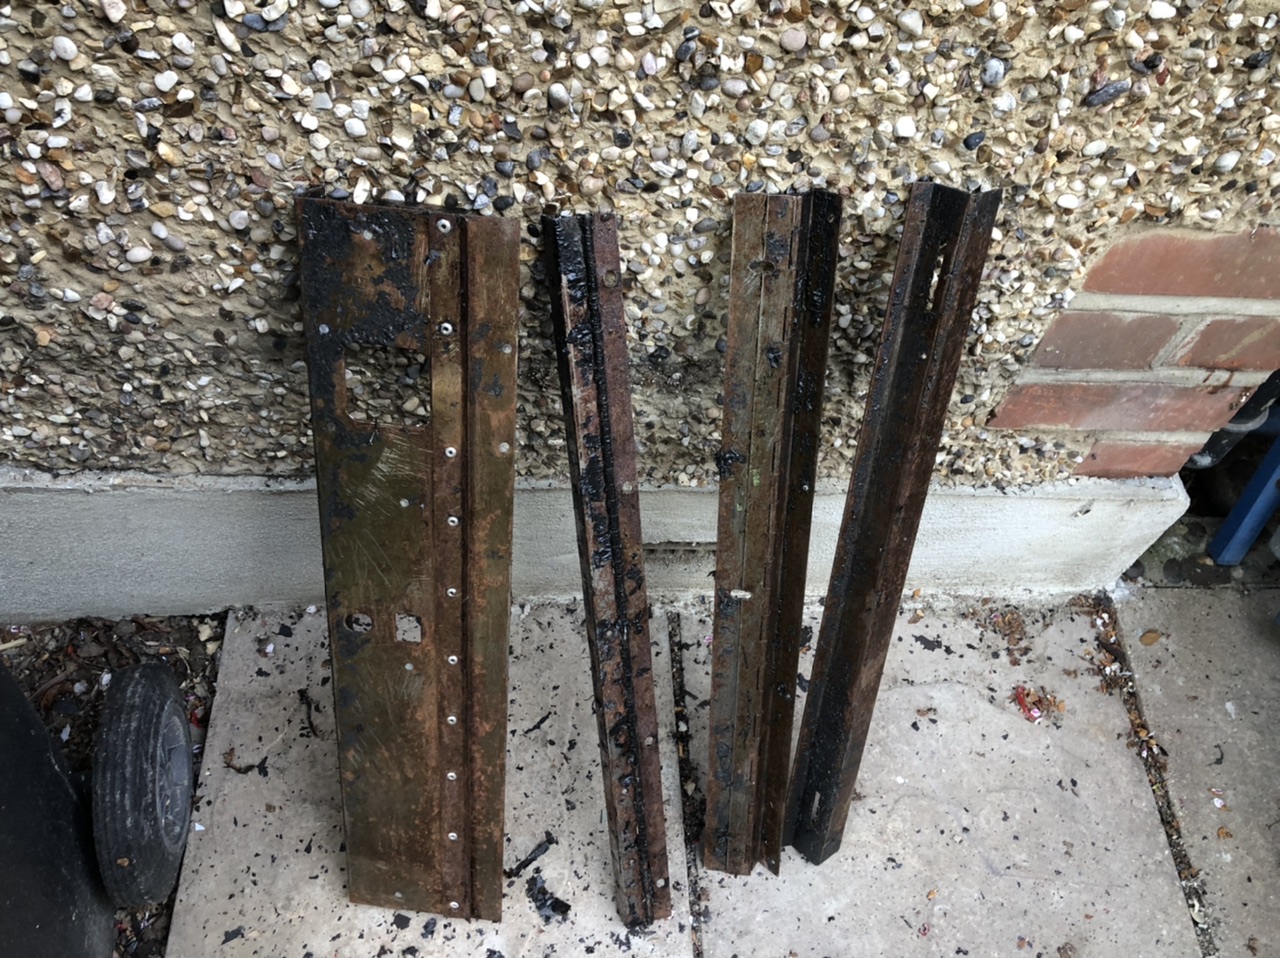
So the first obvious issue to deal with was the poor metal work.

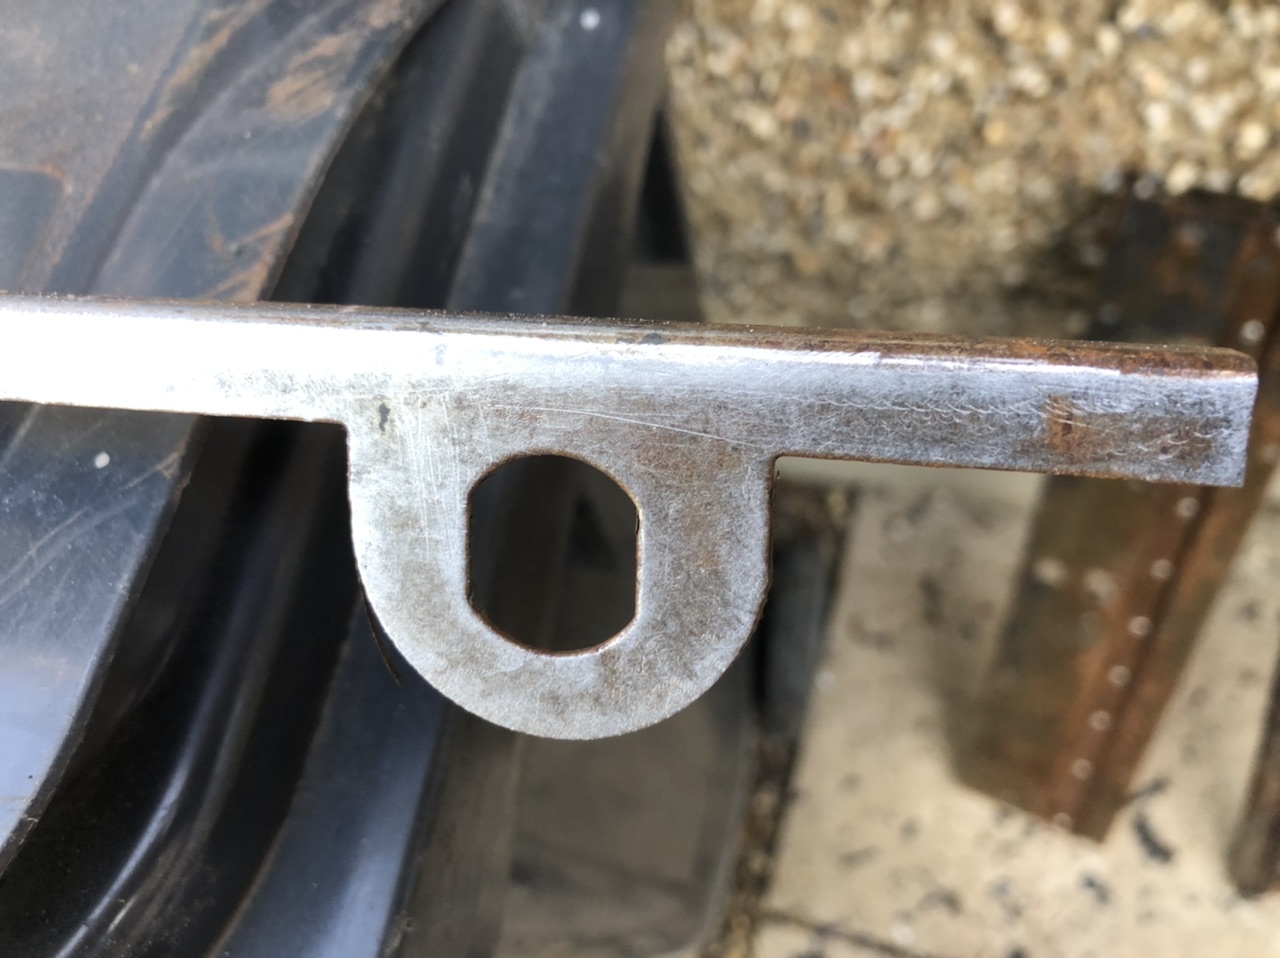
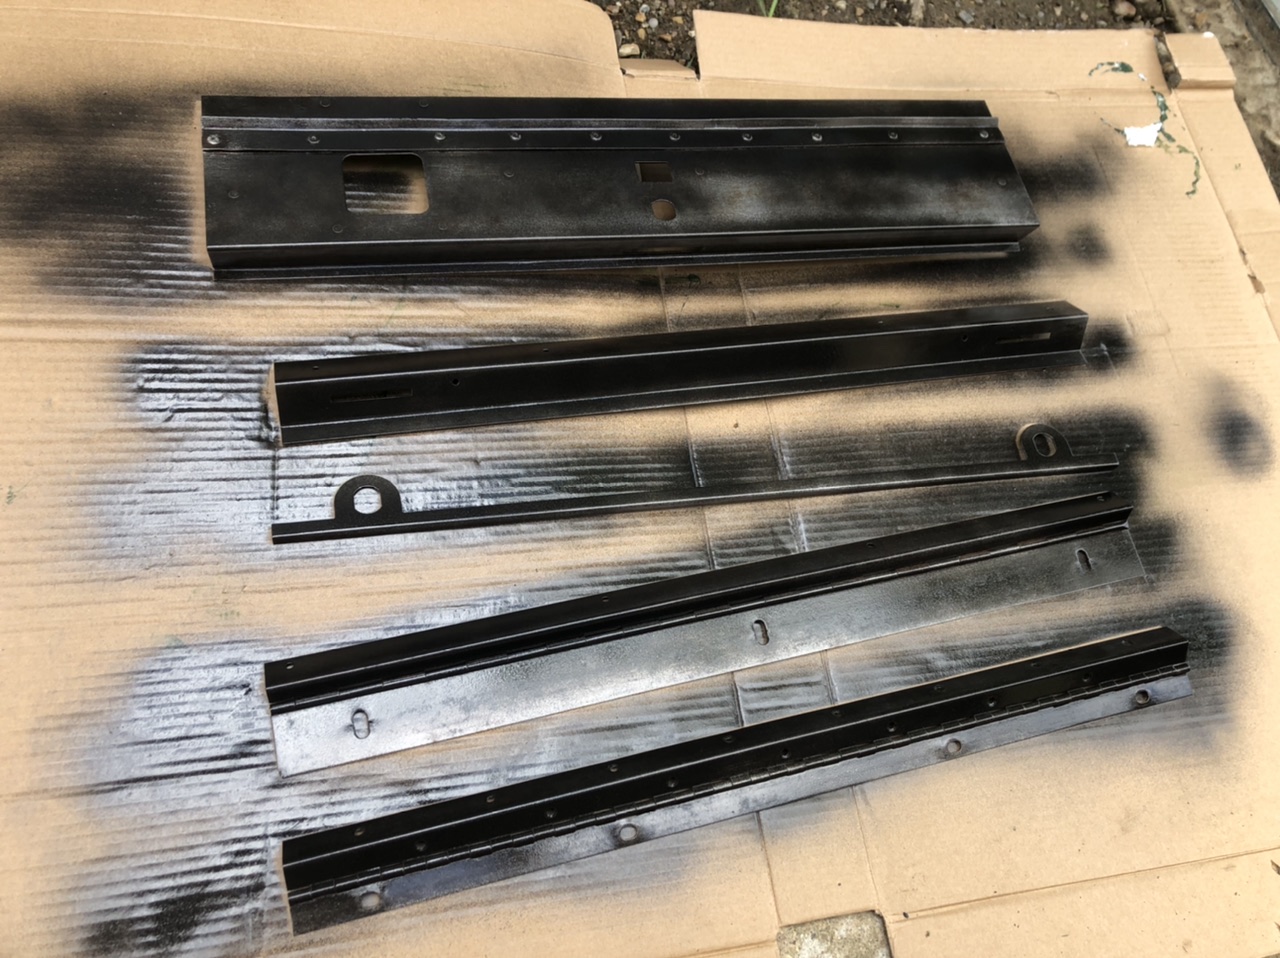
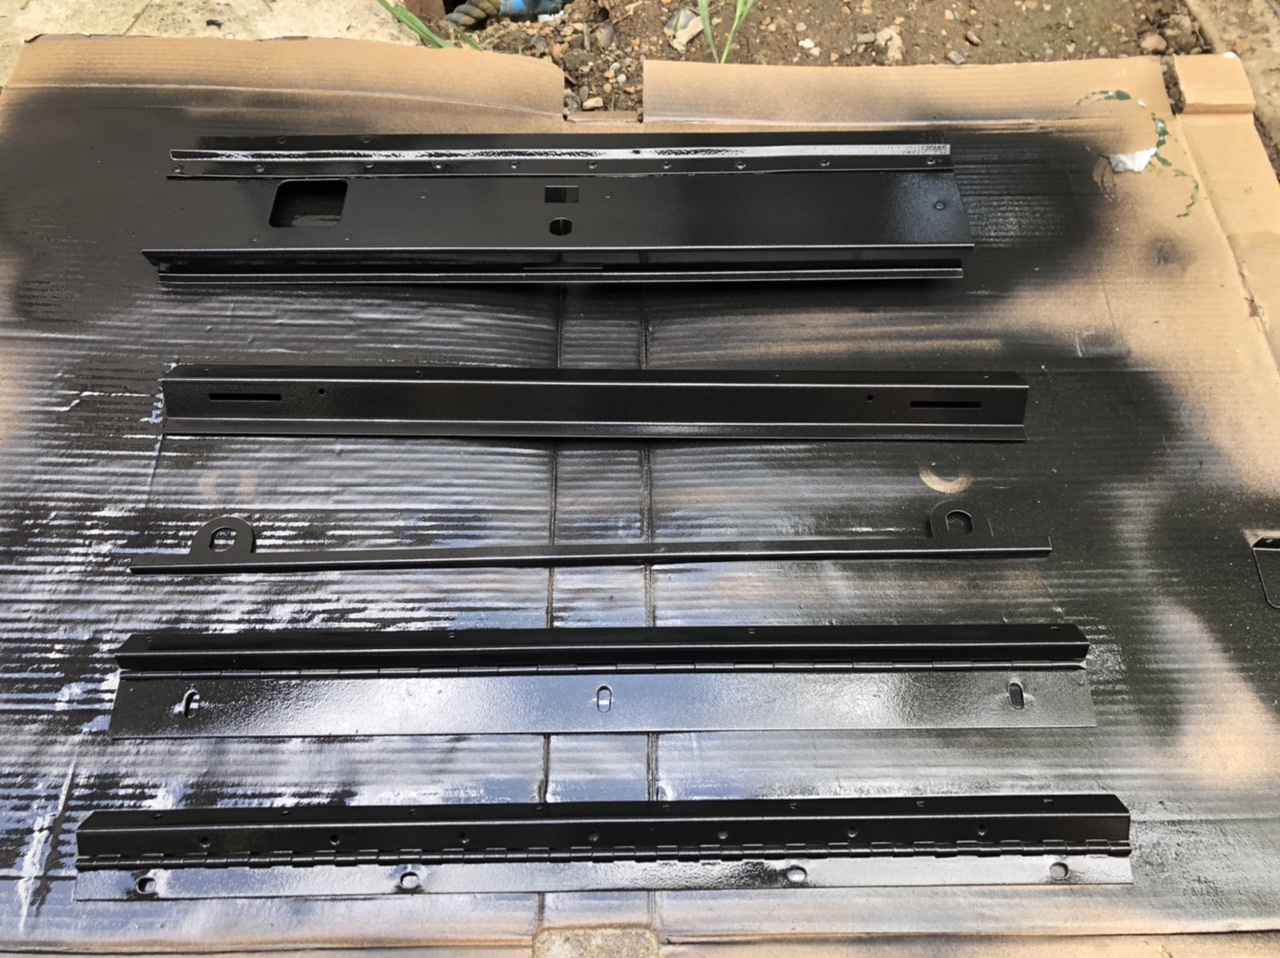
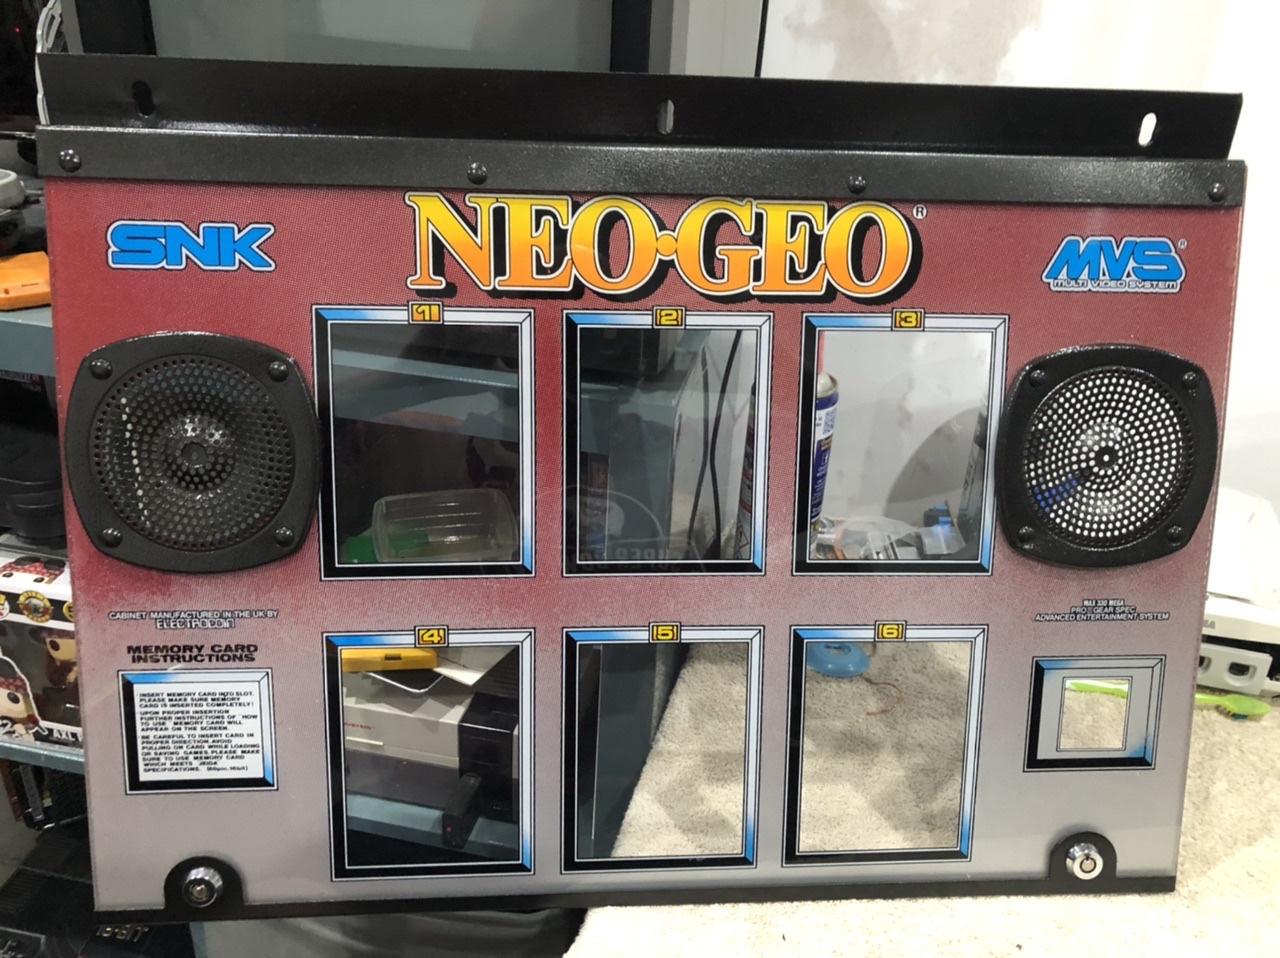
There are 5nr metal pieces that need removing. The hinged bracket from the top of the marquee, the trim from the bottom of marquee, the upper retainer for the monitor glass, the fascia for the coin mech and credit board and the hinged mounting bracket for the control panel.

I started by coating all the parts with Nitromors paint stripper, which got the ball rolling but didn't lift half of the more adhered paint. A good few hours with a scraper and a palm sander with 40 grit took care of the rest but this was tedious work!

I got all of the paint off and any rust down to mere discolouration as I would be using Hammerite paint which is suitable for straight application onto bare metal as long as there's no flaking rust or paint to cause problems.

I masking taped the welded on bolts on the coin mech fascia and gave the fronts of the parts 4 coats and 2 on the back which left me with enough paint left over for a quick pass on the speaker grilles and the heads of any bolts that would be on view. Could have bought new bolts but this seemed more logical and less of a pain.

EA589601-94B9-41CF-BFBC-D995B72541BC.jpeg

14681C10-3979-493A-A712-CEE24A7DC95F.jpeg

40608915-250F-4551-9C5F-5675B7405951.jpeg

E2C2DB56-8AE2-4533-ADC7-D251FE155CD4.jpeg


If I thought removing the paint from the metal parts was a pain, removing the old art/glue from the control panel took me to new levels of despair!

I managed to get some big sections of the art to come away but the majority was in small strips as the old art had no elasticity and was brittle enough to just snap as I pulled it from the panel.

Eventually got it down to just the glue which was only the beginning of the beginning!

Nitromors did nothing, WD40 helped a little but in the end the only effective solution was the palm sander, 40 grit and extreme patience...

Eventually, I was left with a shiny bare metal control panel and as advised on the forum, I applied 2 coats of primer to help with adhesion of the new artwork.

I gave the back side of the panel a couple of coats also. You can tell from the back that the original was primed and left like that on the inside probably for a bit of rust protection plus it smartens the inside up nicely.

FE053F58-4363-4A94-AF90-B8F69804EBBB.jpeg

9B248C39-A41E-4B1E-A389-6069E573F0FD.jpeg

7E87E6B7-5520-44FA-95DC-764151BEE294.jpeg


Next step will be applying art so more to follow...

jerryspaghetti2022-05-23 11:22:48
 

ChrisBEANS

Active member
vacBacker
Feedback
4 (100%)
Credits
726CR
This is great stuff!!!

I had the same RAM issue with my OMVS, and had to send it off for repair, so you’re already well ahead of me on ability!!

Looking forward to seeing more.

I’m also in favour of keeping the knob graffiti, btw.
 

jerryspaghetti

Active member
vacBacker
Feedback
32 (100%)
Credits
1,799CR
ChrisBEANS said:
This is great stuff!!!

I had the same RAM issue with my OMVS, and had to send it off for repair, so you’re already well ahead of me on ability!!

Looking forward to seeing more.

I’m also in favour of keeping the knob graffiti, btw.

Cheers, it was your thread that got my arse in gear! Great work and i'm kind of going over things you've already dealt with but there's plenty left to do on this!

BTW those chromed surrounds you've had done look unreal! Can't wait to see it all together.
 

jerryspaghetti

Active member
vacBacker
Feedback
32 (100%)
Credits
1,799CR
UPDATE:

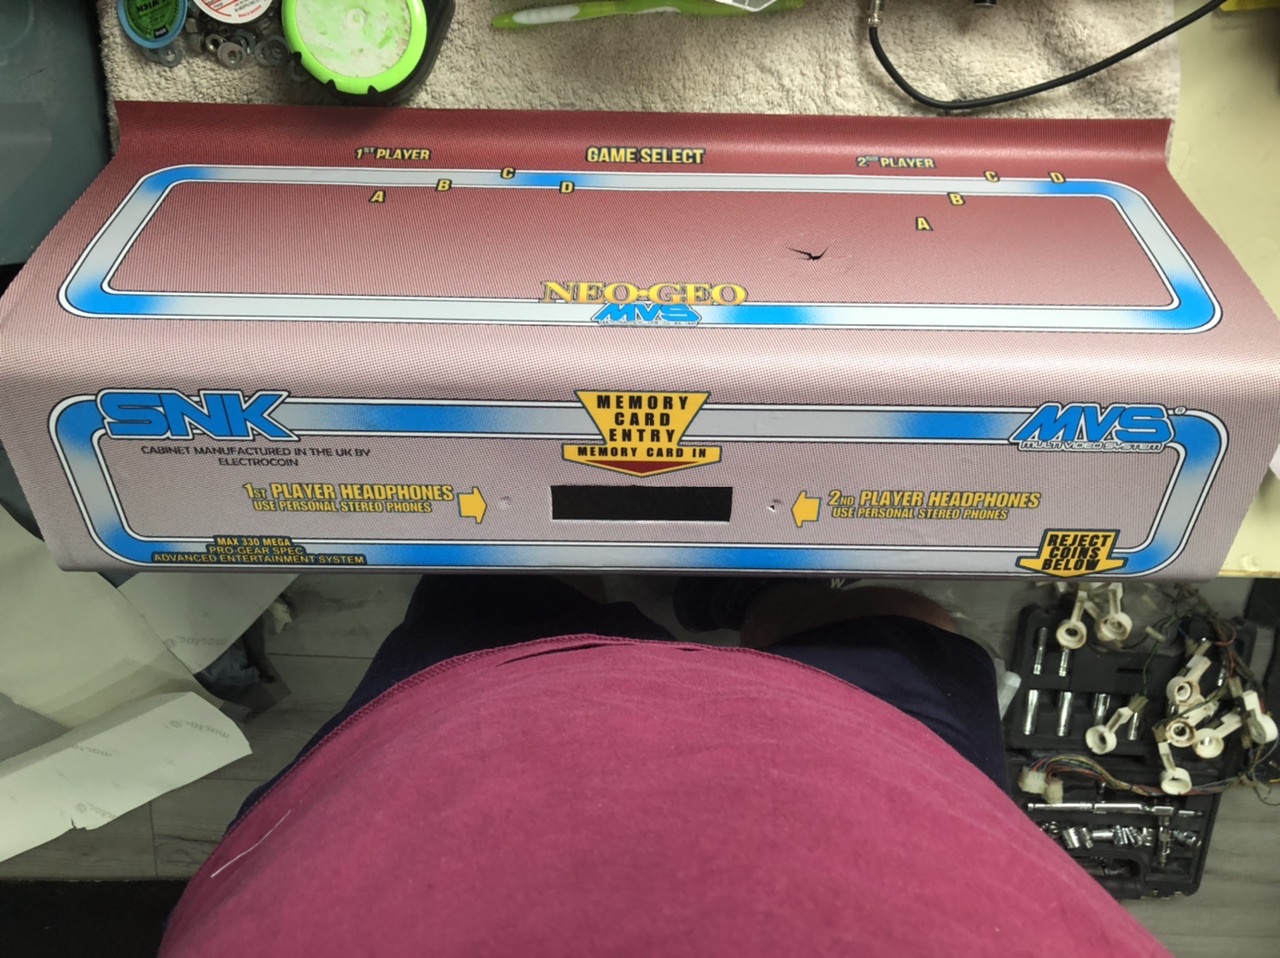
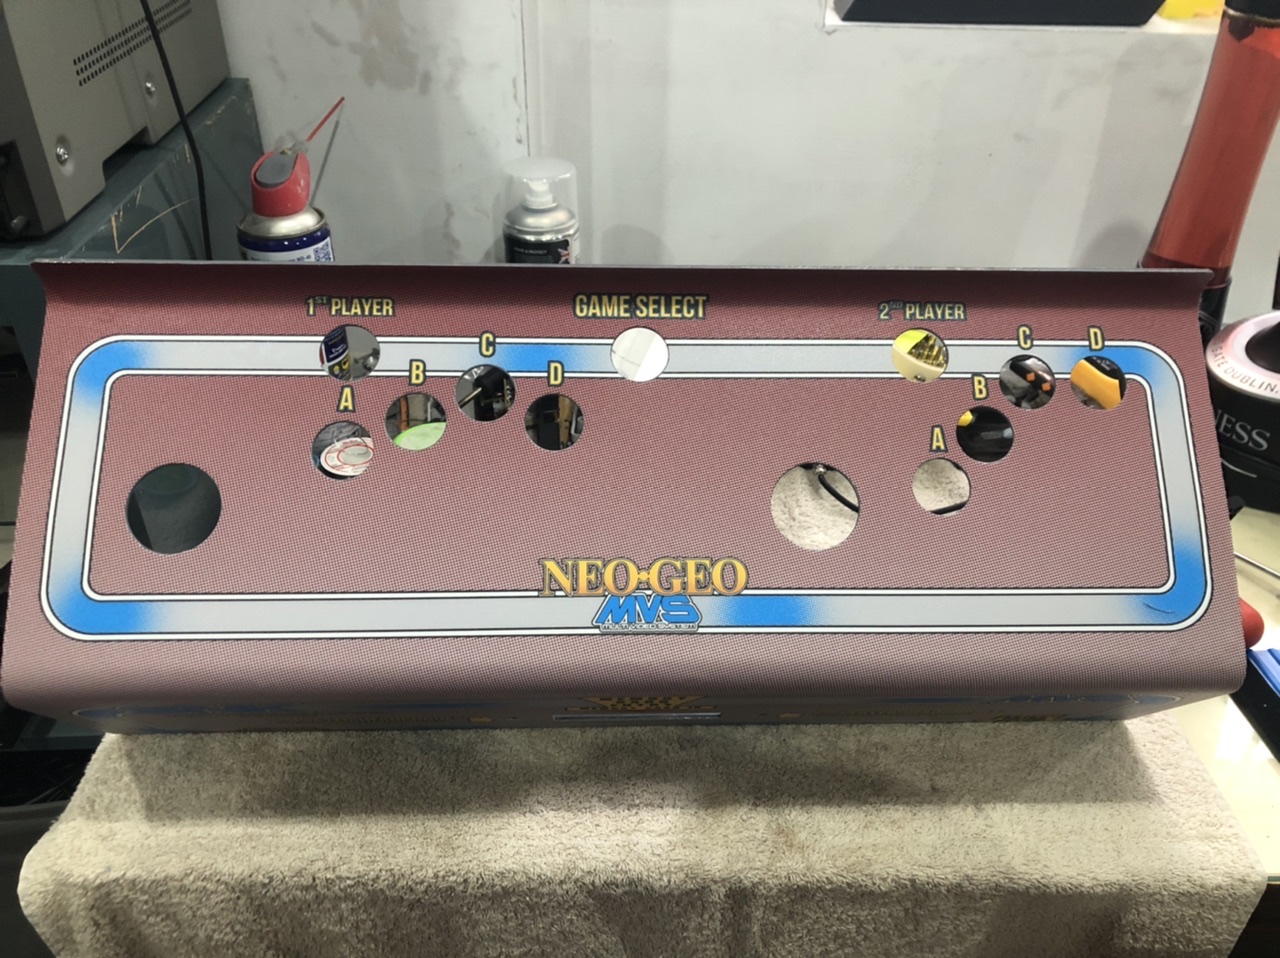
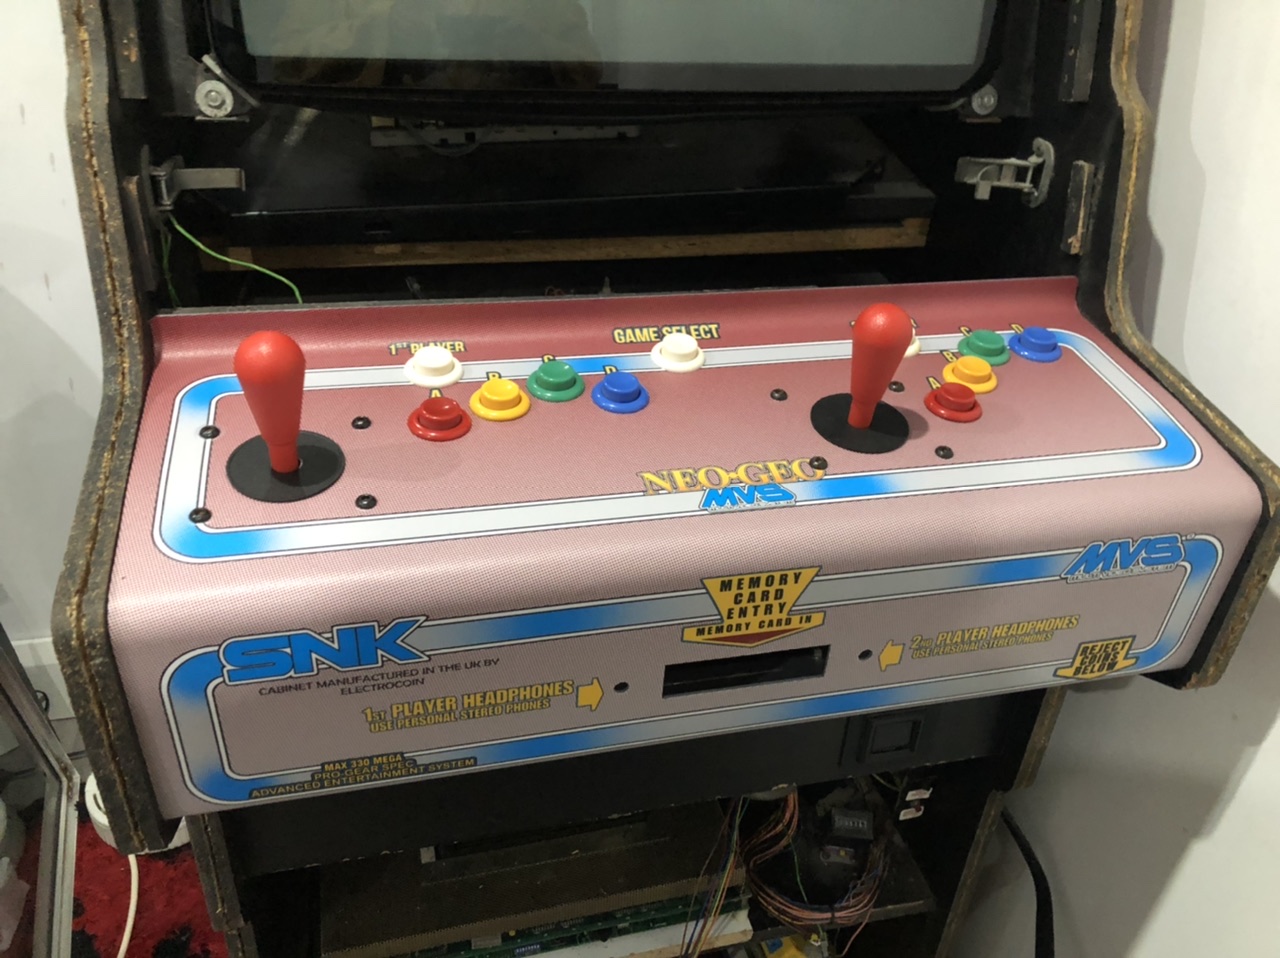
The moment I was dreading....applying CPO artwork. I've never done this and knowing the amount of work involved in starting from scratch had me very nervous!

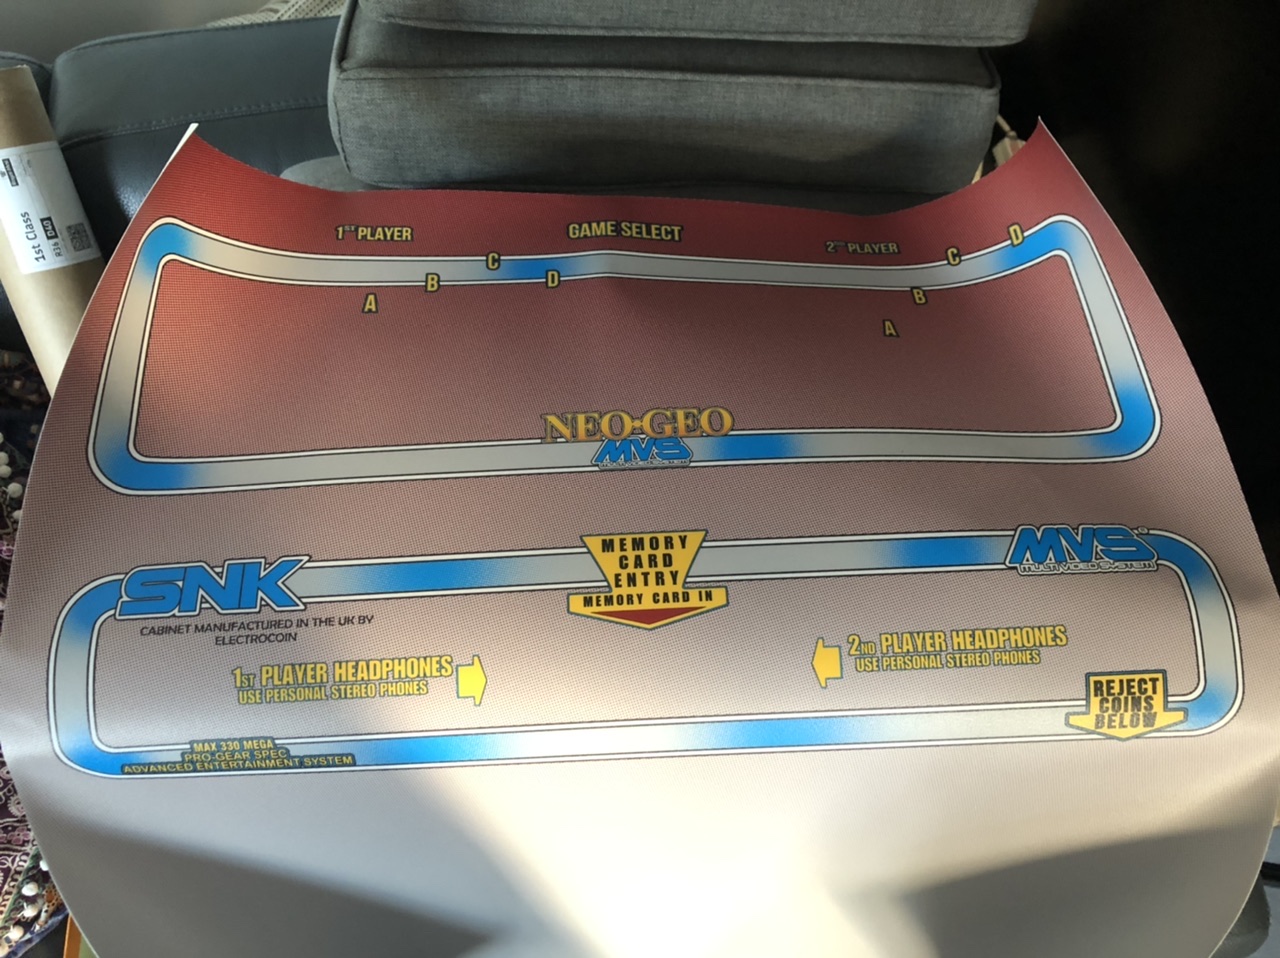
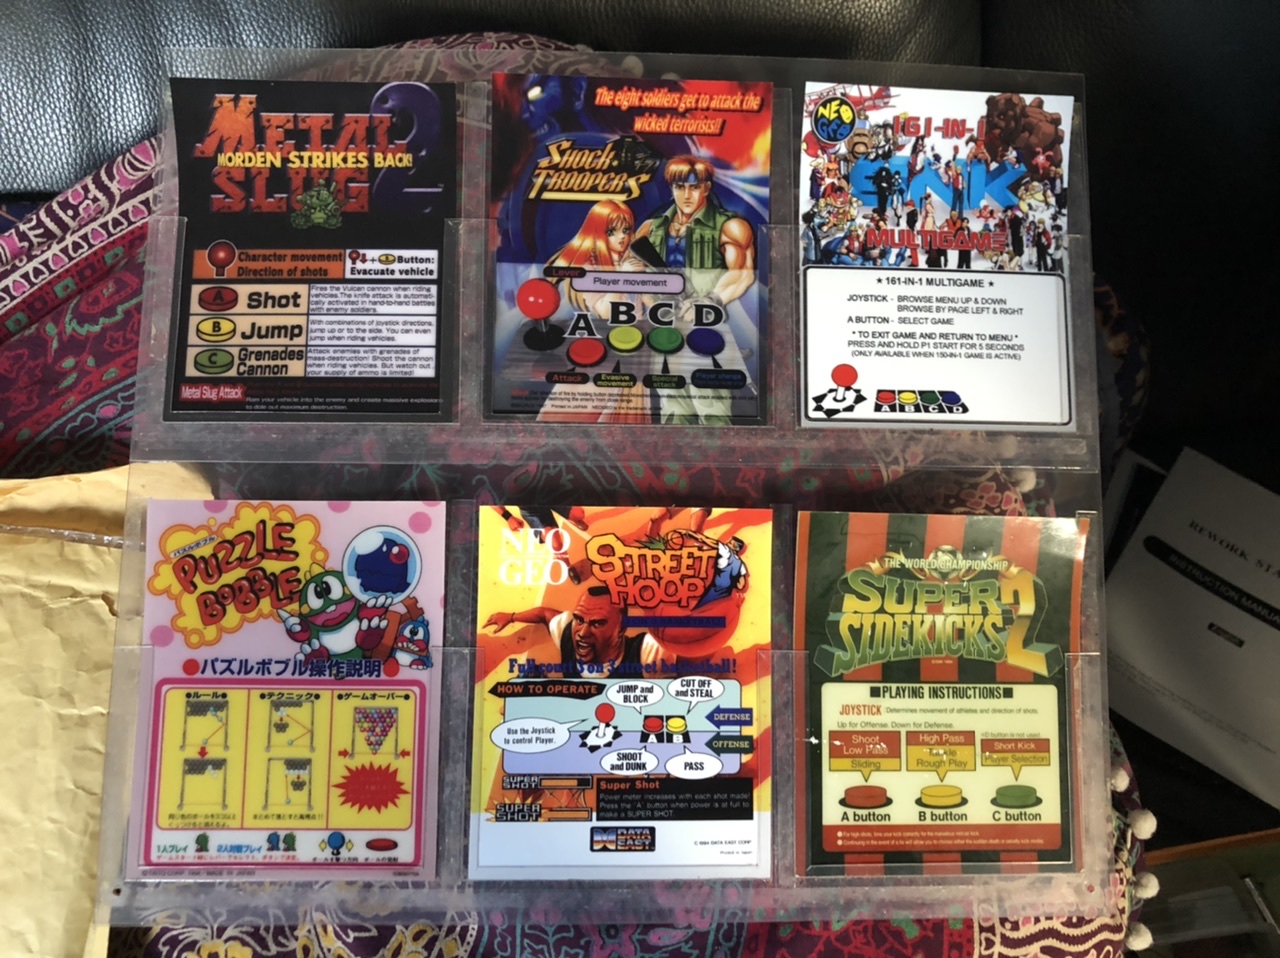
I went to the main man Olly at Arcade Artshop for this and as usual was not disappointed. The new revision CPO has an option for the memory card slot details which along with dot matrix watermark made me grin when I popped it out of the tube! I picked up some other bits like some mini marquee instruction cards for the limited library I have and as with everything else from Arcade Artshop, these were amazing too. Cannot recommend this guy highly enough.

D305794E-026C-49E7-9F2D-779999CBBA91.jpeg
D6F41EB2-E2A9-42E6-A236-E5B67418D397.jpeg


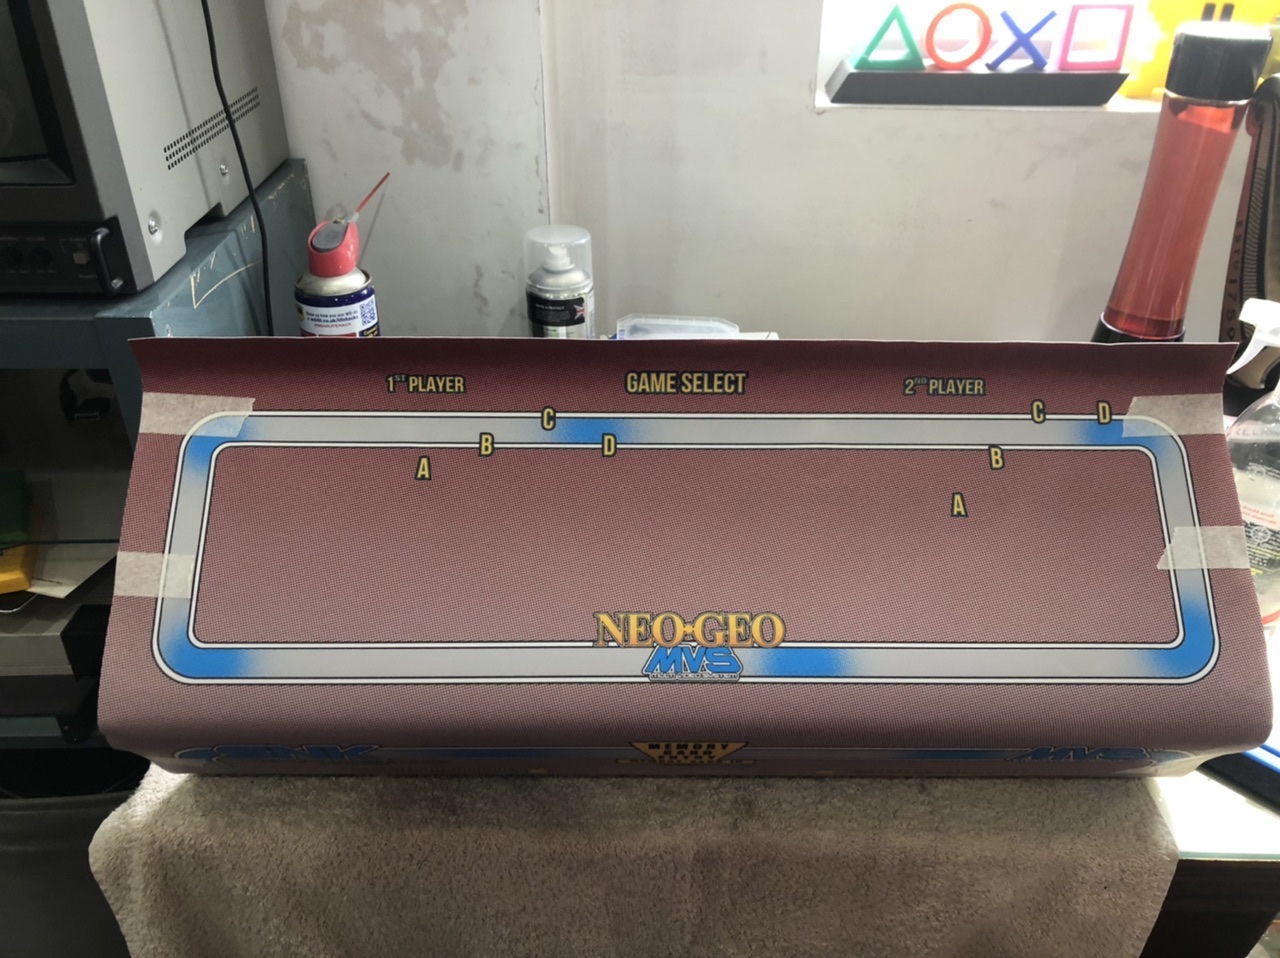
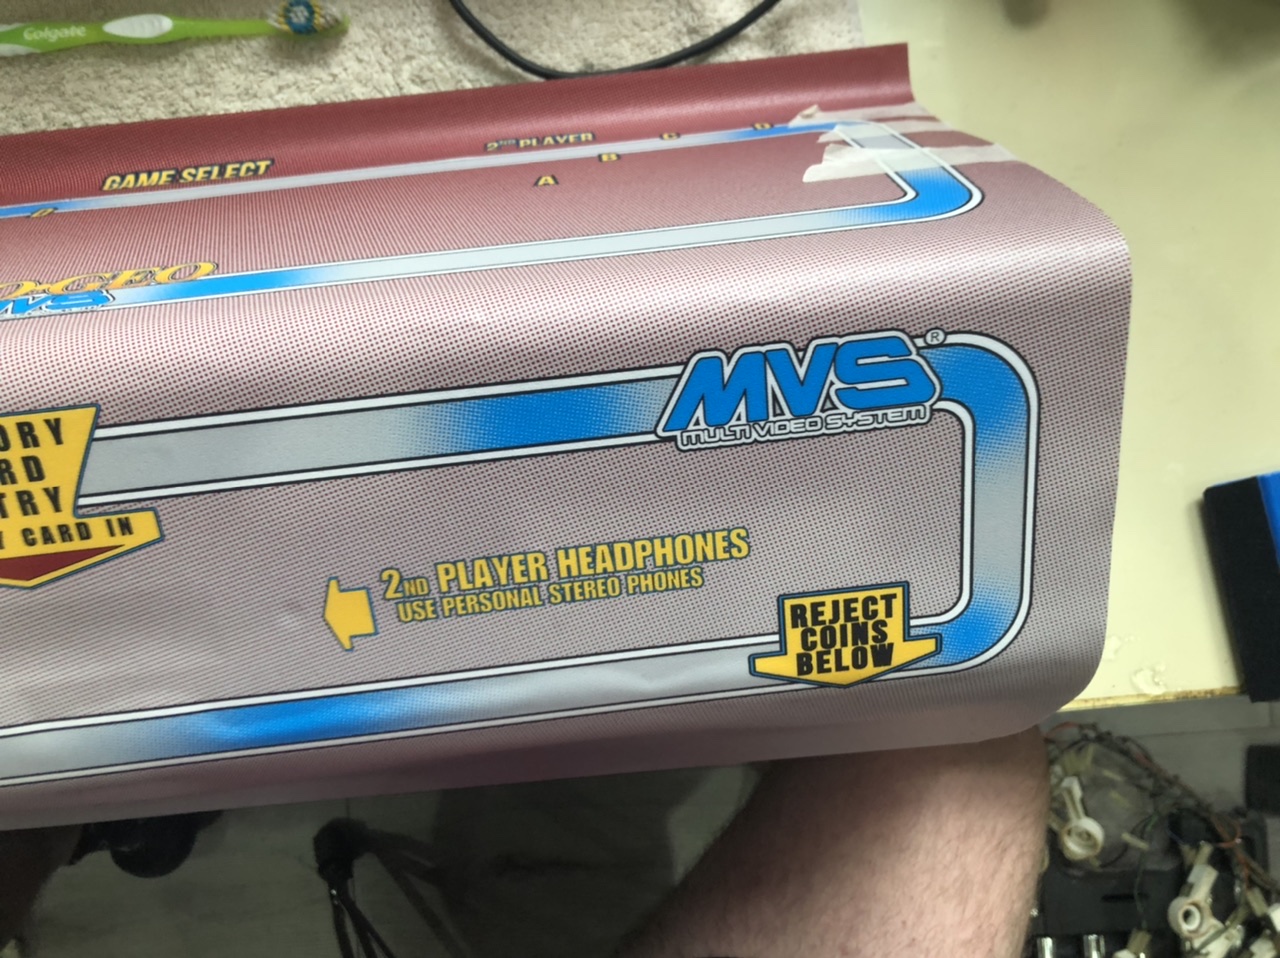
The critical thing for me was the accuracy of the placement and as the MVS overlay doesn't have any specific details at the button/stick positions it was a case of trying to find the sweet spot where the letter 'A' on player 1 side was smack bang in between the A button and the P1 Start button. I was also taking note of the headphone indicator arrows on the front side to make sure it was as dead on as possible and then I taped it in place. I can't stress the importance of taking as much time and care over this step as possible!

400E8661-C2CF-4552-A47F-925265DF5C92.jpeg


I used the wet spray bottle method and followed the application guide (which Olly has in the artwork section of this forum) to the letter, and despite a couple of well timed interruptions from the baby and the dog I got it on there without too many tears.

It's my first time applying to a metal panel and despite my best efforts I was left with 3-4 small bubbles that couldn't be 'squeegied' (is that how its spelt?!) out. My attention was primarily on getting the top perfect which I managed to but the bubbling can happen as you pull over the front lip.

6B2766BB-D3F9-497E-B491-80D8937E54FC.jpeg


I used a fresh stanley blade and made tiny perforations where this happened and it solved the problem pretty much and after 24 hours I couldn't tell where the bubbles had been so happy days!

Again, with 2-3 new blades (they dull pretty quick and you want them razor sharp) I trimmed the excess from the sides and top. I had decided to fold over the artwork at the bottom and lapped it onto the back side of the panel. I figured this would stop any potential lifting of the artwork at it's weakest point, the piano hinge.

384545BF-7C4A-46A8-87BA-AA212A5E726E.jpeg


A9662559-A485-4814-B7B4-4C252E2D1094.jpeg


One final thing to note and a mistake I wont make again... when tightening any bolts that will be flush with the CPO, slowly tighten it down until you feel the first resistance against the panel and stop! Then hold that bolt where it is and tighten the nut on the inside only. If you continue to turn the bolt head you will twist and warp the control panel overlay around the bolt head like I did!! Thankfully it was only minor but you can see it in the pictures.

D1B41068-7CD8-492C-AF6A-0098436483B6.jpeg
jerryspaghetti2022-05-25 10:17:20
 

jerryspaghetti

Active member
vacBacker
Feedback
32 (100%)
Credits
1,799CR
With the panel off and depopulated, I took the chance to look over the controls and see where and if I could improve them.

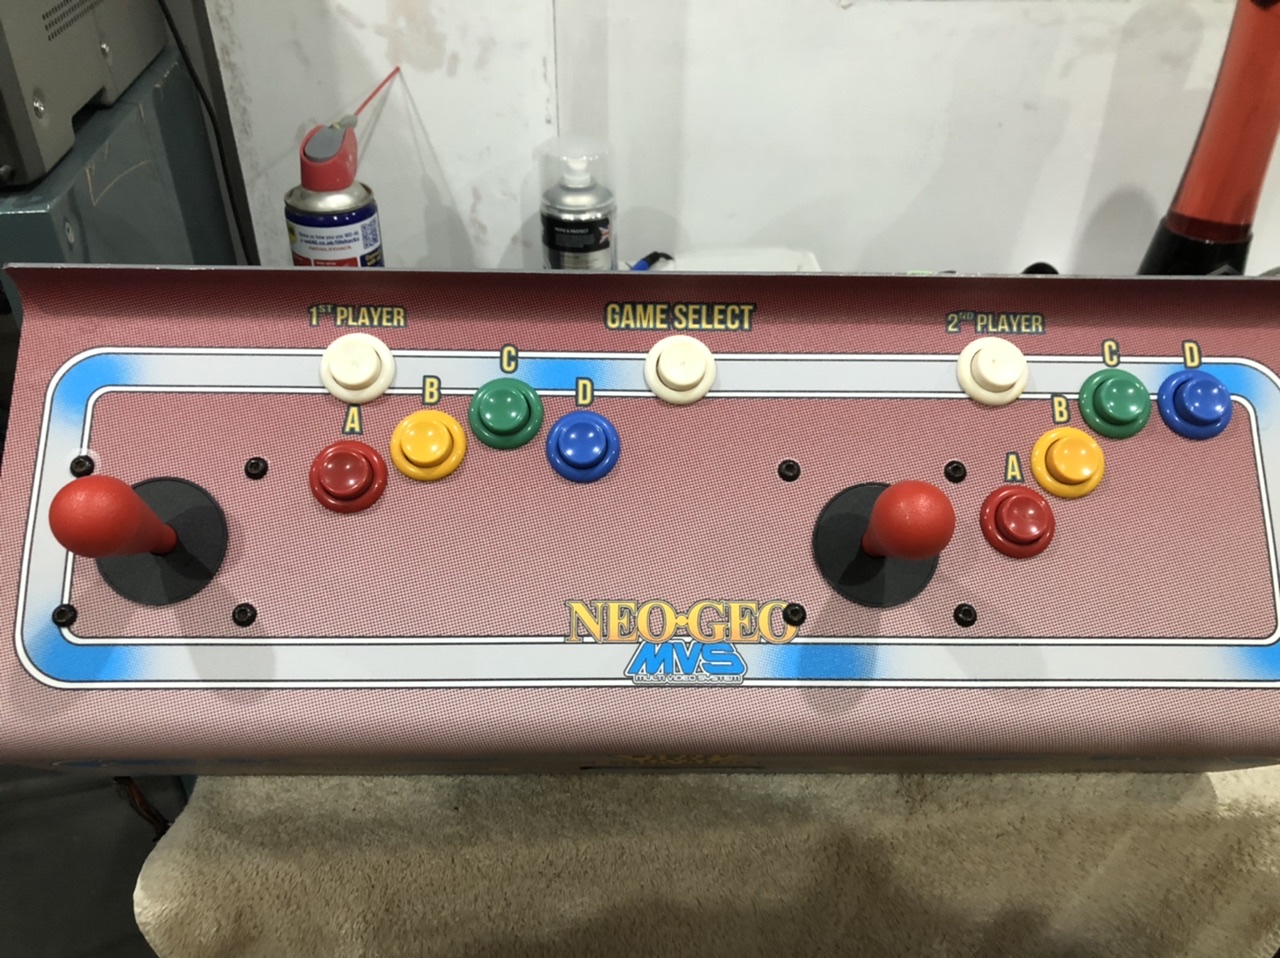
As I said before the joysticks were very worn and looser than a clowns pocket. I'd also seen on the original Electrocoin flyer that they were probably red moulded ball tops originally so I set out to try and find original replacements if possible.

Unfortunately, these were very hard to come by in anything other than very worn condition. I decided that a nice new red moulded Suzo Happ stick would do the job for me and I picked up a pair along with some new T moulding for later from Arcadeworld Uk.

The leaf buttons and switches were in good order though and I decided that a good clean would do the job. I prefer the feel of the concave buttons although they are a little more light in feel than i'd like so I may get new/heavier springs at some point.

I gave the buttons and the microswitch housings all a good wash and clean for starters and polished the buttons up with some novus to bring back a little shine to them.

The white buttons however are cracked and had been gouged by some 'tool' with a tool at some point. A kind member in ROI has kindly offered me 3 replacements for the price of postage! So massive thanks to Cliff (CPS Goodbuy). Once they arrive, they'll be going straight on but in the meantime i'll use the originals.

F9739A6F-02C7-4F1E-8F92-21B67C3F1719.jpeg


Next up was remounting the resprayed metalwork onto the cabinet. I found it was easier to attach the marquee hinge, speaker grilles and lower trim with locks to the marquee while it was off the cab. Then i'd only need to deal with 3 bolts on the top of the cab to mount the whole marquee and gubbins in one go.

ED193EF4-0200-4267-9C22-3FB6A0071A14.jpeg


Same logic with the control panel hinge. I attached it to the panel first (i'm missing a bolt i'll have to source!) and then held it in place while I used an impact driver to easily drive in the screws into the cab itself. I decided to leave the memory card PCB off at this point to make it easier to screw the hinge. It's simple enough to mount the card reader with the CP on the cab.

BD47C8D3-051D-4C25-AE10-E118617B10EB.jpeg


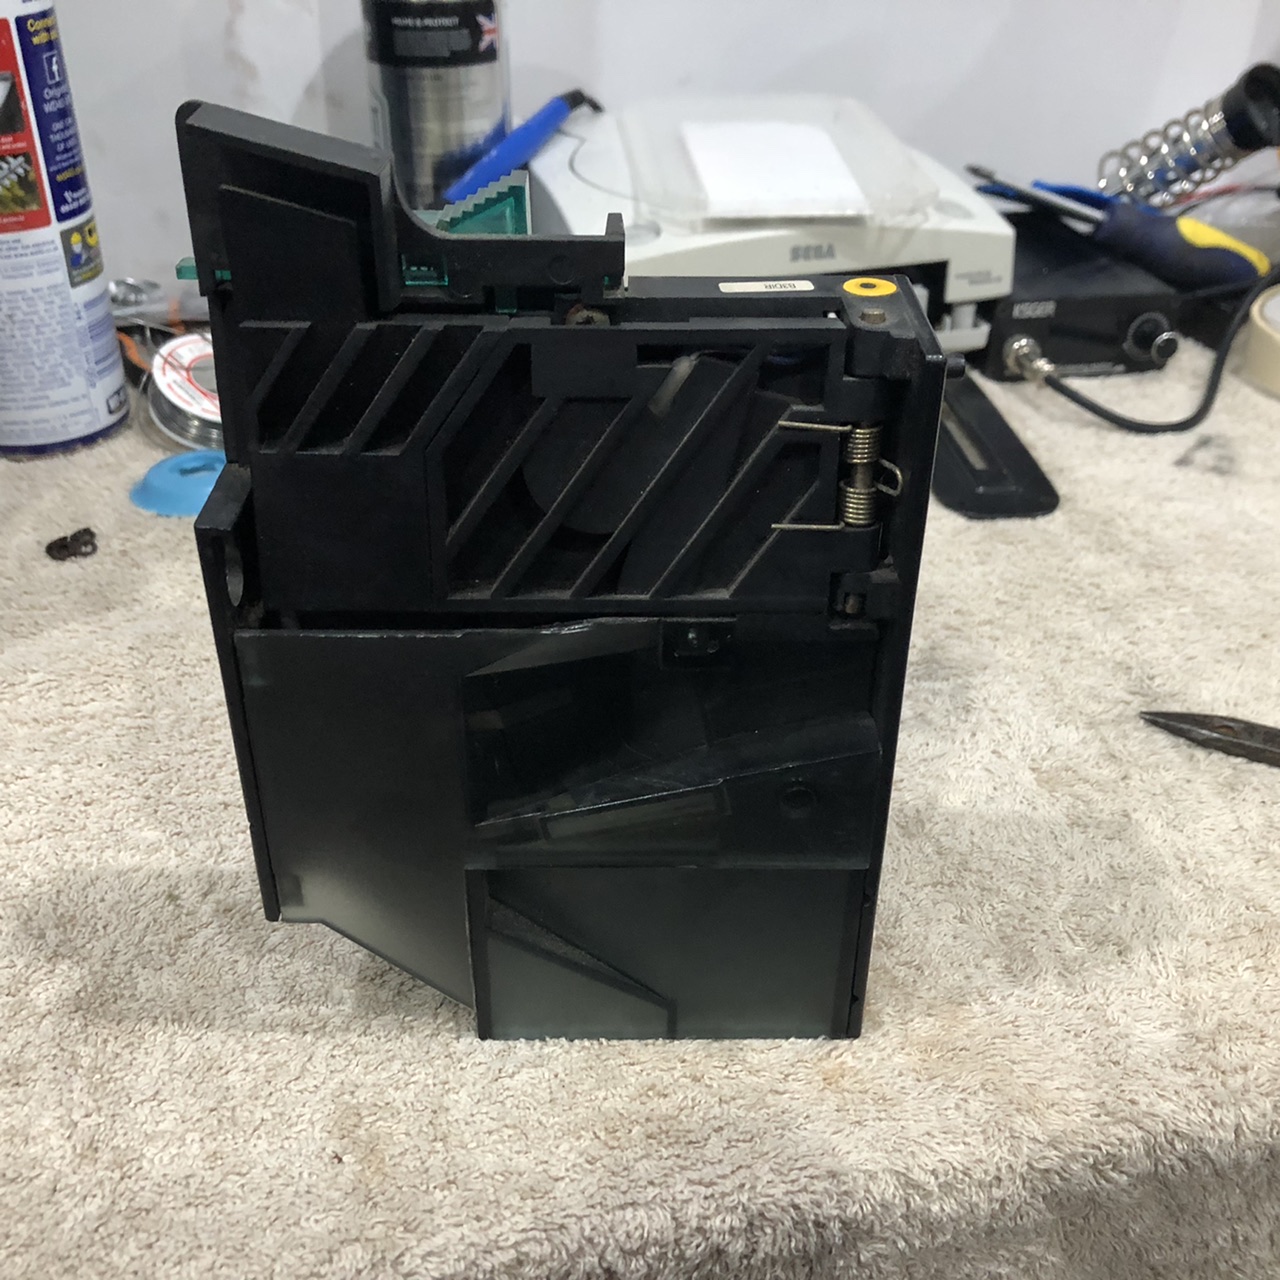
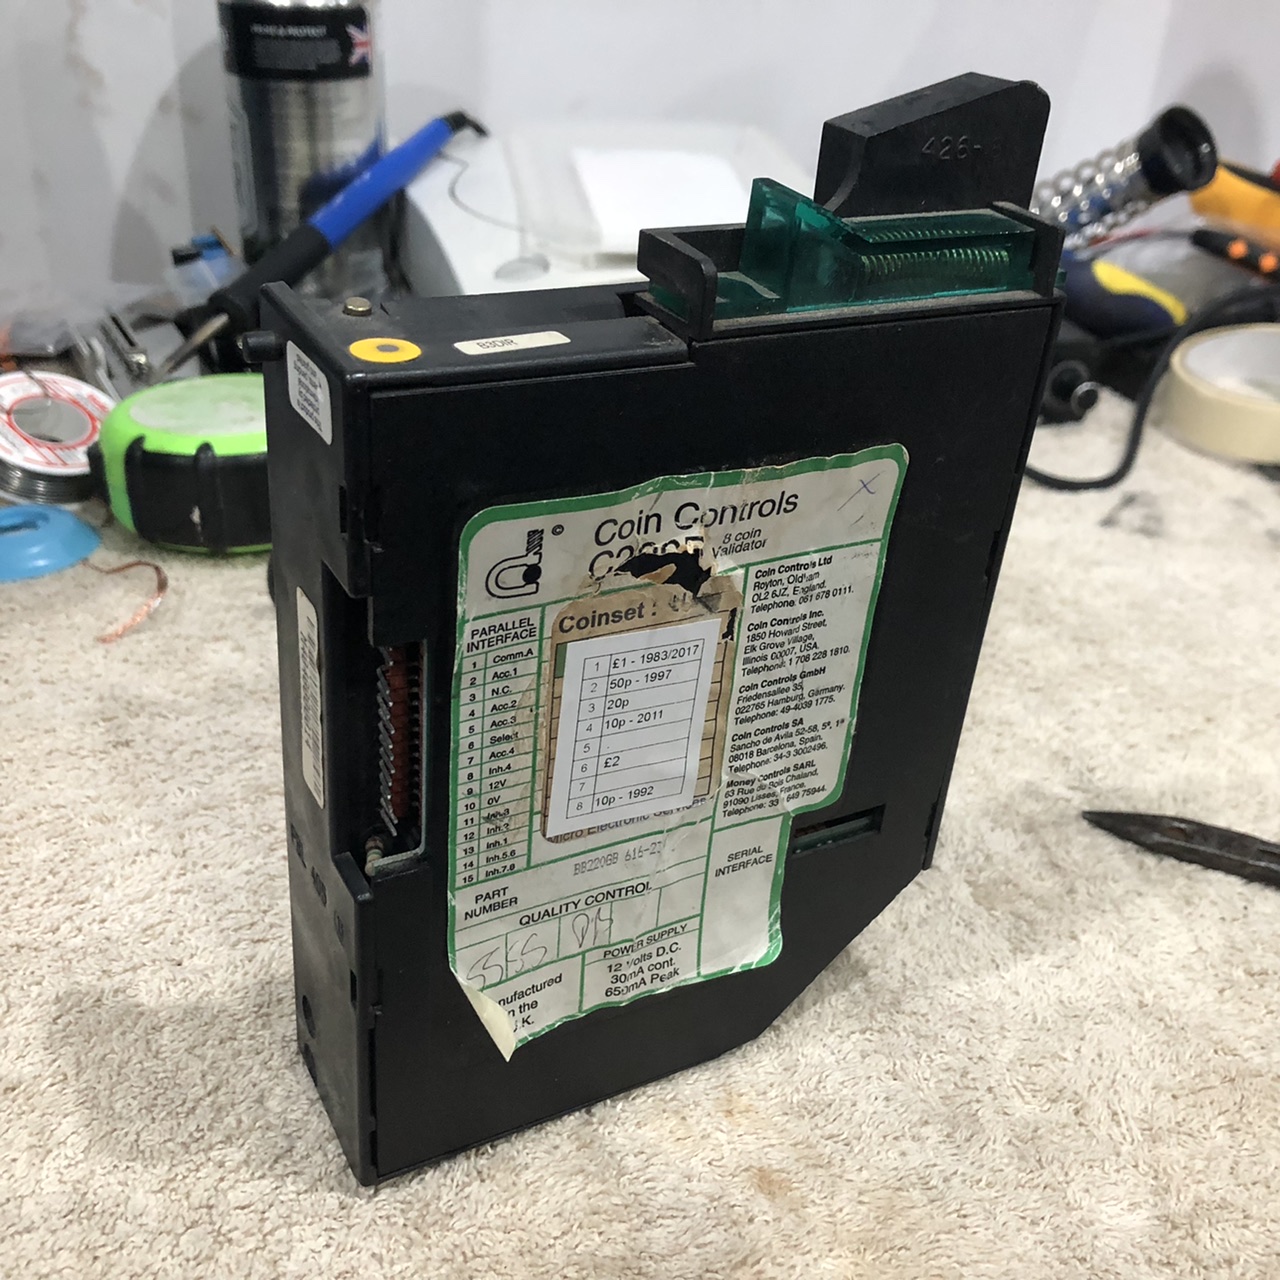
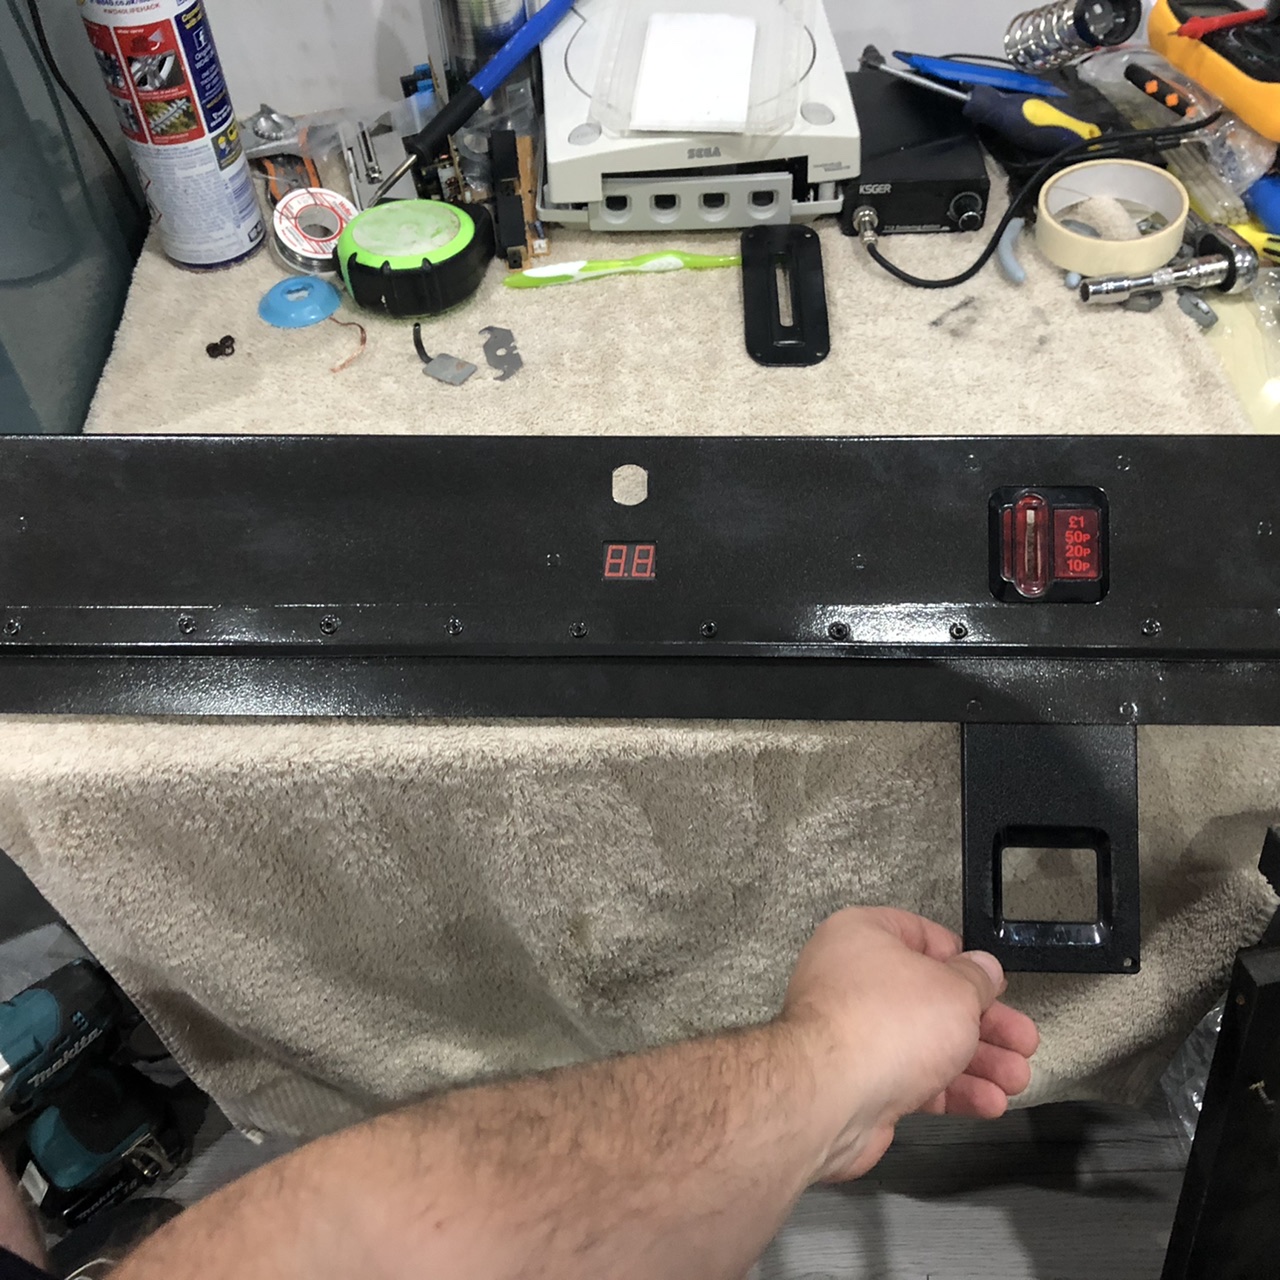
I cleaned up and reattached the coin mech faceplate and the credit board to the metal fascia. Managed to source a refurbished C220B coin mech set for old and new UK coins from Stephen at Swallow Amusements. It's a bit of overkill but I've always preferred putting my money in just for the nostalgia!

A38F309D-3B70-4185-A828-E79C5348855D.jpeg


50C8C935-5DCE-4021-BC6E-58AD7DDBA560.jpeg


I did realise I was missing one key component though...a 15 pin to 15 pin harness that connects the coin mech to the credit board itself so i'm still on the hunt for that!

One quirk I noticed was that Electrocoin must have repurposed the coin mech faceplate from one of their other designs or a generic industy part. It has a textured, 'tolex' type surface where it's designed to be an exposed faceplate with a coin return but in the MVS it's only bolted to the back of the metal fascia with only the coin slot and push button on view.

82D80E0F-F646-42A4-95C2-ABA07BCD5A81.jpeg


The final metal section is a retaining strip that mounts to the back of the speaker/EL panel and acts as a retainer for the top of the glass/chrome screen cover and also the slots for the marquee locks to slide into. But i'll need to sort out the broken EL panels before I remount this in the cab.

I'm in two minds whether to source new EL panels and manually swap them out with the existing or remove the entire EL system and replace with the EL panel replacement kit from Lee Smith at Neogeoledmarquee.info.

Both options are similar in cost but I'm guessing the total kit replacement is more of a sure thing. Don't really want to fork out £100+ for a DIY solution only for it not to work!

Watch this space!

jerryspaghetti2022-05-27 11:14:05
 

ChrisBEANS

Active member
vacBacker
Feedback
4 (100%)
Credits
726CR
More great stuff! Interesting to see your approach to the controls.
I see them more as a consumable that will need replacing eventually, so I just modified and installed modern sticks.
I appreciate the authentic approach you’ve taken here. I still have the OG leaf switch buttons, but had decided I was going to use modern Japanese buttons before the cab even arrived. Kinda wish I’d at least tried the OGs now…

As for the EL panels. When I was looking at replacing mine, all the advice was that old EL panels sucked and died and that it was a much better bet to simply go with Lee’s stuff.
Have to say I’m very happy with it too.

Keep the updates coming!!
 

jerryspaghetti

Active member
vacBacker
Feedback
32 (100%)
Credits
1,799CR
Cheers Chris,

Gotta say i've never been too fussy with my controls as long as they're responsive with little to zero looseness.

I like to keep stuff as original as possible but only if it's practical.

There's no point sacrificing too much money or functionality in exchange for museum level restoration in my opinion.

These things are meant to be played and it's better if they work and feel enjoyable when you do play them!

I'm away for a week or so but will update with the EL panel replacement and a start on the couple of bits of bodywork damage.

Logically, I should probably have started with the bodywork and worked inwards but was too impatient and wanted to get playing on it while carrying out the aesthetic work.

Probably gonna send the chassis off for a servicing too as the degauss needs looking at anyway.

Then it should just be a bit of artwork repair.

Cheers again for following!
 
Top