Return of the Jedi Restoration in 7 Easy Steps

iamjimmi

Active member
vacBacker
Feedback
8 (100%)
Credits
492CR
big10p said:
That's quite a lot metalwork for one cab! I only had a double coin door and 2 marquee brackets for the coaters, last time. Good colour match, BTW - I can't tell the difference.

Yeah - everything on this cab is oversized. It was about now, with the cab completely dismantled that I had my first "oh sh*t what I have done" moment... It's why I didn't post in real time - a big part of me thought that I would never get this thing back together again!
 

iamjimmi

Active member
vacBacker
Feedback
8 (100%)
Credits
492CR
Step 4 - Get a Handle on this Restoration

Next on the list is the Yoke.

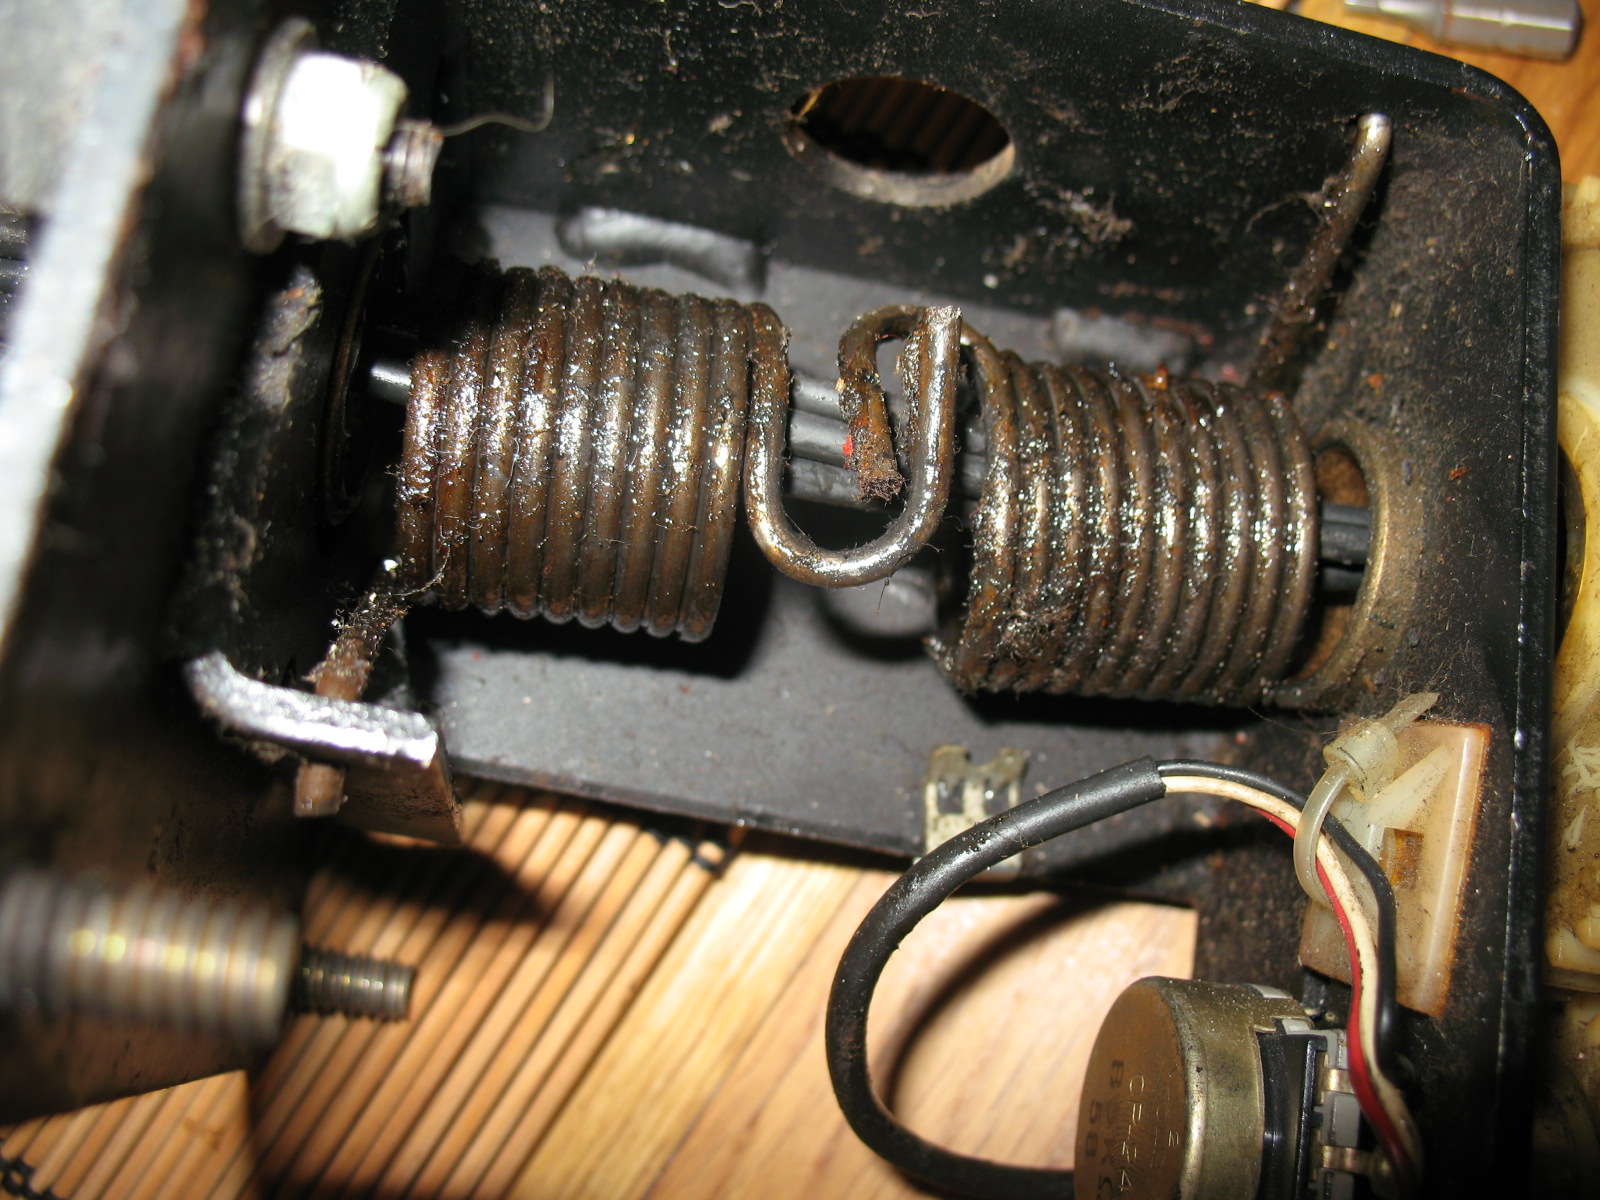
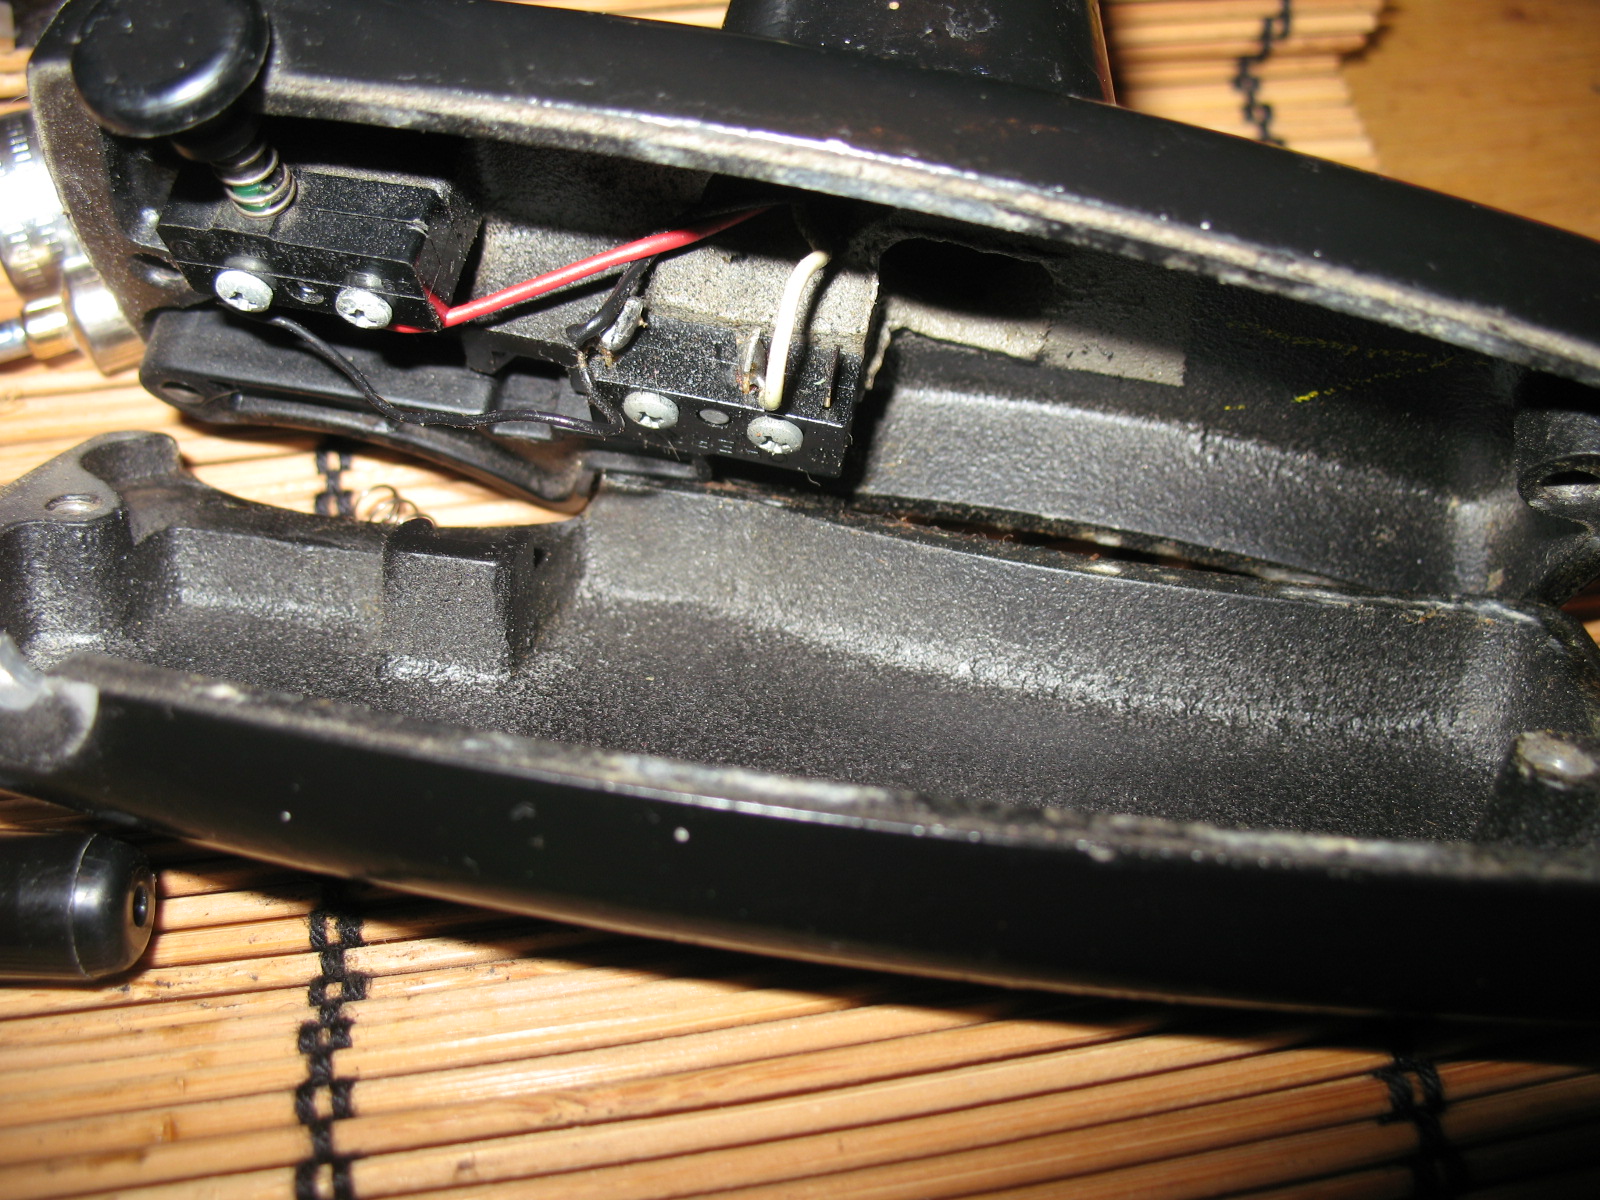
The Yoke was stripped down, 30 years of grime removed, lubricated and new fire button springs, micro switches and pots added. The cogs and main springs were all in good shape, so I left these as they were.

Parts were sourced from the now defunct RAM Controls and the wonderful Arcadefixit.

Another really useful contact is Ian at www.modelfixings.co.uk. They are a great source for those tiny screws that are so difficult to source. For the record here are the screws used in the Yoke:

6 unc x 1/4" long - Modelfixing ref MF-BH12
6 unc x 1/4" long - Modelfixing ref MF-SC240
6 unc x 5/8" long - Modelfixing ref MF-SC243
Grub screws 1/4" - Modelfixing ref MF-GS132

Ian's another one of those specialist retailers that is a joy to do business with - very professional, helpful and friendly guy.

I found an invaluable guide to stripping down a Yoke here:Yoke Rebuild

I don't think I could do a better job than this guide, so I will limit this posting to some before and afters, and a couple of pointers to consider that were not covered in the guide above.

1_Before.JPG


Thirty years of grime:

2_Before.JPG


After a much needed bath:

1_After.JPG


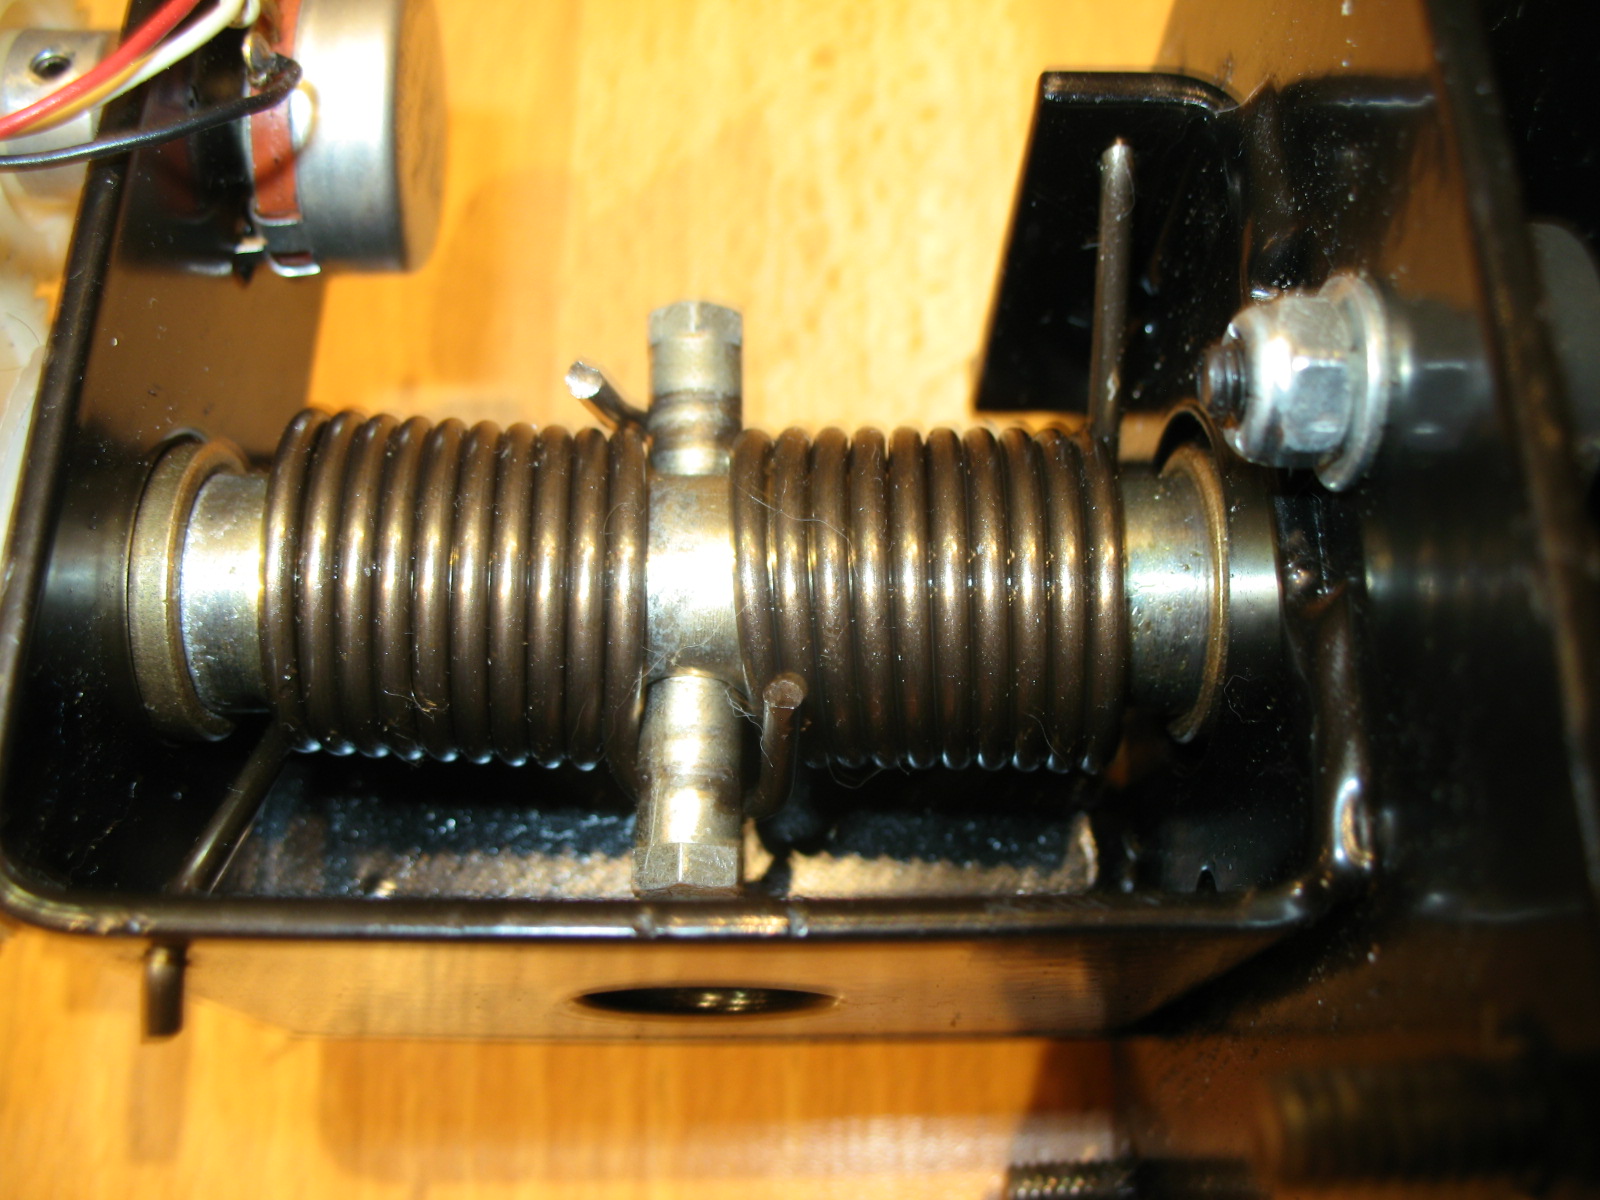
** TIP ** The pin in between the springs in the picture below has to be removed. It unscrews into two separate parts. Be very careful not to over tighten it when you replace it.... I managed to snap mine in two. Fortunately Arcadefixit had some NOS pins!

2_After.JPG


3_After.JPG


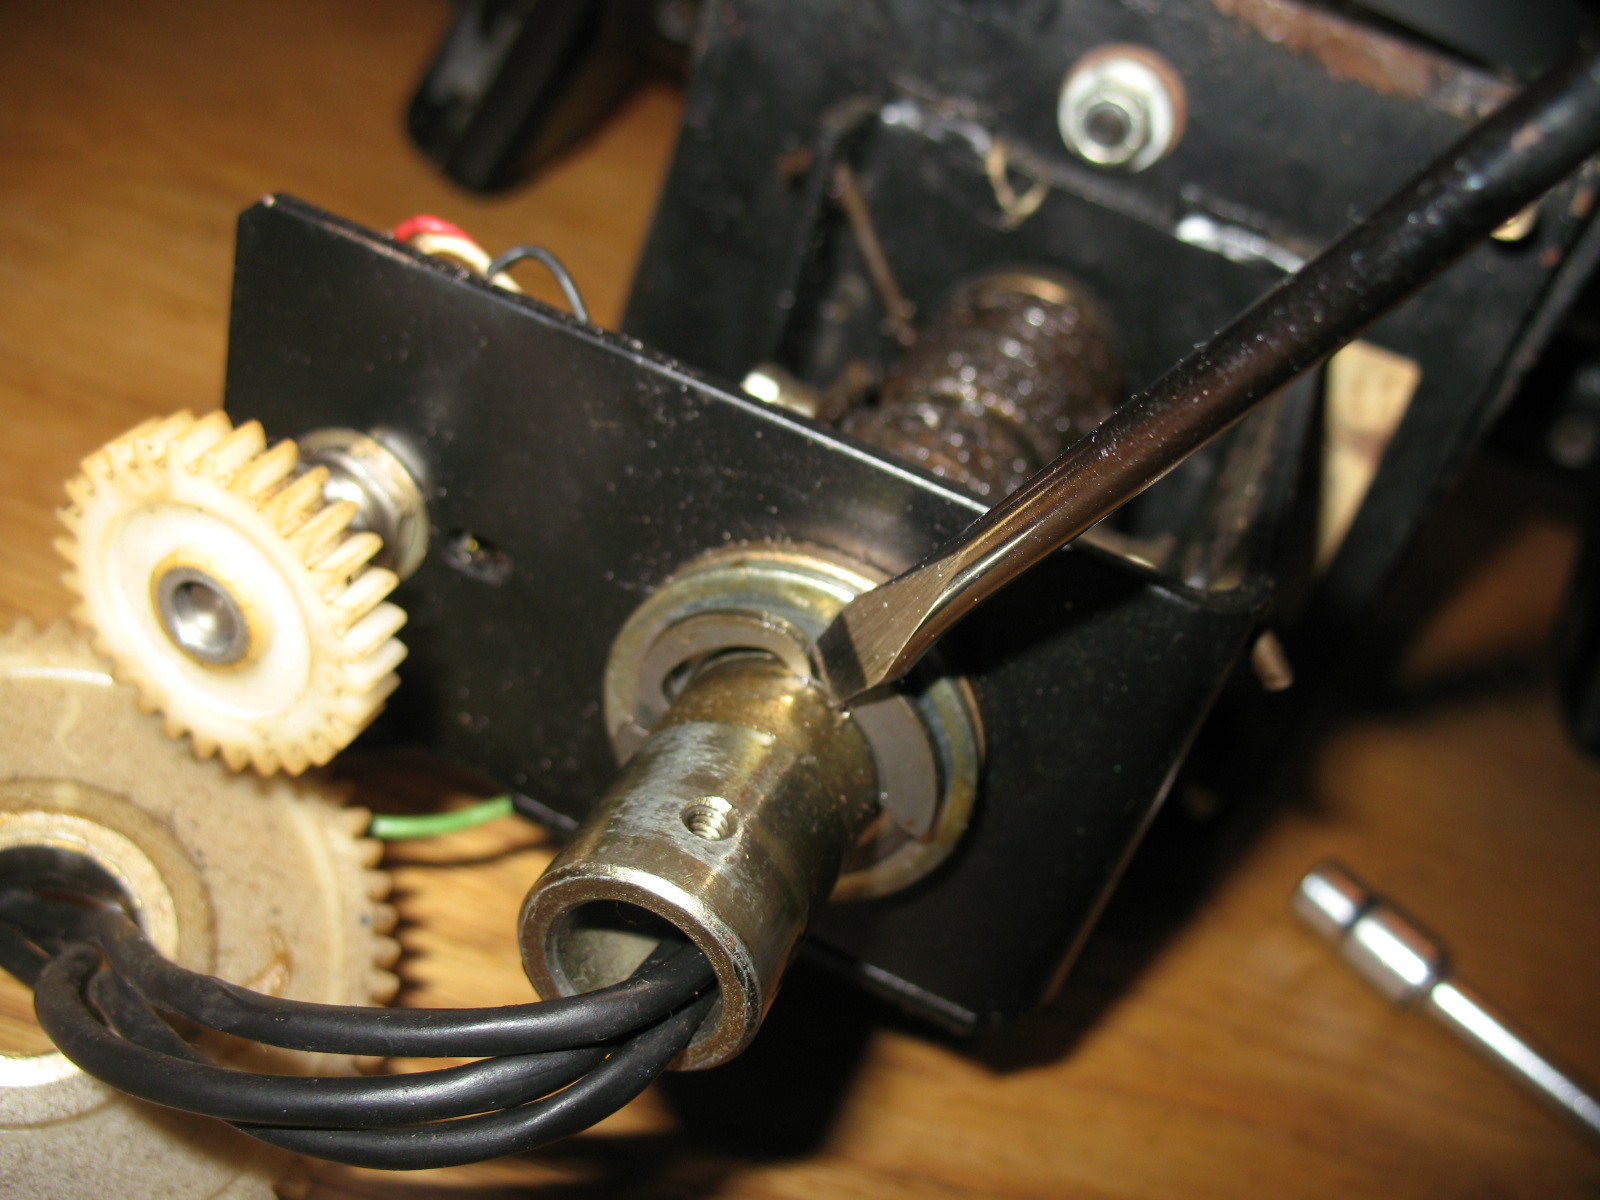
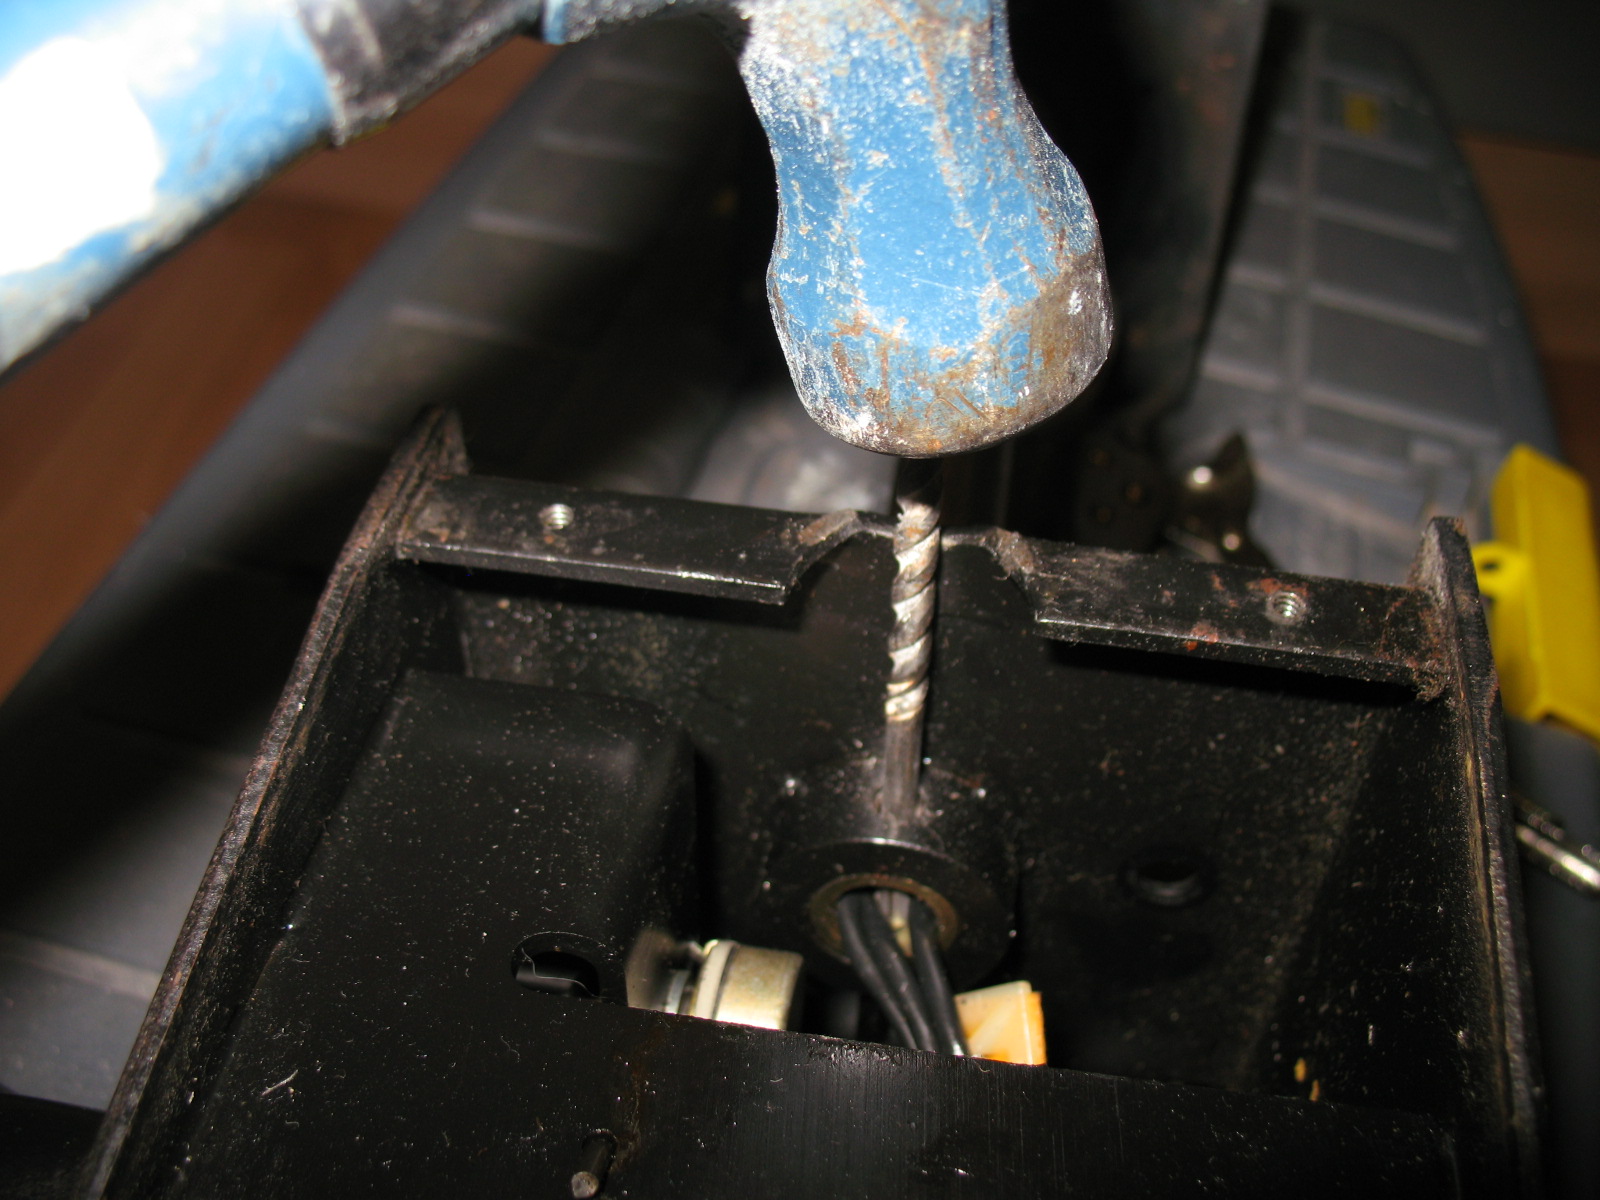
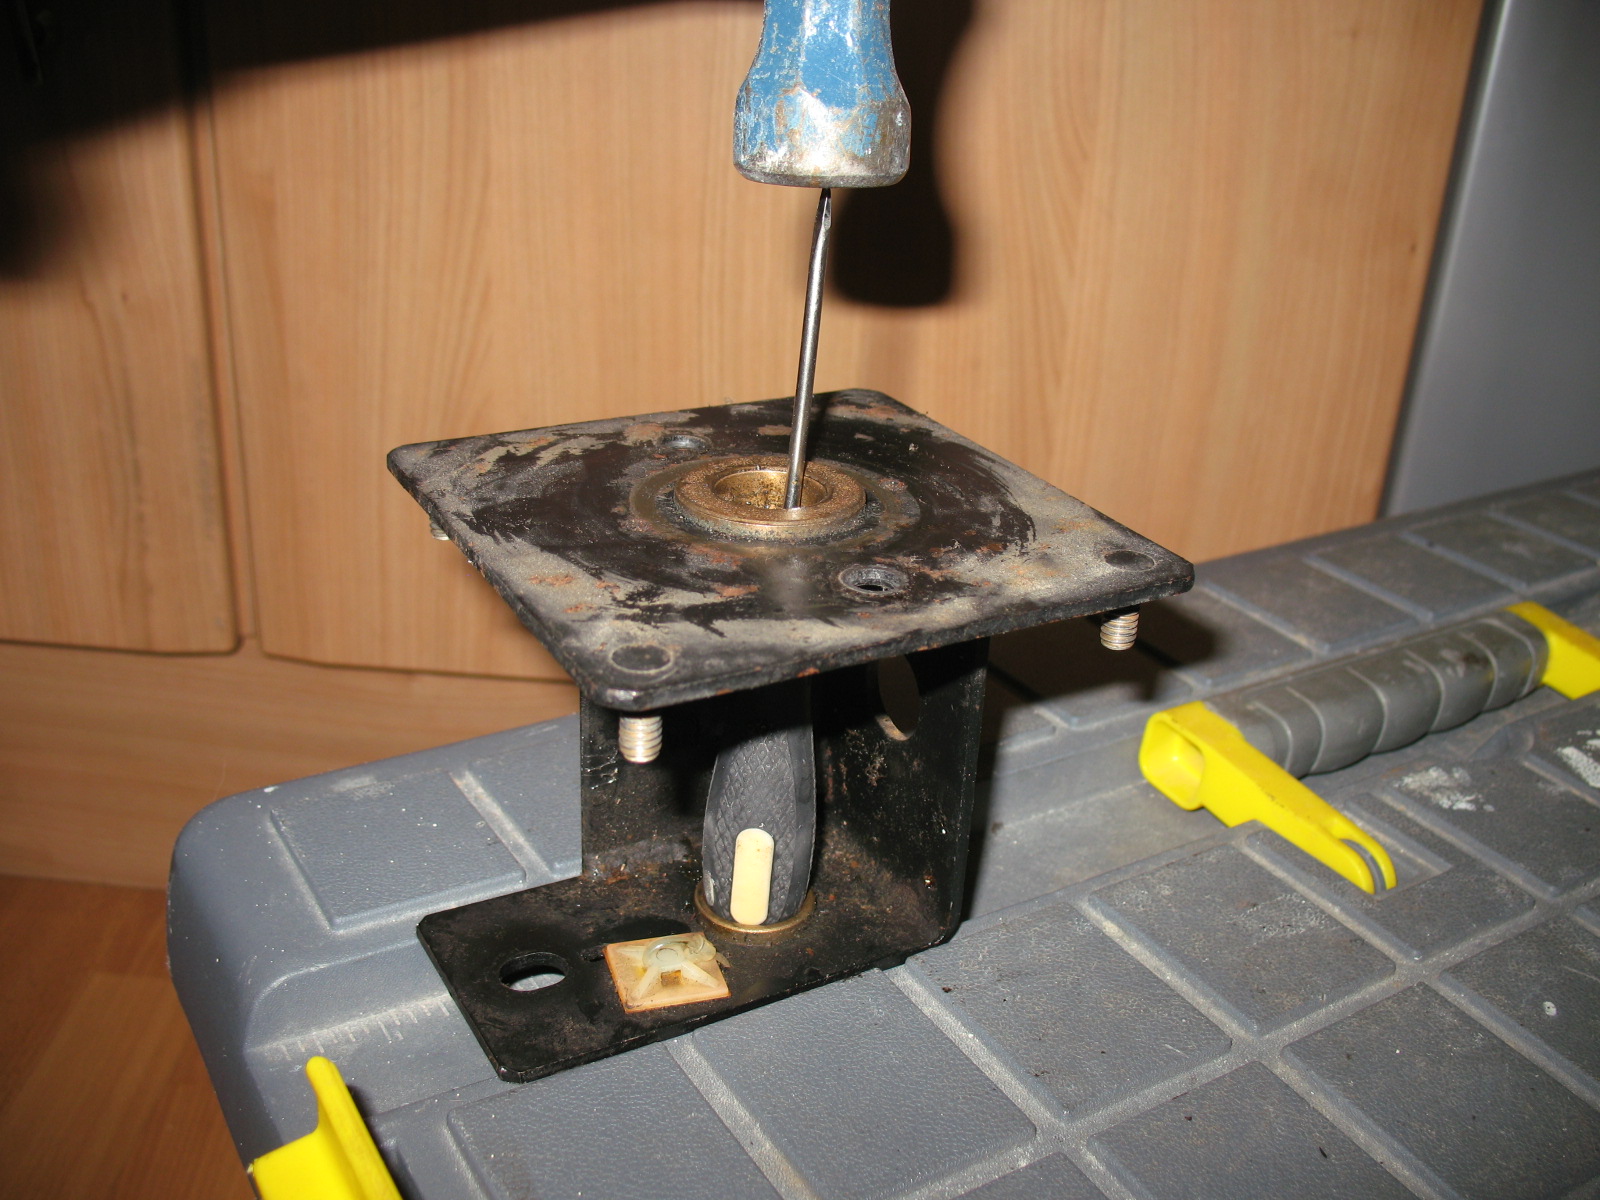
This clip pin proved to be particular awkward to remove. I hammered it out using a brill bit of the same width:

4_Before.JPG


5_Before.JPG


6_Before.JPG


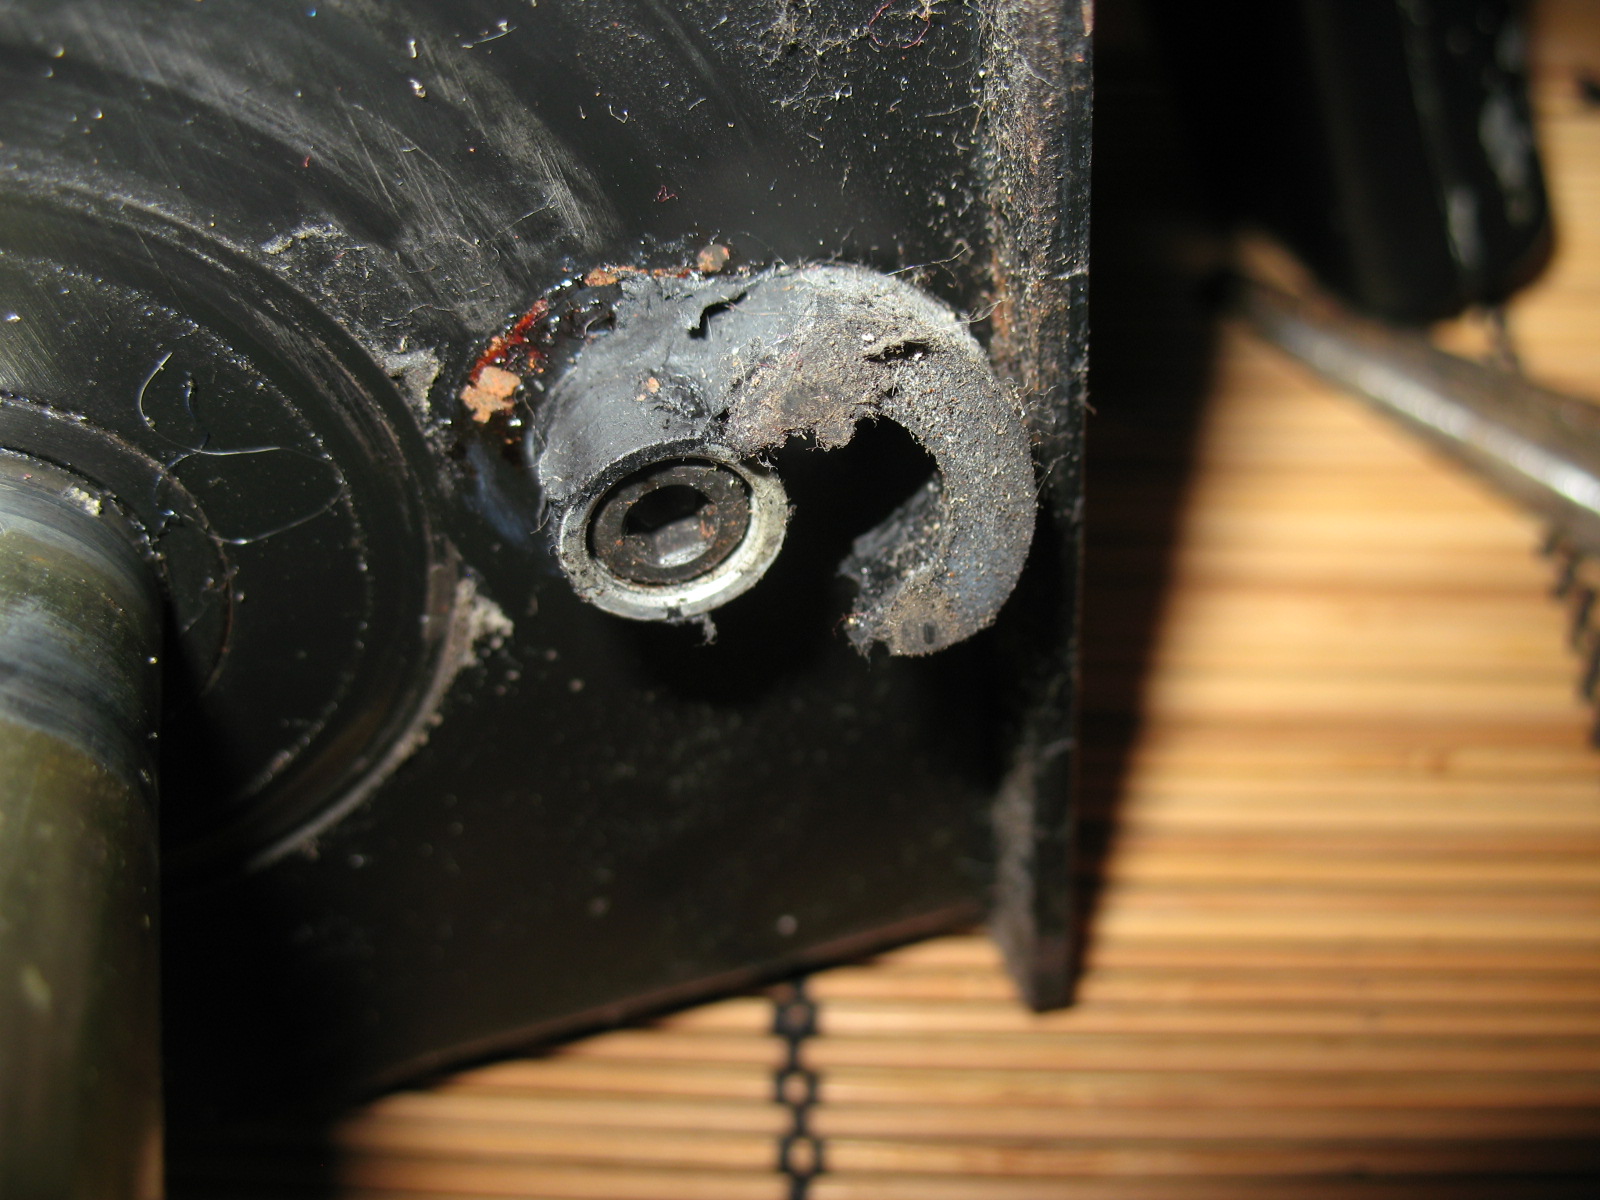
It goes without saying that the rubber stoppers were completely shot:

IMG_4362.JPG


So these were all replaced:

IMG_4813.JPG


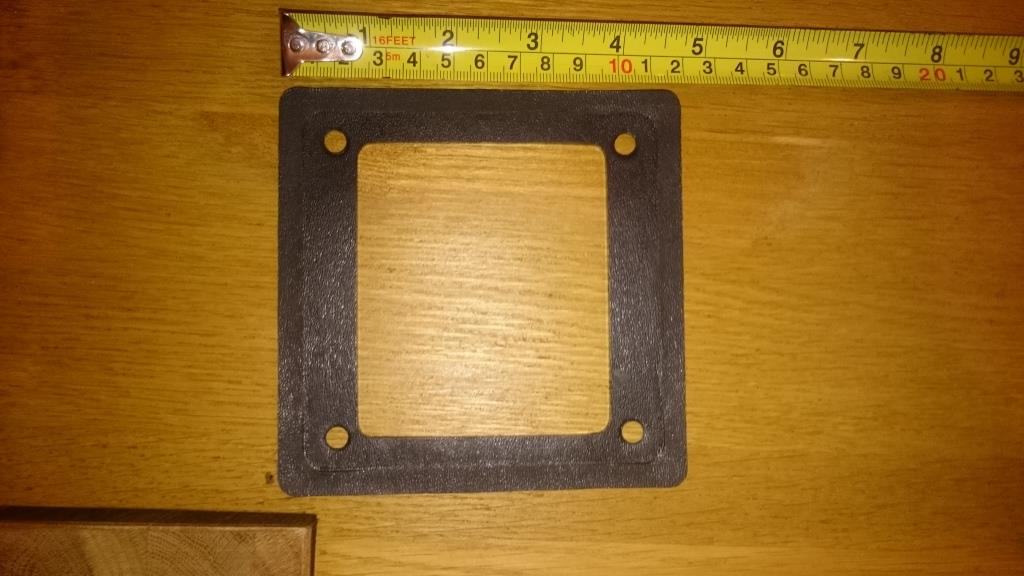
It is now that I noticed that a plastic spacer was missing – this lifts the Yoke up from the control panel by about 3mm allowing it to twist left and right without catching on the rubber stoppers. I had an original from another machine:

spacer1.jpg


And I used this as template to cut another one from Perspex. It came out really well which makes it really annoying that I've lost the photo!

The yoke guide above describes how to remove the brass bearing - this is required if you are going to sand blast/powder coat. I removed it using a similar method of knocking it out:

IMG_4434.JPG


But I really regret removing the bearing. Hammering it out risks damaging it. And putting it back requires a bearing press (and therefore a trip to a friendly garage). There are DIY methods of replacing it, but you risk damaging the bearing. If I was to do this again, I would just mask the bearing and spray the housing. So another tip...

** TIP ** IF THE BEARING IS NOT DAMAGED - DO NOT REMOVE THE BRASS BEARING!

But an even bigger mistake that I have seen people make is to paint the bearing - this will totally mess up the movement of the yoke... so the next tip...

** TIP ** WHATEVER YOU DO... DO NOT PAINT THE BEARING!

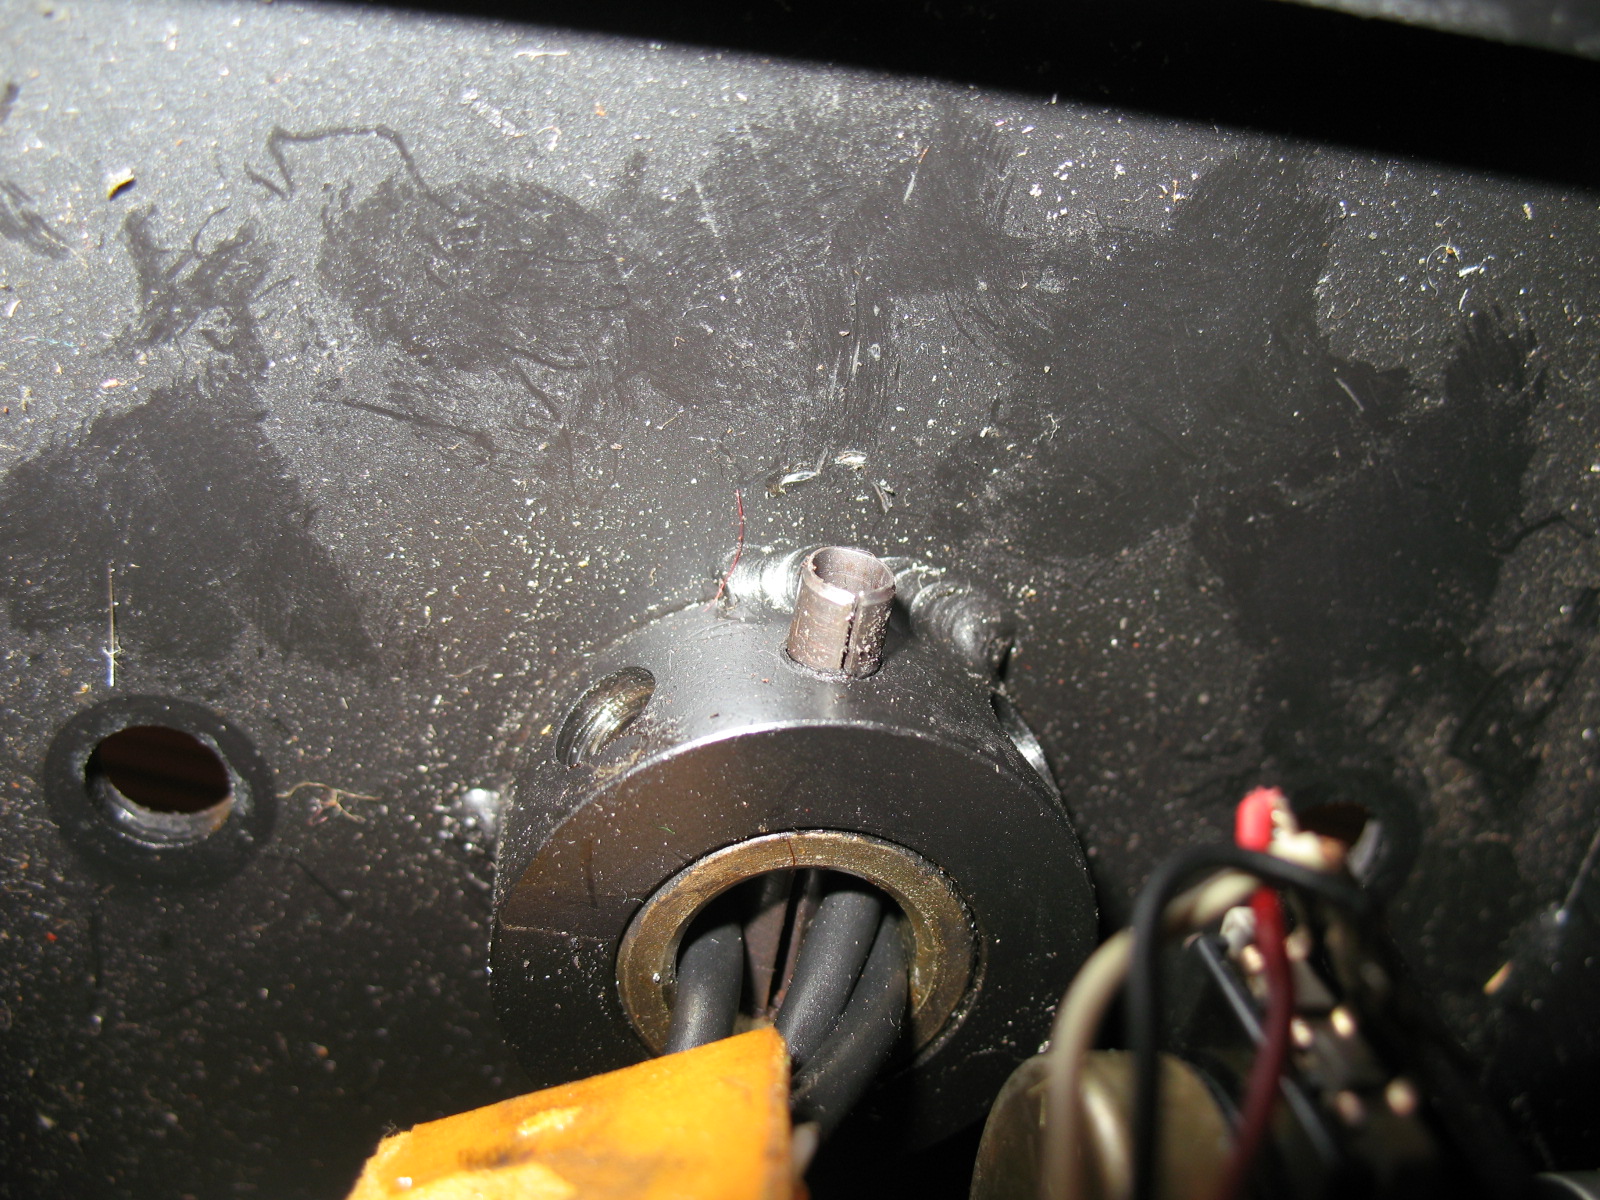
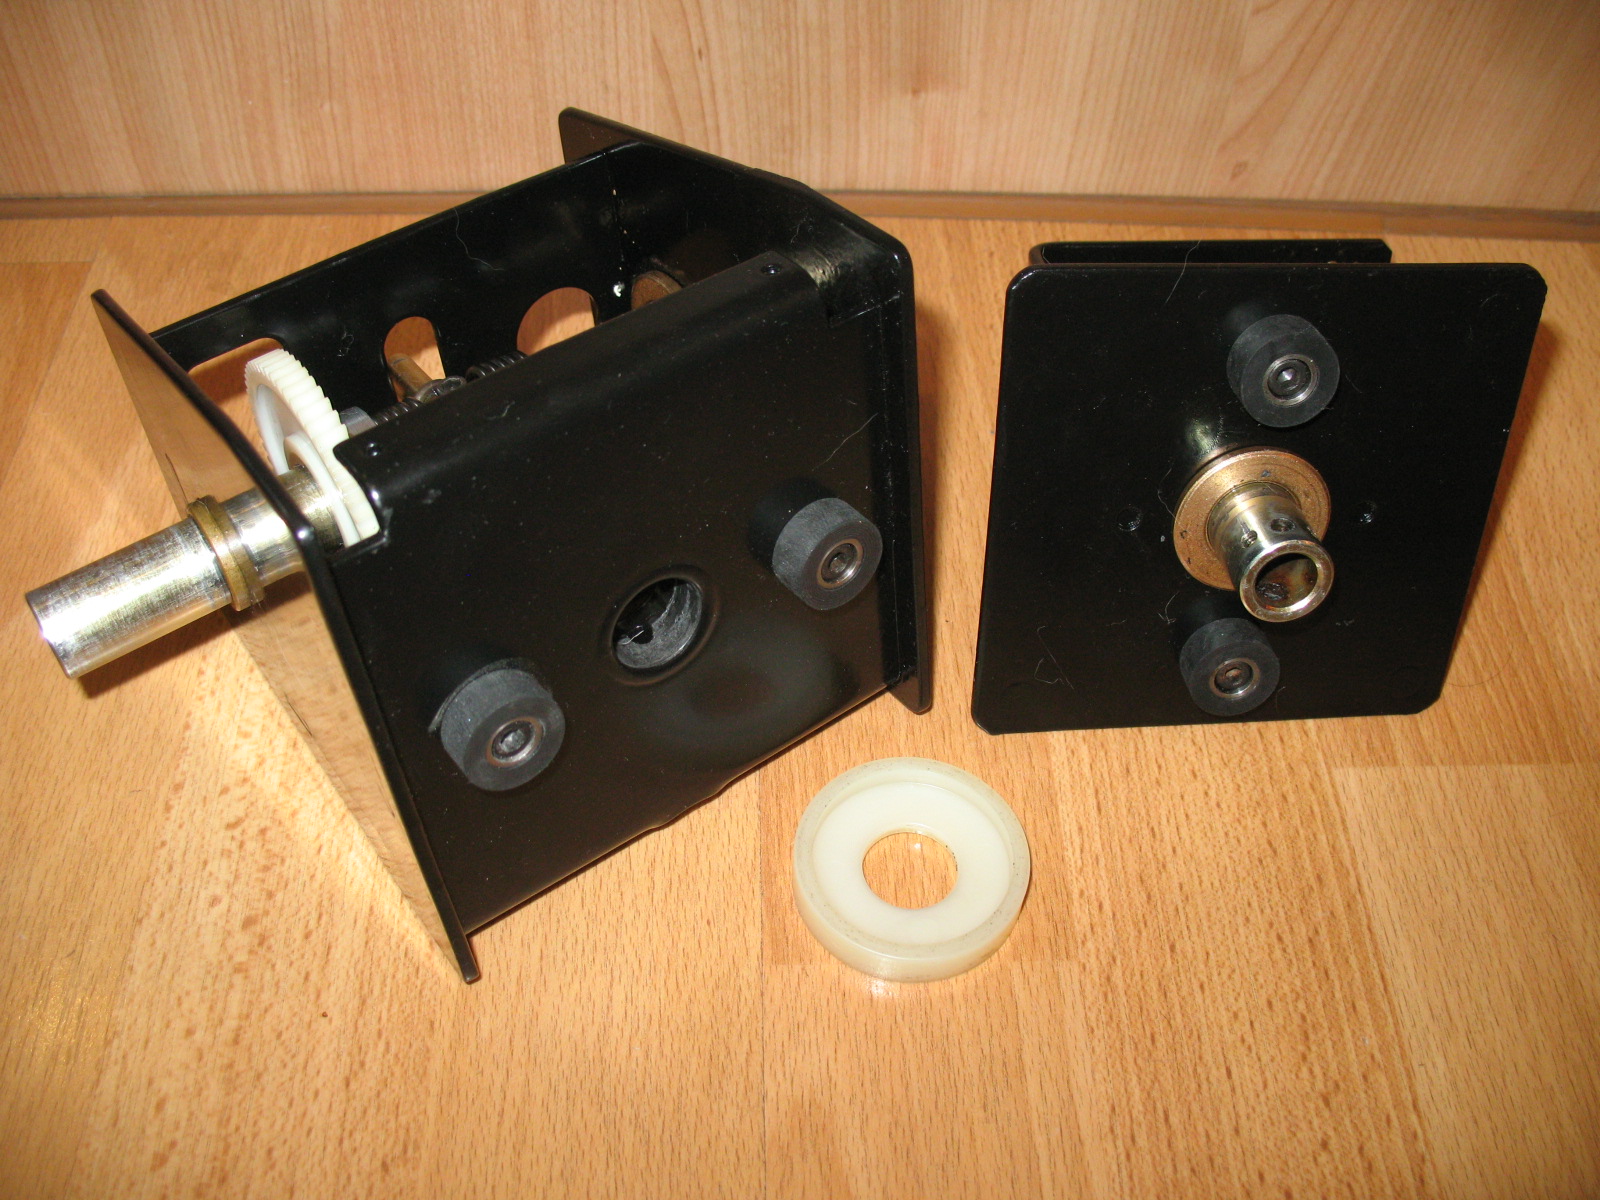
One little mod I did was adding a plastic washer at the very back to the Yoke. Every yoke I have used has a little bit of in/out play i.e. you can pull the Yoke towards you and the whole yoke moves about a mm or two. Not much, but very annoying. This washer stops the play and yoke sits in the control panel nice and tight – just like it came from the factory.

Washer1_.JPG


Washer_2.JPG


One last thing needed attention - those cigarette burns:

IMG_4231.JPG


First a little sanding:

IMG_4454.JPG


And then back to Chris at Autobodys... You can buy plastic spray, but I haven't had a whole lot of success using this, and Chris was able to use the same spray they would use for bumper repairs:

IMG_0153a.jpg
iamjimmi2015-12-08 23:08:11
 

Russ J

Active member
vacBacker
Feedback
1 (100%)
Credits
233CR
great write up so far Jim
smiley32.gif
...I'll have to come up and see it in the flesh as you've gone on a lot furthur than last time I were at yours mate...

My anchor pin in my Starwars yoke snapped when I took mine out as well,unfortunately Arcade Fix it didn't have any in stock (NOS ones) at the time but would post one as soon as he got more in,so I got a metal fabricator guy I no (from my BMX restoration days) to make me one...Arcade Fix It got more in whilst I were waiting for my mate to fabricate one for me so they posted me one of for me and not long after I recieved it from the States my mate sent me the one he did
smiley36.gif
...I have the repop one in my Starwars atm and the NOS one put to one side just in case...
 

iamjimmi

Active member
vacBacker
Feedback
8 (100%)
Credits
492CR
Russ J said:
great write up so far Jim 
smiley32.gif
...I'll have to come up and see it in the flesh as you've gone on a lot furthur than last time I were at yours mate...

My anchor pin in my Starwars yoke snapped when I took mine out as well,unfortunately Arcade Fix it didn't have any in stock (NOS ones) at the time but would post one as soon as he got more in,so I got a metal fabricator guy I no (from my BMX restoration days) to make me one...Arcade Fix It got more in whilst I were waiting for my mate to fabricate one for me so they posted me one of for me and not long after I recieved it from the States my mate sent me the one he did 
smiley36.gif
...I have the repop one in my Starwars atm and the NOS one put to one side just in case...

Cheers Russ - it has been a long journey but I am really close now! Breaking that pin was a real oh f*ck moment - and it broke so easily. I don't have any metal fabricator contacts, so handy to know that you do!

You are of course more than welcome to pop up and give it a trial - the end is just be a few days away now....
 

Mr20to5

Active member
vacBacker
Feedback
1 (100%)
Credits
1,365CR
Nice thread. Some great updates with good photos and like the Top Tips sections too. It's a big old cab though. Only ever played this once at NERG this year, wasn't overly impressed, but to be fair to the game, I didn't give it anywhere enough game time to give it a fair chance.
 

LAZORIAN

Active member
vacBacker
Feedback
2 (100%)
Credits
260CR
I bet that yoke feels great now!
I think that controller is my all time fave - a nice bit of engineering and feels great to use.
I'd like to replace the rubber bumpers and pots in mine but I hate those pin type of fasteners... Its always a pain to remove and replace them, my atari logo stick had a couple too and I thought I'd never get them out.
Great tips though, if I ever rebuild my yoke I'll certainly bear these in mind :)
 

iamjimmi

Active member
vacBacker
Feedback
8 (100%)
Credits
492CR
Step 5 - It's electrifying

Firstly - thanks for all your kind comments - it means a lot to get feedback from like minded souls!

But there is no point having a great looking machine without a working game, so time to turn my attention to the electrics.

First item on the list was the PCB. Now that I had a Yoke with new pots, I expected the erratic control to be history. Not so... the pots hadn't made a difference
smiley19.gif


After posting some technical help on here, VectorGlow (Phil) steered me towards the voltage. Sure enough it was running a little low. I was using a switcher to test it, so I upped it up to 5V and the control was sorted. Thanks Phil!

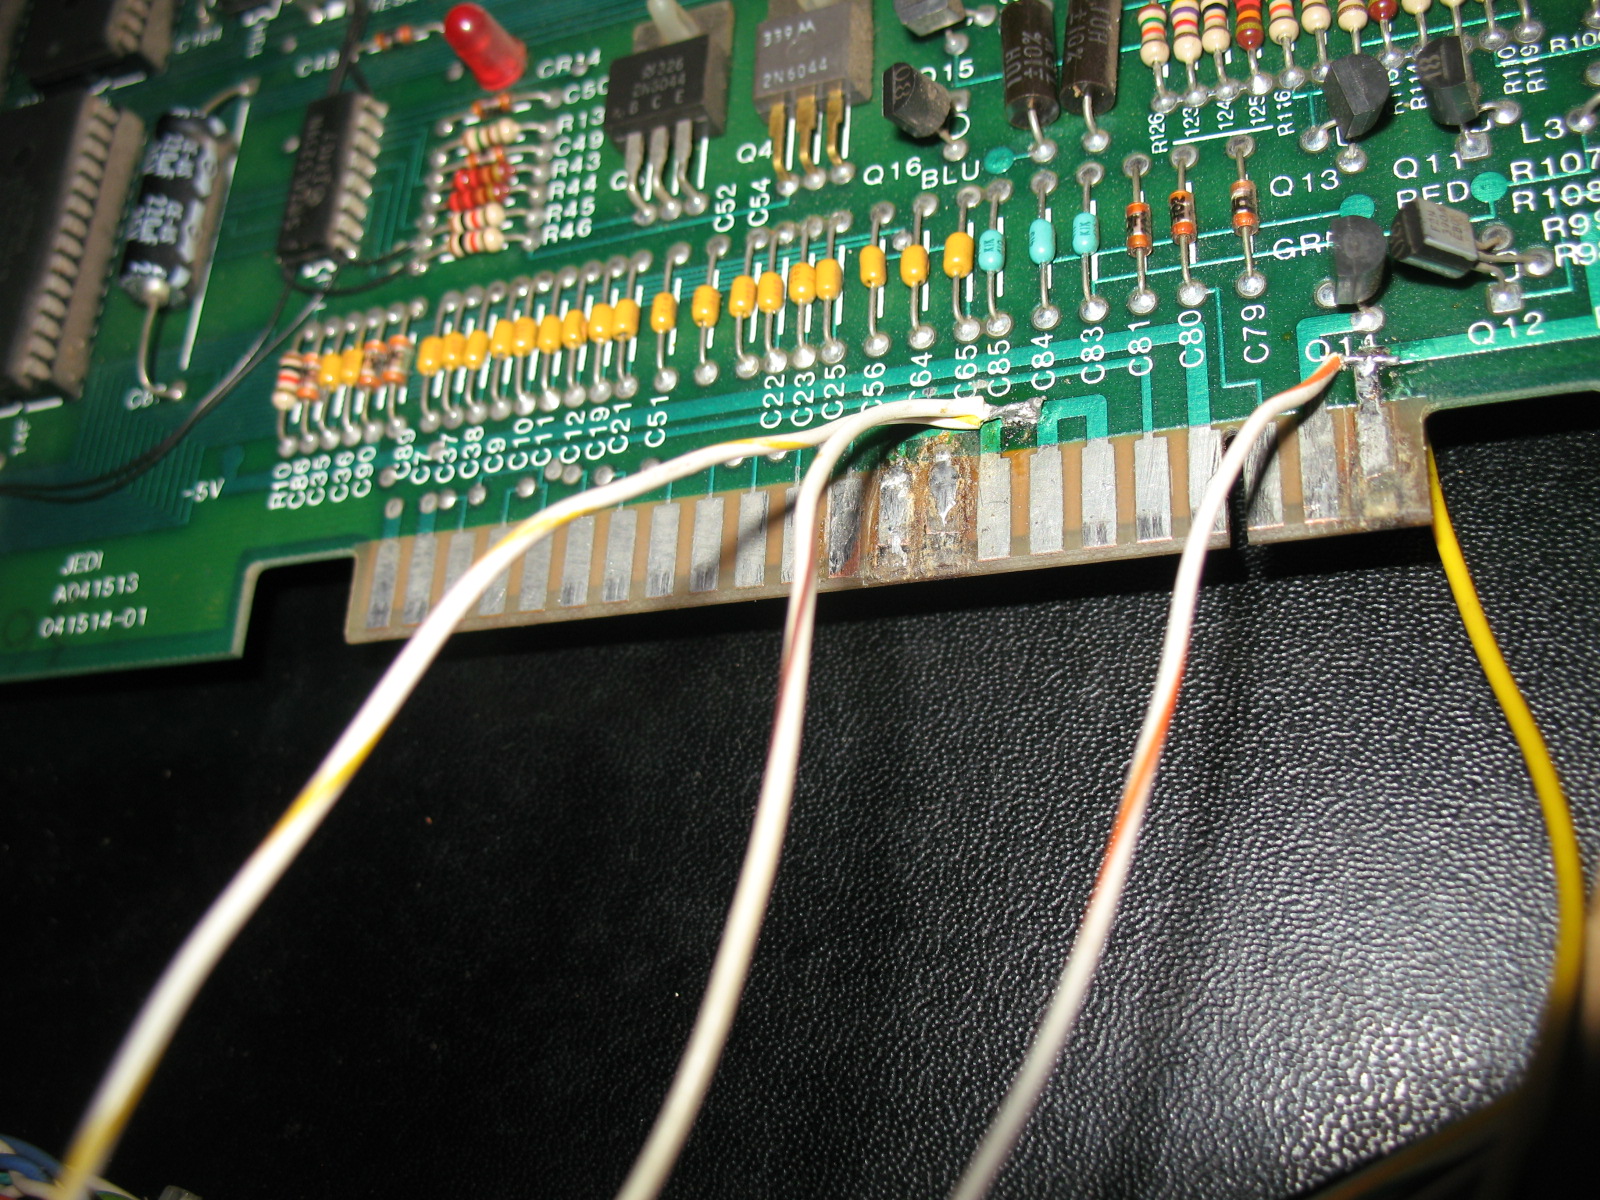
Phil also helped me out with the interconnect. In places this has been soldered directly to the PCB:

IMG_4589.JPG


I am awful at soldering. I will have a go at switches and buttons, but there is no way I would go near a PCB - so sent this off the VectorGlow and he sorted it out for me and repaired the loom. That's another thanks Phil!

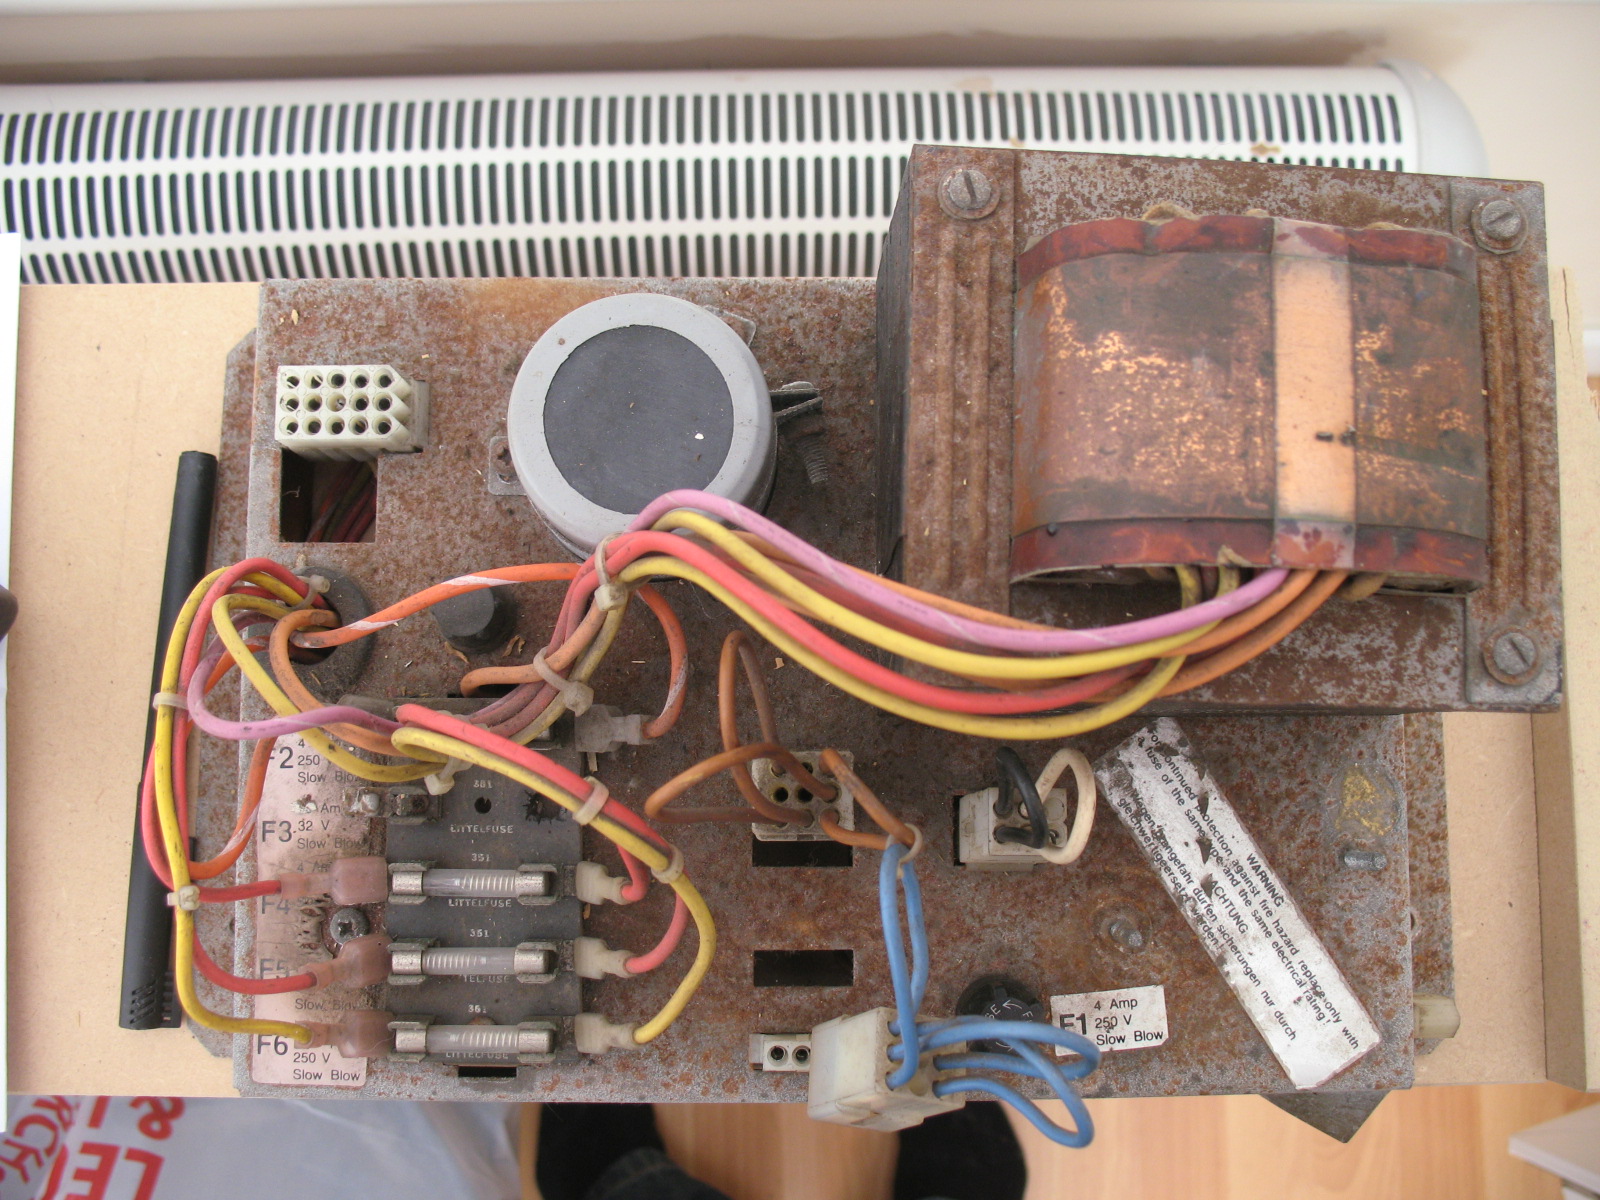
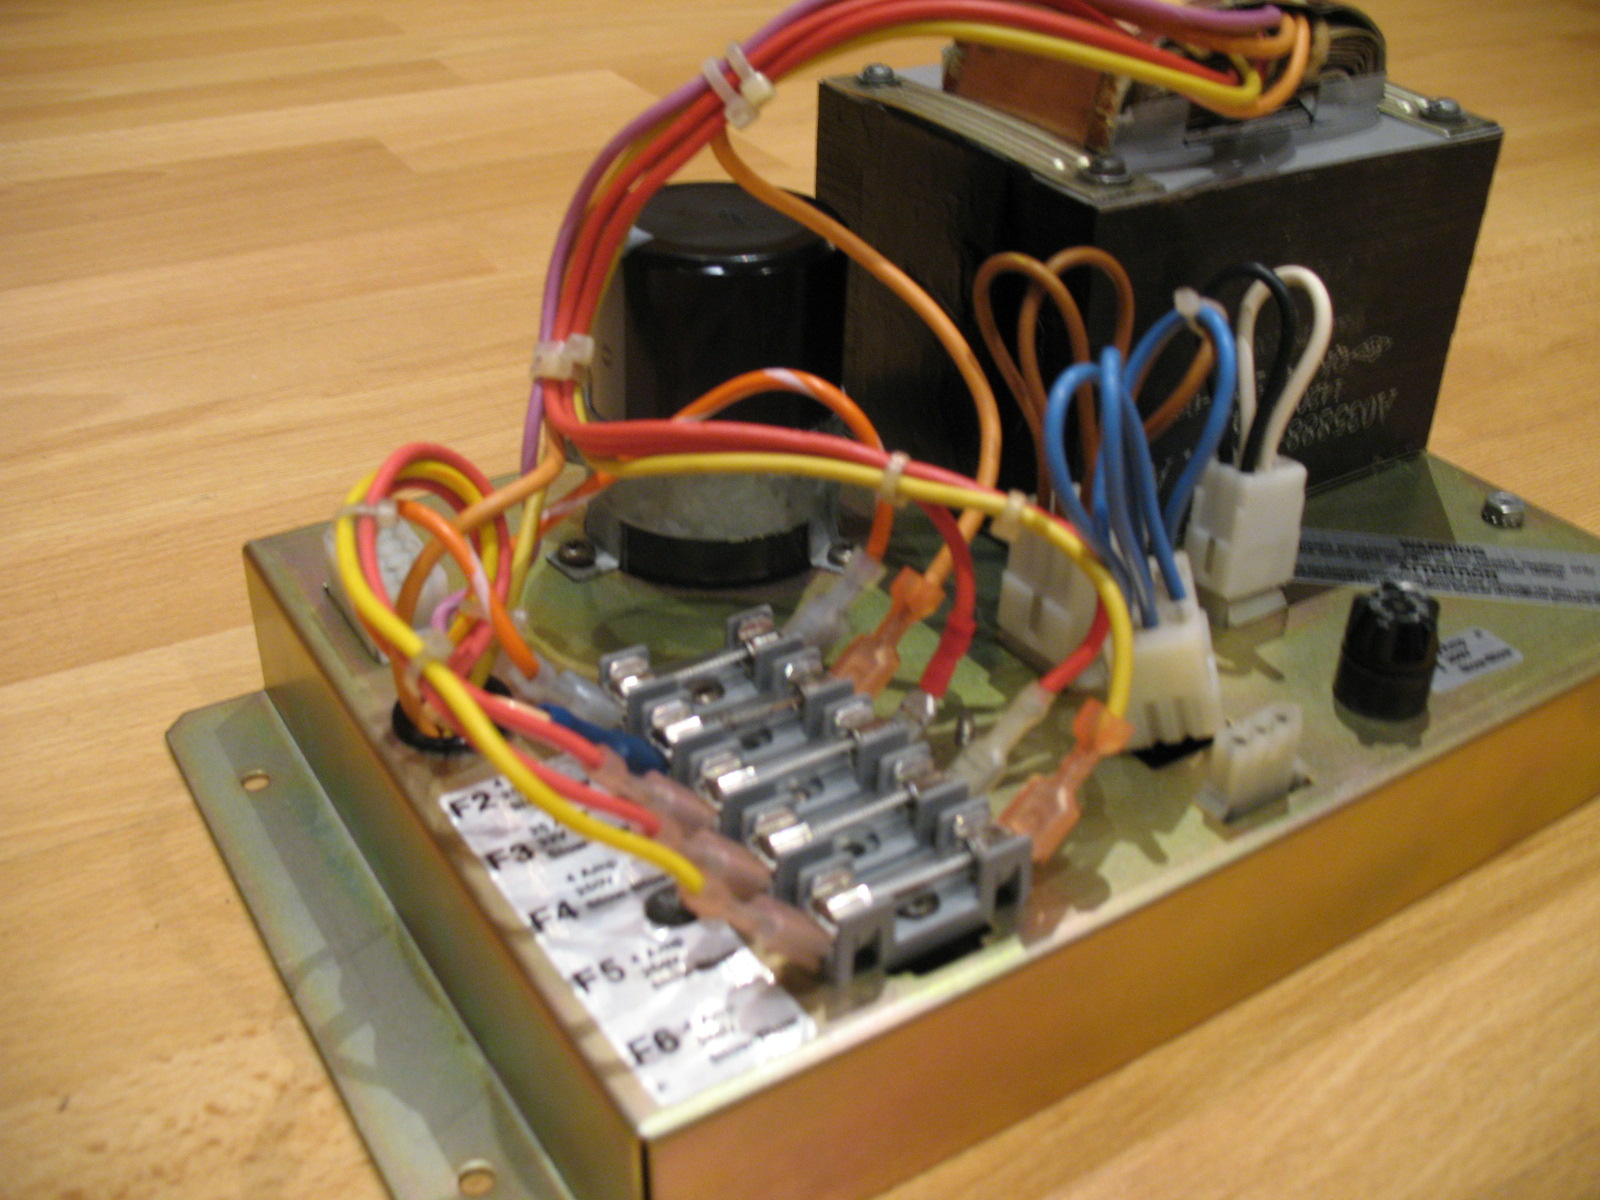
Next was that rusty hunk of a power brick. I didn't want to go down the switcher route if I could help it, so I sourced a power brick refurb kit from Bob Roberts. I have heard that Bob is no longer mailing to the UK, but I know ArcadeShop sell the Big Blue.

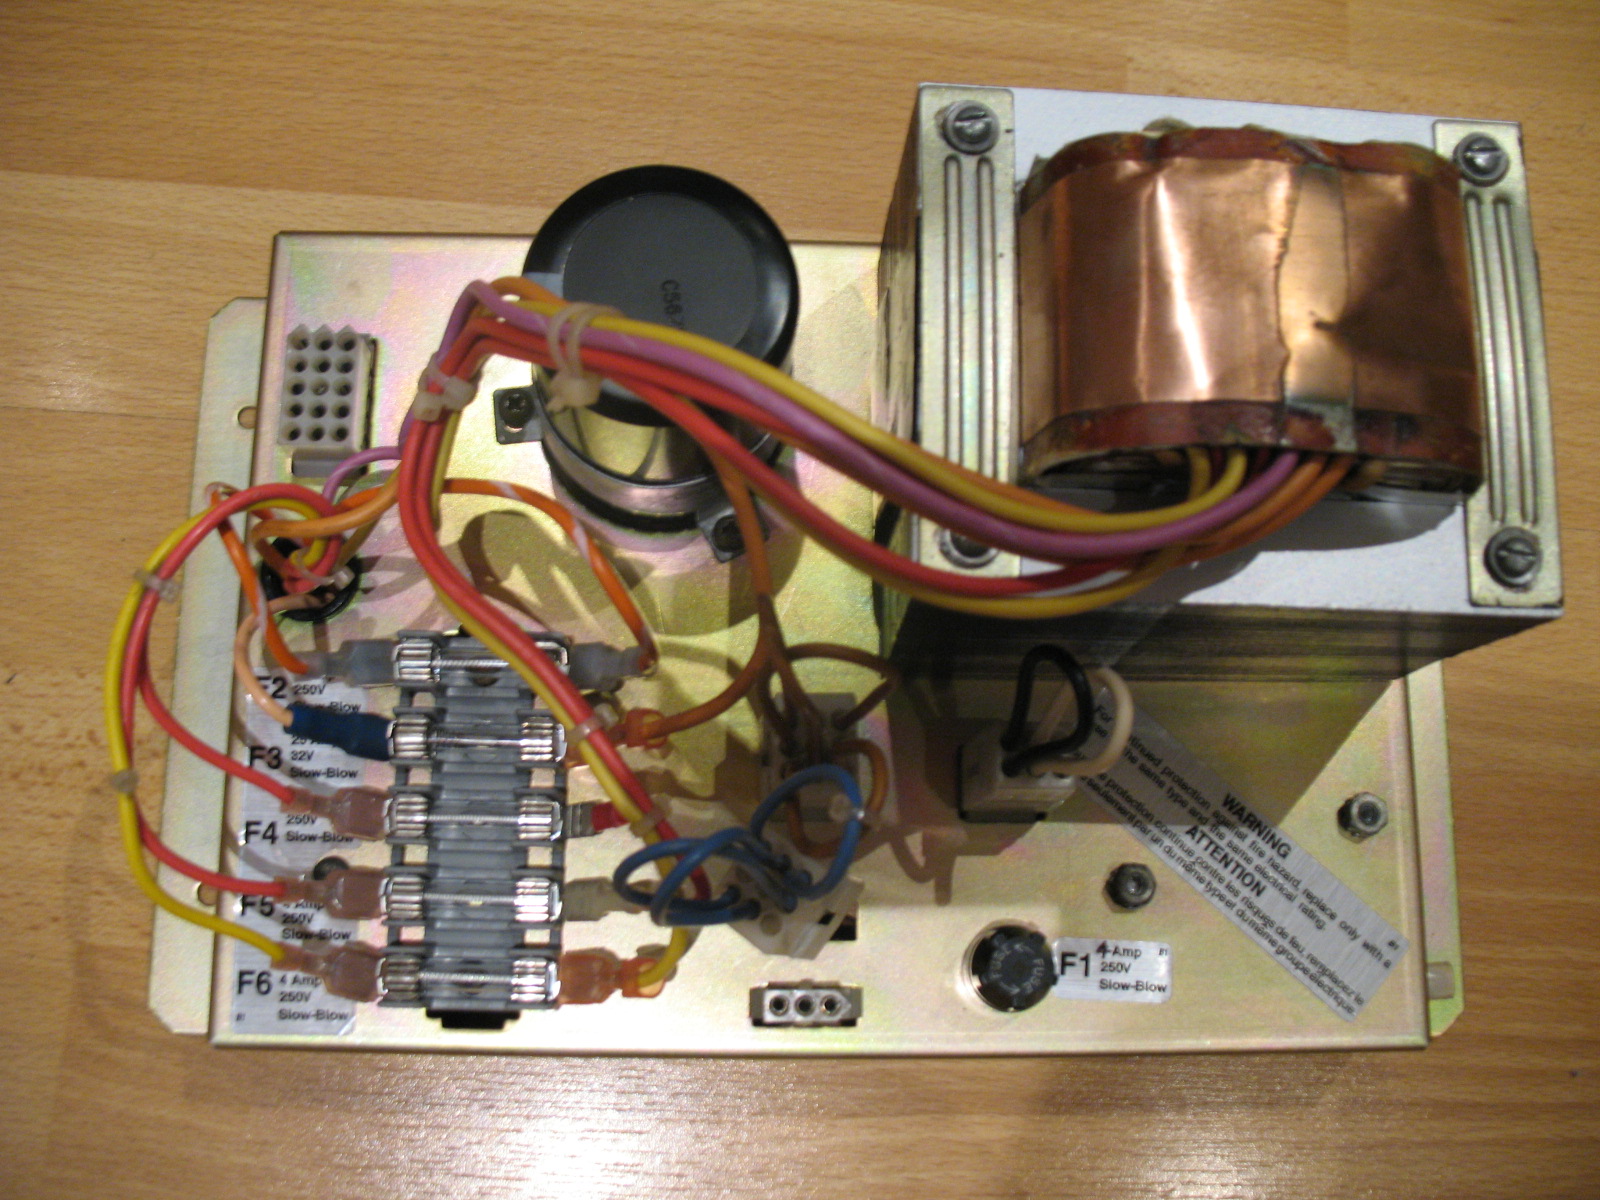
I had planned on using the power brick housing that MSS had painted silver for me, but then I came across Takeman on KLOV, who was manufacturing new housings. These are incredible, finished in the correct zinc plating of the originals and sent with decals produced by thisoldgame. I couldn't resist getting one of these.

Put the housing and the refurb kit together and we go from this:

IMG_4256.JPG


IMG_4712.JPG


To this:

IMG_6918.JPG


IMG_6919.JPG


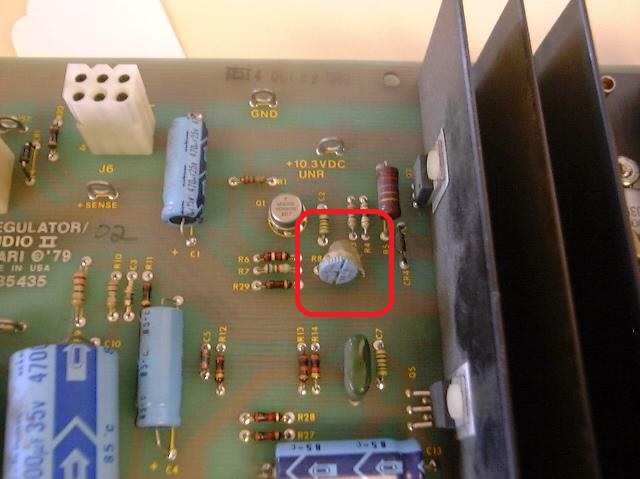
Just one problem... the 5V voltage to the board was still low. And that's when I found out you can adjust the 5V PCB voltage on the AR-II. I'm sure that's hardly news to a lot of people reading this, but it was a revelation to me:

ARII.jpg


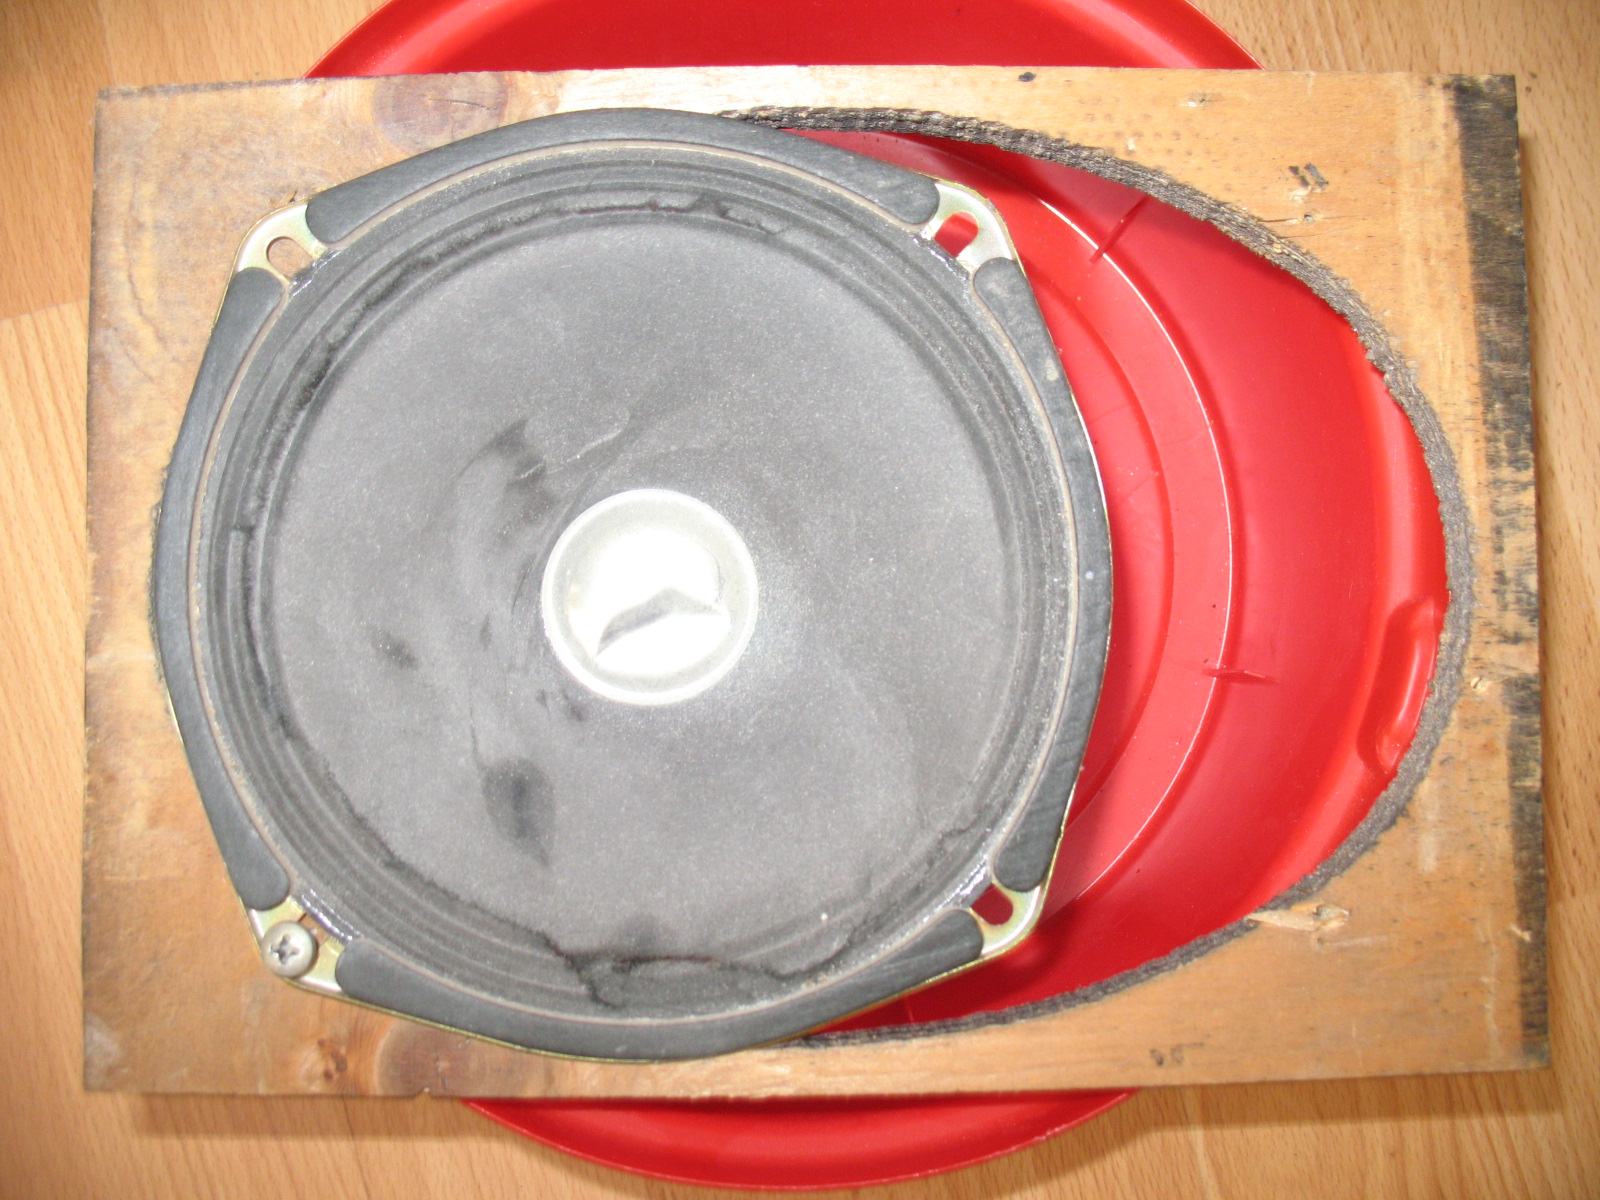
Next the speakers.... The original Atari 6x9s has been replaced with un-shielded 4x4s:

IMG_6924.JPG


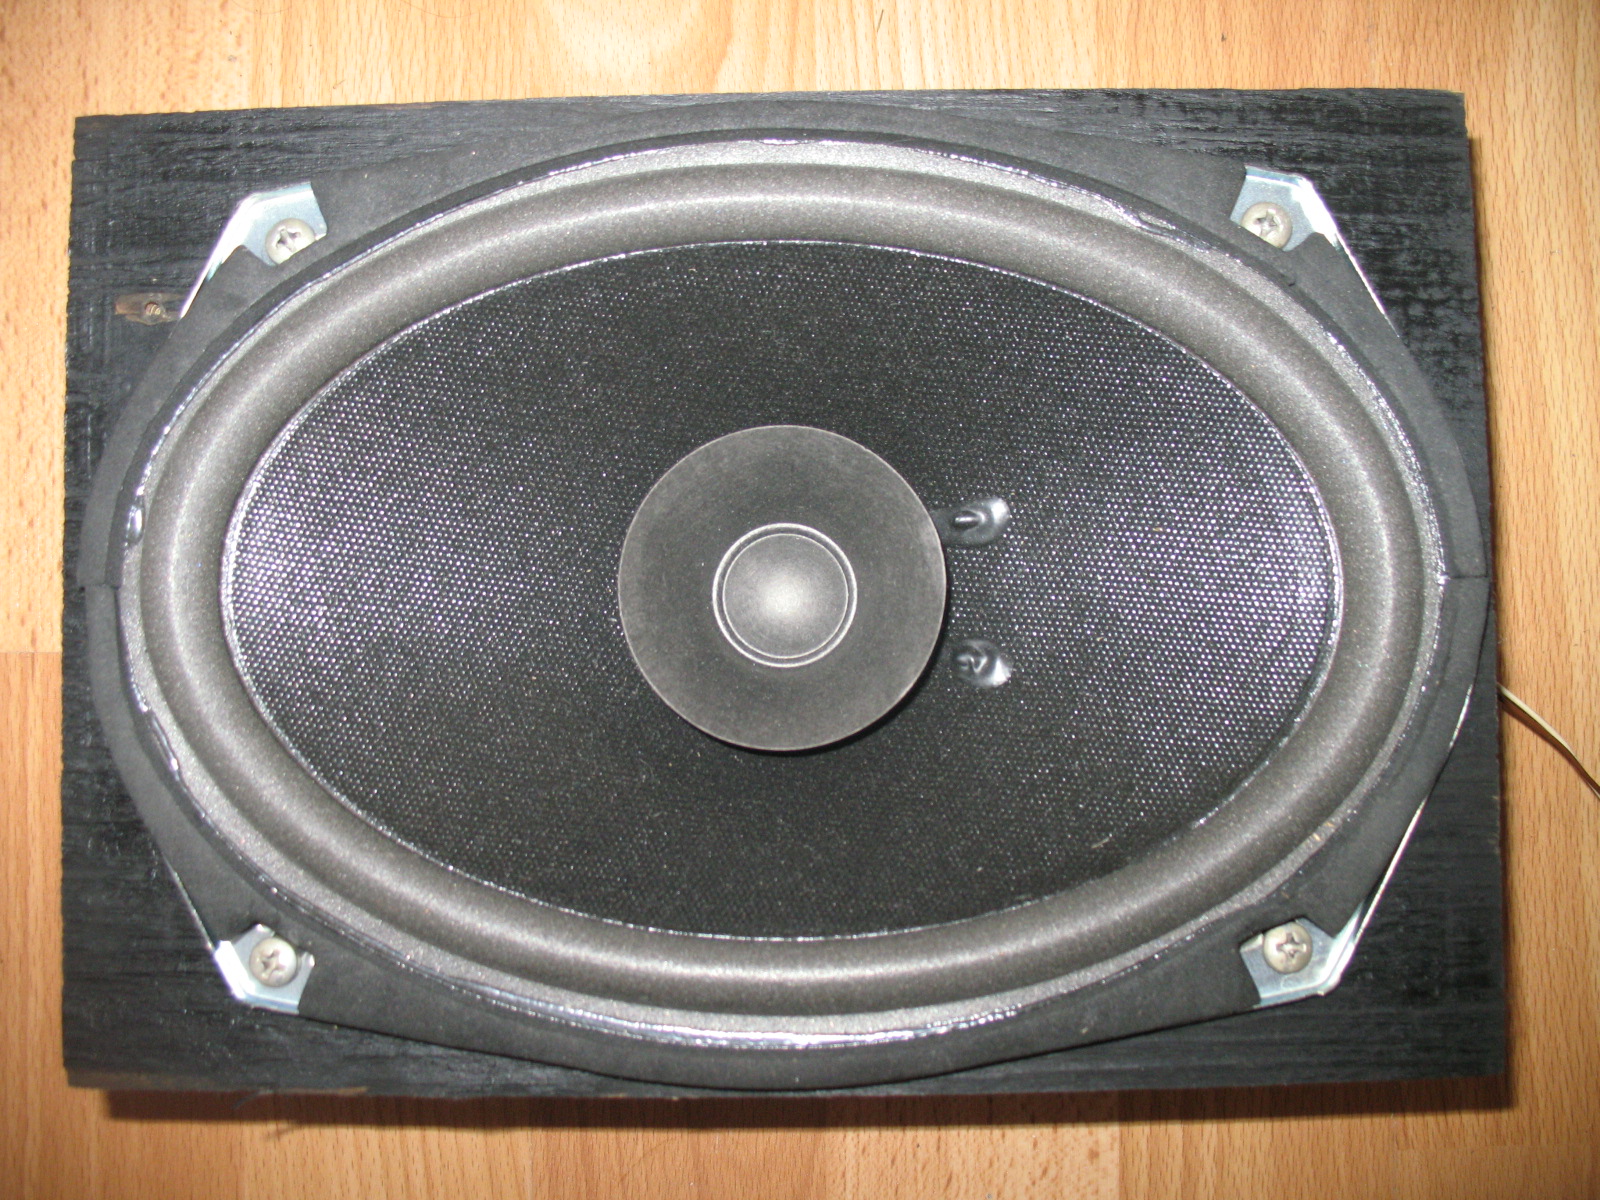
I tried a pair of 6x9 car speakers but they were too deep to fit into the spaced. Also they weren't shielded so not ideal. I struggled finding shielded 6x9s in the UK, so once again headed stateside and back to Bob Roberts for some shielded 6x9s:

IMG_6926.JPG


Again if Bob will not ship to the UK, ArcadeShop stock them now.

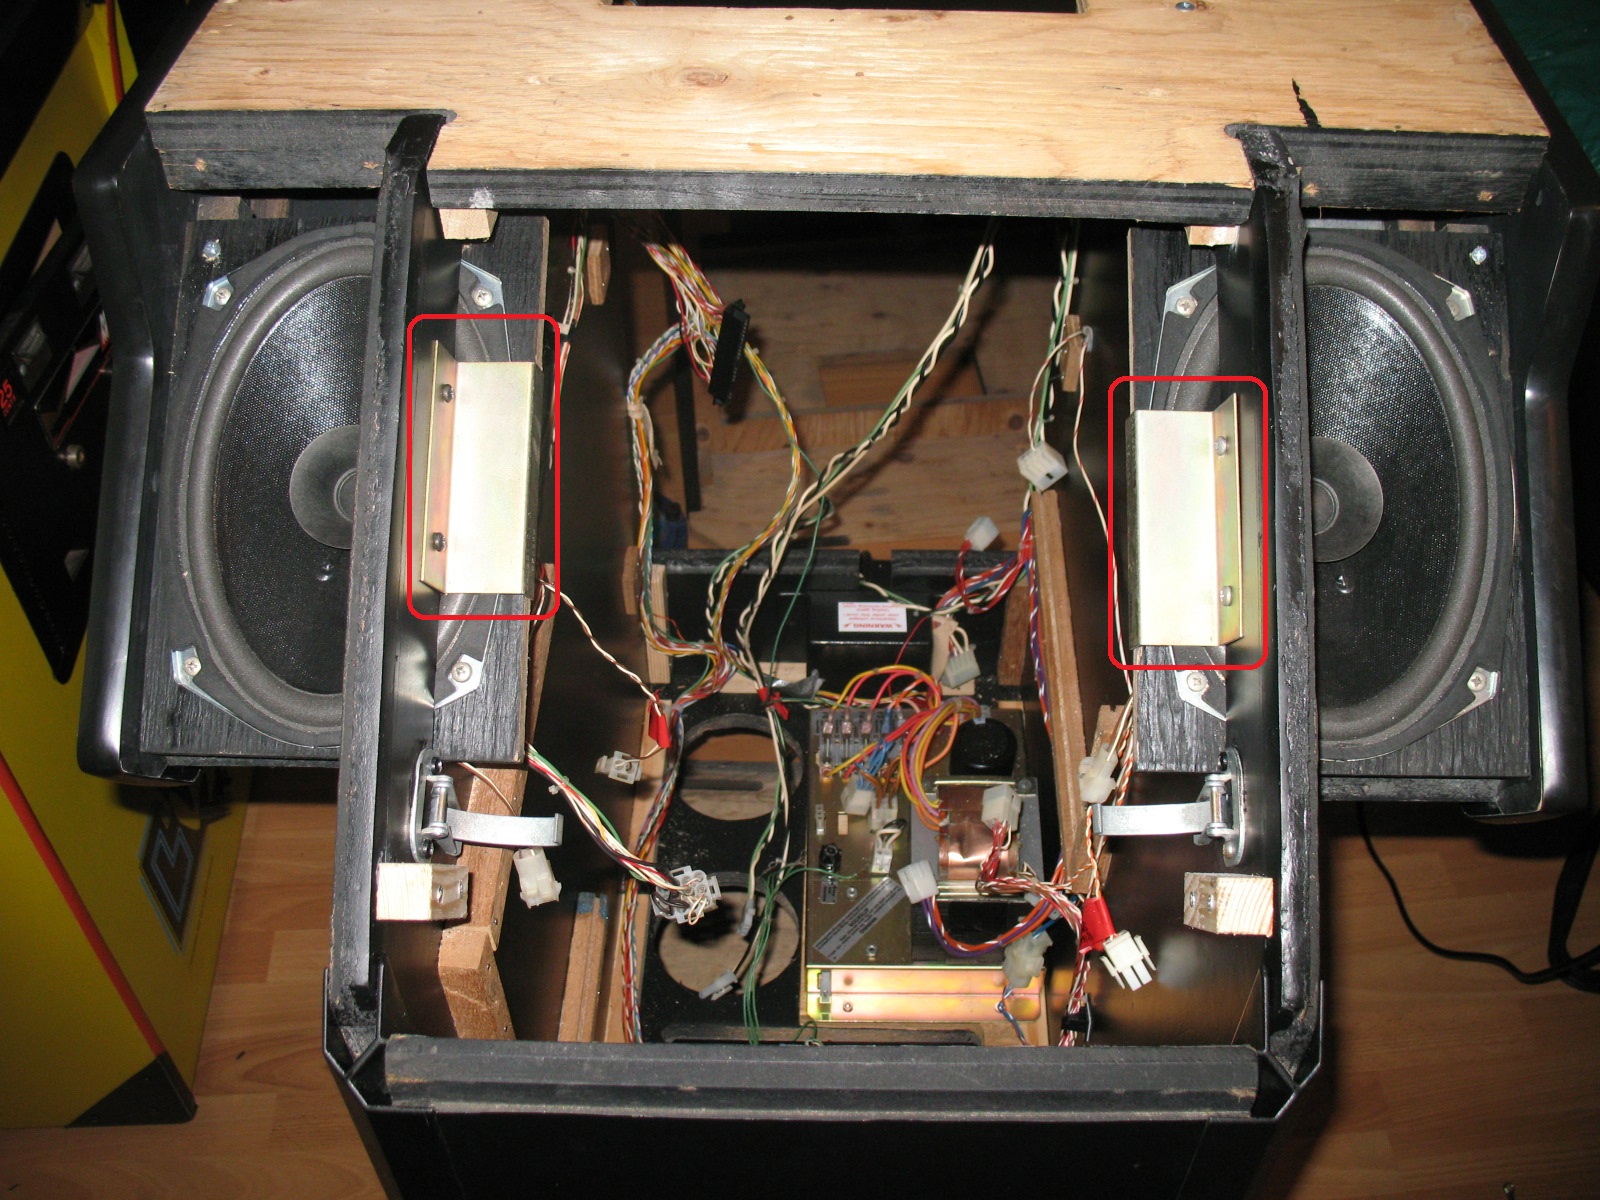
Another item missing from the cab was the speaker brackets, but ArcadeFixIt didn't let me down with a pair of NOS brackets:

IMG_6927.jpg


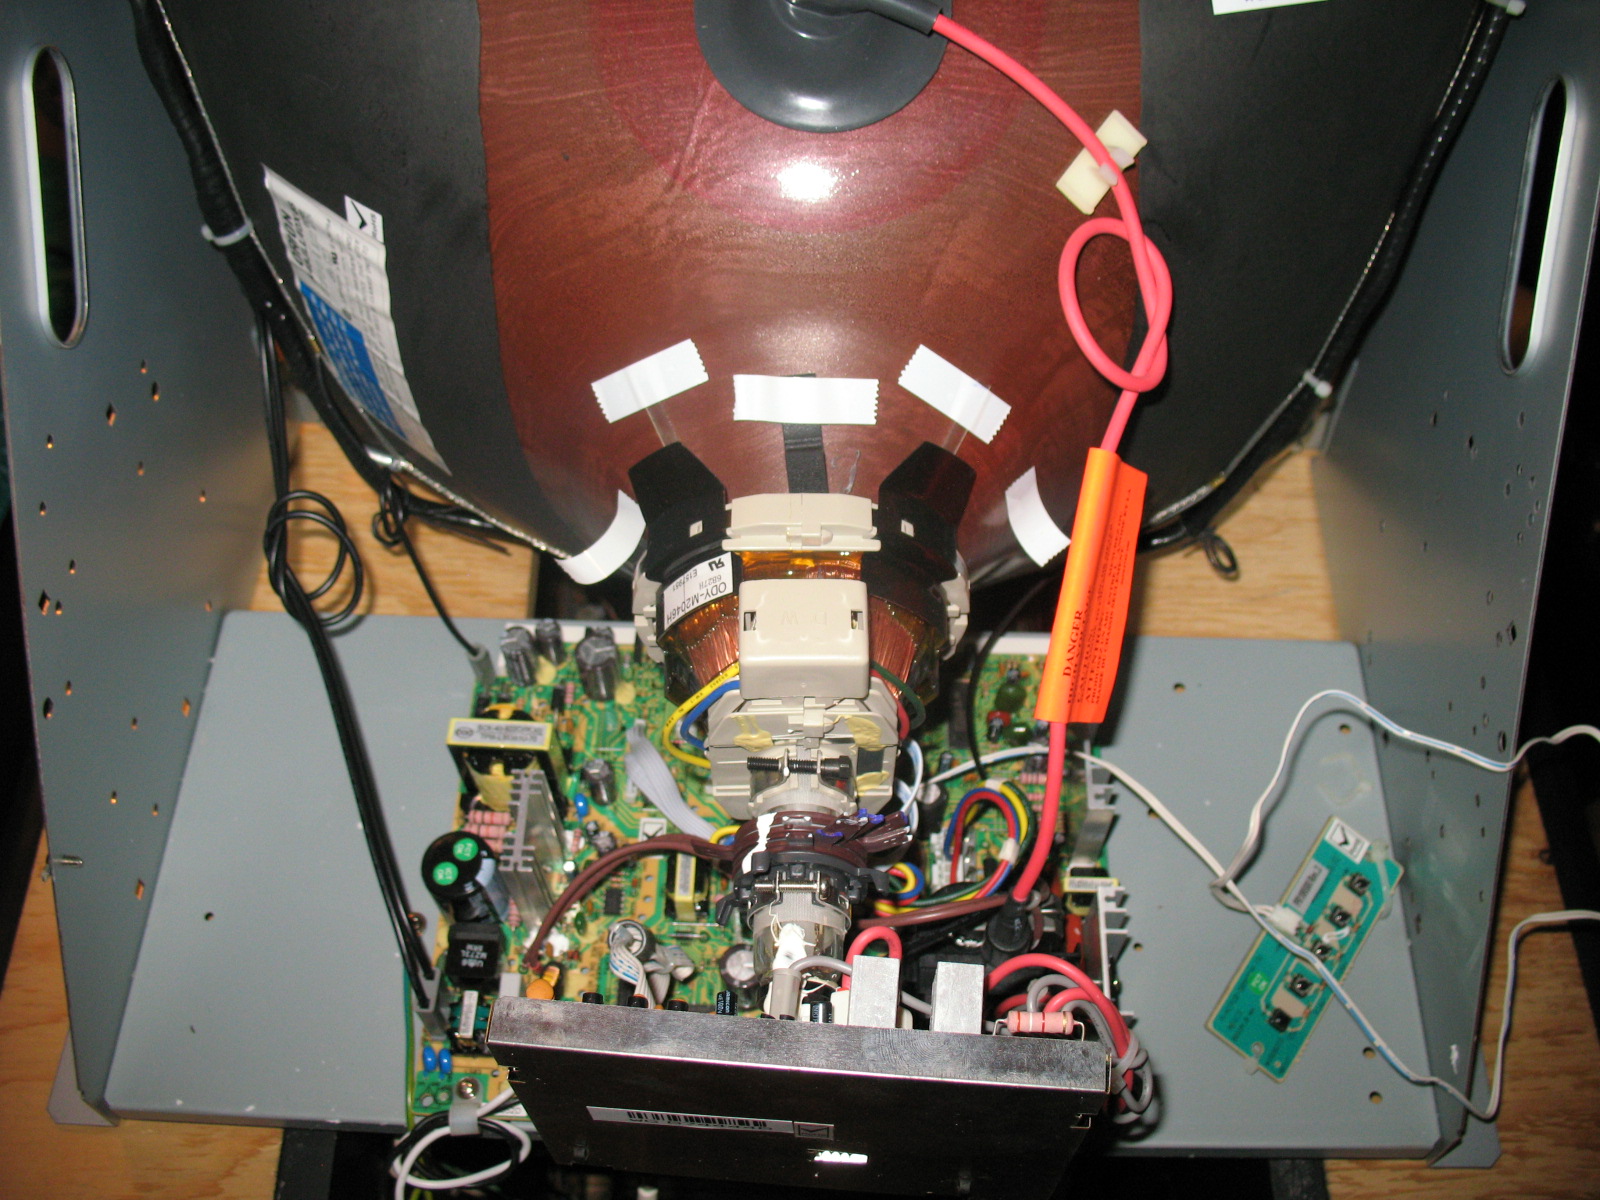
Now for my biggest score.... a BNIB (yes, I said BRAND NEW IN BOX) Well-Gardner D7700 19inch monitor. Oooh missus:

IMG_0006.JPG


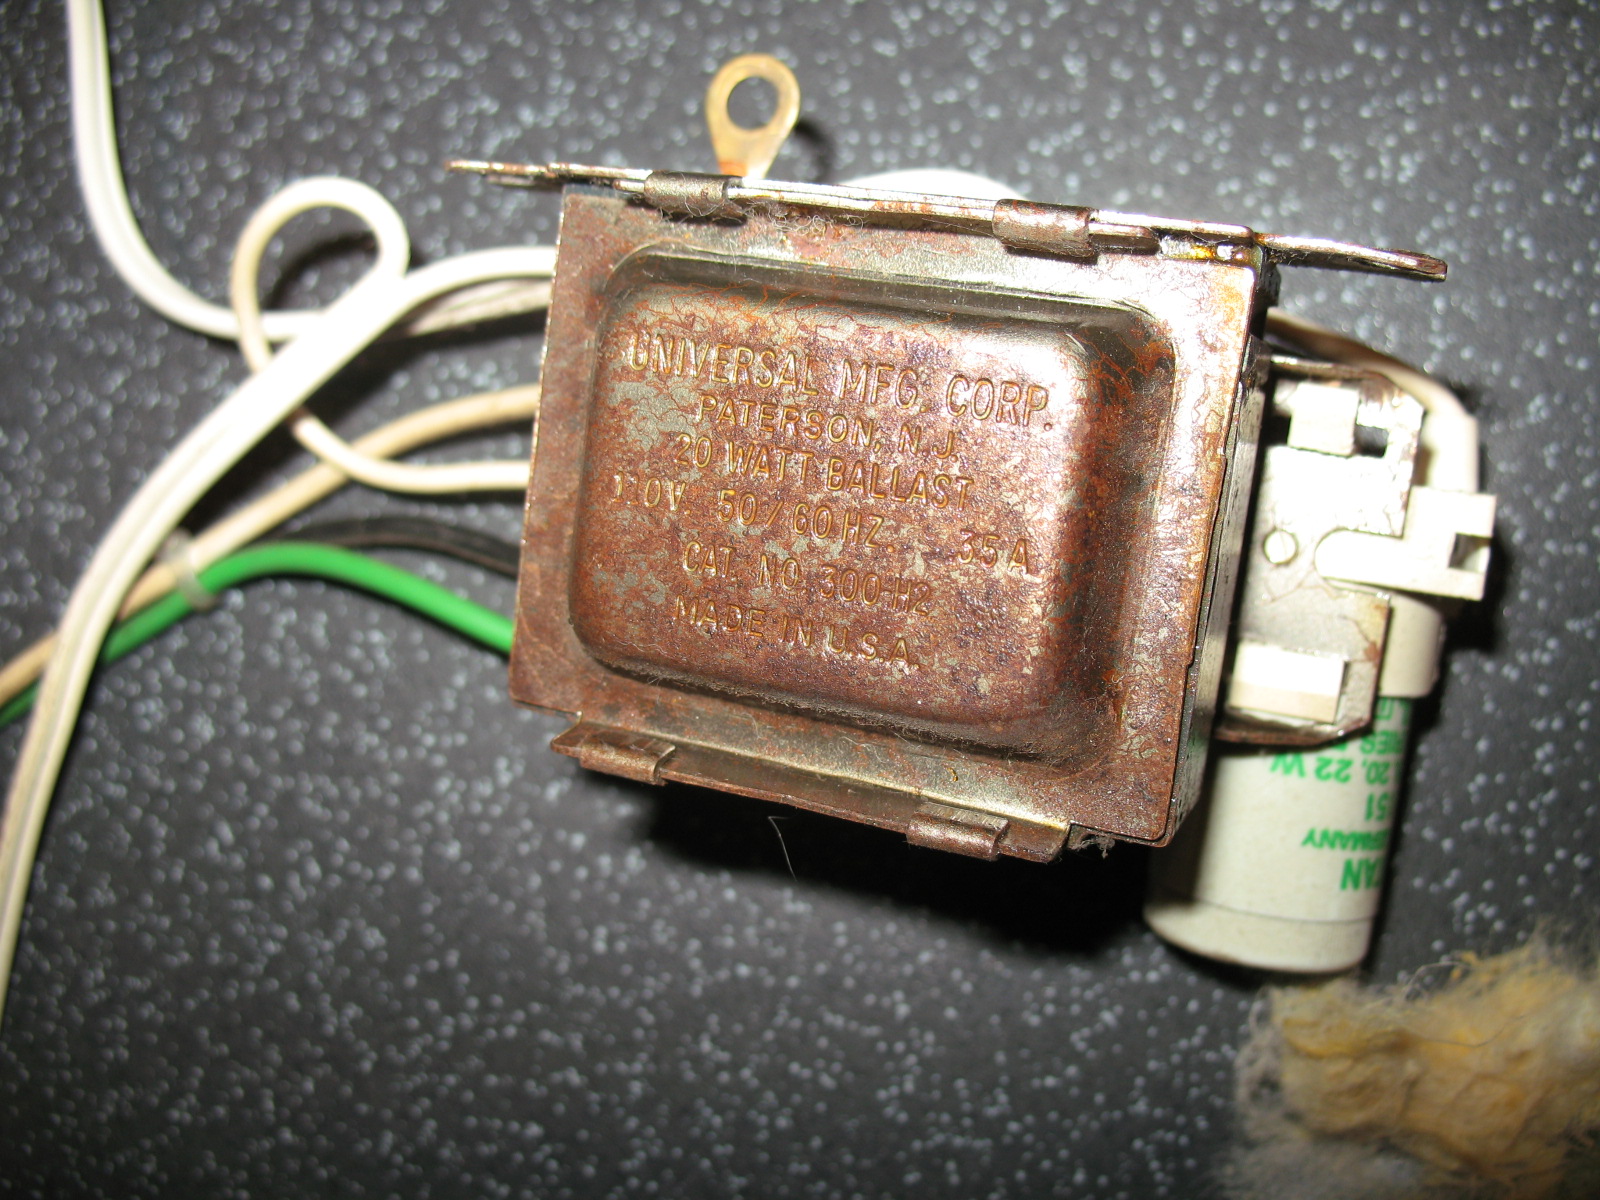
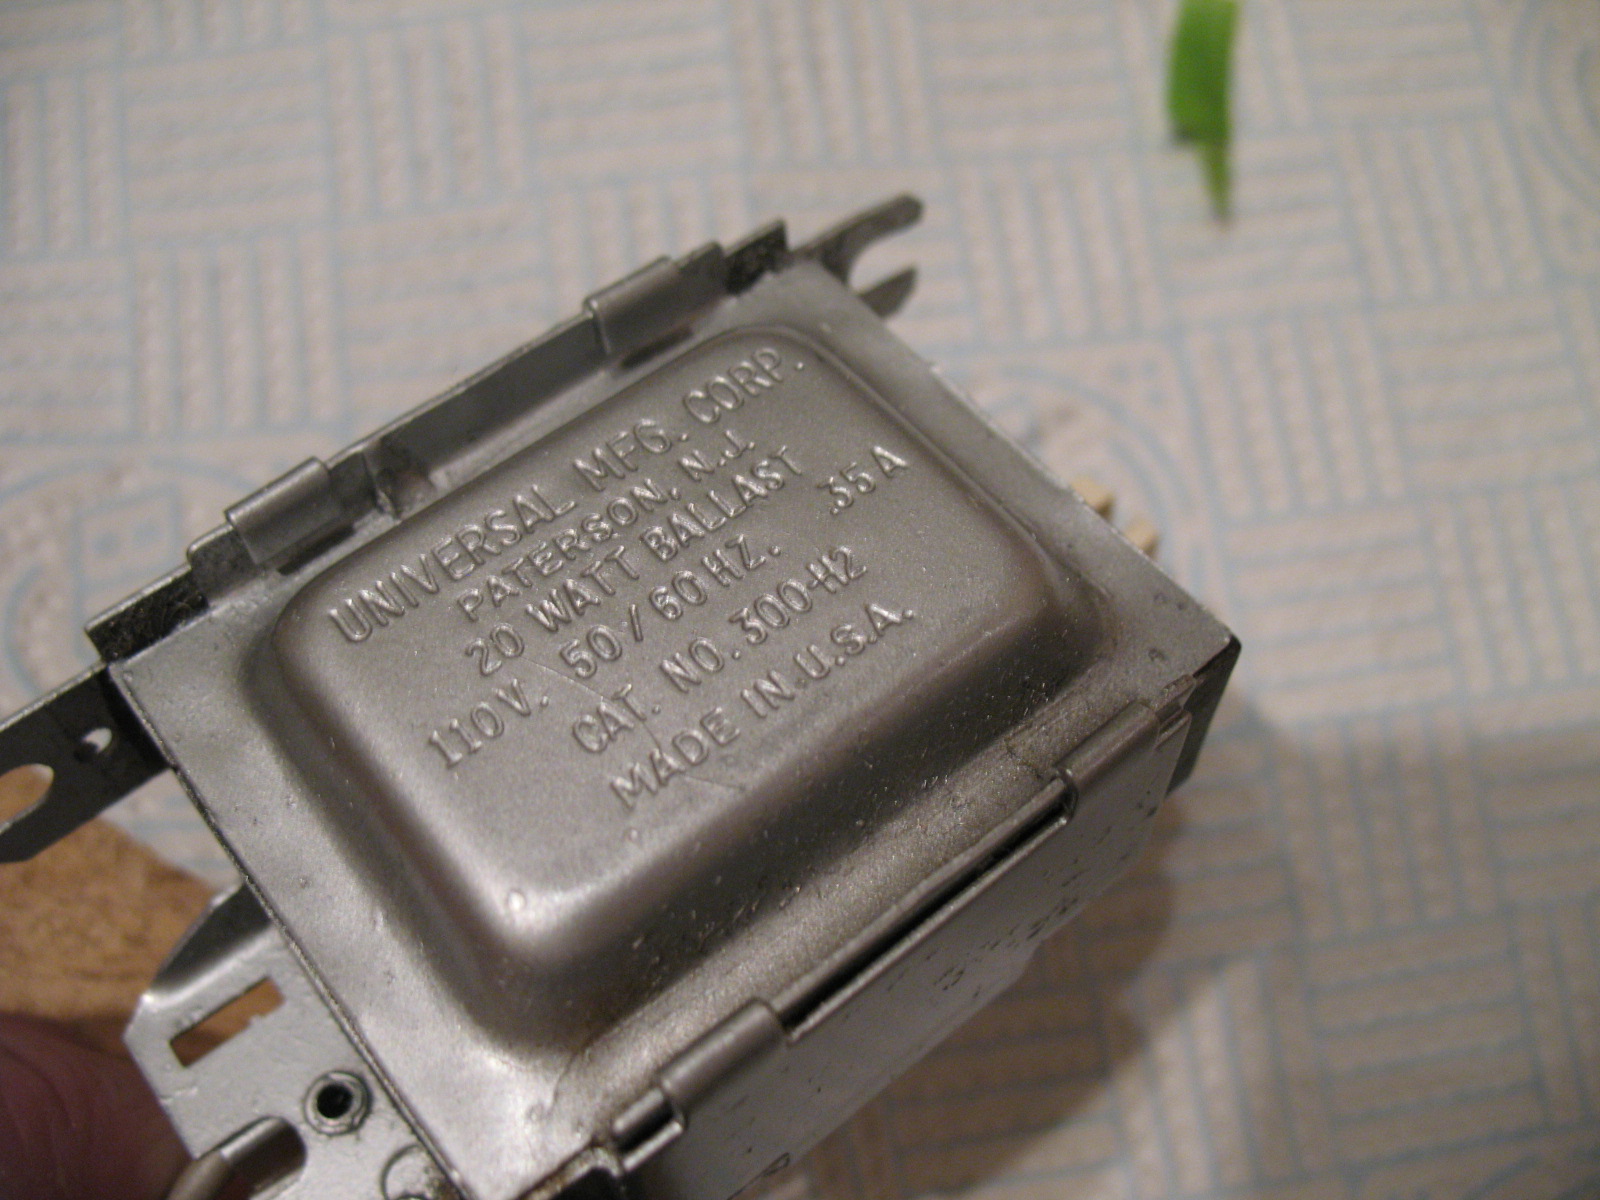
Lights next. The ballast had seen better days:

IMG_0016.JPG


But nothing some Brasso and a bit of paint couldn't improve:

IMG_0019.JPG


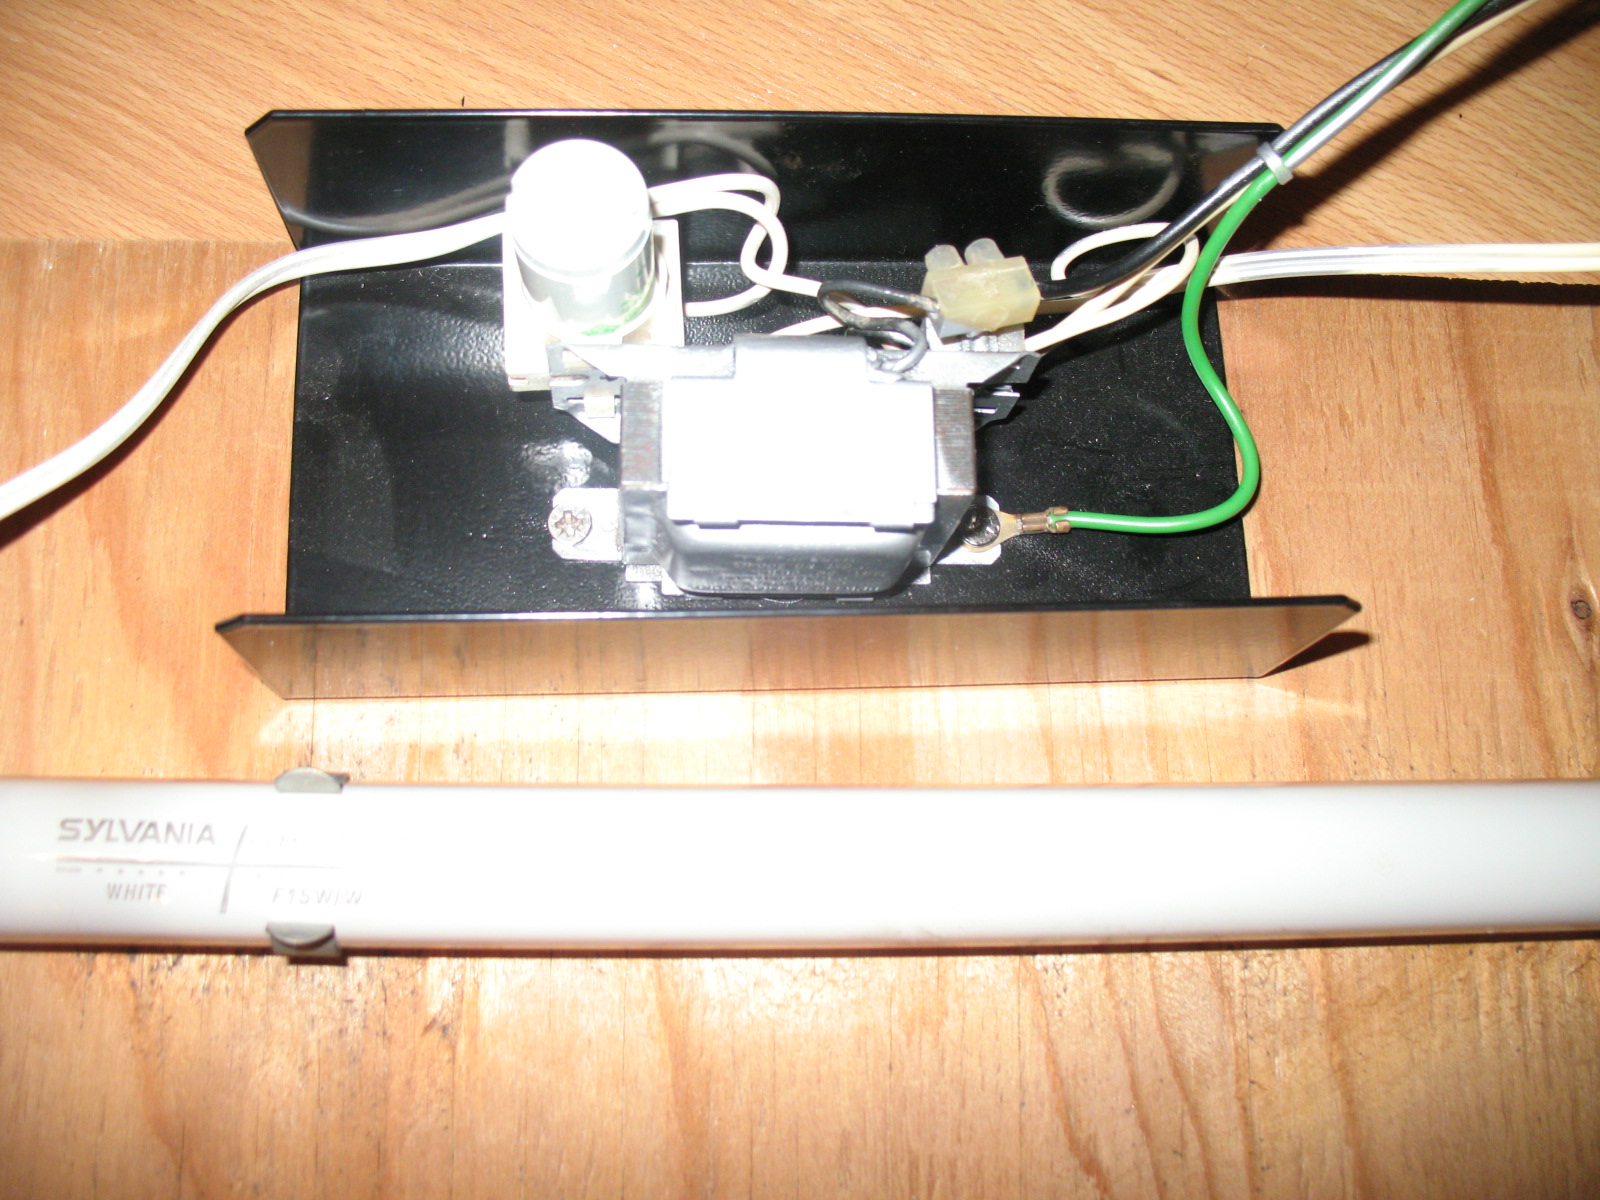
Throw in a new bulb and a starter and we have a working light:

IMG_0022.JPG


Which was great until I positioned it above the monitor.... The magnetic field from the ballast caused the top of the picture to wobble. I tired a second ballast and exactly the same thing happened. I found a thread on UKVAC where dj_yt had the same issue. It looks like the best solution is to by-pass the ballast and go LED (aaargh!). It's not a solution I love, but these bulbs from ebay look very promising:

1FT 1.5FT T8 Led Fluorescent Replacement Tubes Light Bulb 300/450mm AC 110V-277V

Because these are 110V, I will be able to wire it direct to the existing molex feeding the lighting. I am hoping that as they are frosted, you wont see the individual LEDs through the marquee. It hasn't arrived yet, so I will update this thread when it arrives.

To finish off, I replaced the frayed power lead, the power lead's rubber grommet and the coin mech bulbs using replacements from Swallow Amusements.
iamjimmi2015-12-09 22:58:08
 

iamjimmi

Active member
vacBacker
Feedback
8 (100%)
Credits
492CR
ianski said:
I bet that yoke feels great now!
I think that controller is my all time fave - a nice bit of engineering and feels great to use.
I'd like to replace the rubber bumpers and pots in mine but I hate those pin type of fasteners... Its always a pain to remove and replace them, my atari logo stick had a couple too and I thought I'd never get them out.
Great tips though, if I ever rebuild my yoke I'll certainly bear these in mind :)

I can't believe what a difference the Yoke refurb makes - I am delighted with it. Although I can no longer blame a dodgy controller for my lame scores....
 

niknak

Raffles the gentleman thug
Feedback
7 (100%)
Credits
172CR
iamjimmi said:
1FT 1.5FT T8 Led Fluorescent Replacement Tubes Light Bulb 300/450mm AC 110V-277V

Because these are 110V, I will be able to wire it direct to the existing molex feeding the lighting. I am hoping that as they are frosted, you wont see the individual LEDs through the marquee. It hasn't arrived yet, so I will update this thread when it arrives.

Great thread this! cracking restore
smiley4.gif
smiley20.gif


Those replacement tubes are spot on - I've been systematically replacing all my fluoros with these for a while, you can't see the individual LEDs btw - certainly on the frosted warm white ones, they also seem a little brighter than a standard 15w fluoro.
 
Top