TOEI TC-RM251S Chassis Jumper Function?

eccentric-nut

Active member
Feedback
17 (100%)
Credits
378CR
Hi All,

I've just been setting up this TOEI TC-RM251S chassis ready to install into a cab of mine, I noticed this wired jumper markled 'on' / 'off' on the chassis and I've highlighted it below from a manual page, does anyone know what it does / is for?

Thanks.

Inkedtoei-settings.jpg
 

tb2000

Active member
Feedback
4 (100%)
Credits
3,217CR
Difficult to know (i've never worked on one myself) but as it's highlighted on the a page showing image adjustments, it could be something like a test pattern or something. I wouldn't mess with it till you know though. Could probably work out from the schematic what it does.
 

eccentric-nut

Active member
Feedback
17 (100%)
Credits
378CR
Yup, I've left it in the position I received the chassis in, nor have I tried swapping the jumper when powered up.

So far I've managed to get an excellent picture from this chassis after a full recap, very happy and it is just about ready, just degauss to sort out, then it will go into my MVS/U4 once it is back from being powder coated.
 

eccentric-nut

Active member
Feedback
17 (100%)
Credits
378CR
Great idea, many thanks!

Still not 100% sure what it means, however it looks like I may give it a try to see if I notice any difference, it might be related to the 'Wide' jumper located elsewhere on the chassis.

Also looks like the word SHIMASU is a verb that means "to do something."

eccentric-nut2023-01-29 23:51:22
 

aeroflott

A different league
Feedback
16 (100%)
Credits
1,025CR
This is what CoPilot says:

Translation of the orange‑boxed text
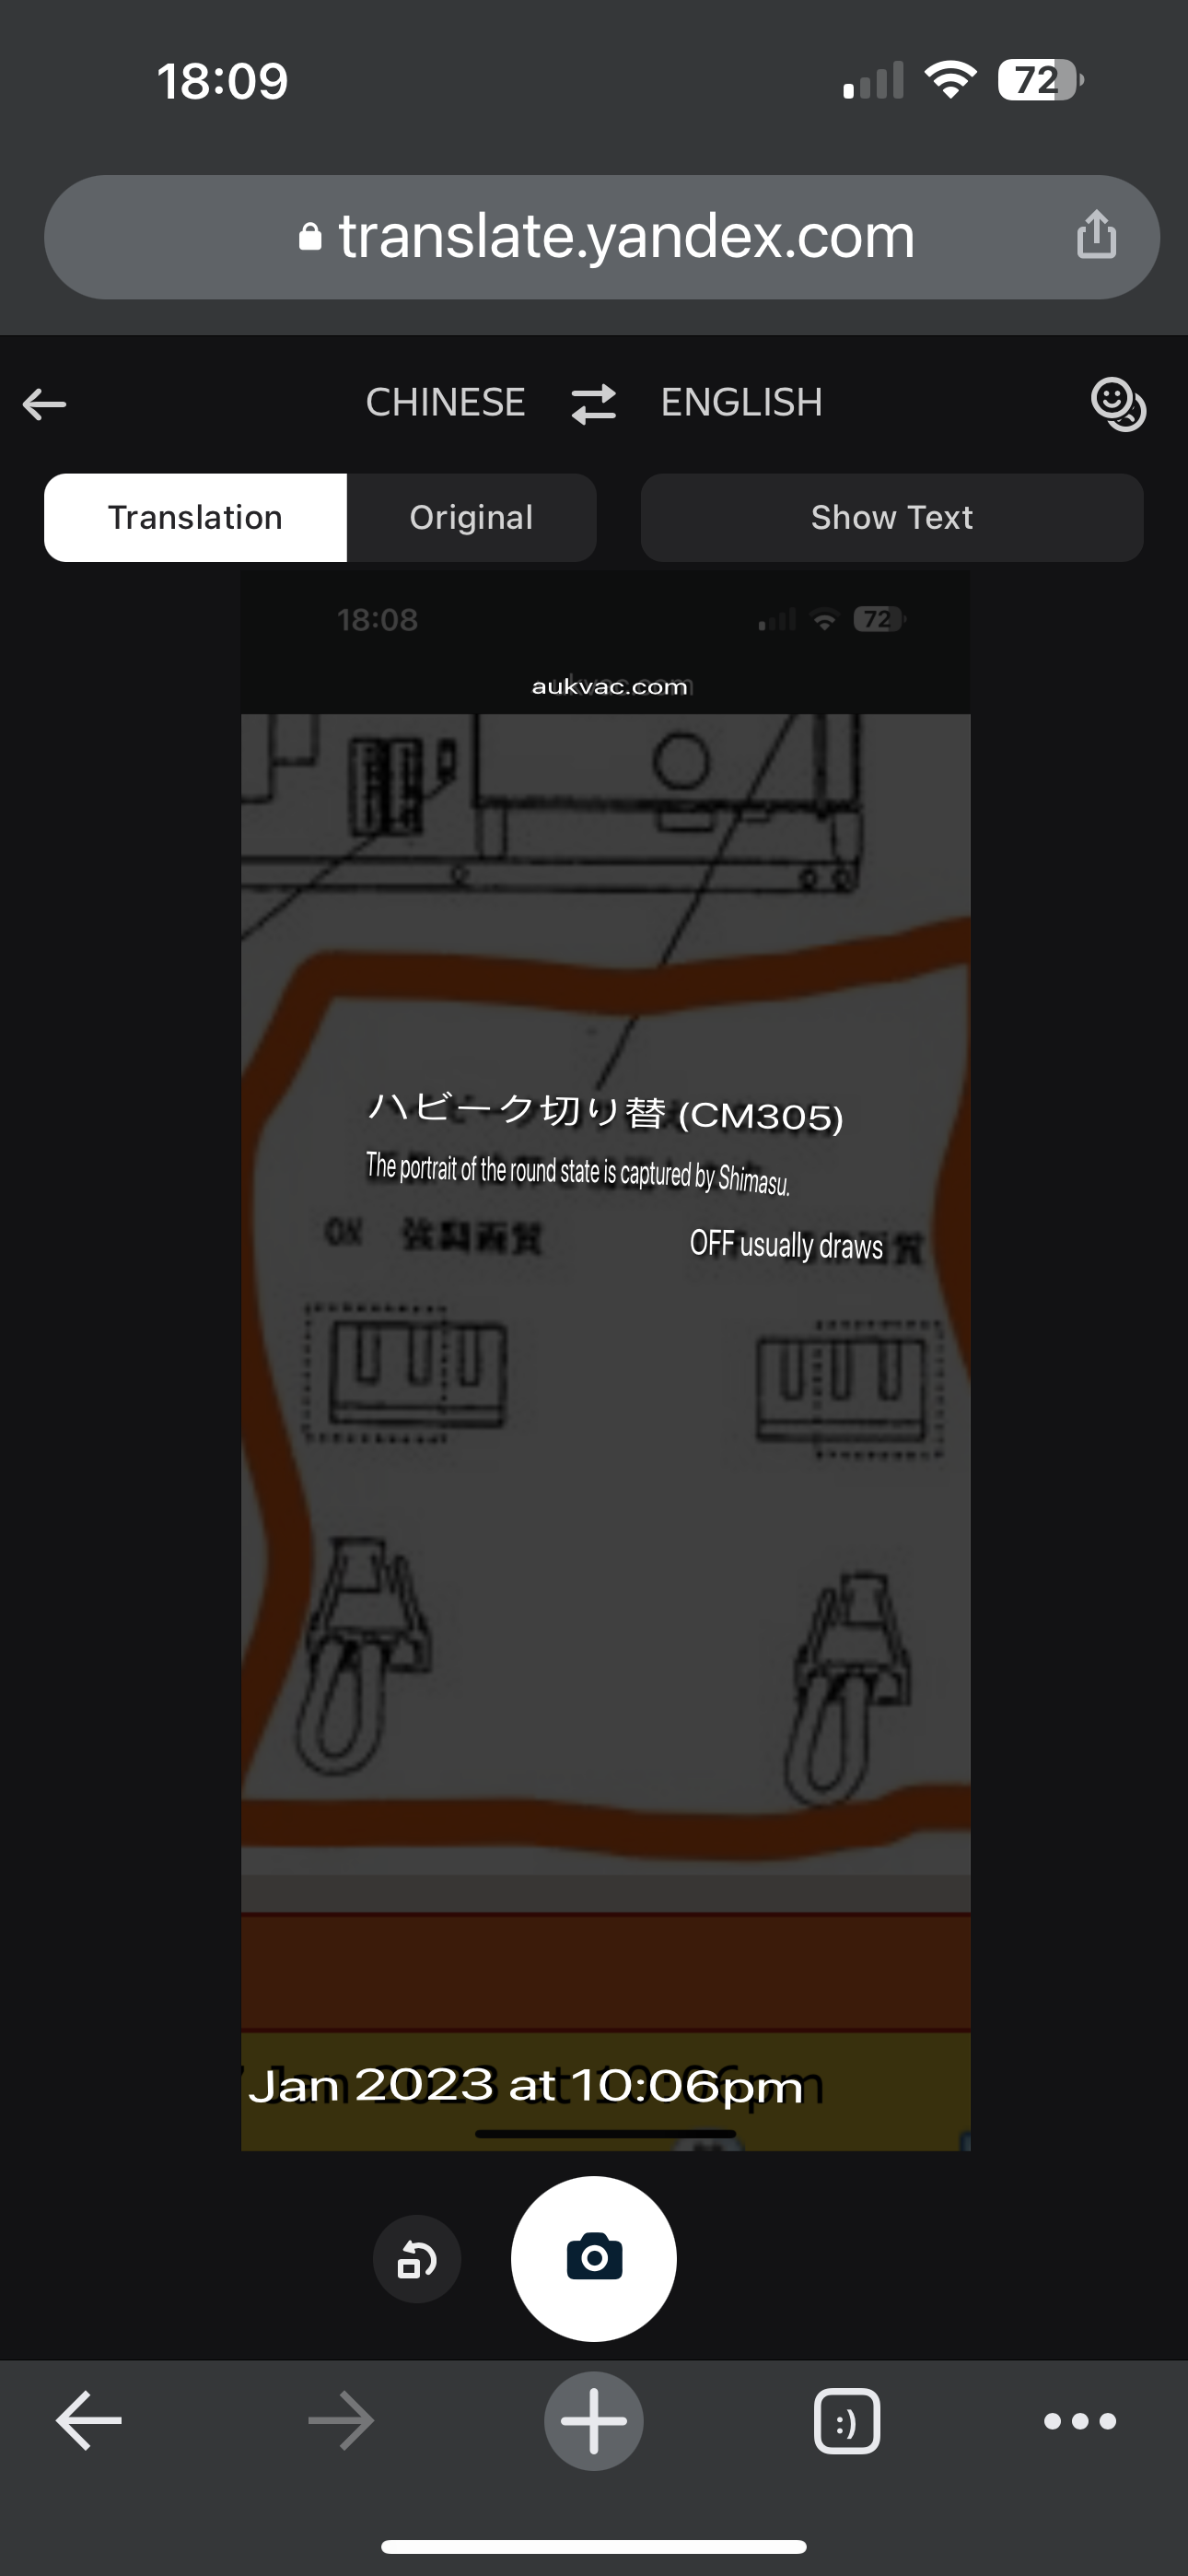
ハイピーク切り替え(CM305)
→ High‑Peak Switching (CM305)

ON:強調画質
→ ON: Enhanced Image Quality

OFF:通常画質
→ OFF: Normal Image Quality

What “Enhanced Image Quality” actually does
This switch (ハイピーク切り替え / High‑Peak Switching) changes how the display’s video amplifier handles high‑brightness peaks and edge transitions.

🔧 When set to ON — 強調画質 (Enhanced Image Quality)
Higher peak brightness — whites and highlights are pushed harder

Stronger edge contrast — outlines and fine details appear more defined

Perceived sharpness increases — the image looks crisper

More aggressive signal processing — the circuit emphasizes high‑frequency components

This mode is typically used when the source image looks soft, low‑contrast, or washed out.

🔧 When set to OFF — 通常画質 (Normal Image Quality)
More accurate, natural contrast

Lower risk of clipping in bright areas

Less haloing or ringing around edges

Better for colour‑critical or calibration work

Why this exists
Older or professional CRT‑based monitors often included a “high‑peak” or “aperture boost” circuit to compensate for weak video sources or long cable runs. Turning it on gives the picture more punch, but at the cost of accuracy.

Should you use it?
If you want a punchier, sharper‑looking image, use Enhanced mode.
If you want accurate colour and clean calibration, stick with Normal mode.

Edit - just noticed this is a two year old thread! Doh.
 

jerryspaghetti

Active member
vacBacker
Feedback
32 (100%)
Credits
1,790CR
There’s a similar three way switch on the TC252 chassis which is a 25inch Toei chassis’s it just gives a little contrast boost as described above. Not a jumper though
 
Top