Love seeing this come together. I really admire your effort to be as true to the original as possible, it’s like how one would look if it was built new today. I’m doing the same thing with a Mario Bros build, been gathering parts for a long time now, much easier to get parts for a Nintendo cab I suppose. Will be a mix of NOS, replica, and re-conditioned original parts. Will definitely have cost me more than just buying an original cab in the end, but I’ll be happier with it coz it will be perfect in every way, like yours!

You are using an out of date browser. It may not display this or other websites correctly.
You should upgrade or use an alternative browser.
You should upgrade or use an alternative browser.
Paperboy Scratch Build
- Thread starter Purity
- Start date

The weather has calmed down a bit today so I got the router out and cut the slot required for the cabinet glass into the speaker section.
I think this is pretty much all the cabinet bits done now. Next I need to work on the cosmetics and see how that turns out
Last week I also took the controller apart. The chrome needs renewing on the handlebars. Mine were rusted really badly.
Also the whole frame needs to be sand blasted and powder coated. Also part of the frame is broken and needs welding. Luckily Frazer has said that he will kindly help me with that

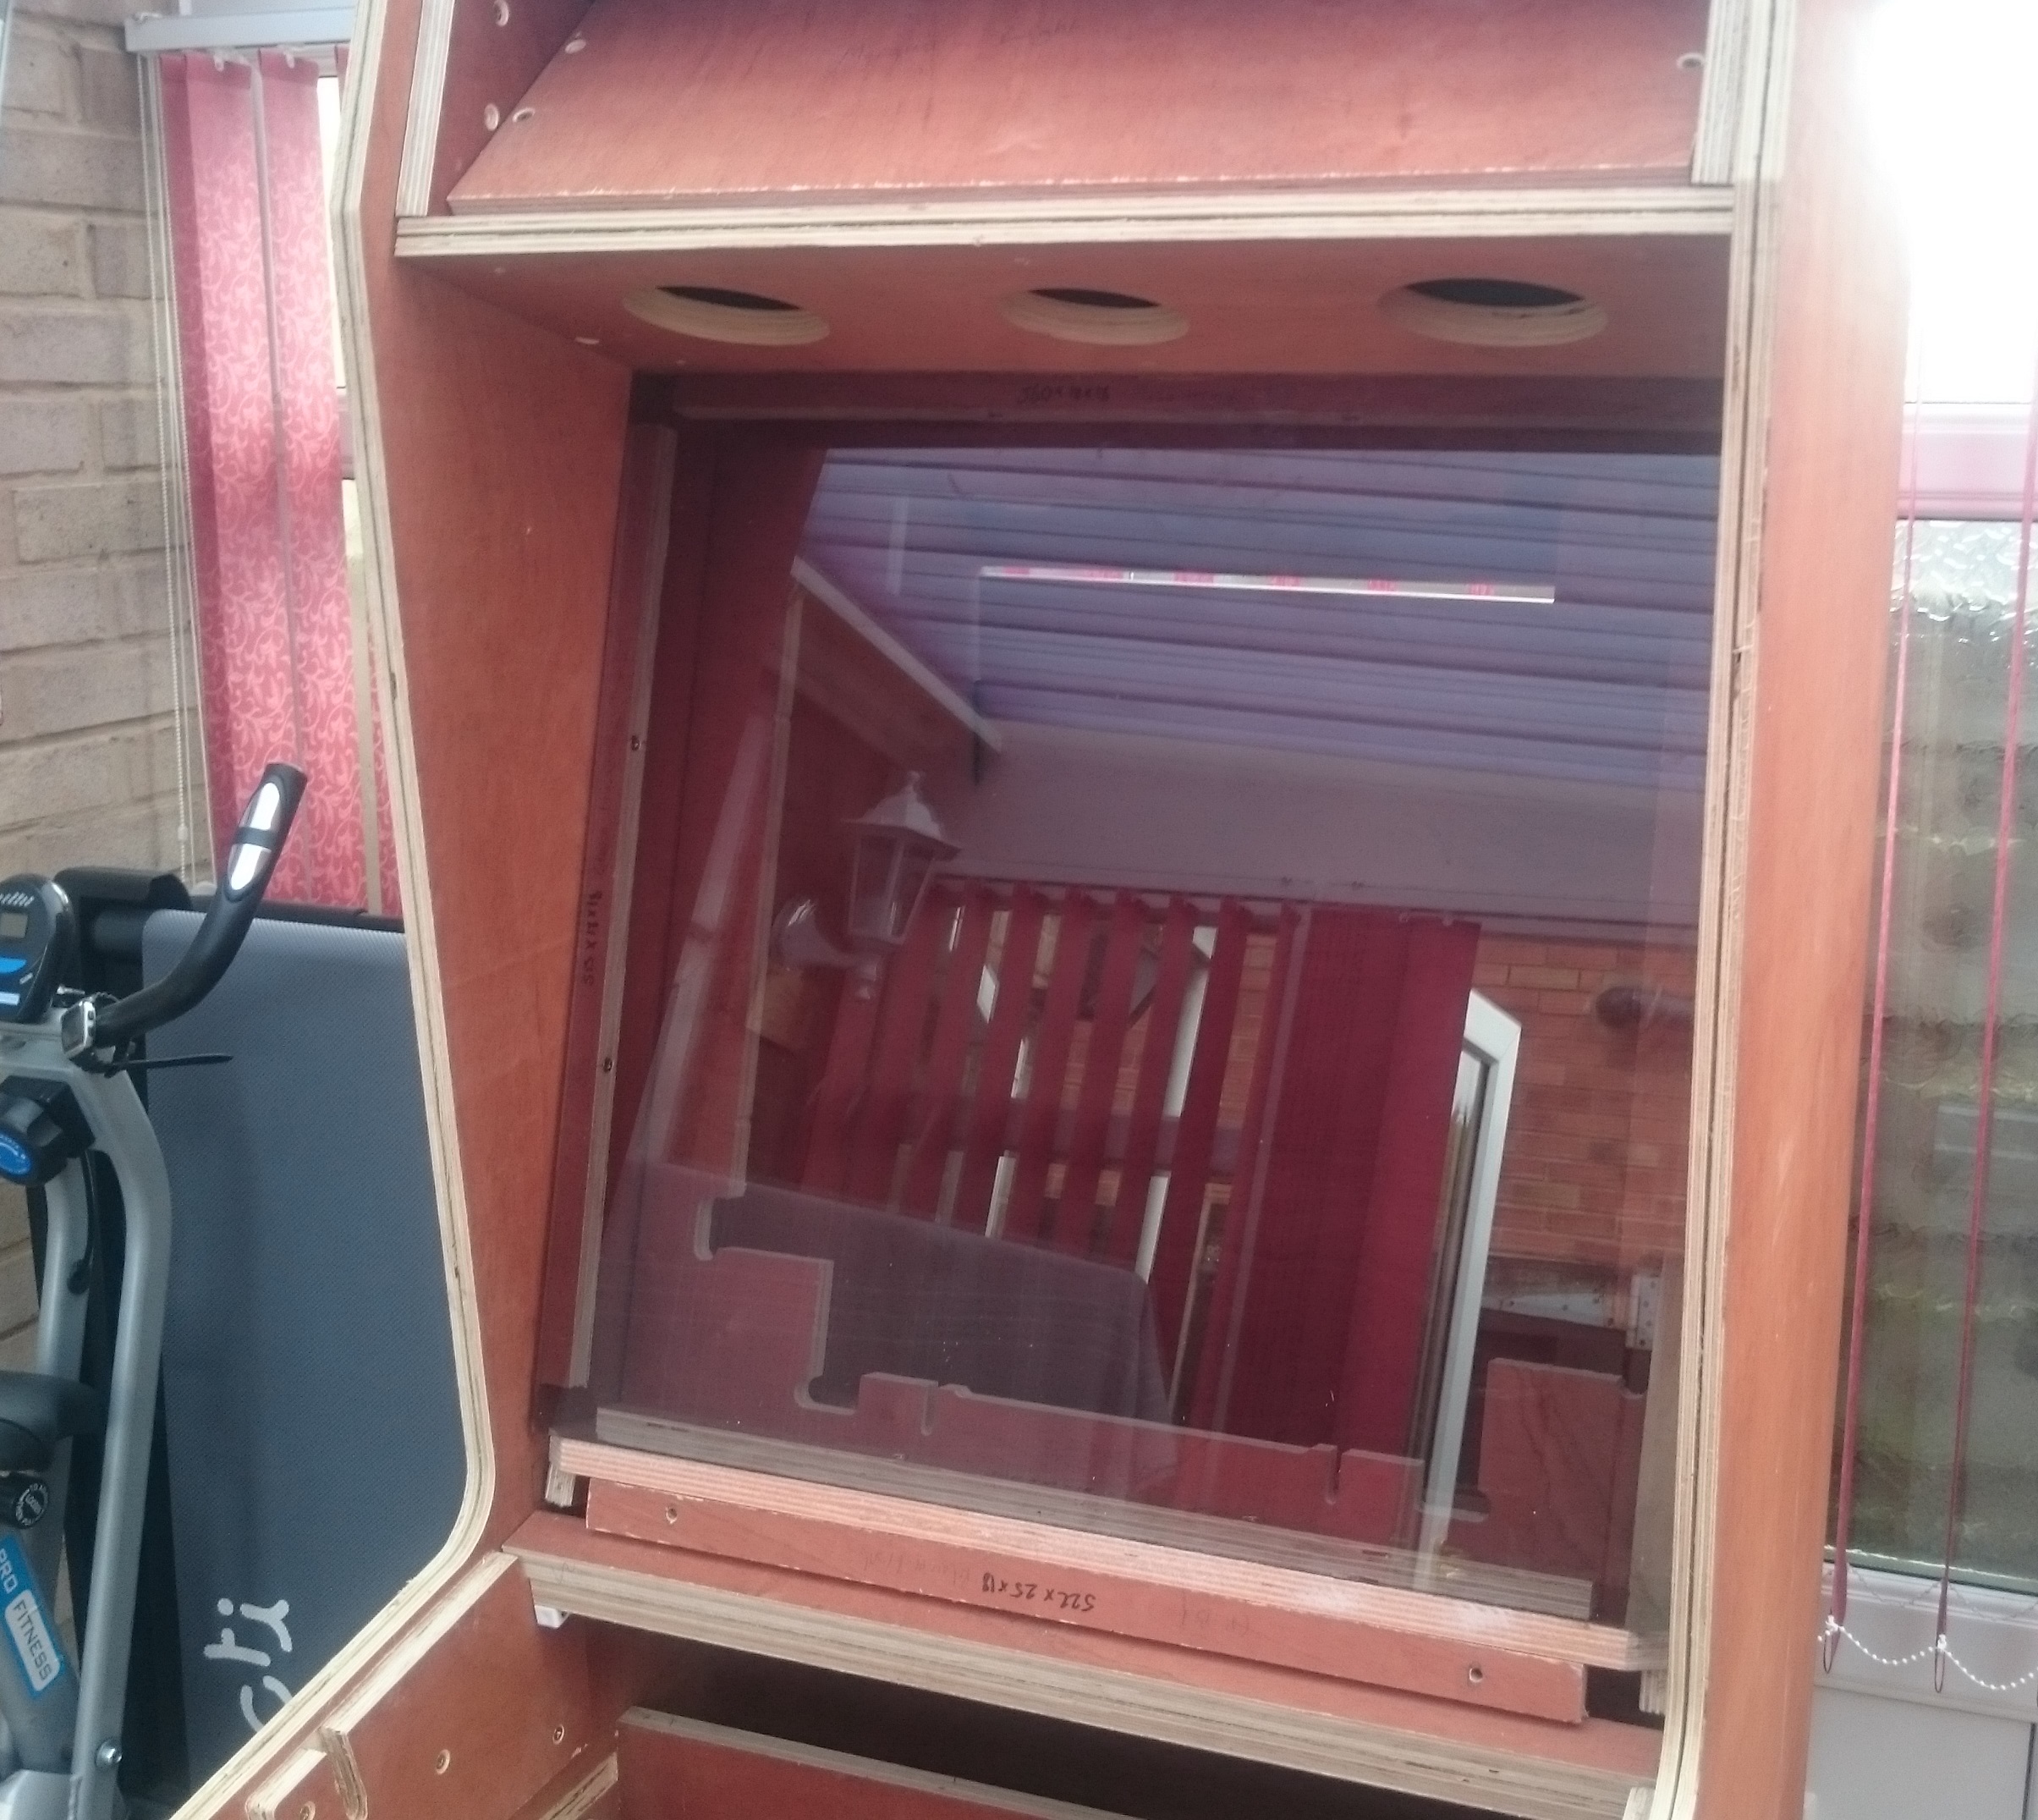

I think this is pretty much all the cabinet bits done now. Next I need to work on the cosmetics and see how that turns out
Last week I also took the controller apart. The chrome needs renewing on the handlebars. Mine were rusted really badly.
Also the whole frame needs to be sand blasted and powder coated. Also part of the frame is broken and needs welding. Luckily Frazer has said that he will kindly help me with that
Again the weather has been ok on certain days so I've managed to start sanding, filling, priming and painting the cab. Not sure how it will turn out but I shall see, I am not going to be able to get the cabinet super smooth because I don't have any facilities or space to spray the cab, so I'm just rolling on the paint.
Here is where I am upto at the moment:

Here is where I am upto at the moment:

Nice one Ben


Spaceman25
Active member
- Credits
- 27CR
that’s fantastic Ben!! If you need any help with measurements etc give me a shout!!
I did find a guy in the states who remanufactures the whole wiring harnesses! Not cheap but very good!!
I did find a guy in the states who remanufactures the whole wiring harnesses! Not cheap but very good!!

You can spray those panels!  Get one of those pop up spray tanning tents from ebay or amazon. They're perfect for the panels if you spray them before the cab's assembled. You'll get a really good finish and it's so much easier than rollering imo. Then get some of the auto spray cans from Halfords. I've used them before they work nicely.
e.g. https://www.ebay.co.uk/itm/223979156812
Get one of those pop up spray tanning tents from ebay or amazon. They're perfect for the panels if you spray them before the cab's assembled. You'll get a really good finish and it's so much easier than rollering imo. Then get some of the auto spray cans from Halfords. I've used them before they work nicely.e.g. https://www.ebay.co.uk/itm/223979156812
Should be ok if the spray paint is the same base I guess (acrylic/oil/whatever you're using), and making sure it's smooth first by sanding then fine wet sanding before spraying.
I think you can paint oil/solvent over acrylic, but not the other way round. Double check though
I think you can paint oil/solvent over acrylic, but not the other way round. Double check though

I really struggled to get a decent finish on the internal parts but I think I'm there now...well as good as I'm going to get.
I've recoated this quite a few times, for a number of reasons but I think I've got a technique that should help with the sides which I am moving onto next!

I've recoated this quite a few times, for a number of reasons but I think I've got a technique that should help with the sides which I am moving onto next!

esoteric_rt
Newbie
- Credits
- 34CR
agent4125 said:You can spray those panels!
e.g. https://www.ebay.co.uk/itm/223979156812
That's a really good idea, can't believe I haven't thought of it before
Bit of an update. I've started work on the sides now.
Outer white side is looking fairly decent and smooth, so I think this will be good enough to apply the artwork too.

The inside was a bit more difficult because other pieces were in the way. Not much of this is seen so I didn't need to be as careful.

Need to start working on the second side and then hopefully I can get this assembled!!
Outer white side is looking fairly decent and smooth, so I think this will be good enough to apply the artwork too.
The inside was a bit more difficult because other pieces were in the way. Not much of this is seen so I didn't need to be as careful.
Need to start working on the second side and then hopefully I can get this assembled!!
Made some steady progress on this.
Painting is done, and I got the shell of the cabinet back together outside (top, bottom, sides, back), then moved it into my garage, where it *just* fits
I then fitted the tmoulding, and have now started working on the internals.
The lower flaps have been fitted in position as per the orignal cab, although I would imagine this is mostly glued into pace, I used screws:

The coin door was a huge faff. Getting it into position and securing it and also getting the board in position behind it. The board behind wasn't previously secured so I've secured that now with some batons. I also noticed that the board seems smaller than the original so I guess the CNC plans are wrong here. No big deal I guess:

The coinbox was also a major problem. It just would not fit. So I ended up routing a bit off the side of the holder, and also cutting a bigger section out. Again the CNC plan is not accurate:

This is where I have got to. Still plenty to do:

Painting is done, and I got the shell of the cabinet back together outside (top, bottom, sides, back), then moved it into my garage, where it *just* fits
I then fitted the tmoulding, and have now started working on the internals.
The lower flaps have been fitted in position as per the orignal cab, although I would imagine this is mostly glued into pace, I used screws:
The coin door was a huge faff. Getting it into position and securing it and also getting the board in position behind it. The board behind wasn't previously secured so I've secured that now with some batons. I also noticed that the board seems smaller than the original so I guess the CNC plans are wrong here. No big deal I guess:
The coinbox was also a major problem. It just would not fit. So I ended up routing a bit off the side of the holder, and also cutting a bigger section out. Again the CNC plan is not accurate:
This is where I have got to. Still plenty to do:


Nice work it looks great

Baiterhater
Active member
- Credits
- 73CR
mint work mate !!!
Great work Ben!
