Pole Position II restoration

muddymusic

The Repro Guy. Art and Parts supplier
Staff member
vacBacker
Feedback
52 (100%)
Credits
2,228CR
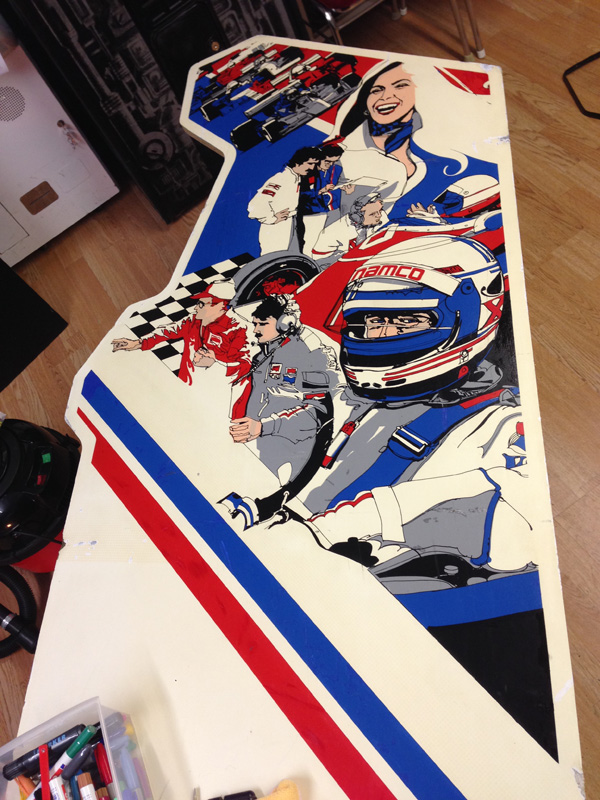
Close up of the sticker on the side. I'm going to try and remove it. Now I look at it in detail it's obvious to see it's been fitted quickly as the ends aren't trimmed properly and there's a random bit stuck on lower down the cab.
pp2-resto22.jpg


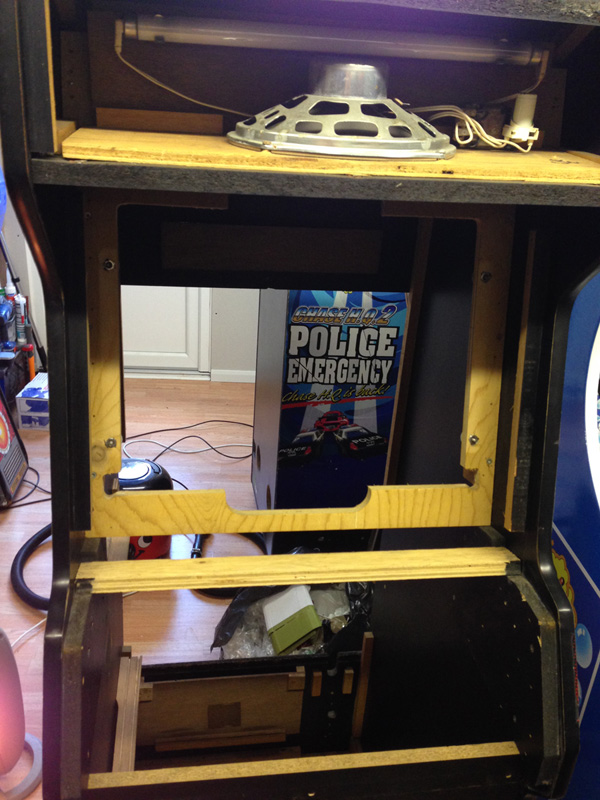
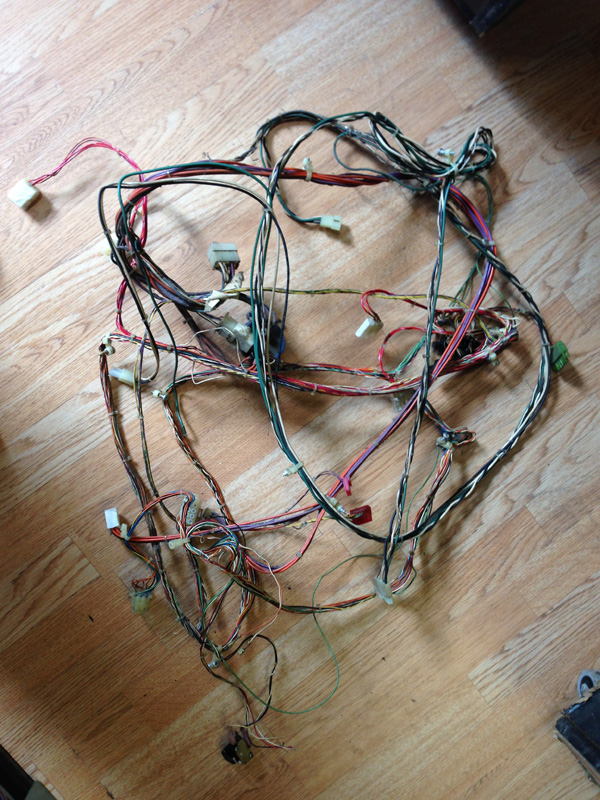
Complete loom is out. I've noticed with this cab there's a specific way it comes apart. You can't remove the loom without taking out the coin box container as it's screwed in behind it, then that won't come out unless you undo the coin door. So I'll have to remember that when I put it back together.
pp2-resto23.jpg


What was left in the bottom of the cab.
pp2-resto26.jpg


Oh look it's the missing connector from the opto board!

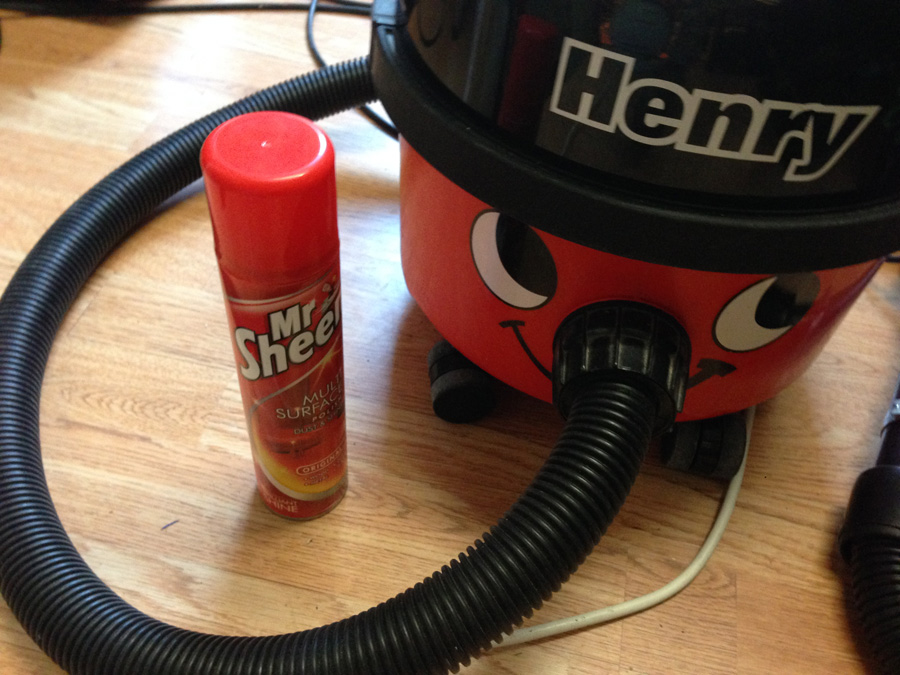
Time for the Henry-Sheen double team. Jeez that actually rhymes...looks like that's a new phrase then
smiley36.gif

pp2-resto27.jpg


Inside fully cleaned and polished. Came up nicely.

Before
pp2-resto7.jpg

After
pp2-resto28.jpg


pp2-resto29.jpg
 

muddymusic

The Repro Guy. Art and Parts supplier
Staff member
vacBacker
Feedback
52 (100%)
Credits
2,228CR
CPO is finished.
pp2-resto30.jpg


I like having the full art so I thought I'd go all out and do the rare topper for the cab too while I was at it, so I've started vectoring that.
pp2-resto31.jpg
 
G

Guests

Guest
muddymusic said:
CPO is finished.

I like having the full art so I thought I'd go all out and do the rare topper for the cab too while I was at it, so I've started vectoring that.
pp2-resto31.jpg

That justifies to press the "Thanks" button. Its time that gets done. Is it the same topper as on the cockpit?
smiley1.gif
 

muddymusic

The Repro Guy. Art and Parts supplier
Staff member
vacBacker
Feedback
52 (100%)
Credits
2,228CR
I think this topper was used on the US/Jap cockpit & upright. PP2 had its own topper on the Jap cockpit but it's not as nice as this one.
 

chefsolid

User
vacBacker
Feedback
3 (100%)
Credits
53CR
I love this cab, its on my list for my games room. Good luck with the restoration, not that you will need it going off your previous efforts :)
 

muddymusic

The Repro Guy. Art and Parts supplier
Staff member
vacBacker
Feedback
52 (100%)
Credits
2,228CR
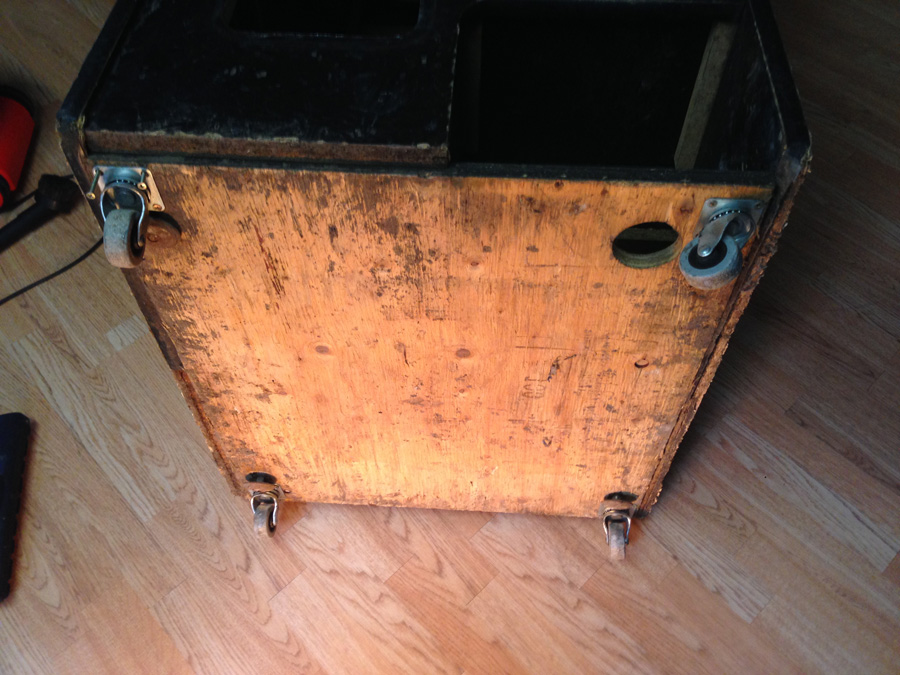
Time to do some tidying up of the cab. First just was to get the horrible wheels off it. It would only roll sideways and back so not much use anyway! Base timber is actually alright.
pp2-resto32.jpg


I used the last of my Teflon feet on Star Wars so going to my backup supply of plastic kitchen feet which are the closest thing I could get here.

pp2-resto33.jpg


While I was at it I put a couple of screws through the base in to the corner blocks of the cab to strengthen it a little, then pulled off all the t-molding and cleared any damaged chips from the slot.

Started work on the side with the weird dots sticker which was the first thing to be removed. What was hiding underneath? Nothing!
pp2-resto34.jpg


A fair few scrapes and scratches and the bottom inch of the cab is poor but the art is intact.

I gave the whole side a decent rub with a magic eraser - this paint is quite thin so had to be careful not to rub any art away.
pp2-resto35.jpg


I dried it off and gave it a polish. The white and colours really pop after this.

Touched in any scratches with paint pens and sharpies.
pp2-resto36.jpg

muddymusic2015-02-20 09:43:48
 

muddymusic

The Repro Guy. Art and Parts supplier
Staff member
vacBacker
Feedback
52 (100%)
Credits
2,228CR
Yeah it came out a bit better than I expected - I was really worried about what I was going to find once I took these stickers off, but they weren't there for any reason at all!
pp2-resto22.jpg
 

lesoleil70

Active member
vacBacker
Feedback
5 (100%)
Credits
116CR
I've got this exact cab, but no boards, I'm waiting on the FPGA to come out.

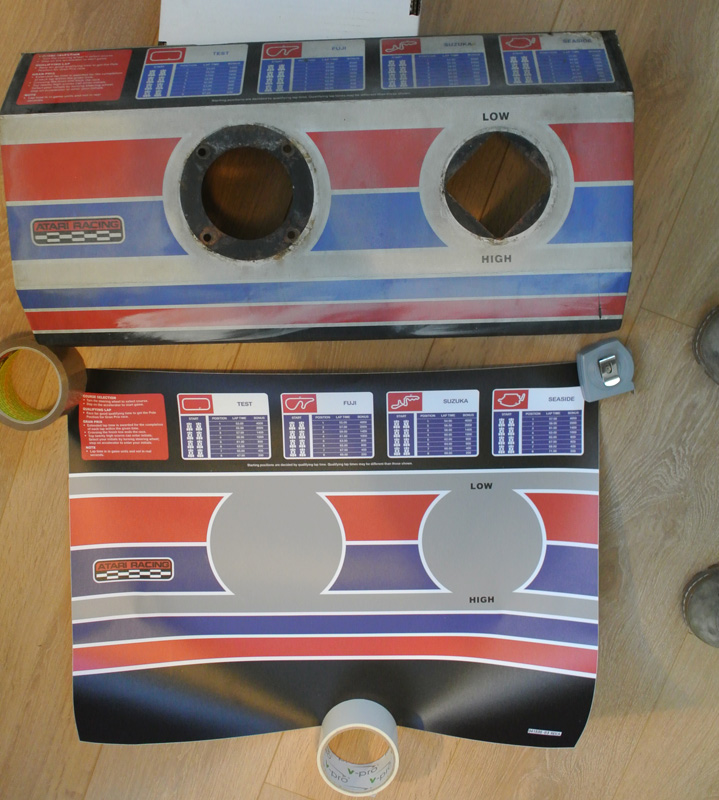
Whilst my control panel overlay is not bad, it's far from perfect. It's got a metallic speckle effect (crude description). But you know what I mean. Are you able to recreate this effect when you print?

I think you know already, Etienne has the wheel centre decals in his store, I've got some on order, I can barely see my Atari logo.

Is the hanty the original monitor, I had a wells in mine.
 

muddymusic

The Repro Guy. Art and Parts supplier
Staff member
vacBacker
Feedback
52 (100%)
Credits
2,228CR
lesoleil70 said:
Whilst my control panel overlay is not bad, it's far from perfect. It's got a metallic speckle effect (crude description). But you know what I mean. Are you able to recreate this effect when you print?
No, it will just be flat grey.
lesoleil70 said:
Is the hanty the original monitor, I had a wells in mine.
Yeah definitely been in there from the start, it was pratically welded to the cab with dirt
smiley36.gif


I think these cabs shipped with 3 different monitor types, this cab is a factory PP2 rather than a PP1 with the kit fitted so maybe they had WG monitors.
 

Bods

Senior Member
vacBacker
Feedback
4 (100%)
Credits
4,783CR
I think it's a great part of the hobby, if everyone of my cabs was like new and you only had to look at them and play and do the odd fixes, I'd get bored

Nothing better than getting a machine totally beat up and not working and turning it into a really nice working machine

Keep it up matey
smiley20.gif
 

muddymusic

The Repro Guy. Art and Parts supplier
Staff member
vacBacker
Feedback
52 (100%)
Credits
2,228CR
Proof repro cpo has arrived today. It's almost there, I need to lighten the blue and grey and reduce the height of the top red stripe about 4mm to get it perfect.
pp2-resto37.jpg
 

lesoleil70

Active member
vacBacker
Feedback
5 (100%)
Credits
116CR
Looks great, I was wondering how the grey would look, I should not have , it looks awesome.
Would really like to get one of those toppers for mine also.
 
G

Guests

Guest
muddymusic said:
Yeah, that will have a clean up, new lopt and a cap kit.

I think that kind of things are so important if your are REALLY after restoration, everything else is just cosmetically stuff.
 
Top