ArcadeAddict77
User
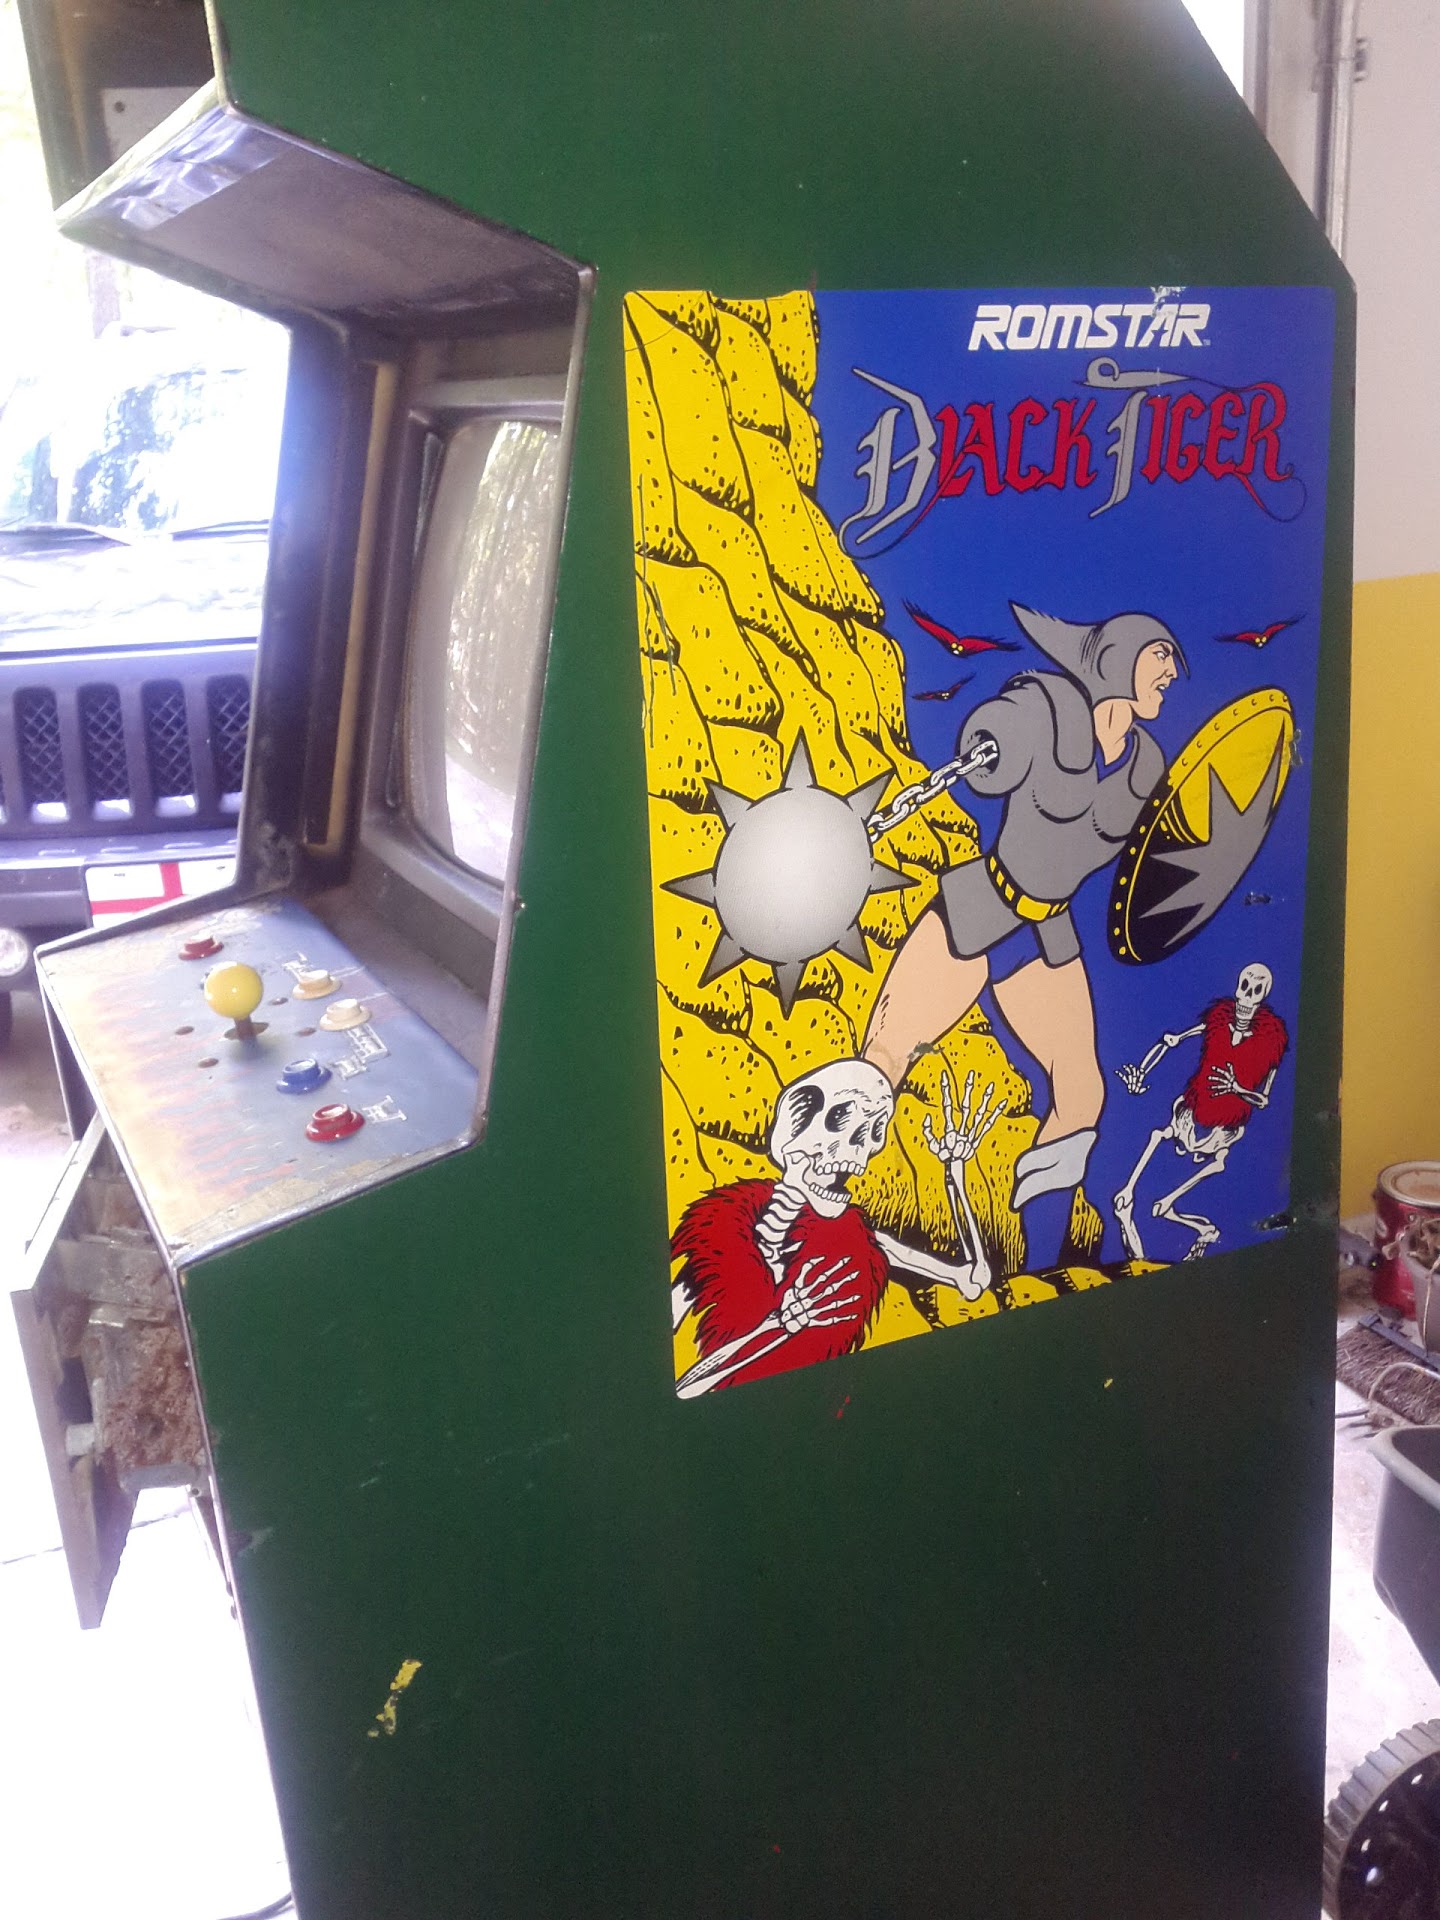
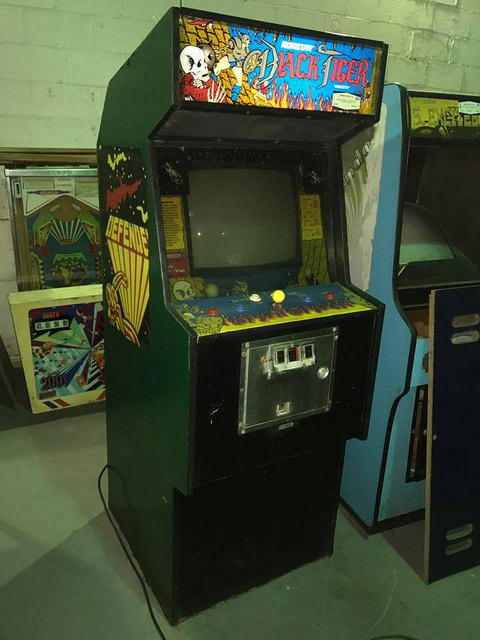
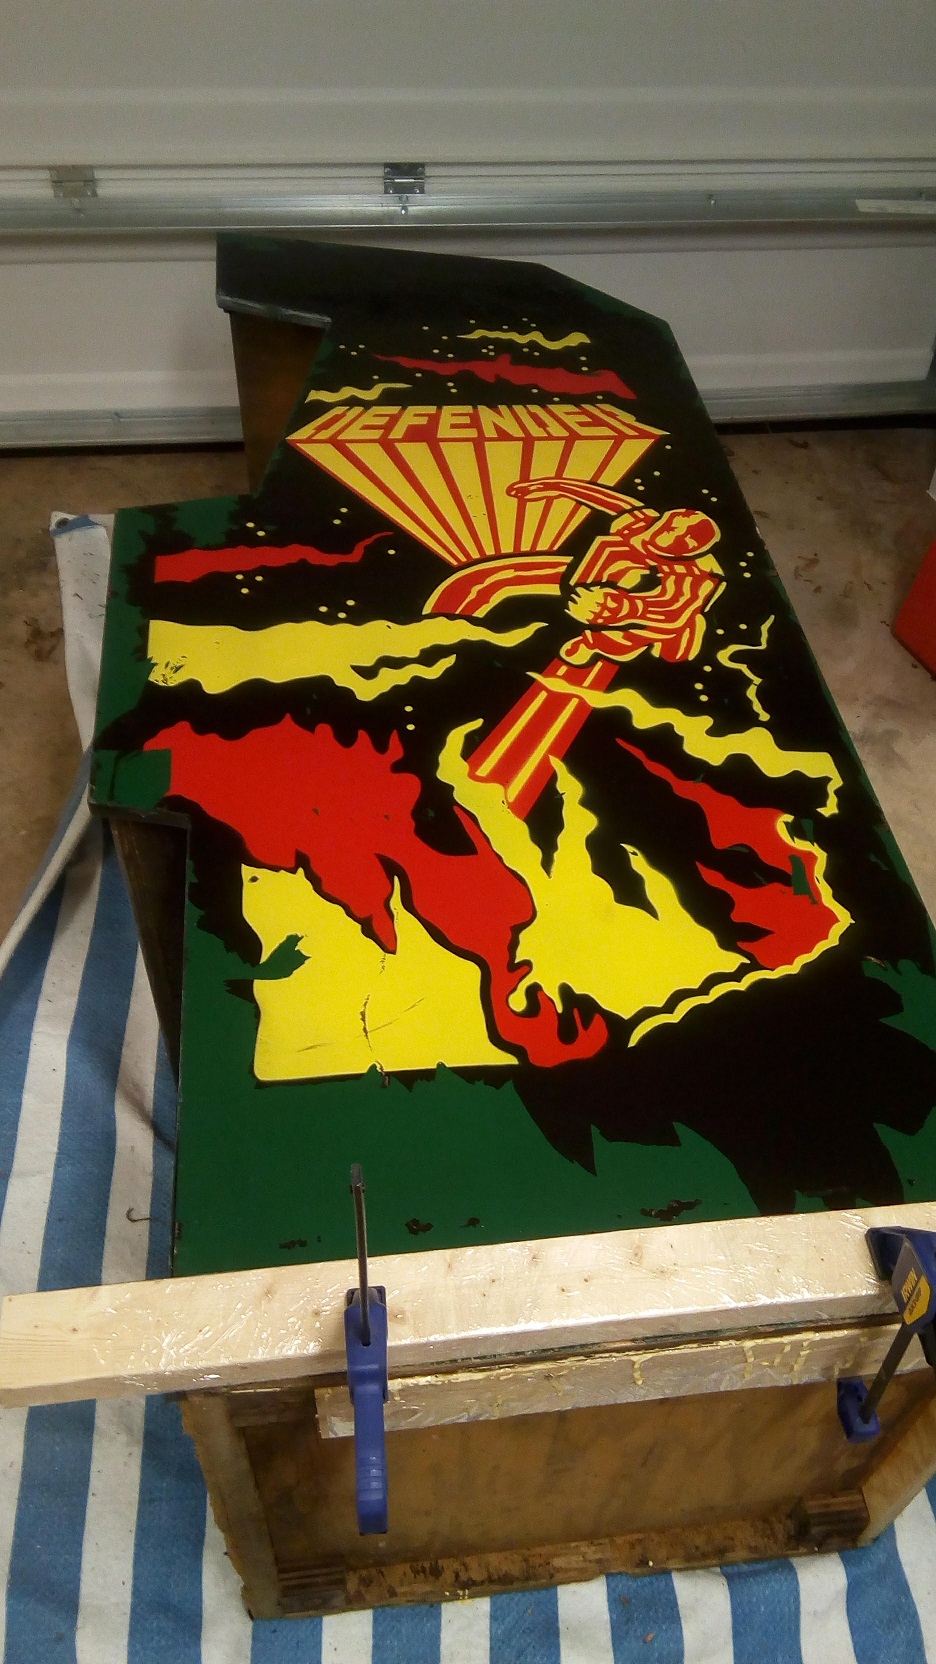
Here is my stripped out, converted to Black Tiger Defender cabinet.
Starting condition:
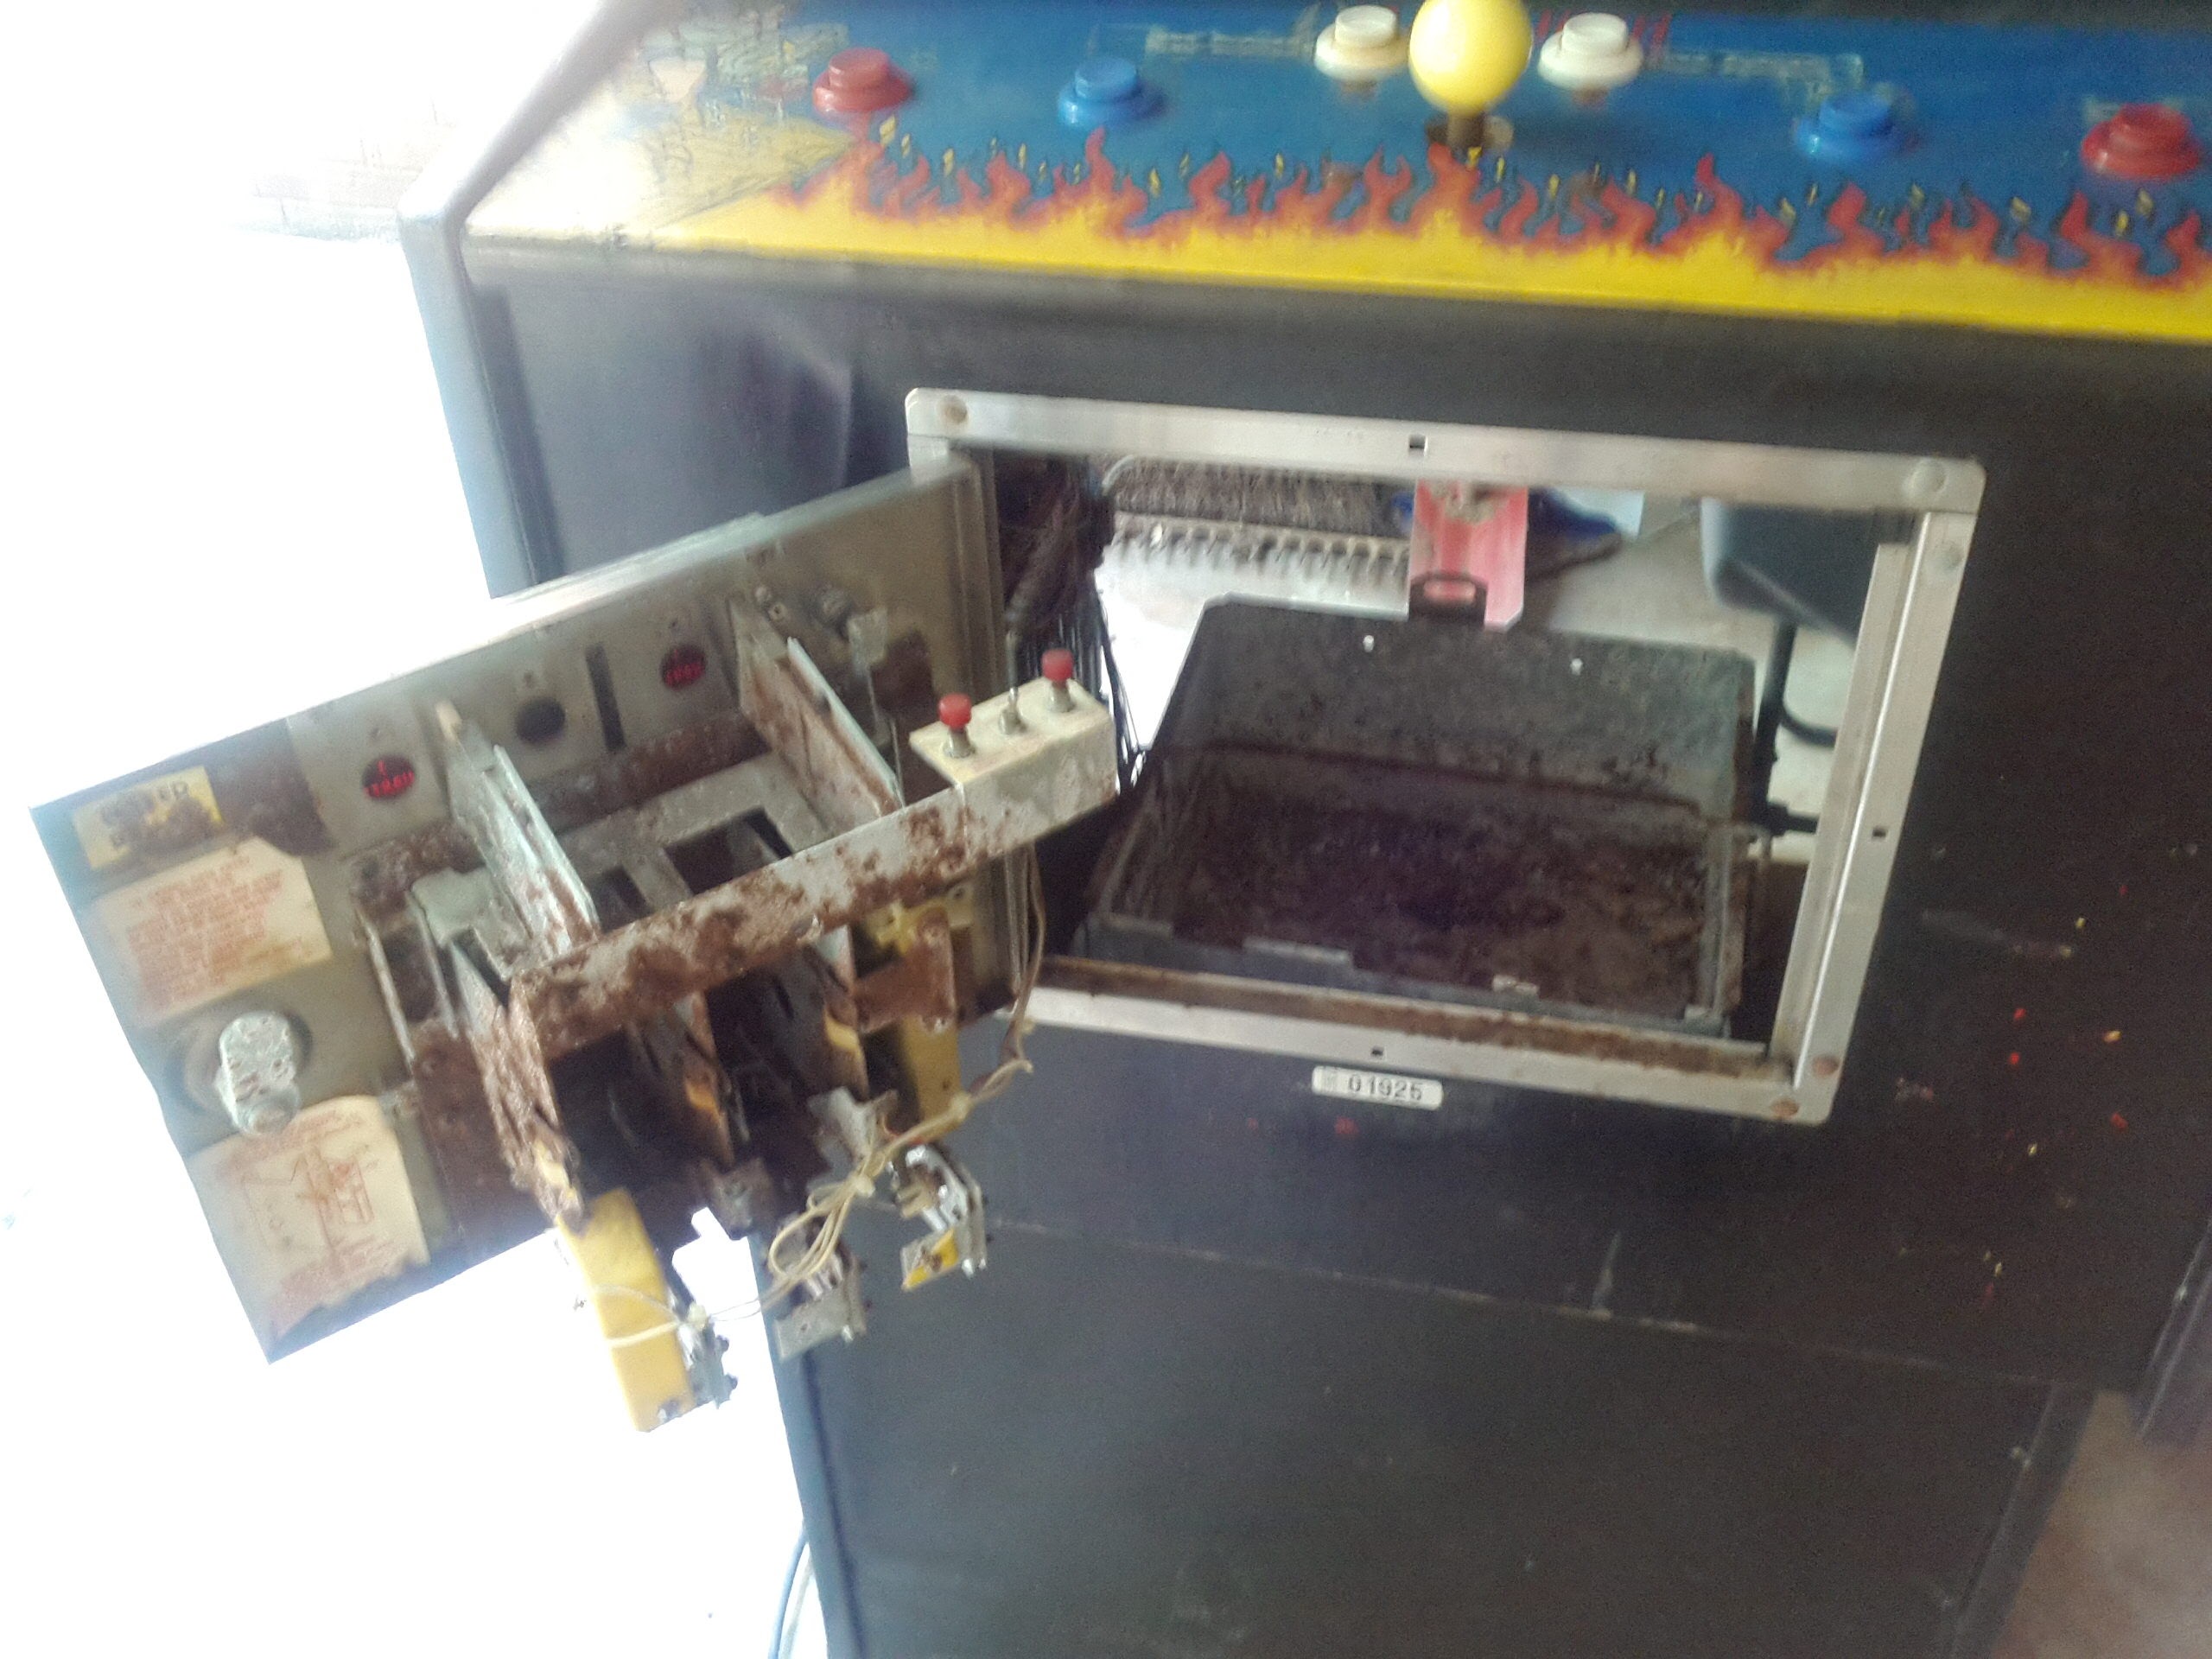
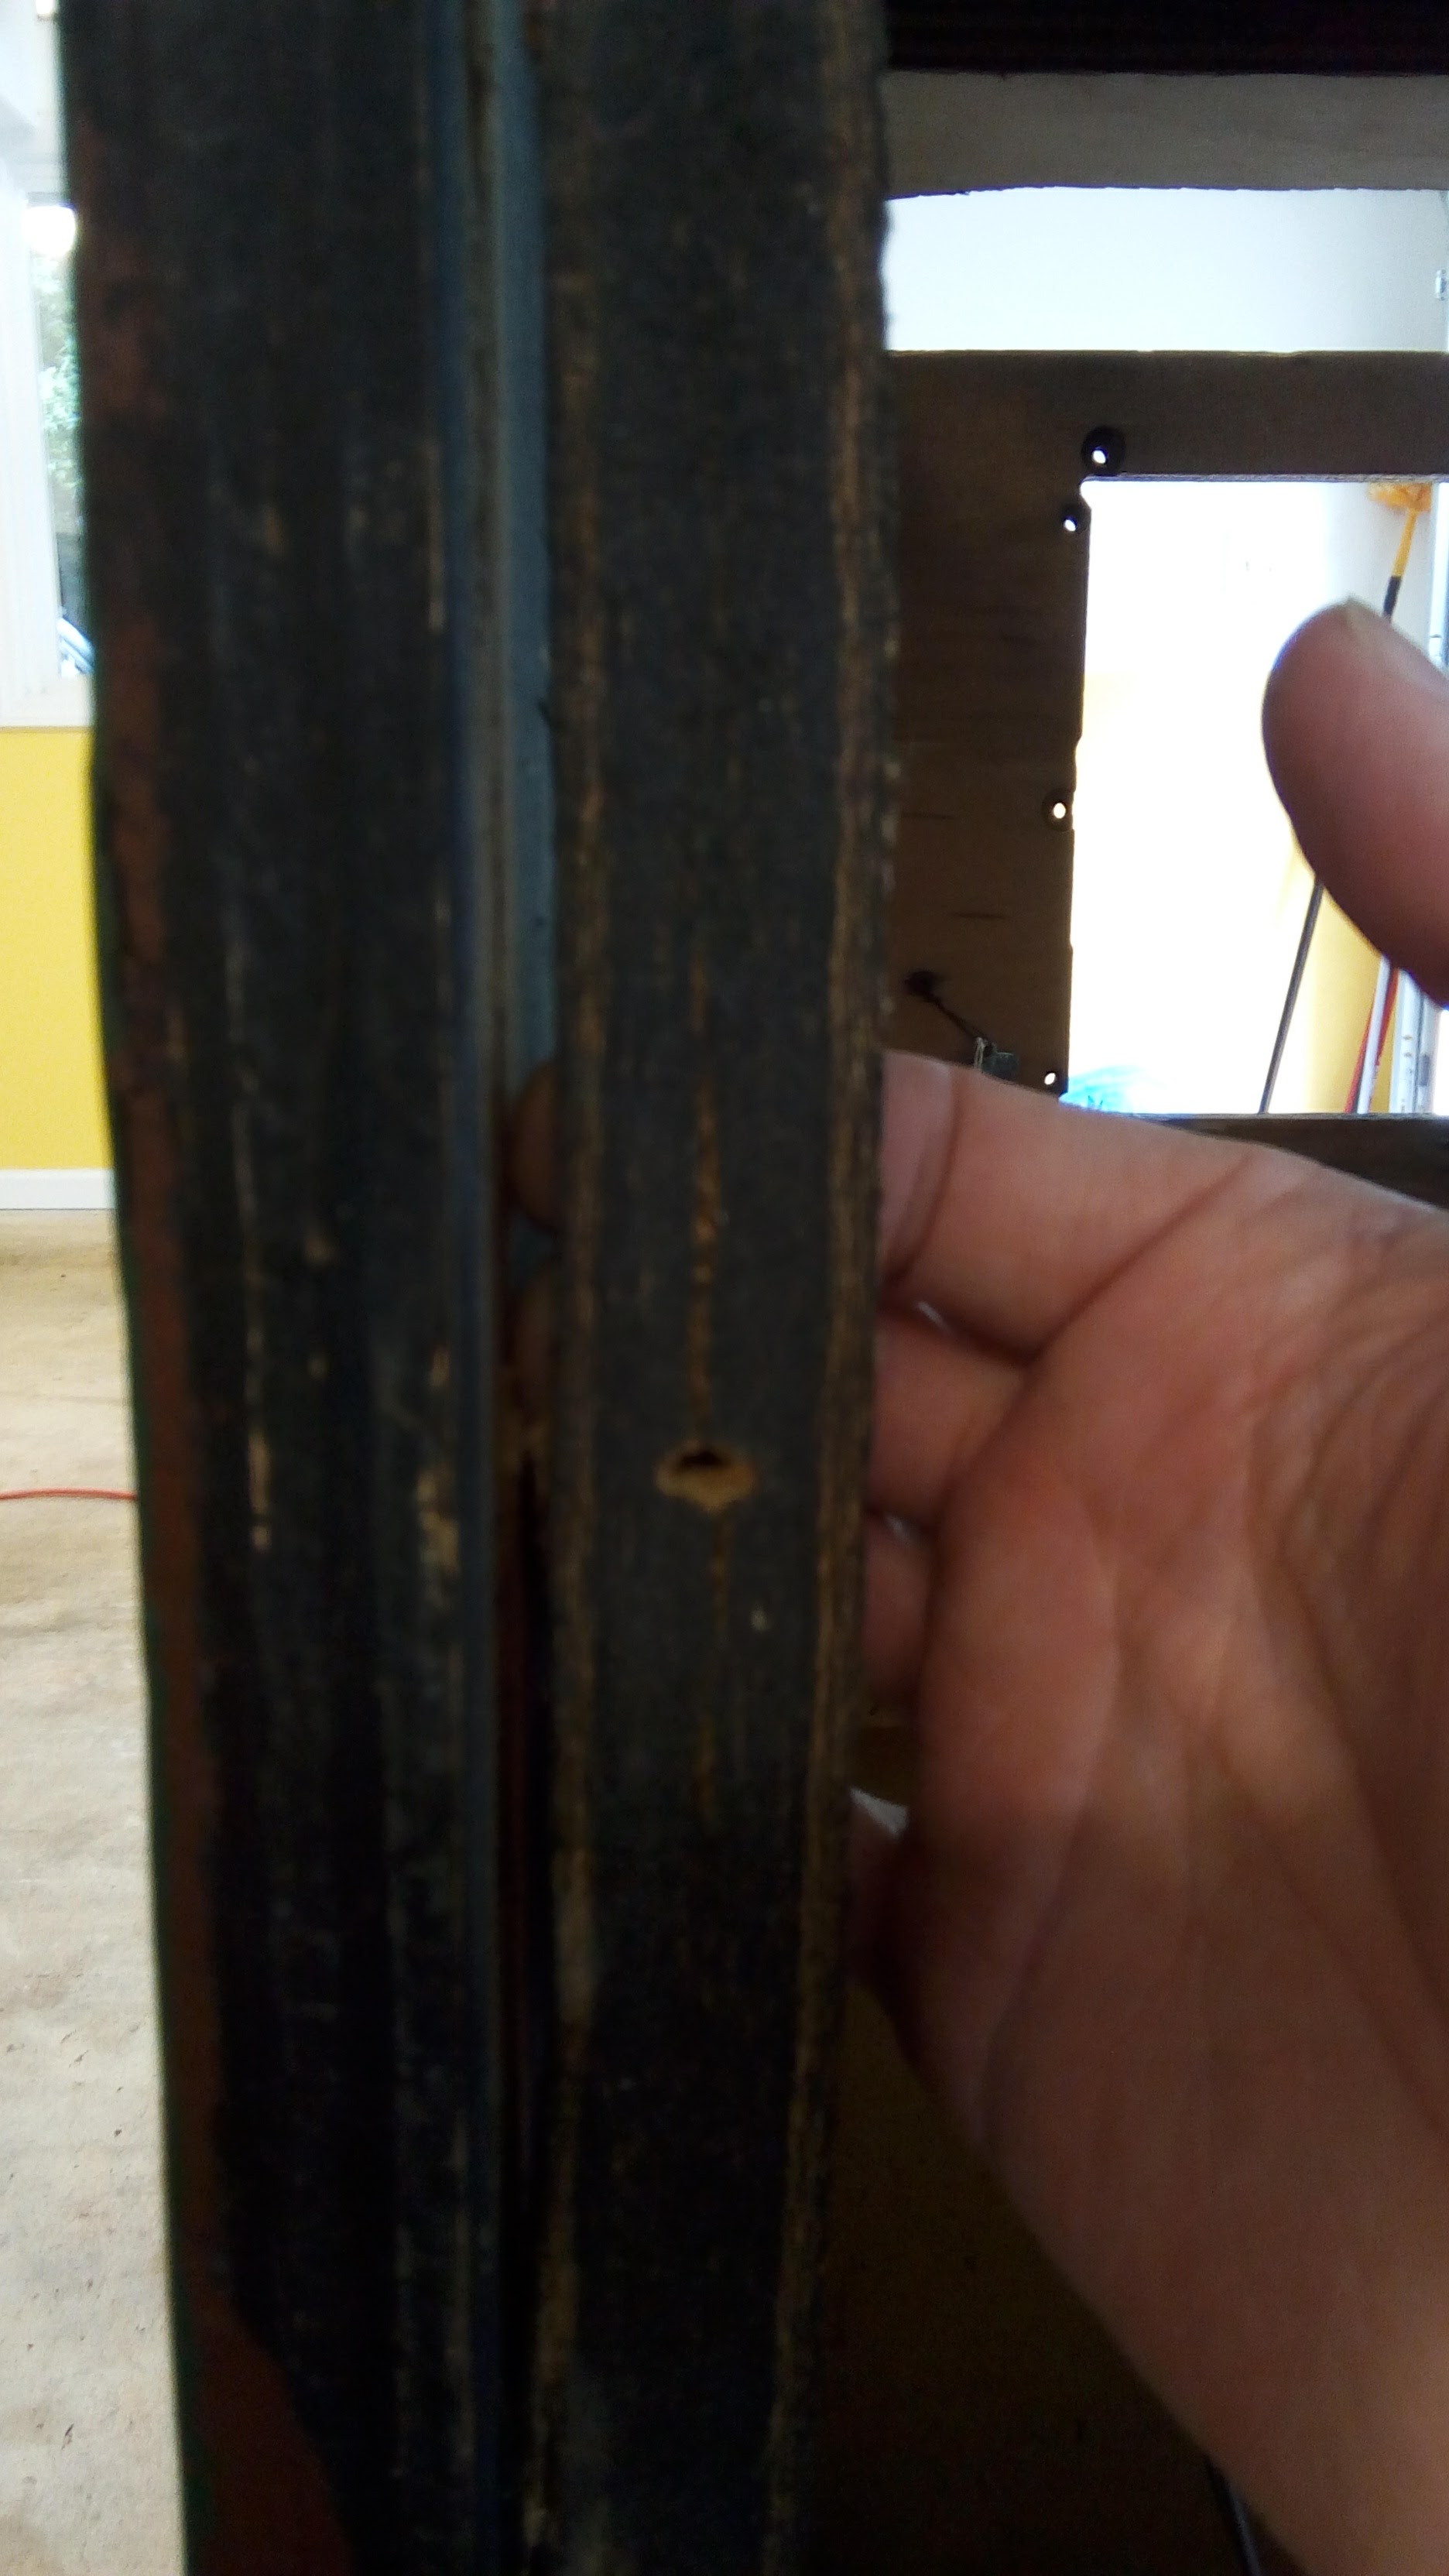
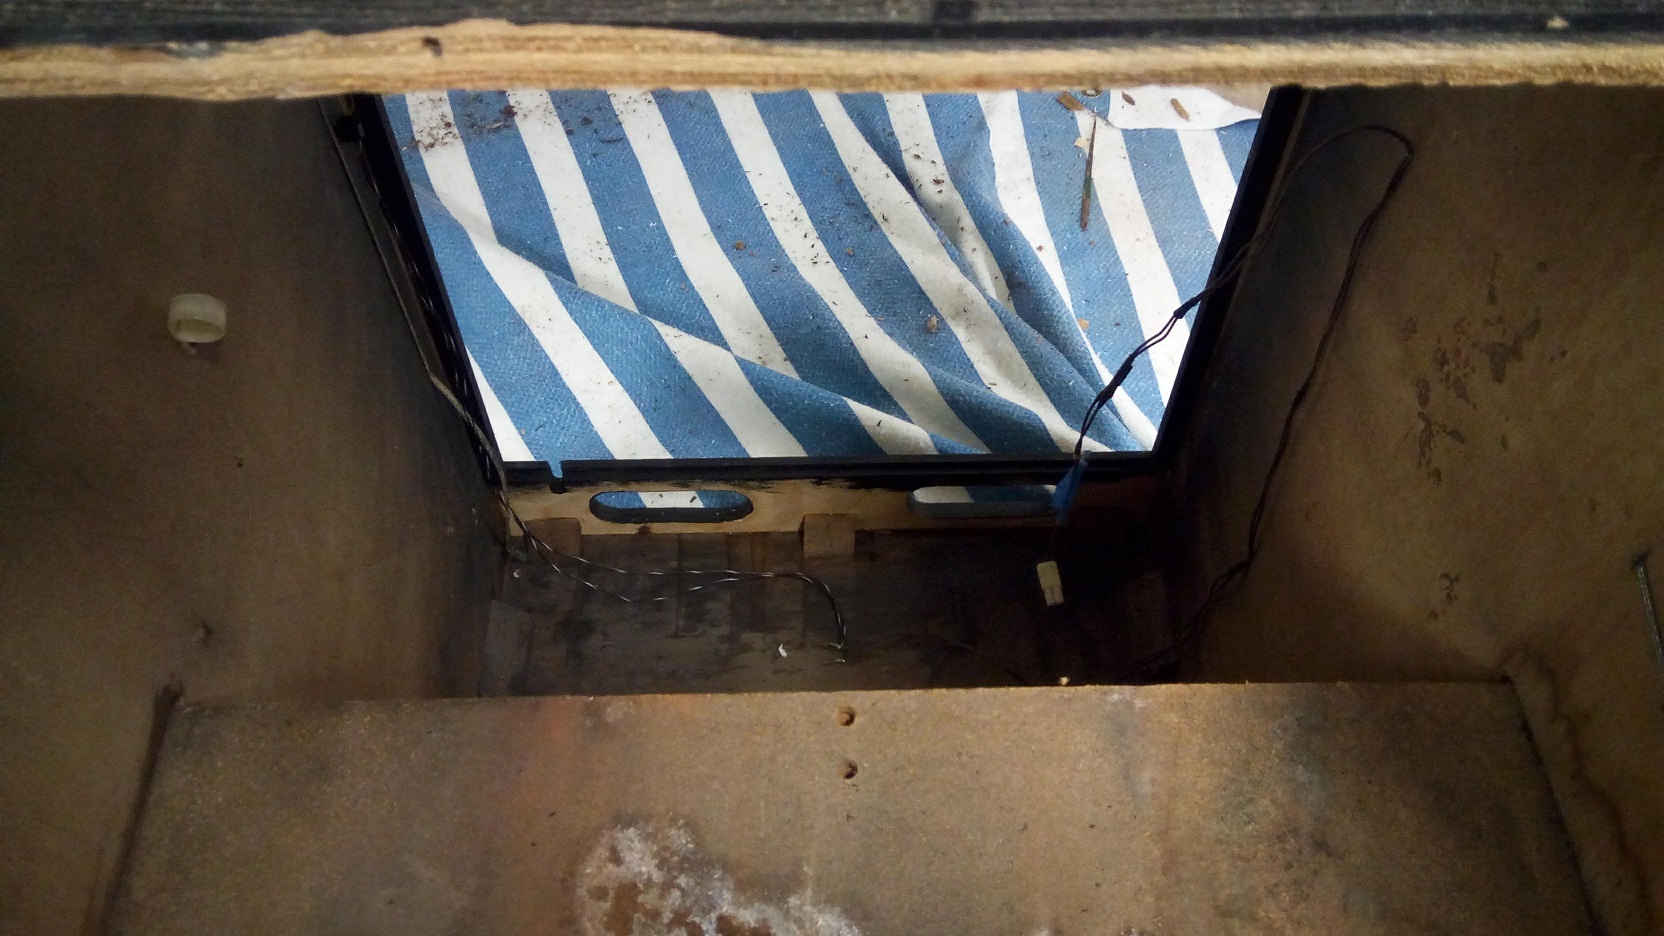
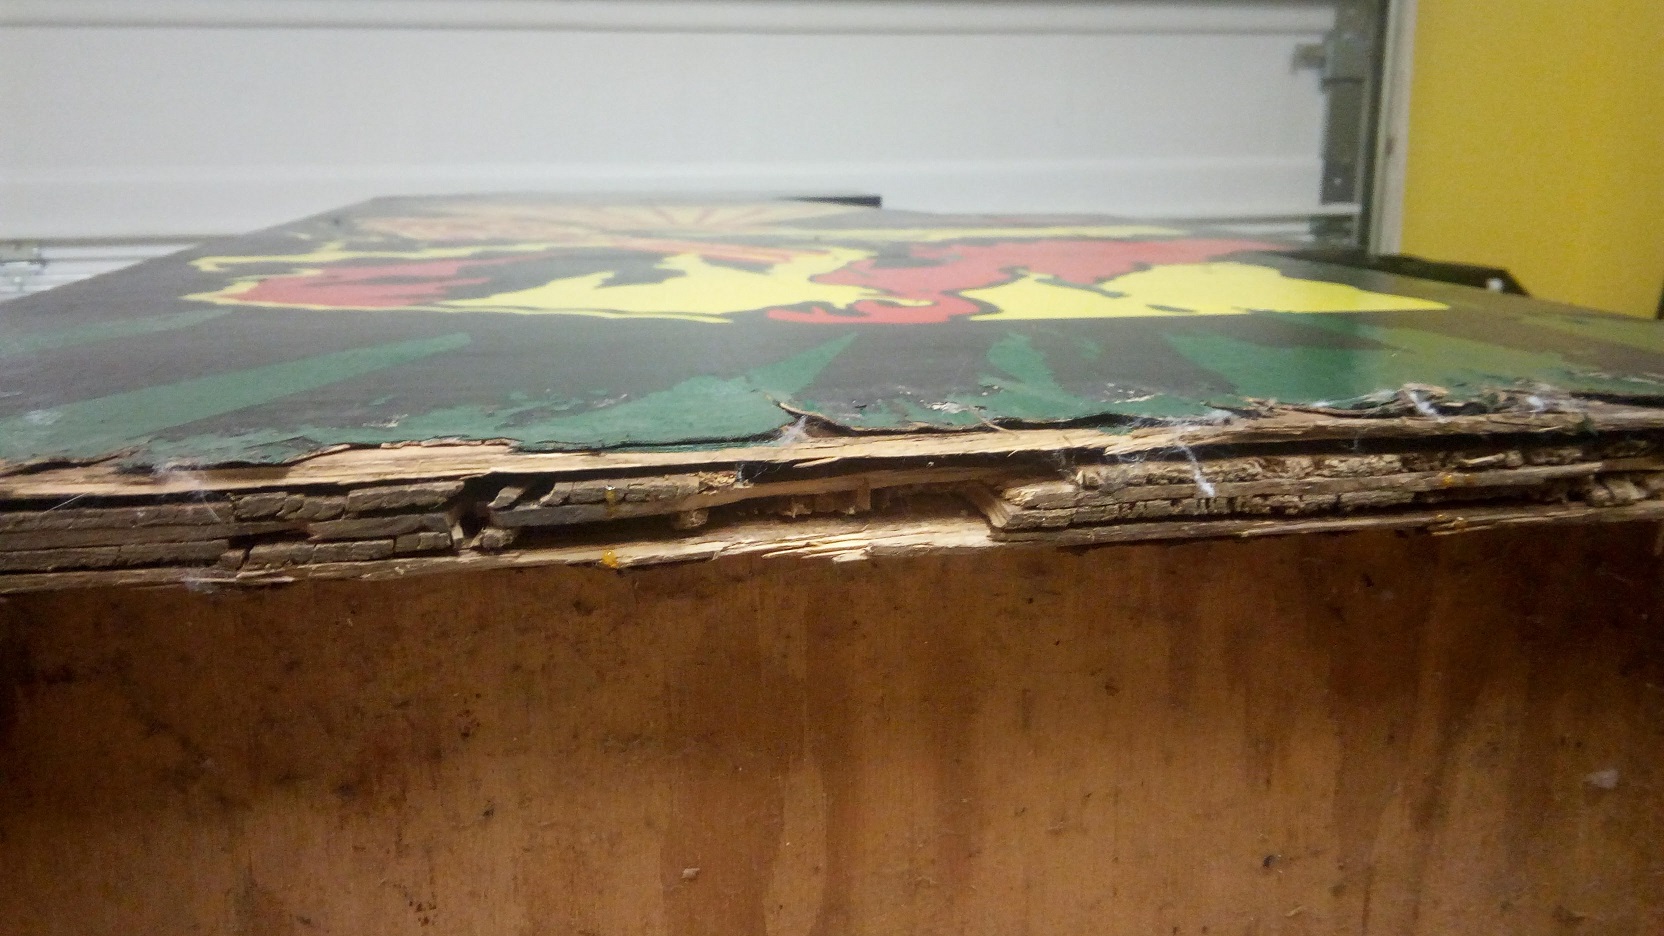
First impressions on receiving it is there is some major work to do to make the cabinet solid again. The back lower panel is present, but blown out and expanded due to being MDF. Cabinet must have seen some water exposure. Side pieces which hold the back door in place are in the cabinet, but also need replacing. Lots of rust on just about any metal work.
Here is a link to the album I am keeping on Google Photos. This probably includes additional images I am not posting in the restoration log here: https://photos.app.goo.gl/oWTRTeZu7X3zDrd82
This cabinet also has the honour of being mentioned in:
https://arcadeblogger.com/2018/01/12/where-did-all-the-defenders-go/
and
https://arcadeblogger.com/2017/01/06/the-wonderful-world-of-arcade-cabinet-conversions/
It's a nice feeling to know one of these defender conversions is being returned to its original purpose.
Side notes: If you have not already join the WILLIAMS DEFENDER PLAYERS UNITE facebook group, then run over to http://mahugh.com/defender-the-last-word/ to read all about gameplay.
==============================================================
History on this cabinet.
Of course originally a Defender.
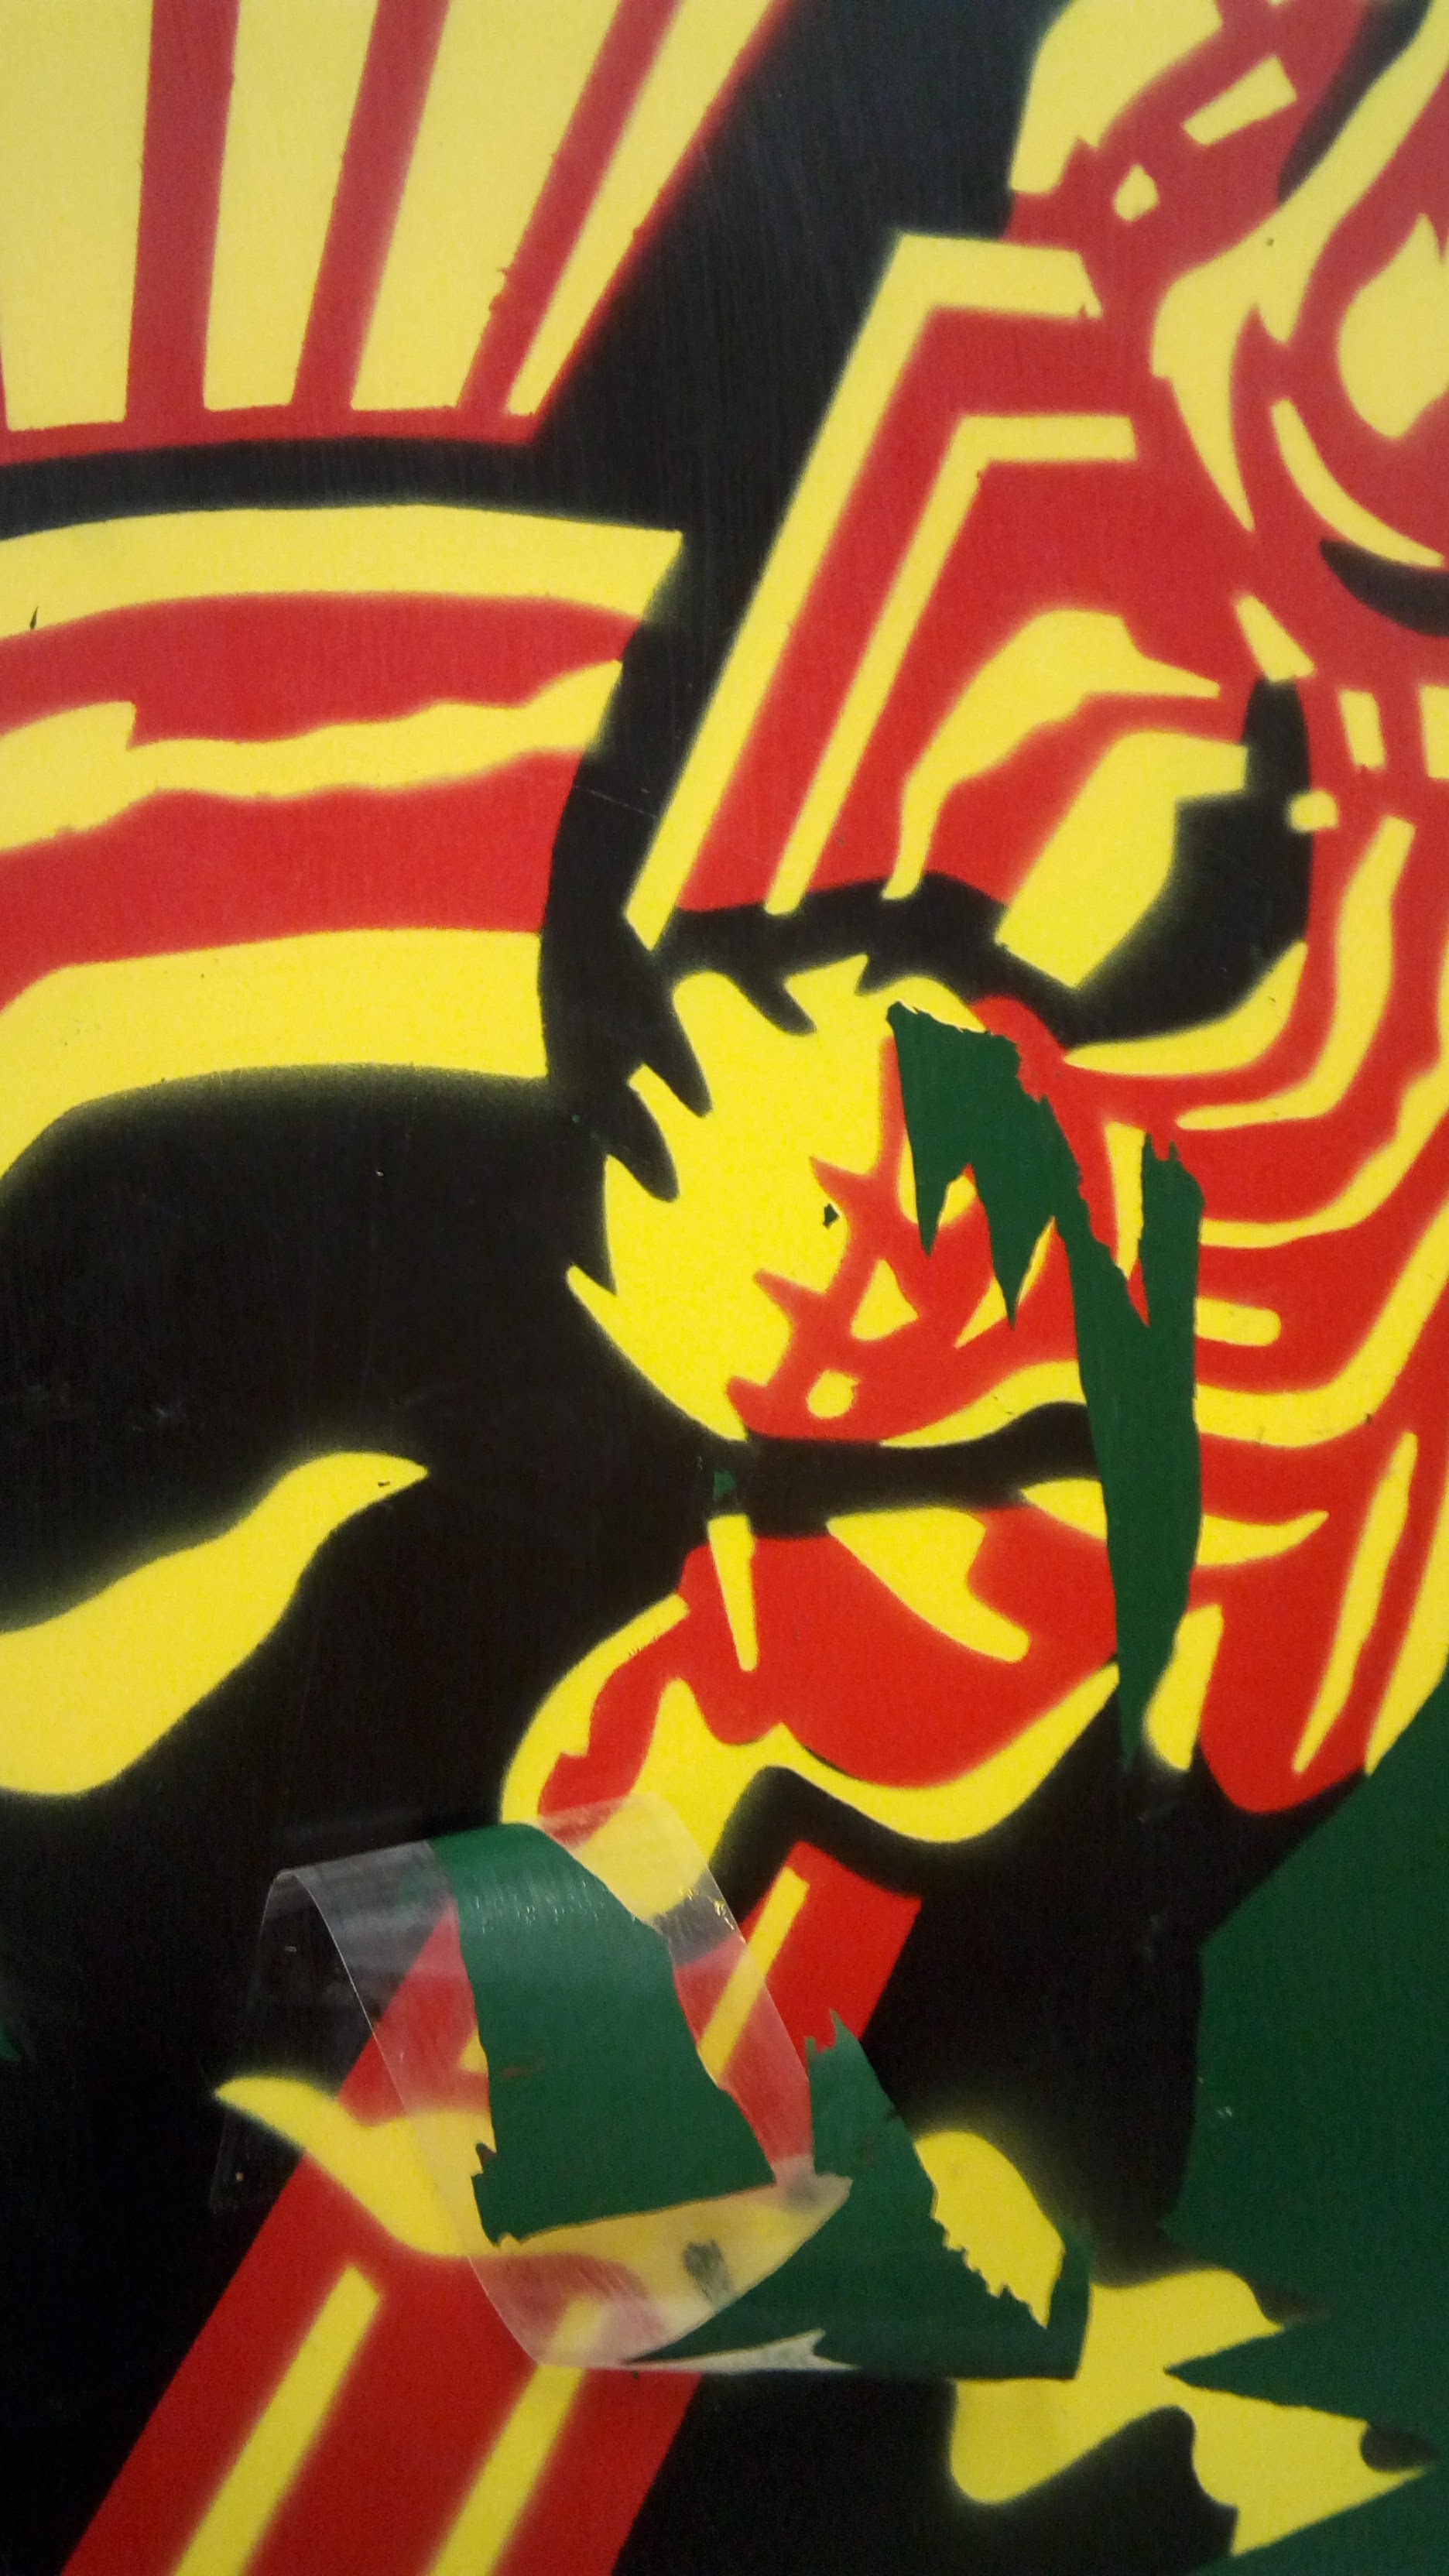
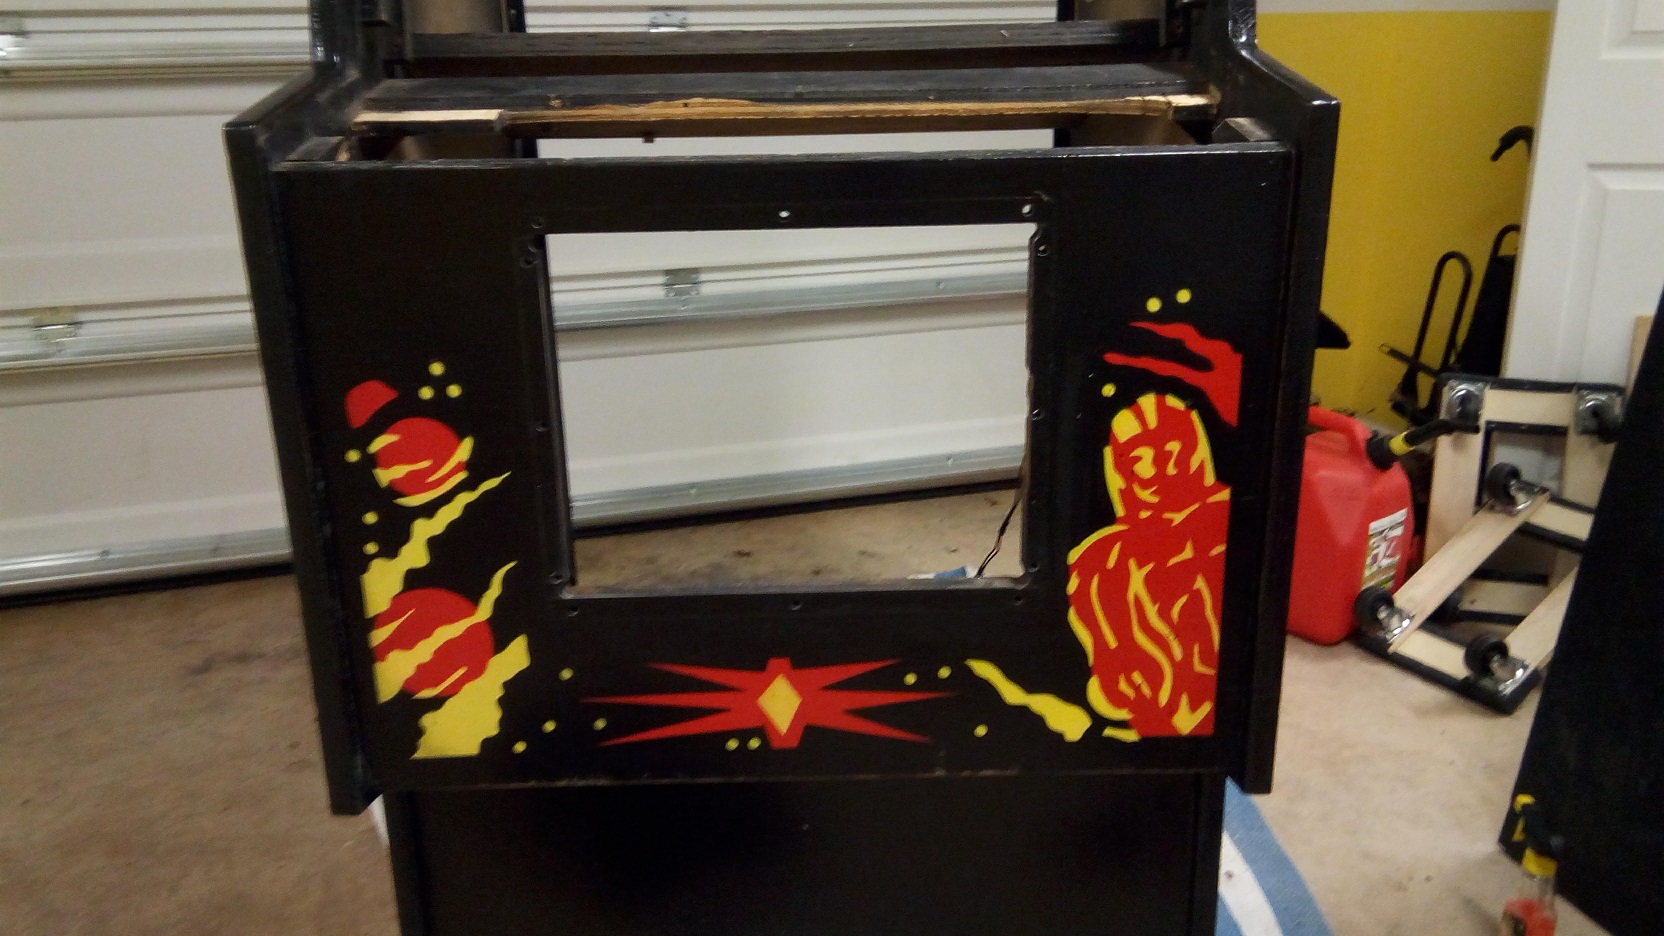
Converted to a Jamma cabinet Black Tiger. Sides painted Black, Black Tiger sideart applied. Everything Defender on the inside stripped.
Conversion almost certainly done by Derrick Music Company at that time operating out of Hinton, West Virginia.
CoinOp Warehouse listed the cabinet on 10th December 2016. Described as "complete but not working Black Tiger in an old Defender cabinet".
Donnie B bought the cabinet two days later.
I bought the cabinet in pre-restoration condition and received it on 15th June 2017. Donnie's Dad actually delivered the cabinet to me in with the purchase price as he was in my area at the time. He had what I remember being a Ford F-250 or bigger truck with a tail lift on it. I remember asking him about this and he said he has a route and this makes it so much easier hauling machines around.
I began the deconversation and restoration began that same day.
A couple of articles I was able to find on the operator, seems like he had a large operation beginning back in the 60's and running right the way through the golden age of the arcade.
https://vendingtimes.com/main/articles.aspx?iid=33E7FE7E93214687A162885B66ABCE71
https://books.google.com/books?id=wwoEAAAAMBAJ&pg=PA49&lpg=PA49&dq=derrick+music+company+wv+coin+operated&source=bl&ots=cSsGoAGFmP&sig=wANVH-z3P1ATP7Sw4POpfrb9BxI&hl=en&sa=X&ved=0ahUKEwi5tPvusajWAhVH6yYKHXw9Ayc4ChDoAQgnMAA#v=onepage&q=derrick%20music%20company%20wv%20coin%20operated&f=false
==============================================================
Restoration log begins:
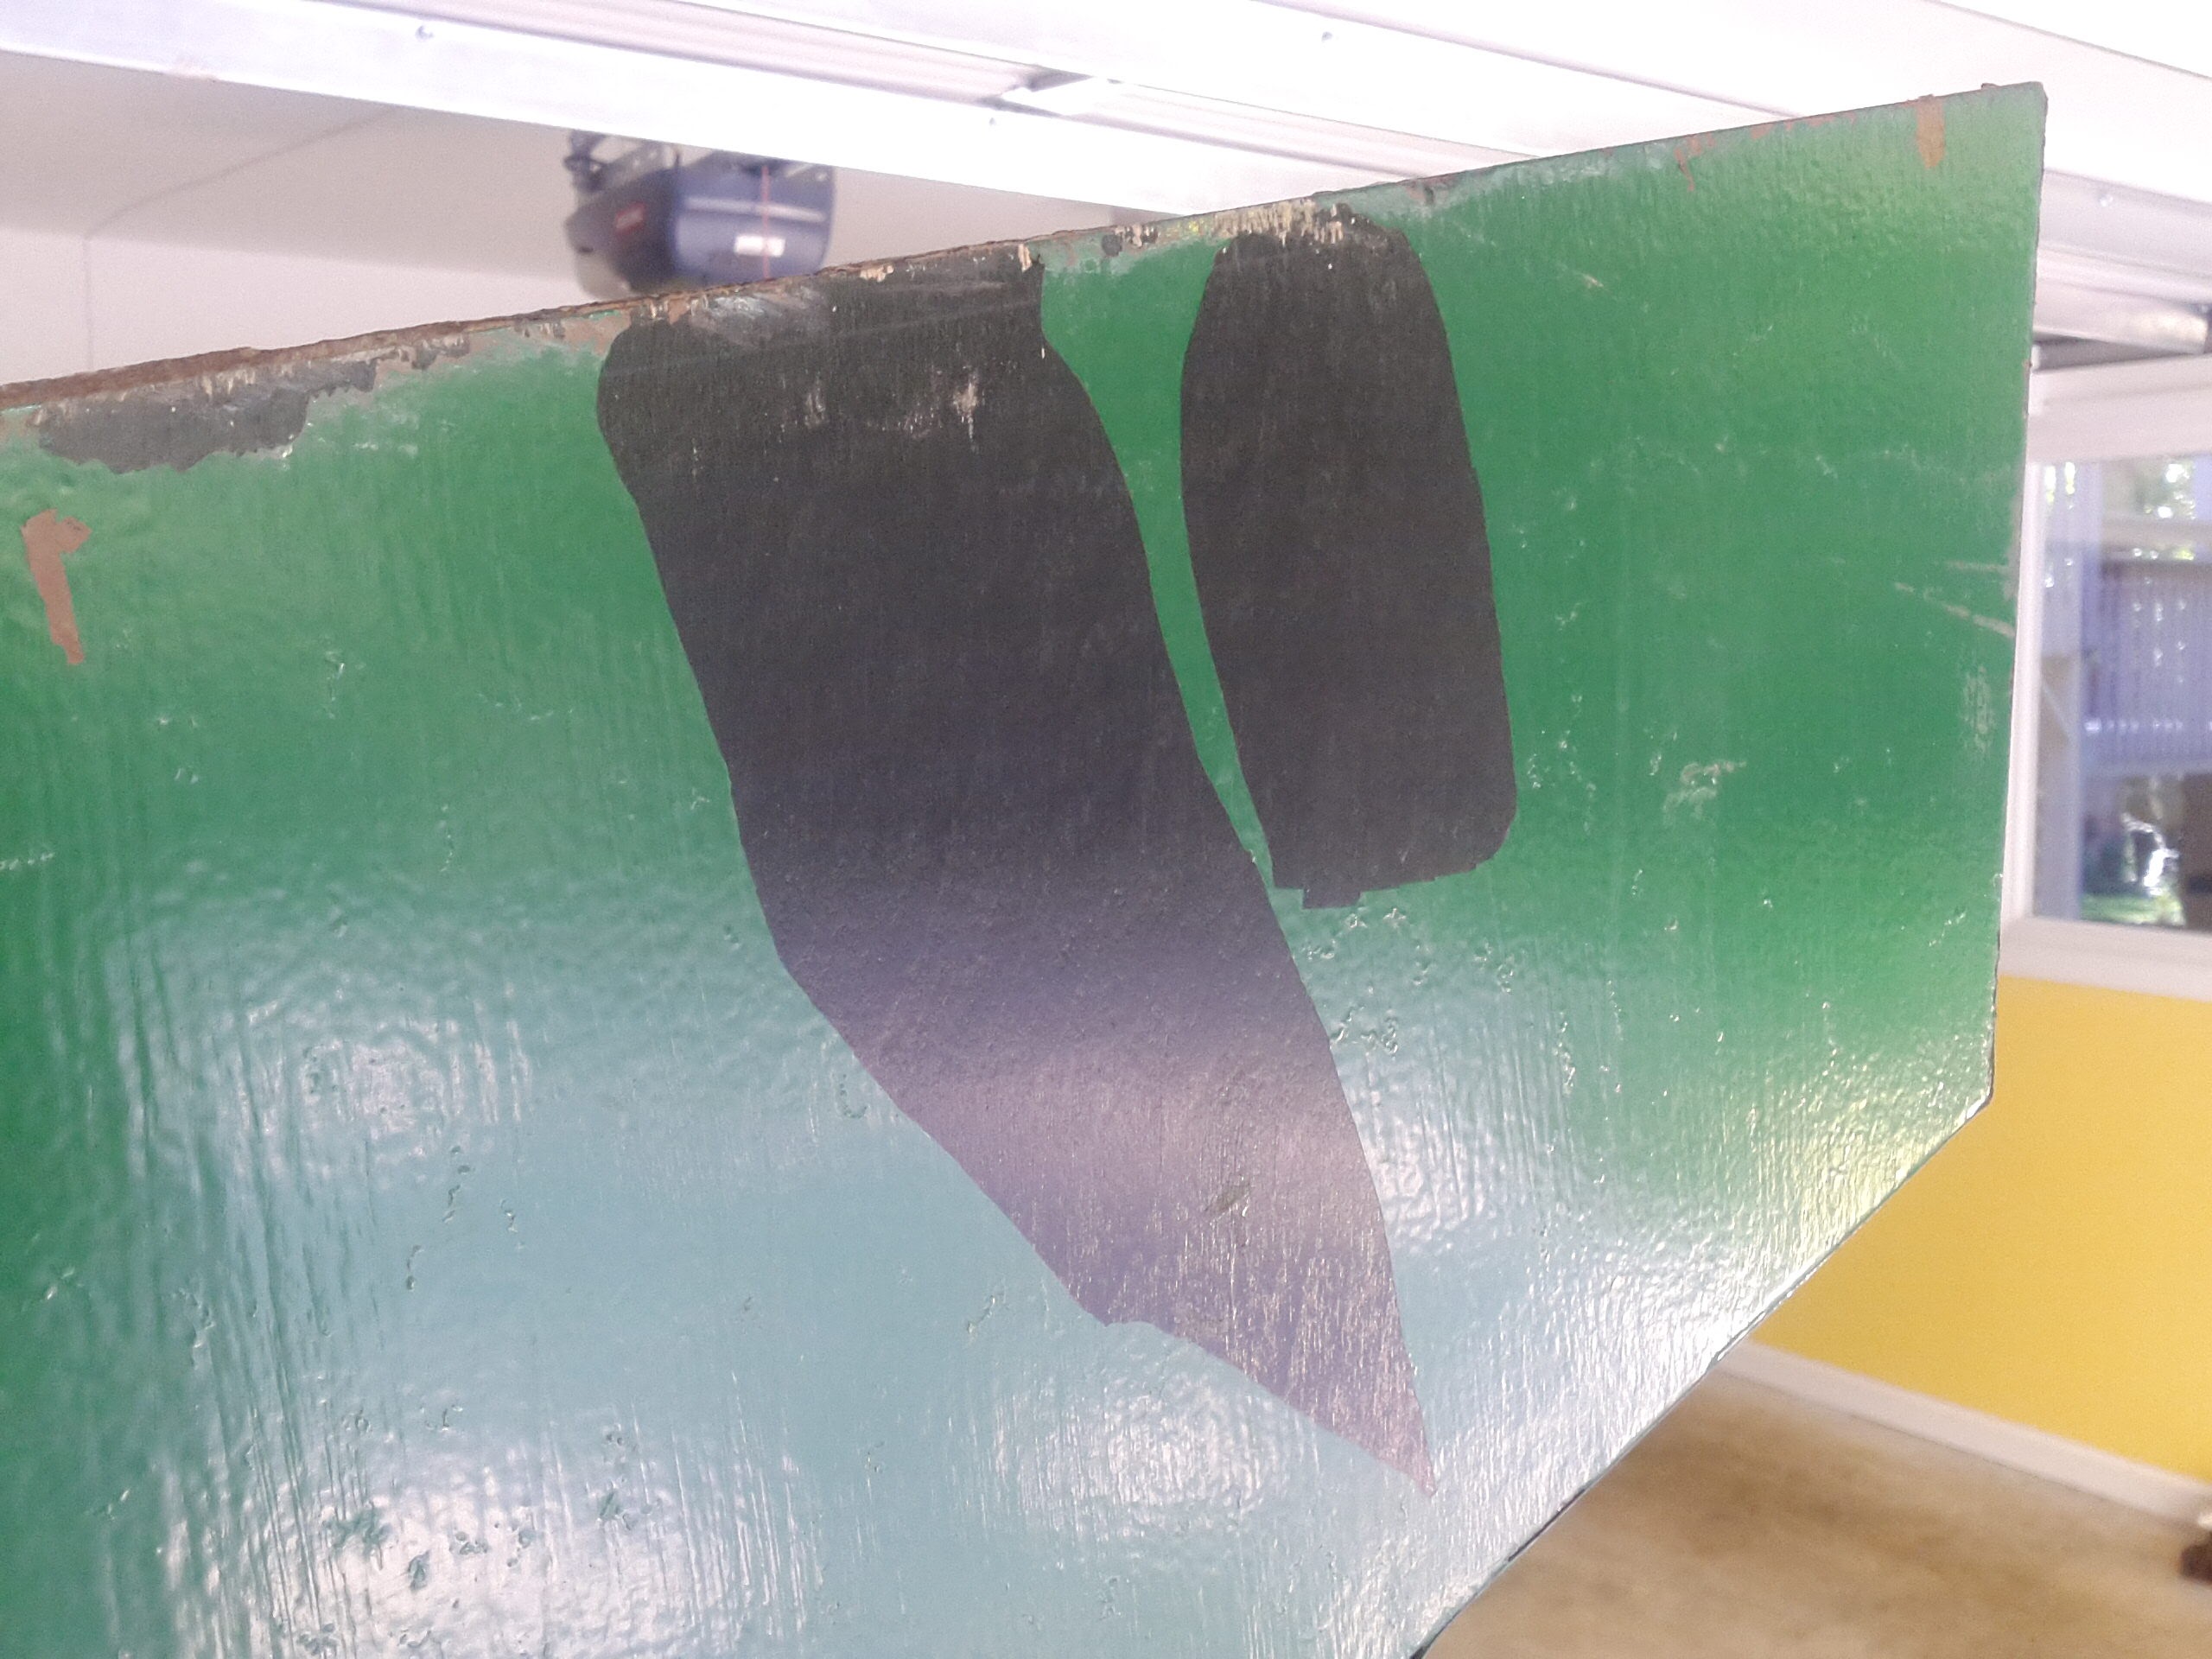
Before getting the cabinet I was doing some research on paint stripping. This seems to be the least aggressive paint stripping method I have found so far for stenciled Williams art.
Little bit of stripping down the cabinet so far, assessing what needs doing.
First four pictures from the sellers location


ArcadeAddict772018-03-13 12:52:30
Starting condition:
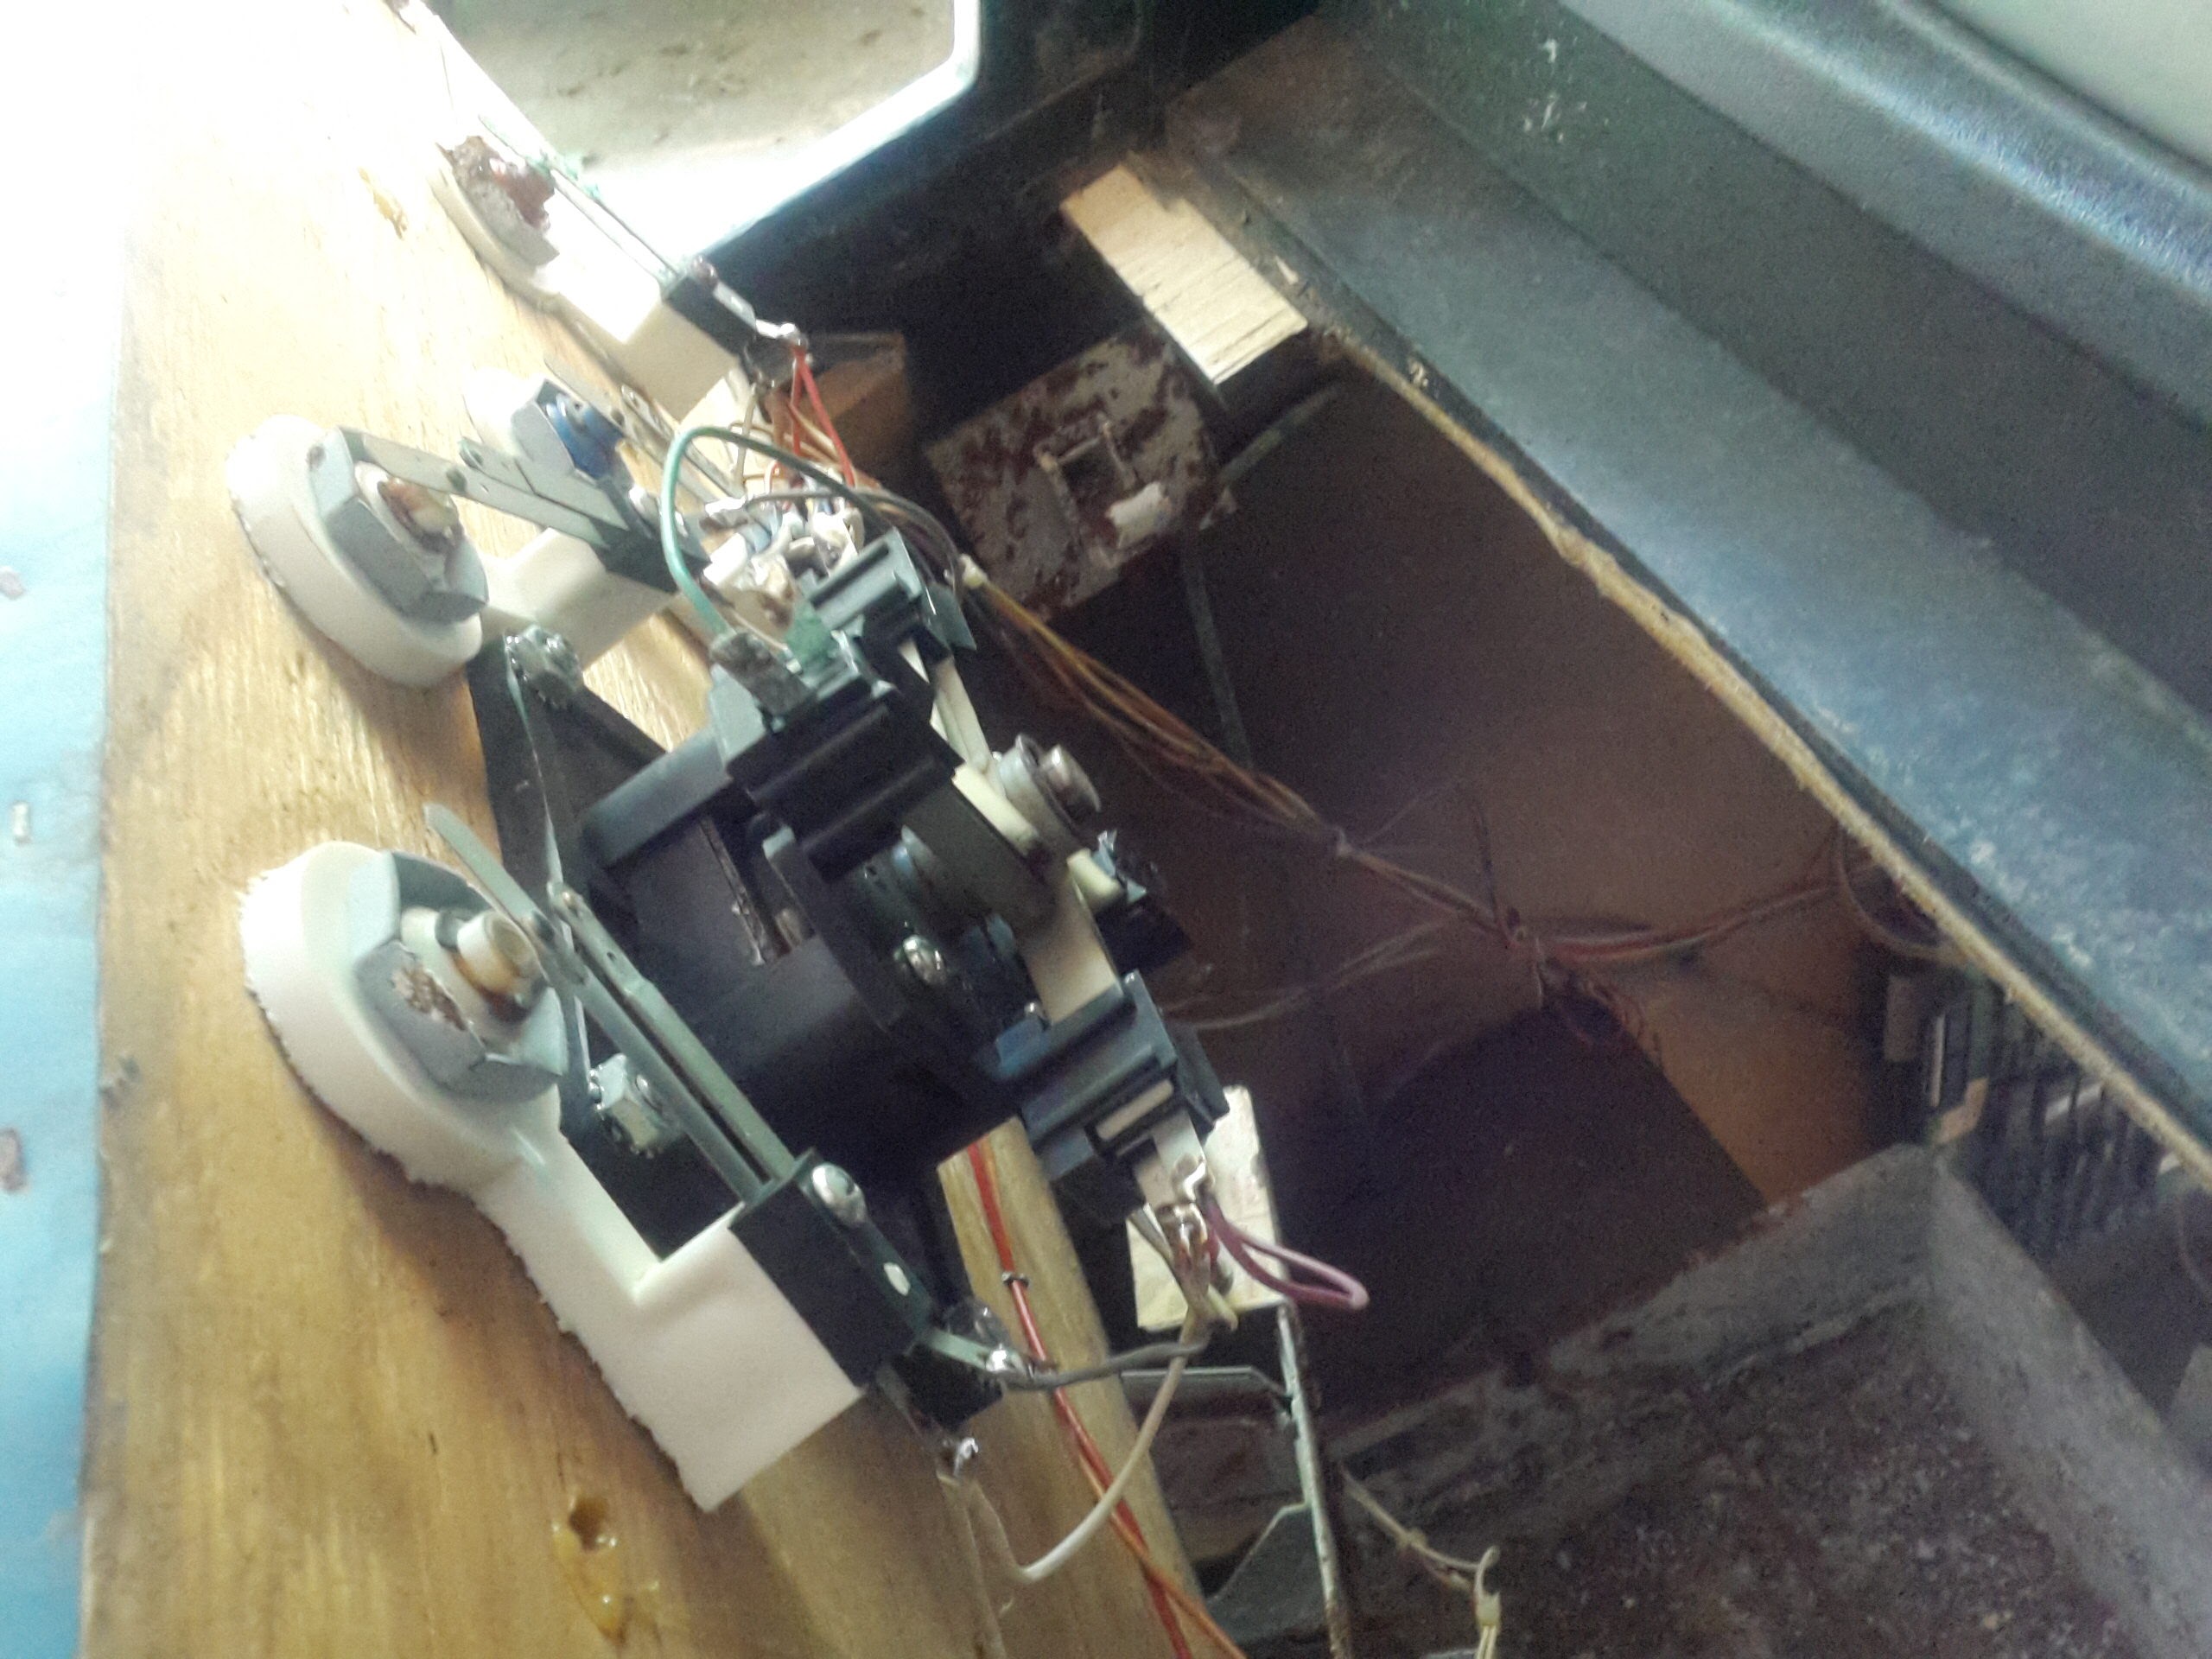
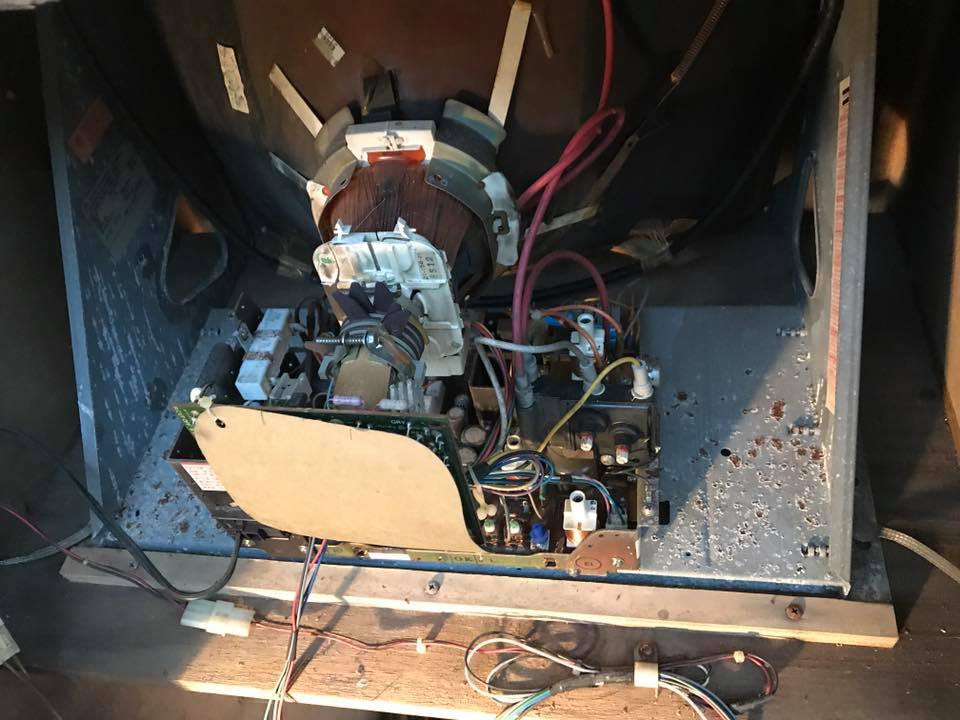
- No defender boards / metal plate, loom or power block.
- bottom of sides endured a lot of damage due to no leg levelers.
- Jamma conversion to Black Tiger, looks like a rushed job. Must have been operational though as there is Black Tiger burn on the tube.
First impressions on receiving it is there is some major work to do to make the cabinet solid again. The back lower panel is present, but blown out and expanded due to being MDF. Cabinet must have seen some water exposure. Side pieces which hold the back door in place are in the cabinet, but also need replacing. Lots of rust on just about any metal work.
Here is a link to the album I am keeping on Google Photos. This probably includes additional images I am not posting in the restoration log here: https://photos.app.goo.gl/oWTRTeZu7X3zDrd82
This cabinet also has the honour of being mentioned in:
https://arcadeblogger.com/2018/01/12/where-did-all-the-defenders-go/
and
https://arcadeblogger.com/2017/01/06/the-wonderful-world-of-arcade-cabinet-conversions/
It's a nice feeling to know one of these defender conversions is being returned to its original purpose.
Side notes: If you have not already join the WILLIAMS DEFENDER PLAYERS UNITE facebook group, then run over to http://mahugh.com/defender-the-last-word/ to read all about gameplay.
==============================================================
History on this cabinet.
Of course originally a Defender.
Converted to a Jamma cabinet Black Tiger. Sides painted Black, Black Tiger sideart applied. Everything Defender on the inside stripped.
Conversion almost certainly done by Derrick Music Company at that time operating out of Hinton, West Virginia.
CoinOp Warehouse listed the cabinet on 10th December 2016. Described as "complete but not working Black Tiger in an old Defender cabinet".
Donnie B bought the cabinet two days later.
I bought the cabinet in pre-restoration condition and received it on 15th June 2017. Donnie's Dad actually delivered the cabinet to me in with the purchase price as he was in my area at the time. He had what I remember being a Ford F-250 or bigger truck with a tail lift on it. I remember asking him about this and he said he has a route and this makes it so much easier hauling machines around.
I began the deconversation and restoration began that same day.
A couple of articles I was able to find on the operator, seems like he had a large operation beginning back in the 60's and running right the way through the golden age of the arcade.
https://vendingtimes.com/main/articles.aspx?iid=33E7FE7E93214687A162885B66ABCE71
https://books.google.com/books?id=wwoEAAAAMBAJ&pg=PA49&lpg=PA49&dq=derrick+music+company+wv+coin+operated&source=bl&ots=cSsGoAGFmP&sig=wANVH-z3P1ATP7Sw4POpfrb9BxI&hl=en&sa=X&ved=0ahUKEwi5tPvusajWAhVH6yYKHXw9Ayc4ChDoAQgnMAA#v=onepage&q=derrick%20music%20company%20wv%20coin%20operated&f=false
==============================================================
Restoration log begins:
Before getting the cabinet I was doing some research on paint stripping. This seems to be the least aggressive paint stripping method I have found so far for stenciled Williams art.
Little bit of stripping down the cabinet so far, assessing what needs doing.
First four pictures from the sellers location
ArcadeAddict772018-03-13 12:52:30