Defender (Black Tiger) de-conversion/restoration.

PAC-MAN

Active member
vacBacker
Feedback
8 (100%)
Credits
432CR
Yeah that would be it, nice one. I'm certainly not an expert but I spent some time with Baiterhater getting some metal stencils made. We spent a lot of time researching different cabinet artwork and it was pretty cool the amount of differences and variants we came across. It would seem that the early machines artwork are similar to yours? The later machines had the more common one guy facing forwards/one facing to the back with red stars/dots on the front.

It's a cool project!
PAC-MAN2017-11-01 19:20:33
 
Feedback
1 (100%)
Credits
40CR
I always thought this was an early cabinet just due to the pinball style silver coin door. Other than that I was not really aware there were variances in the artwork.

Thanks for the info!

ArcadeAddict772017-11-01 19:22:48
 
Feedback
1 (100%)
Credits
40CR
Working on my parts purchase list and I am looking for what to connect the original control panel wiring to a jamma/JROK setup without hacking the original connectors.

IMG_20171107_114354.jpg


My question is on whether this is suitable? Its not the cost, but the wait time on delivery if this is not the right part.

https://www.twistywristarcade.com/100-kk-series/315-vertical-header-36pos-100-tin.html

or something like this: http://www.twistedquarter.com/index.php?main_page=product_info&cPath=149&products_id=1175

I think what I don't know is that pitch .100" or 3.96mm/156"

Any opinions appreciated on this question.
smiley1.gif


ArcadeAddict772017-11-07 17:08:45
 
Feedback
1 (100%)
Credits
40CR
I got some time to clean up the marquee parts, mostly taking vinegar and tin foil to the rusted metal parts. Nothing inside is perfect, but I am really not that concerned since it won't be seen on the final product.

With the marquee and control panel in place there is where I am. My next step is going to be to give the inside a good clean and get some parts on order to start wiring the cabinet up.

Current status pic:

IMG_20171117_083942.jpg


Just for fun a comparison pic of before and up to this point in time:

Comapre-11.17.2017.jpg


Very happy to see black, yellow and red and no green on this project.
 

paulcan69

Can reburn OTP EPROMs! Fear my power!
Feedback
11 (100%)
Credits
902CR
I would have kept it as black tiger much better game
Lol
Nah but seriously well saved/restored
But I do love black tiger more as a game
But damn right it shouldn't be in a defender cab for sure
It was worth 400 max
Now worth 1200
No brainier
 
Feedback
1 (100%)
Credits
40CR
Today is a public holiday in the US and I just happen to have the day off of work, but my better half did not, which can only mean one thing. Time to get back to the Defender resto project. I don't yet have an abundance of parts and electronics I will need to get this up and running, however my goal for today is for better or worse get as much as possible back together and get the thing in a climate controlled environment. The summers are brutal humid in the Carolinas and at the rate I am going I definitely don't want it out there for a whole summer.

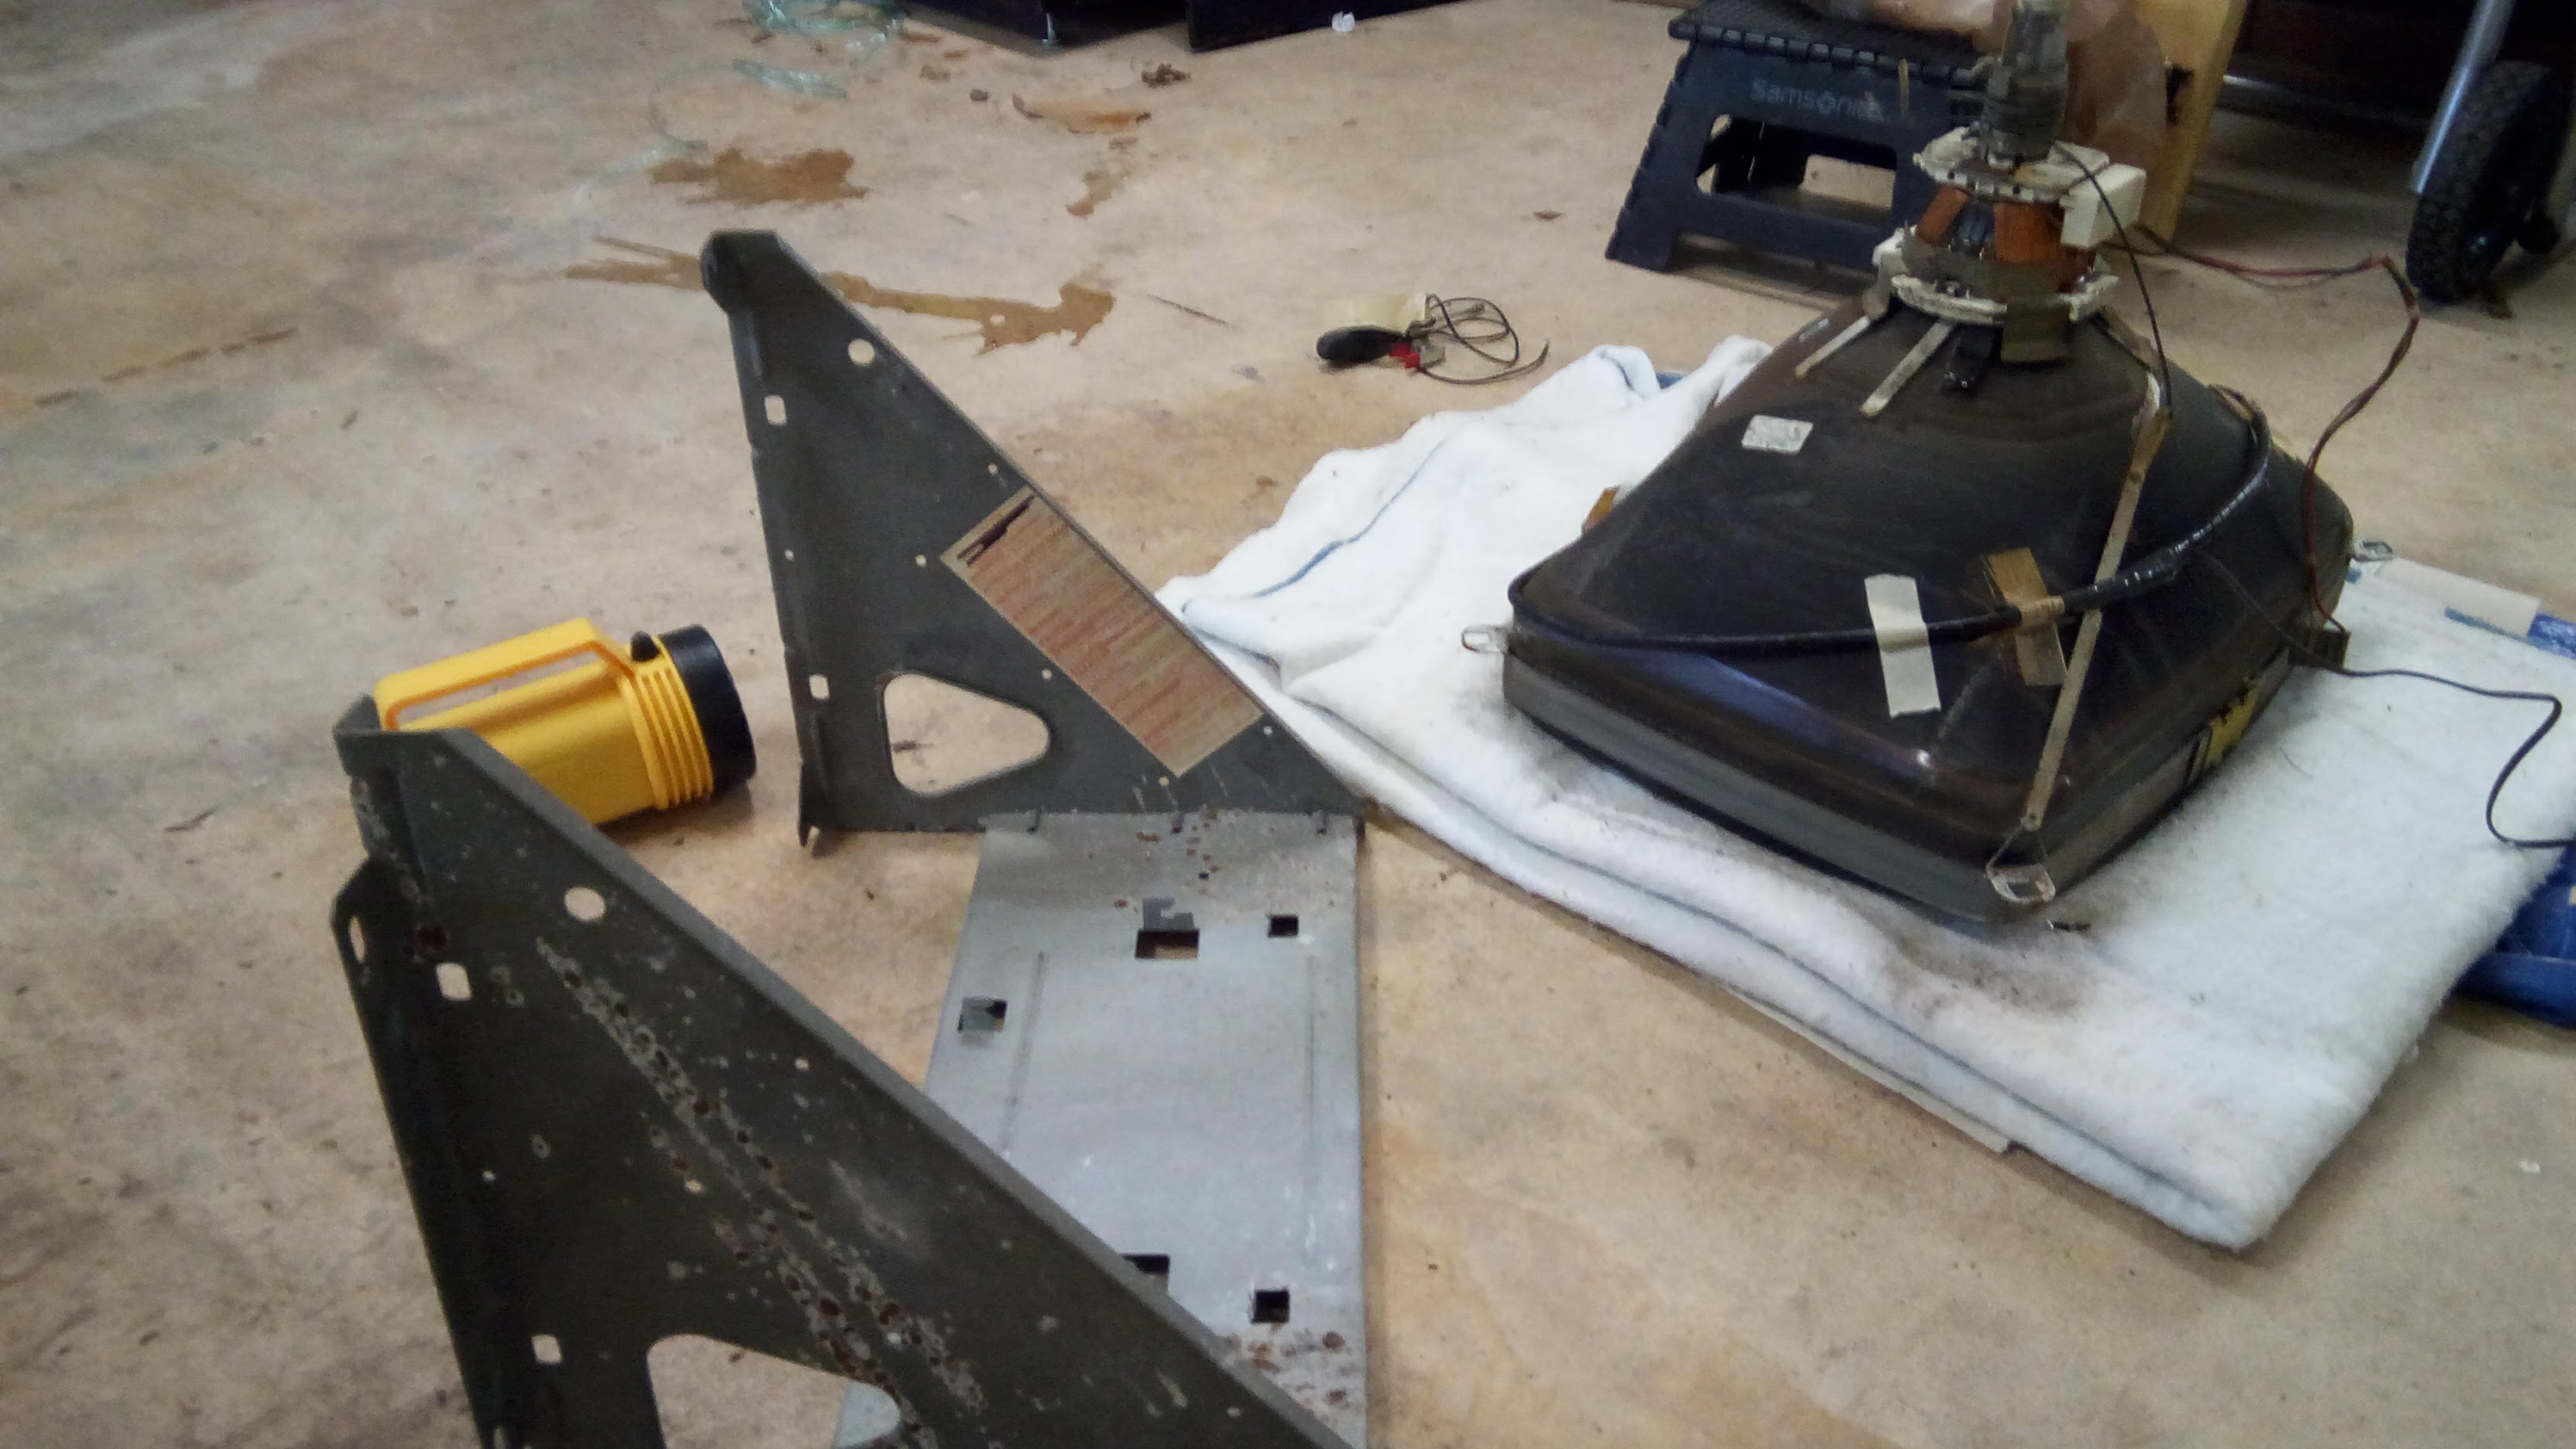
I pulled the monitor and put it on a shelf some time ago because of the rust damage on the metal frame. First I pulled that off, removed the chassis, and dismantled the frame from the CRT. I then went over as much as I could. I wasn't trying for perfection just to try to neutralise the rust and clean it up some.

IMG_20180115_092953.jpg


IMG_20180115_093001.jpg


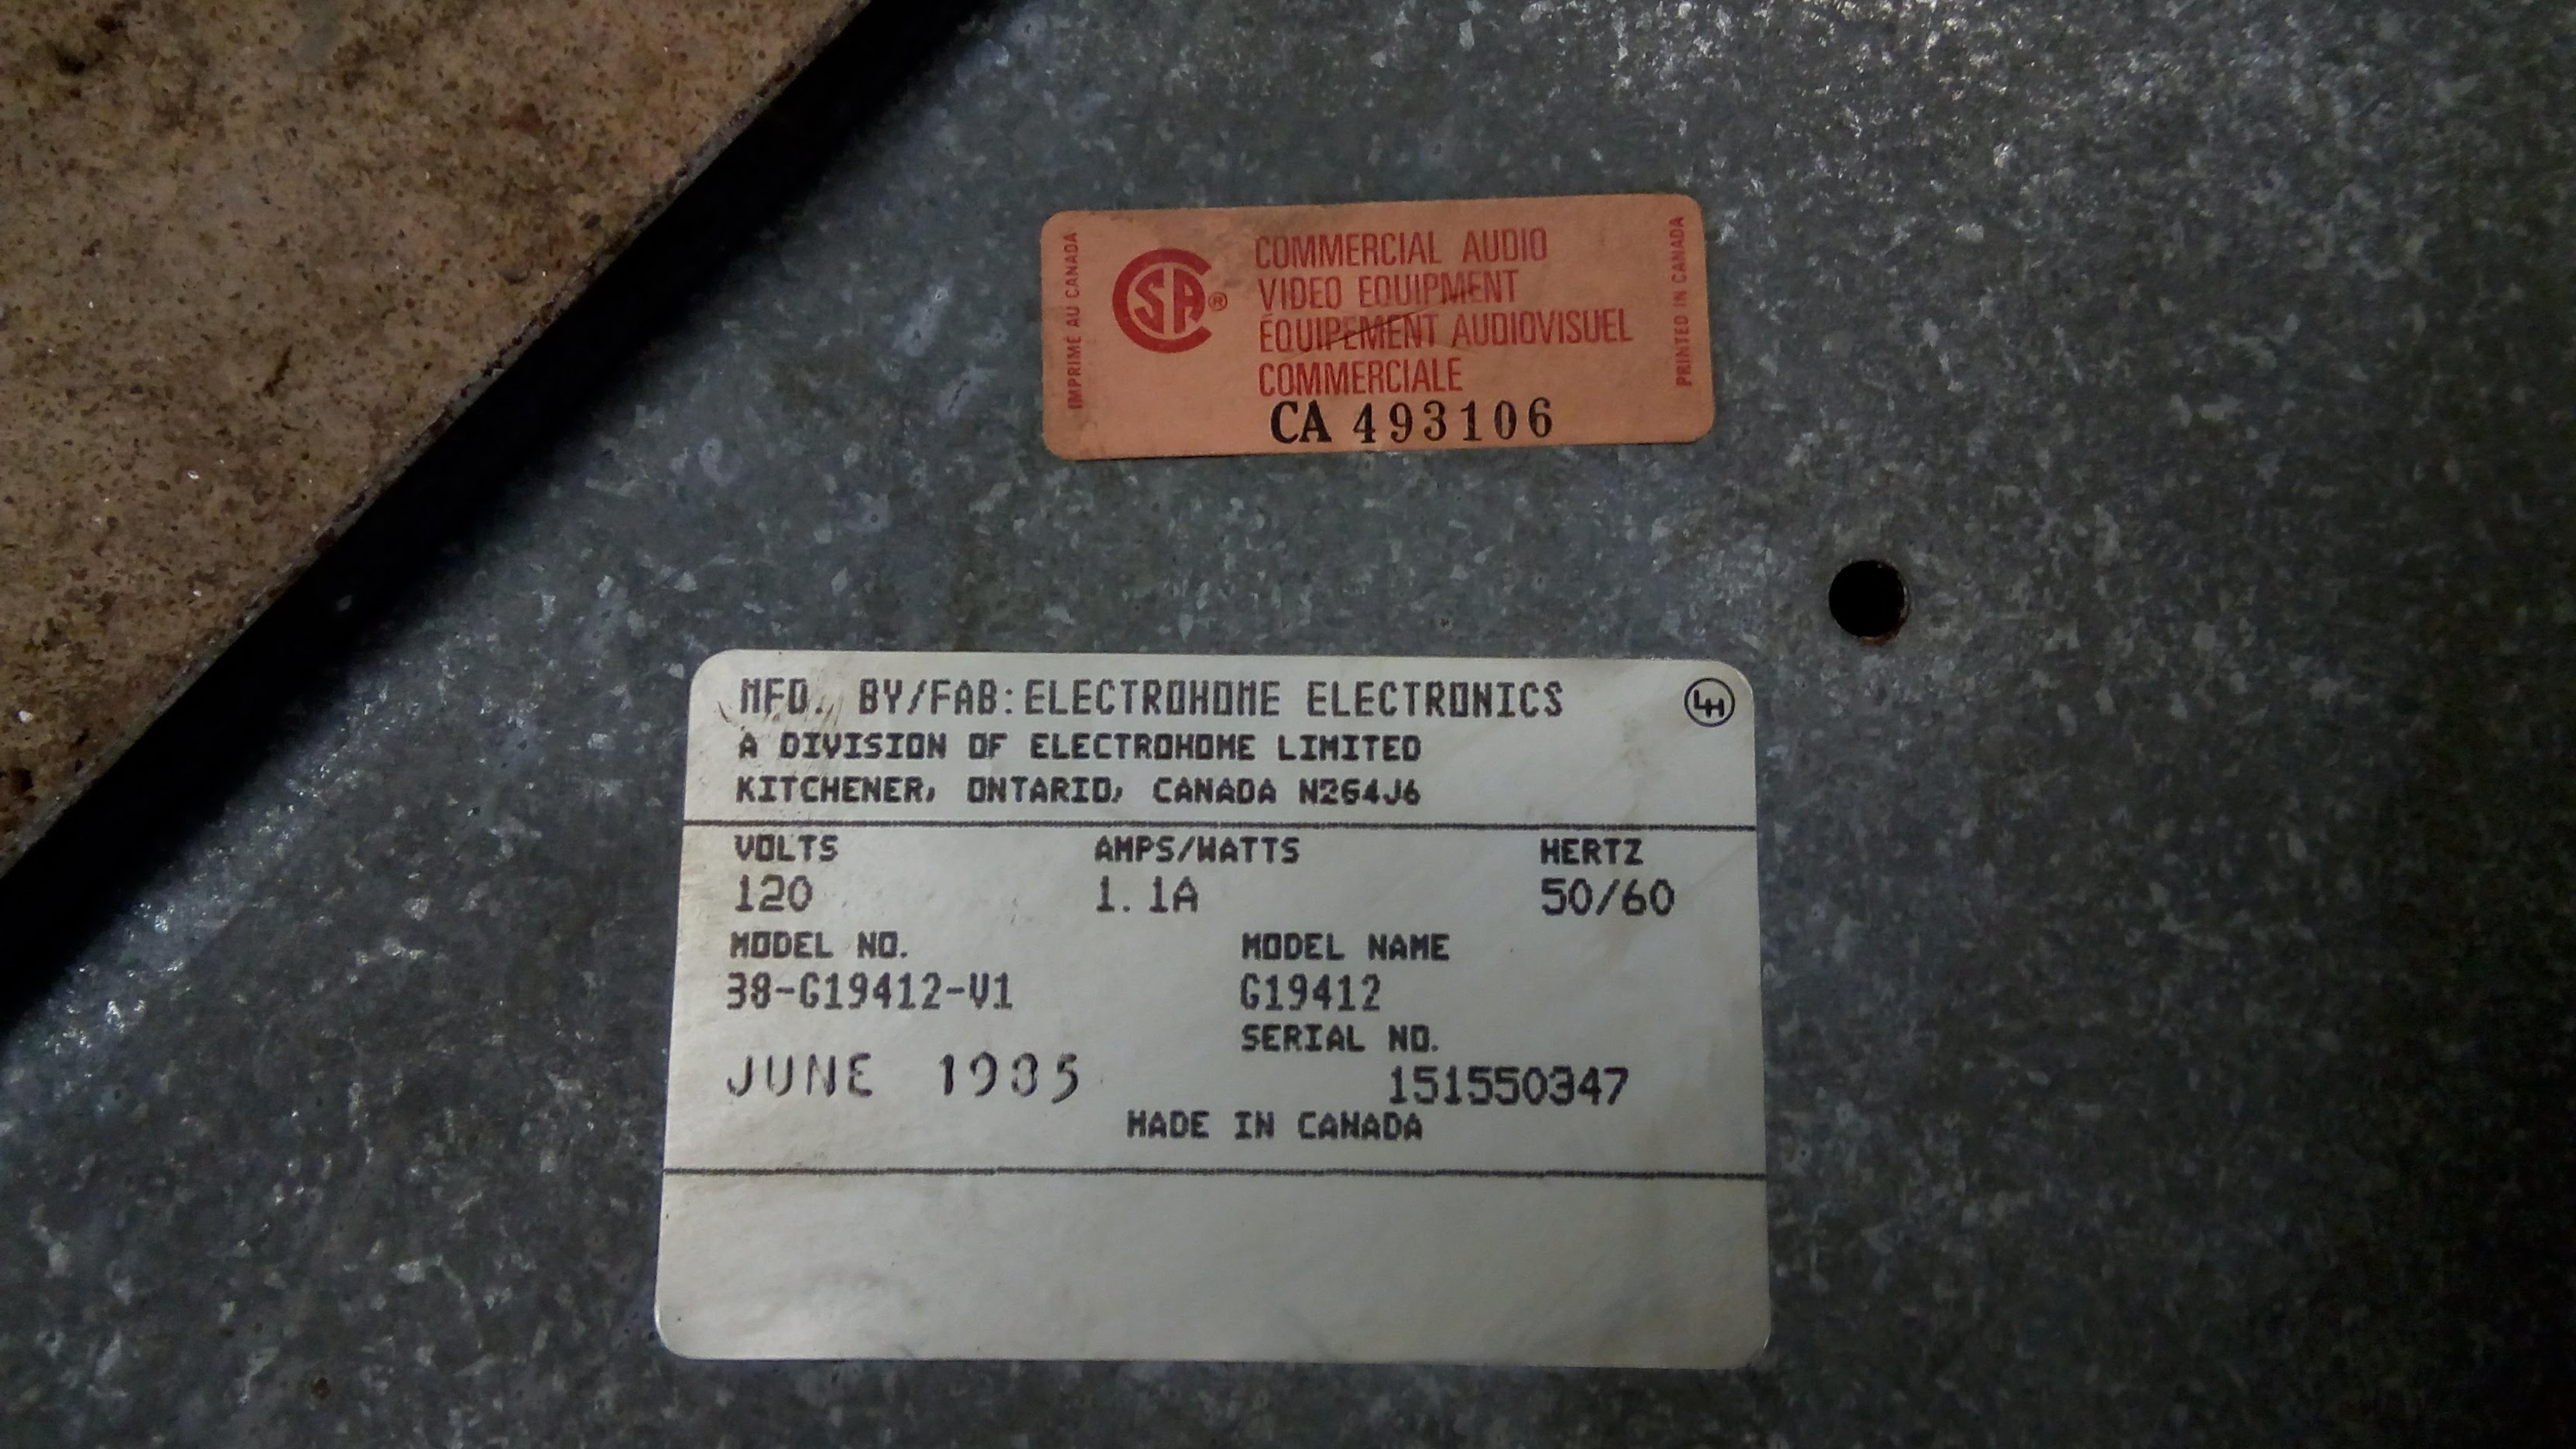
Not the original monitor then.

IMG_20180115_094602.jpg


After that I put it all back together, chassis and all deciding I want to live in the fantasy this monitor will just fire up first time and work.

I bought replacement cabinet locks, matching keys for front and back. Fitted the lock to the back door. If this thing is going in the house it must be cat proof.

IMG_20180115_104648.jpg


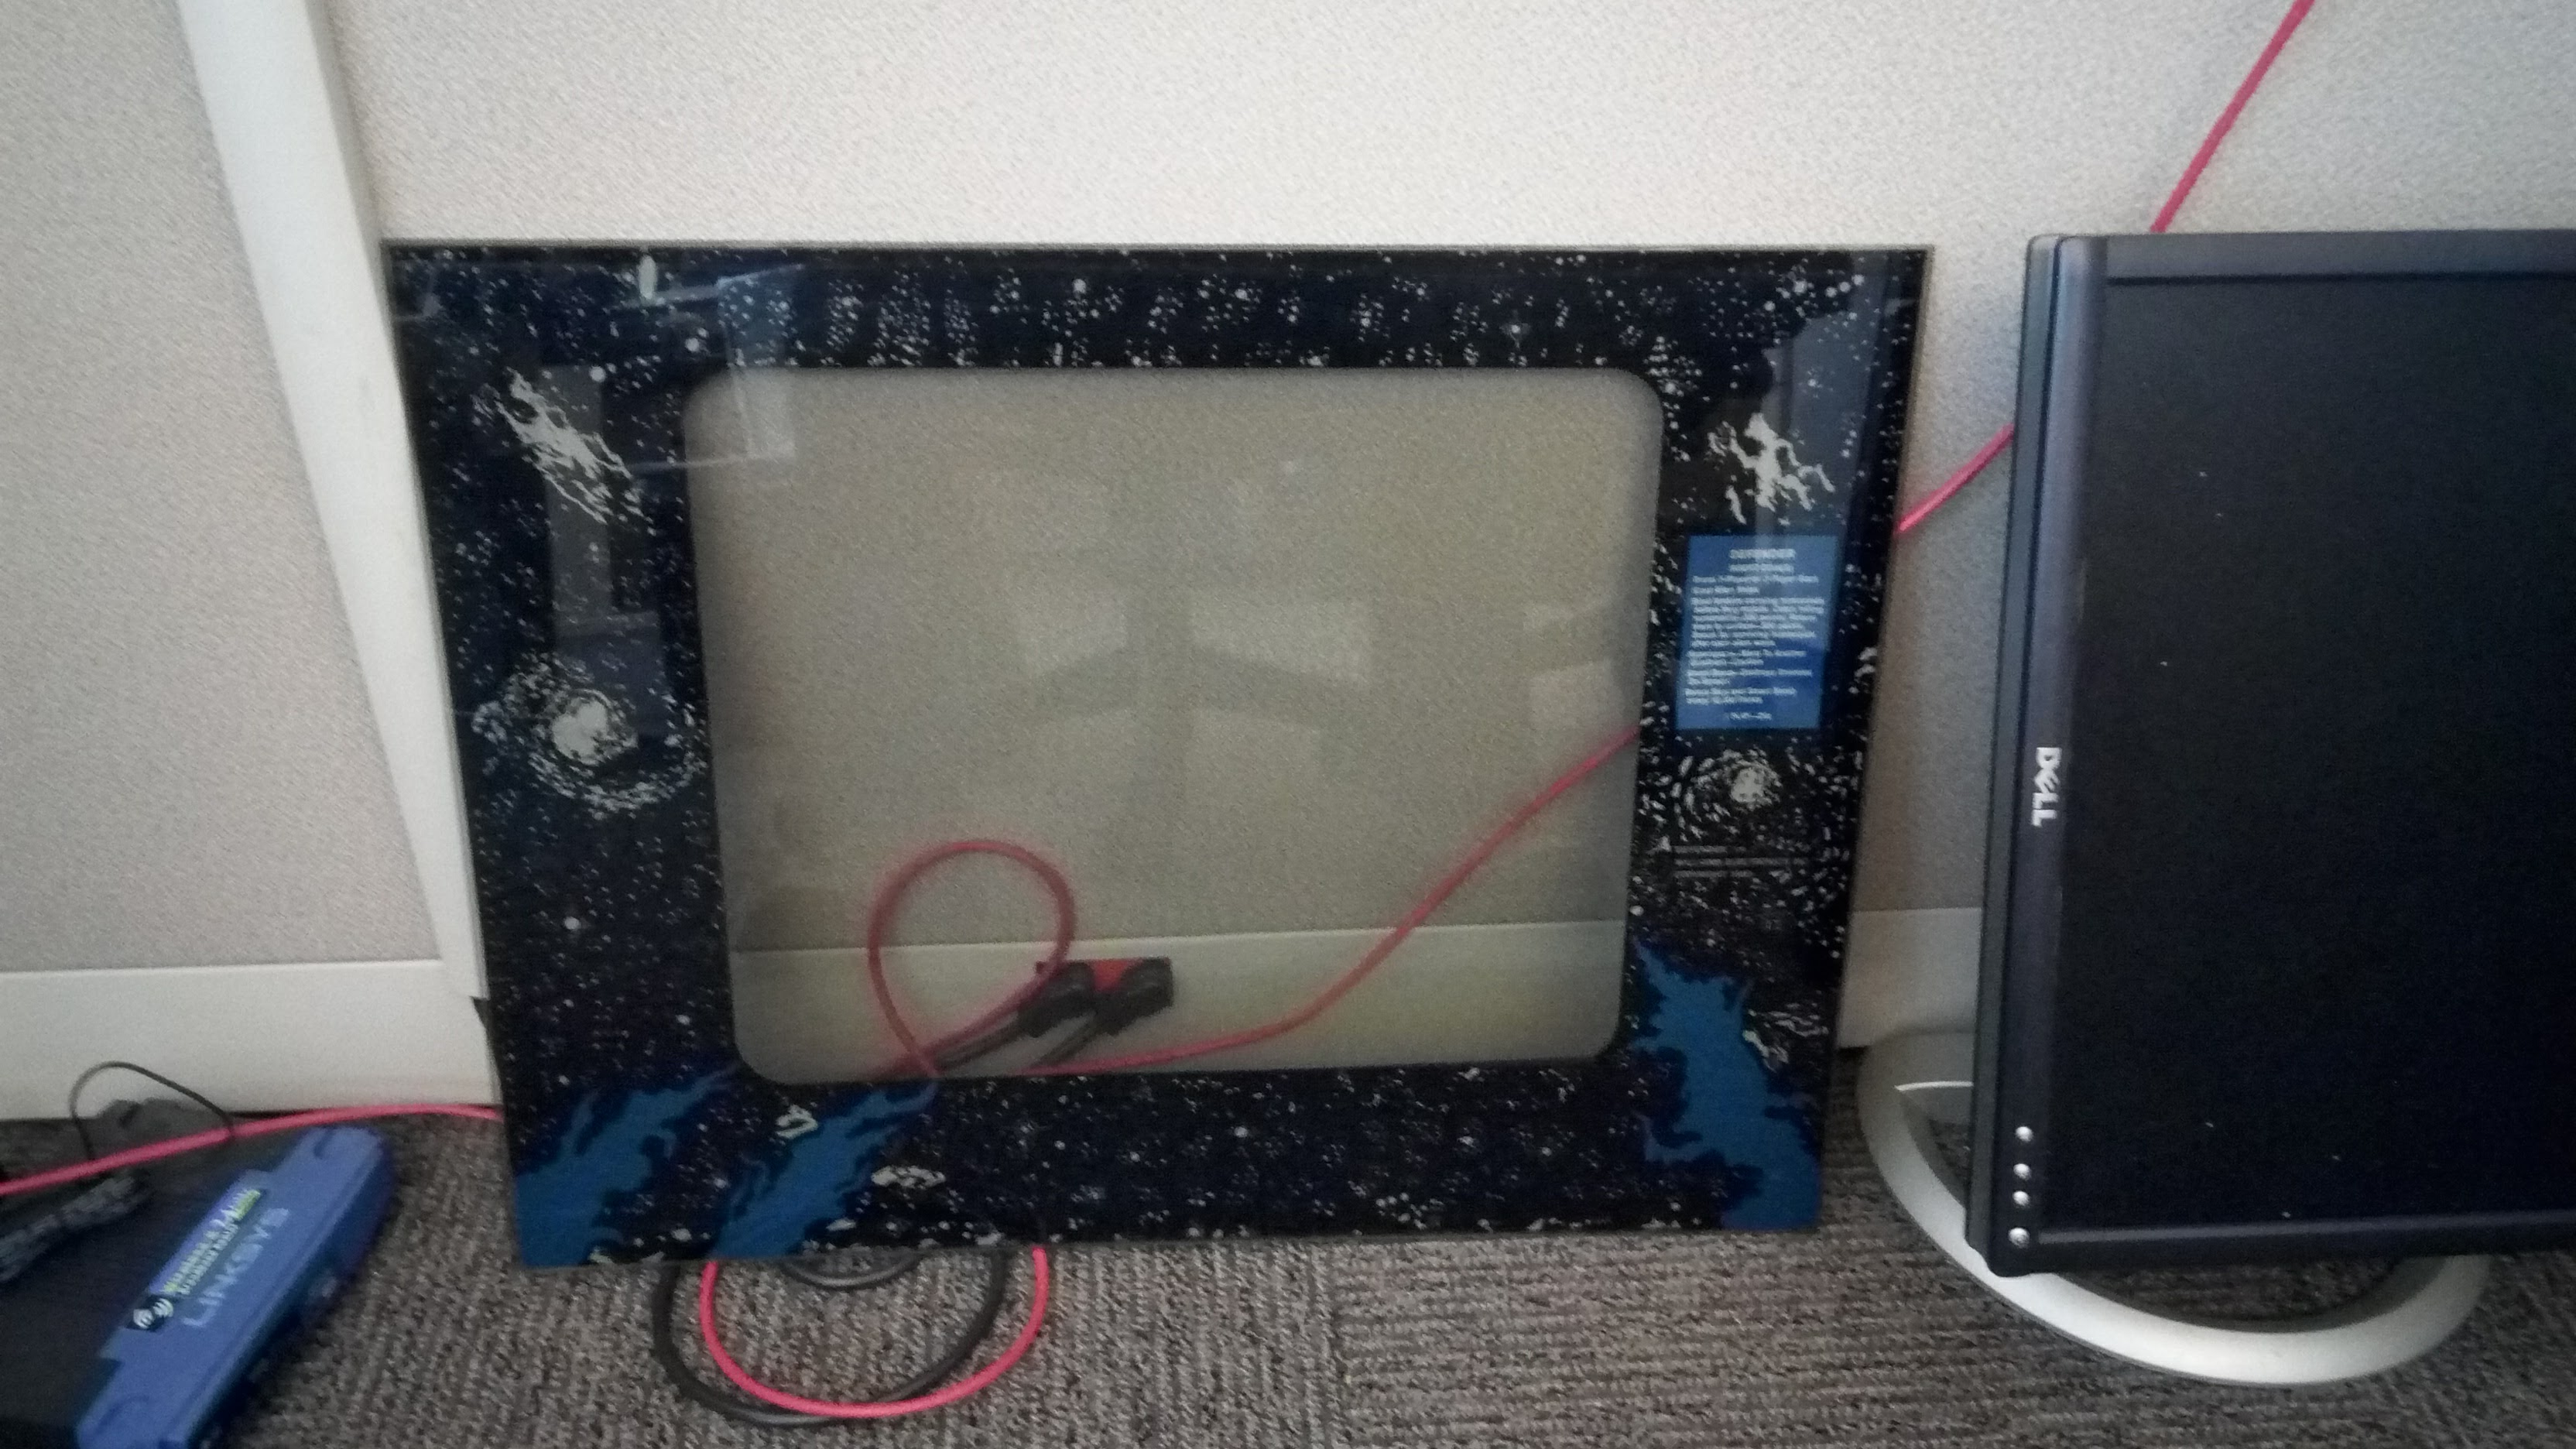
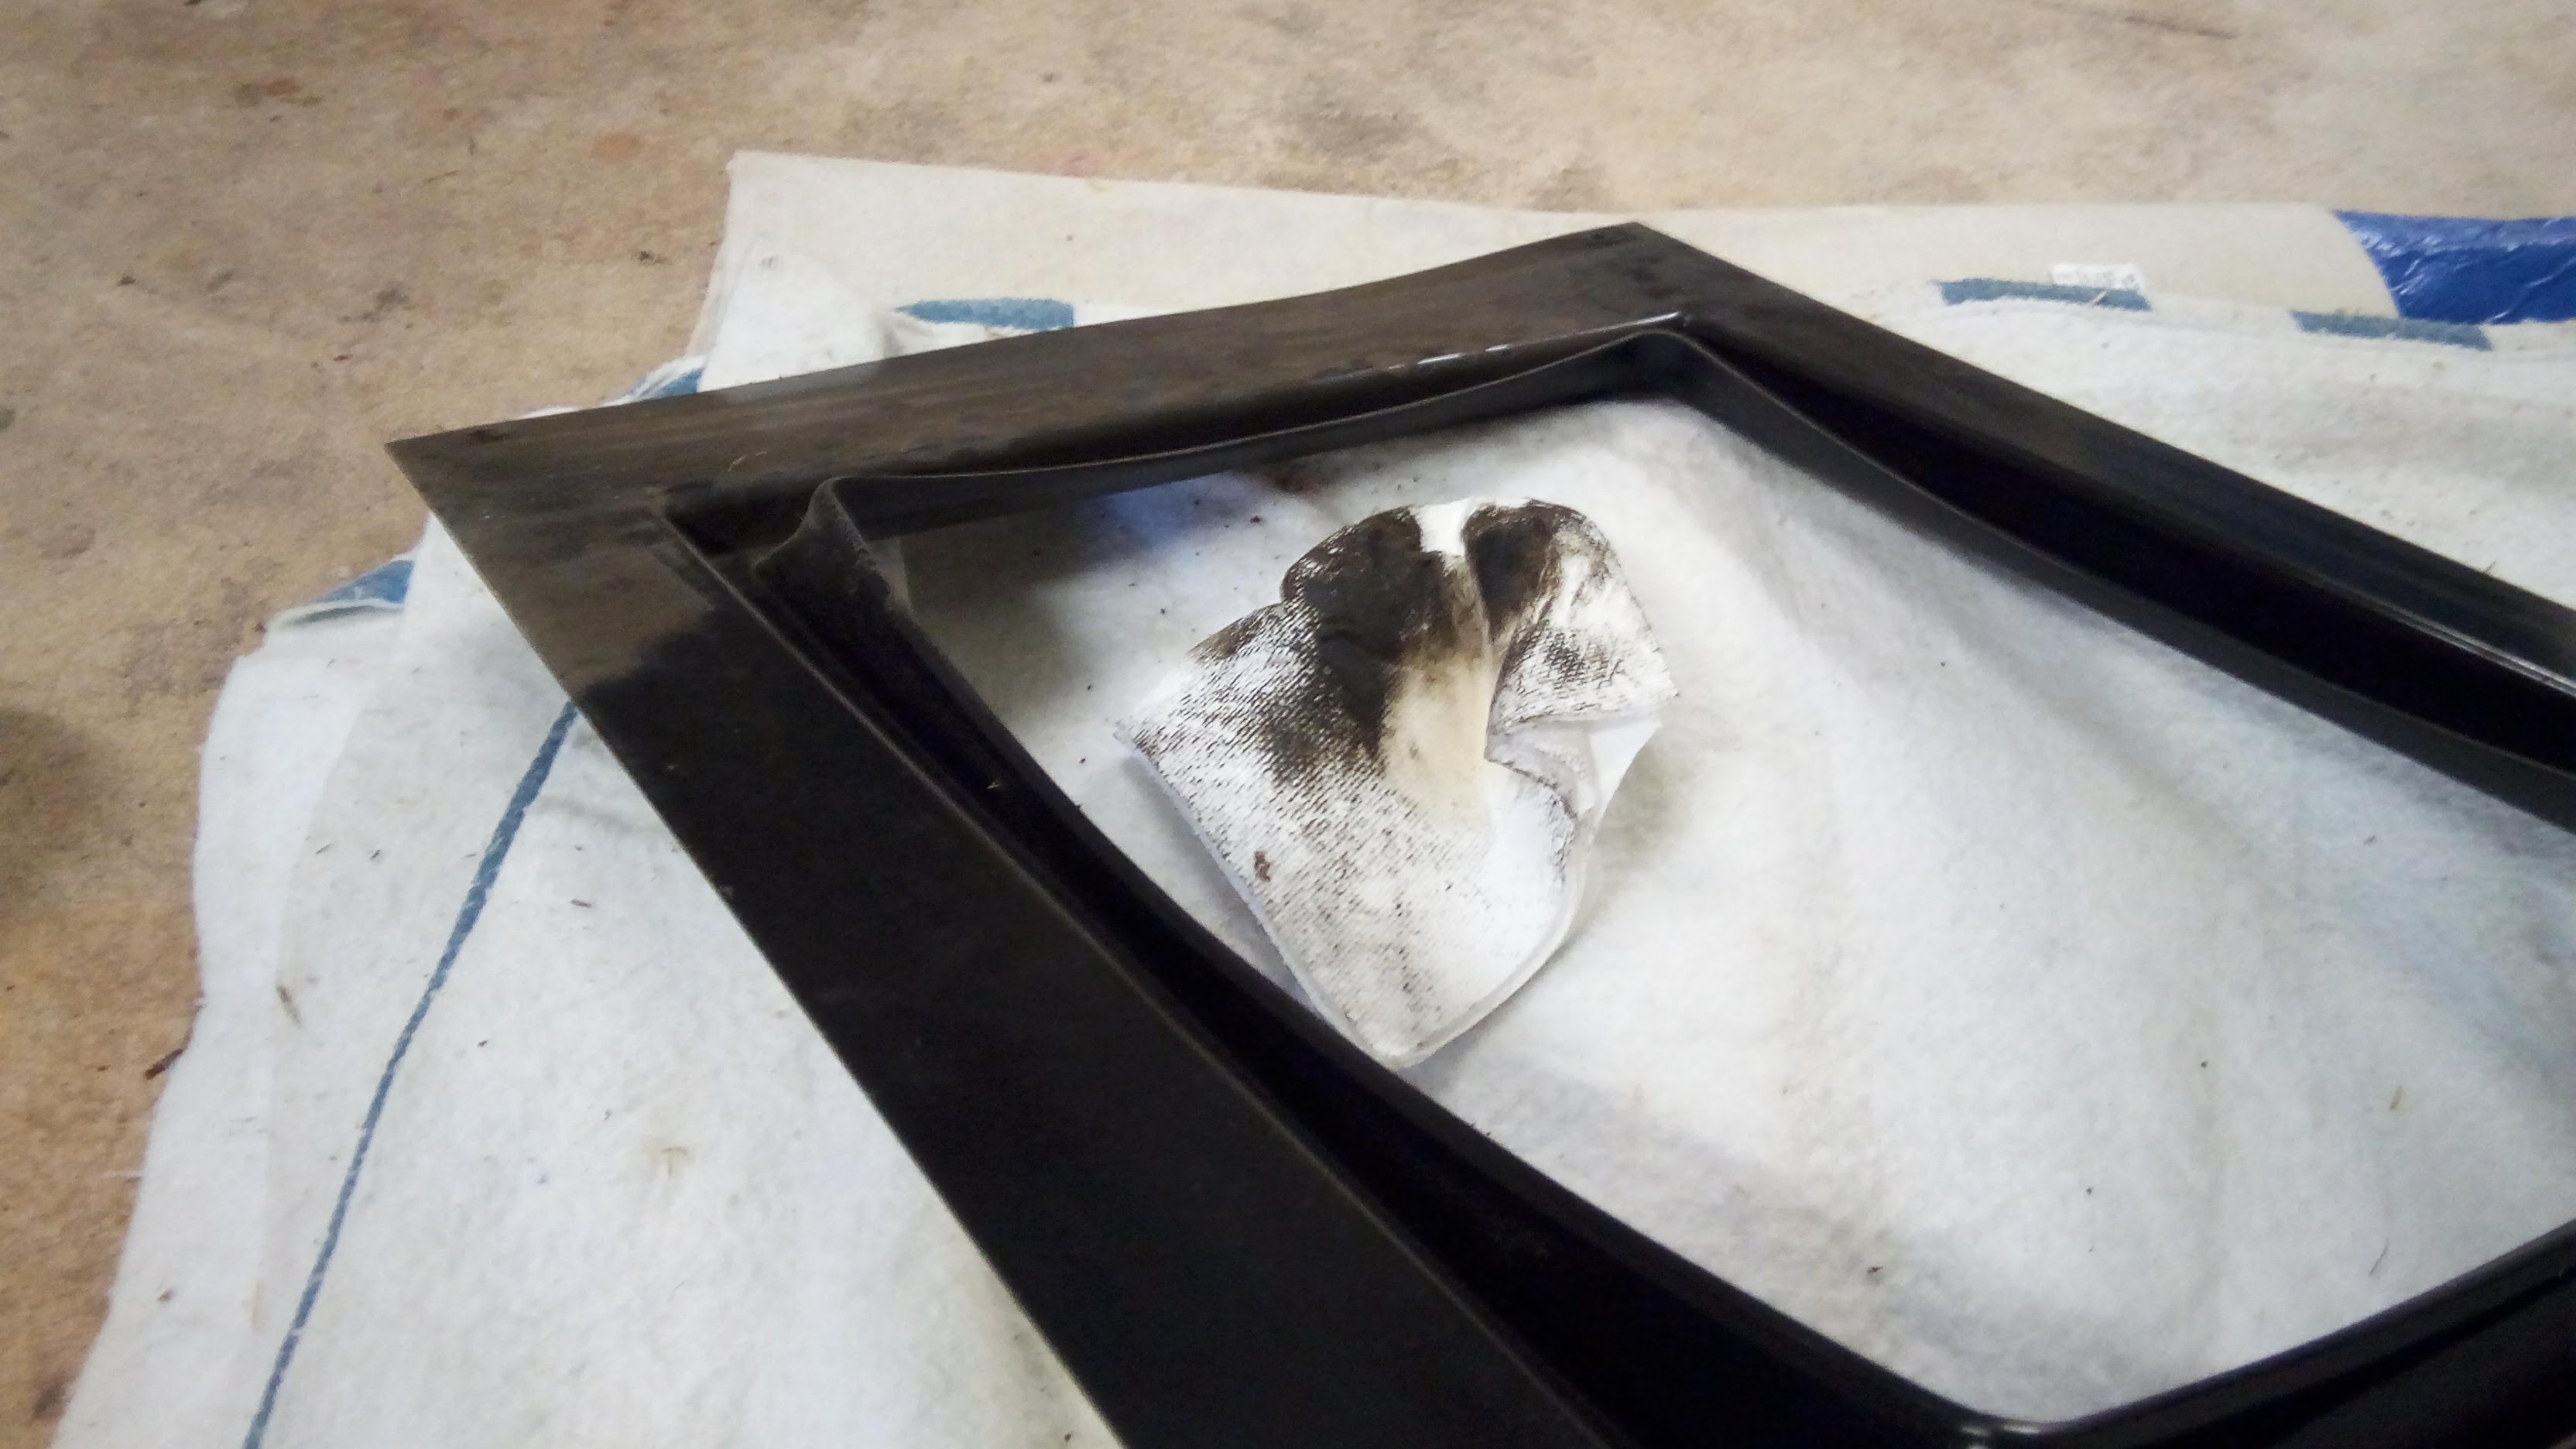
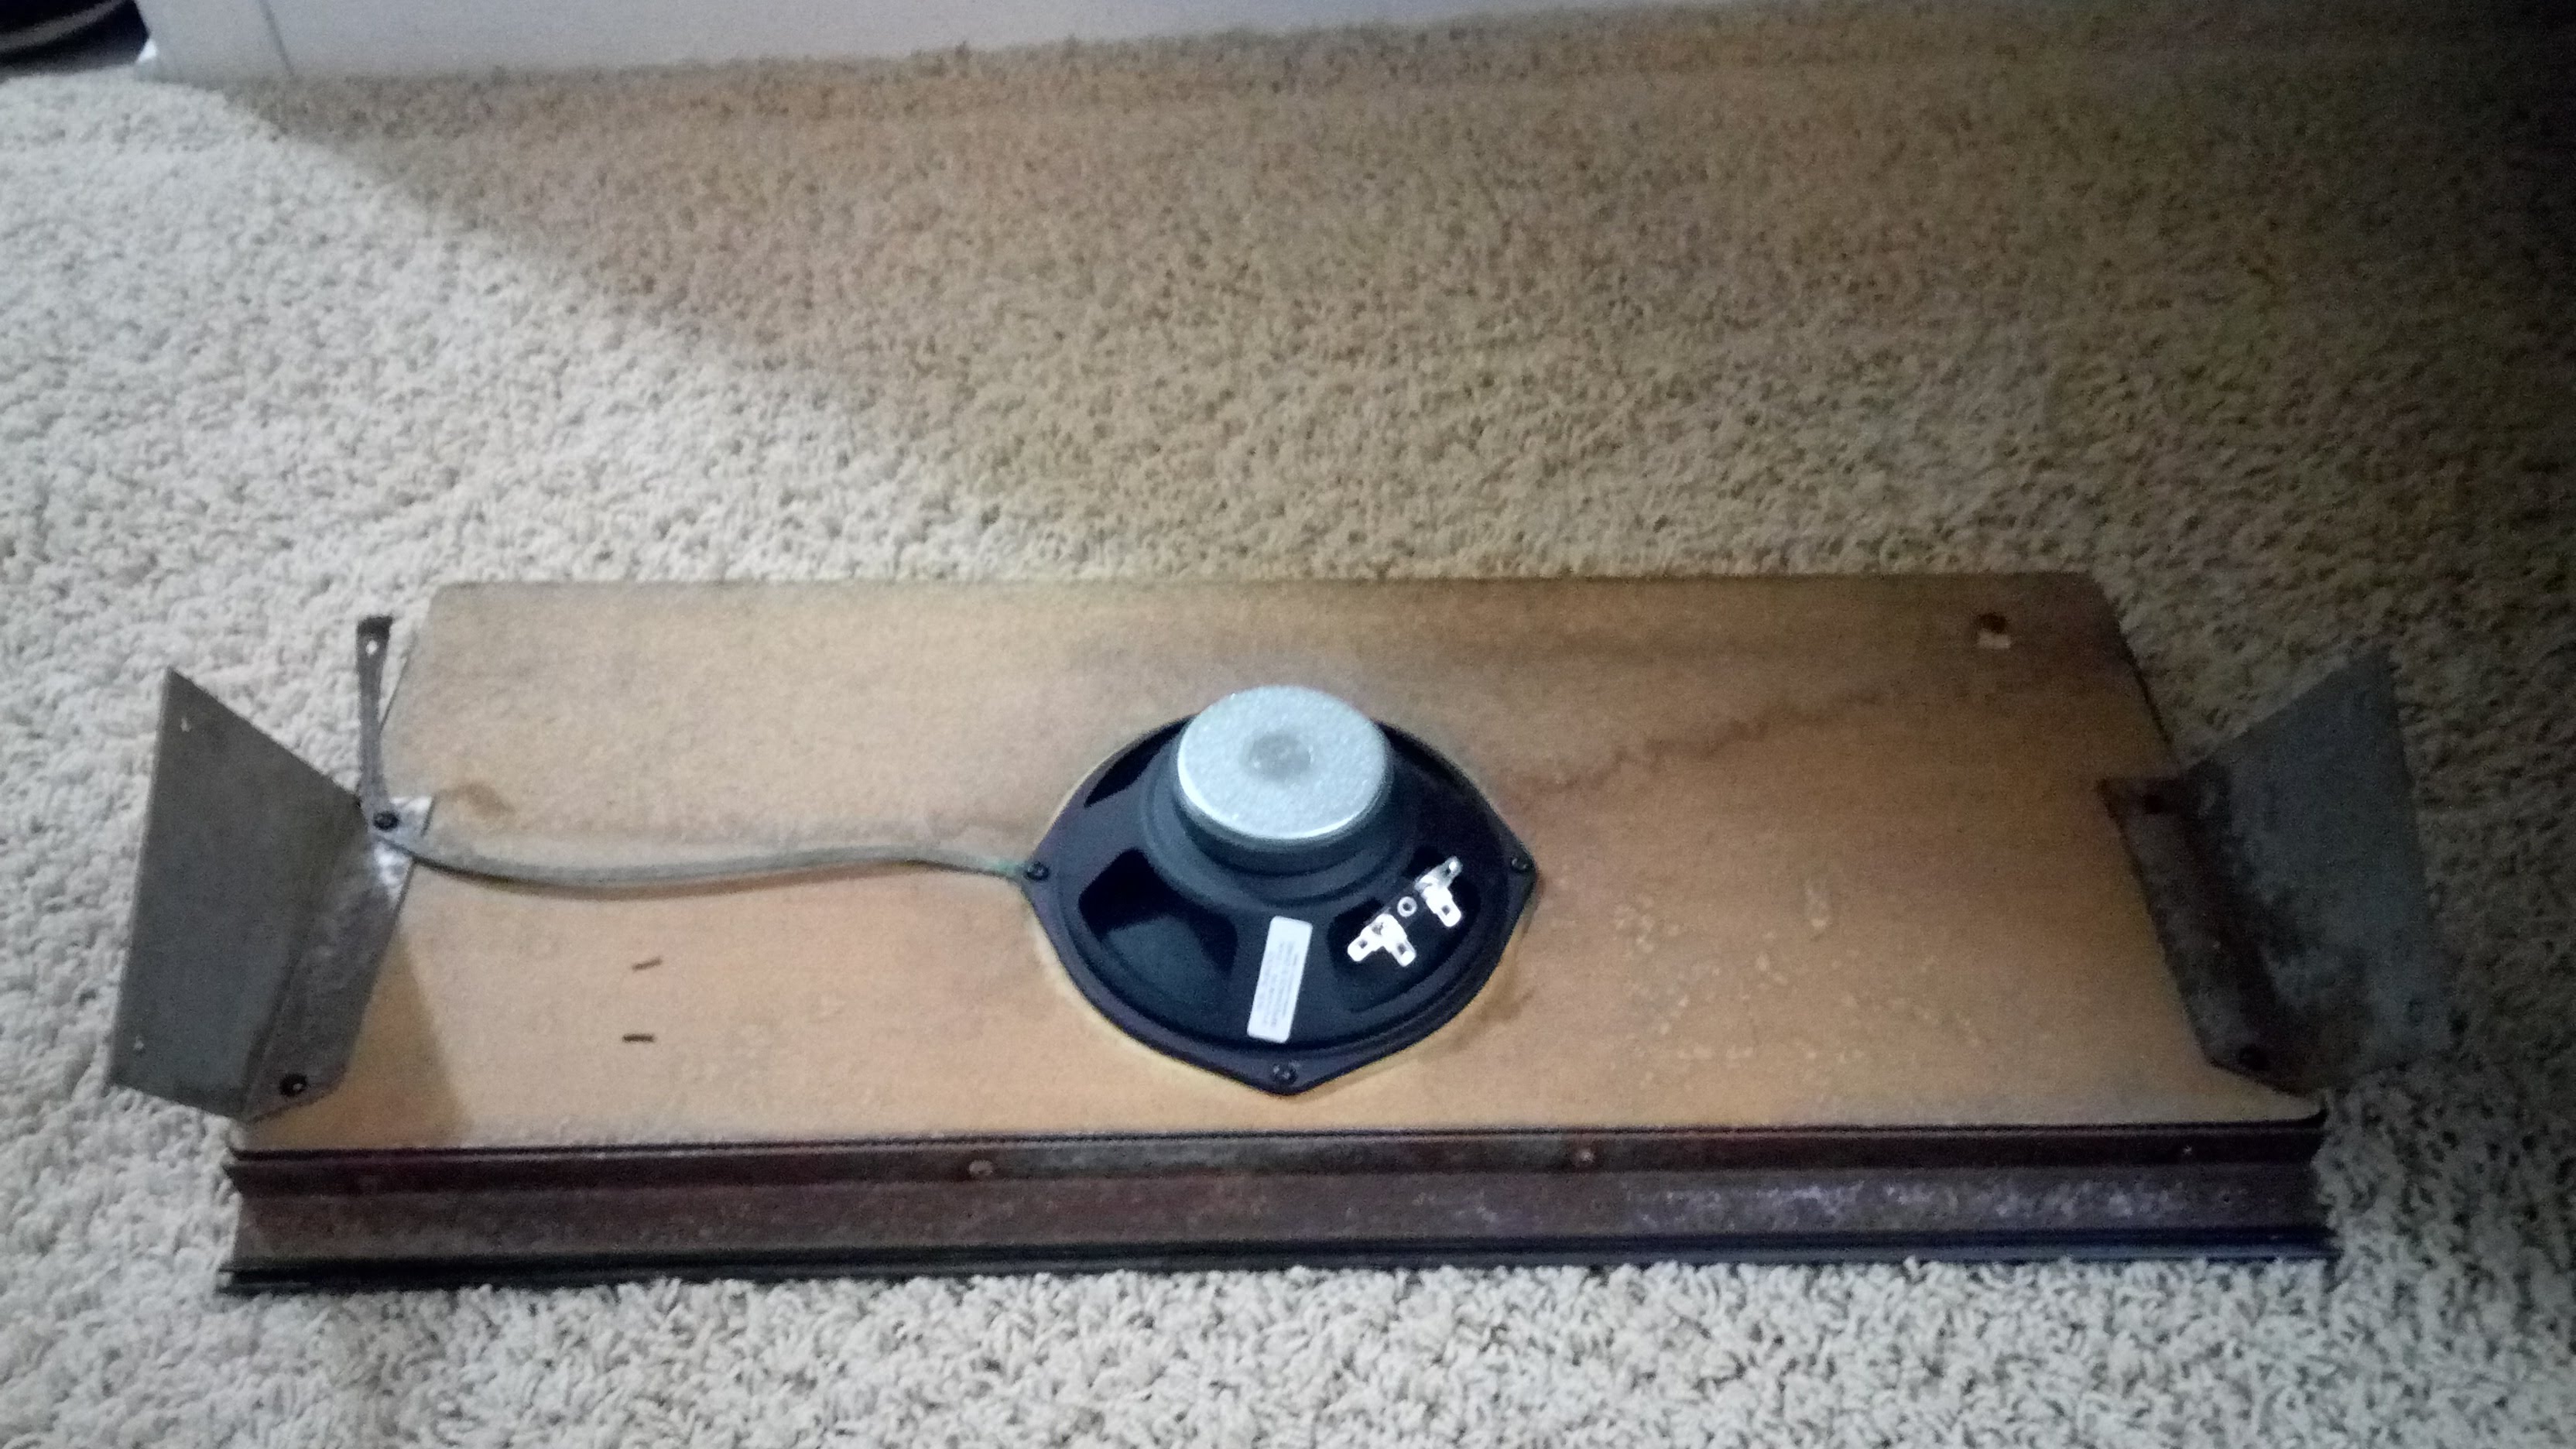
Next I took the monitor shroud and gave that a good cleaning. Maybe the first clean it has ever seen.

IMG_20180115_104104.jpg


With those parts reinstalled into the cabinet I turned my attention to the parts box I have long since forgotten the complete contents of.

IMG_20180115_104829.jpg


From this I fitted the coin door retainers and the control panel latch hooks. I also fitted the control panel latches from the Black Tiger control panel to this Defender control panel.

IMG_20180115_110416.jpg


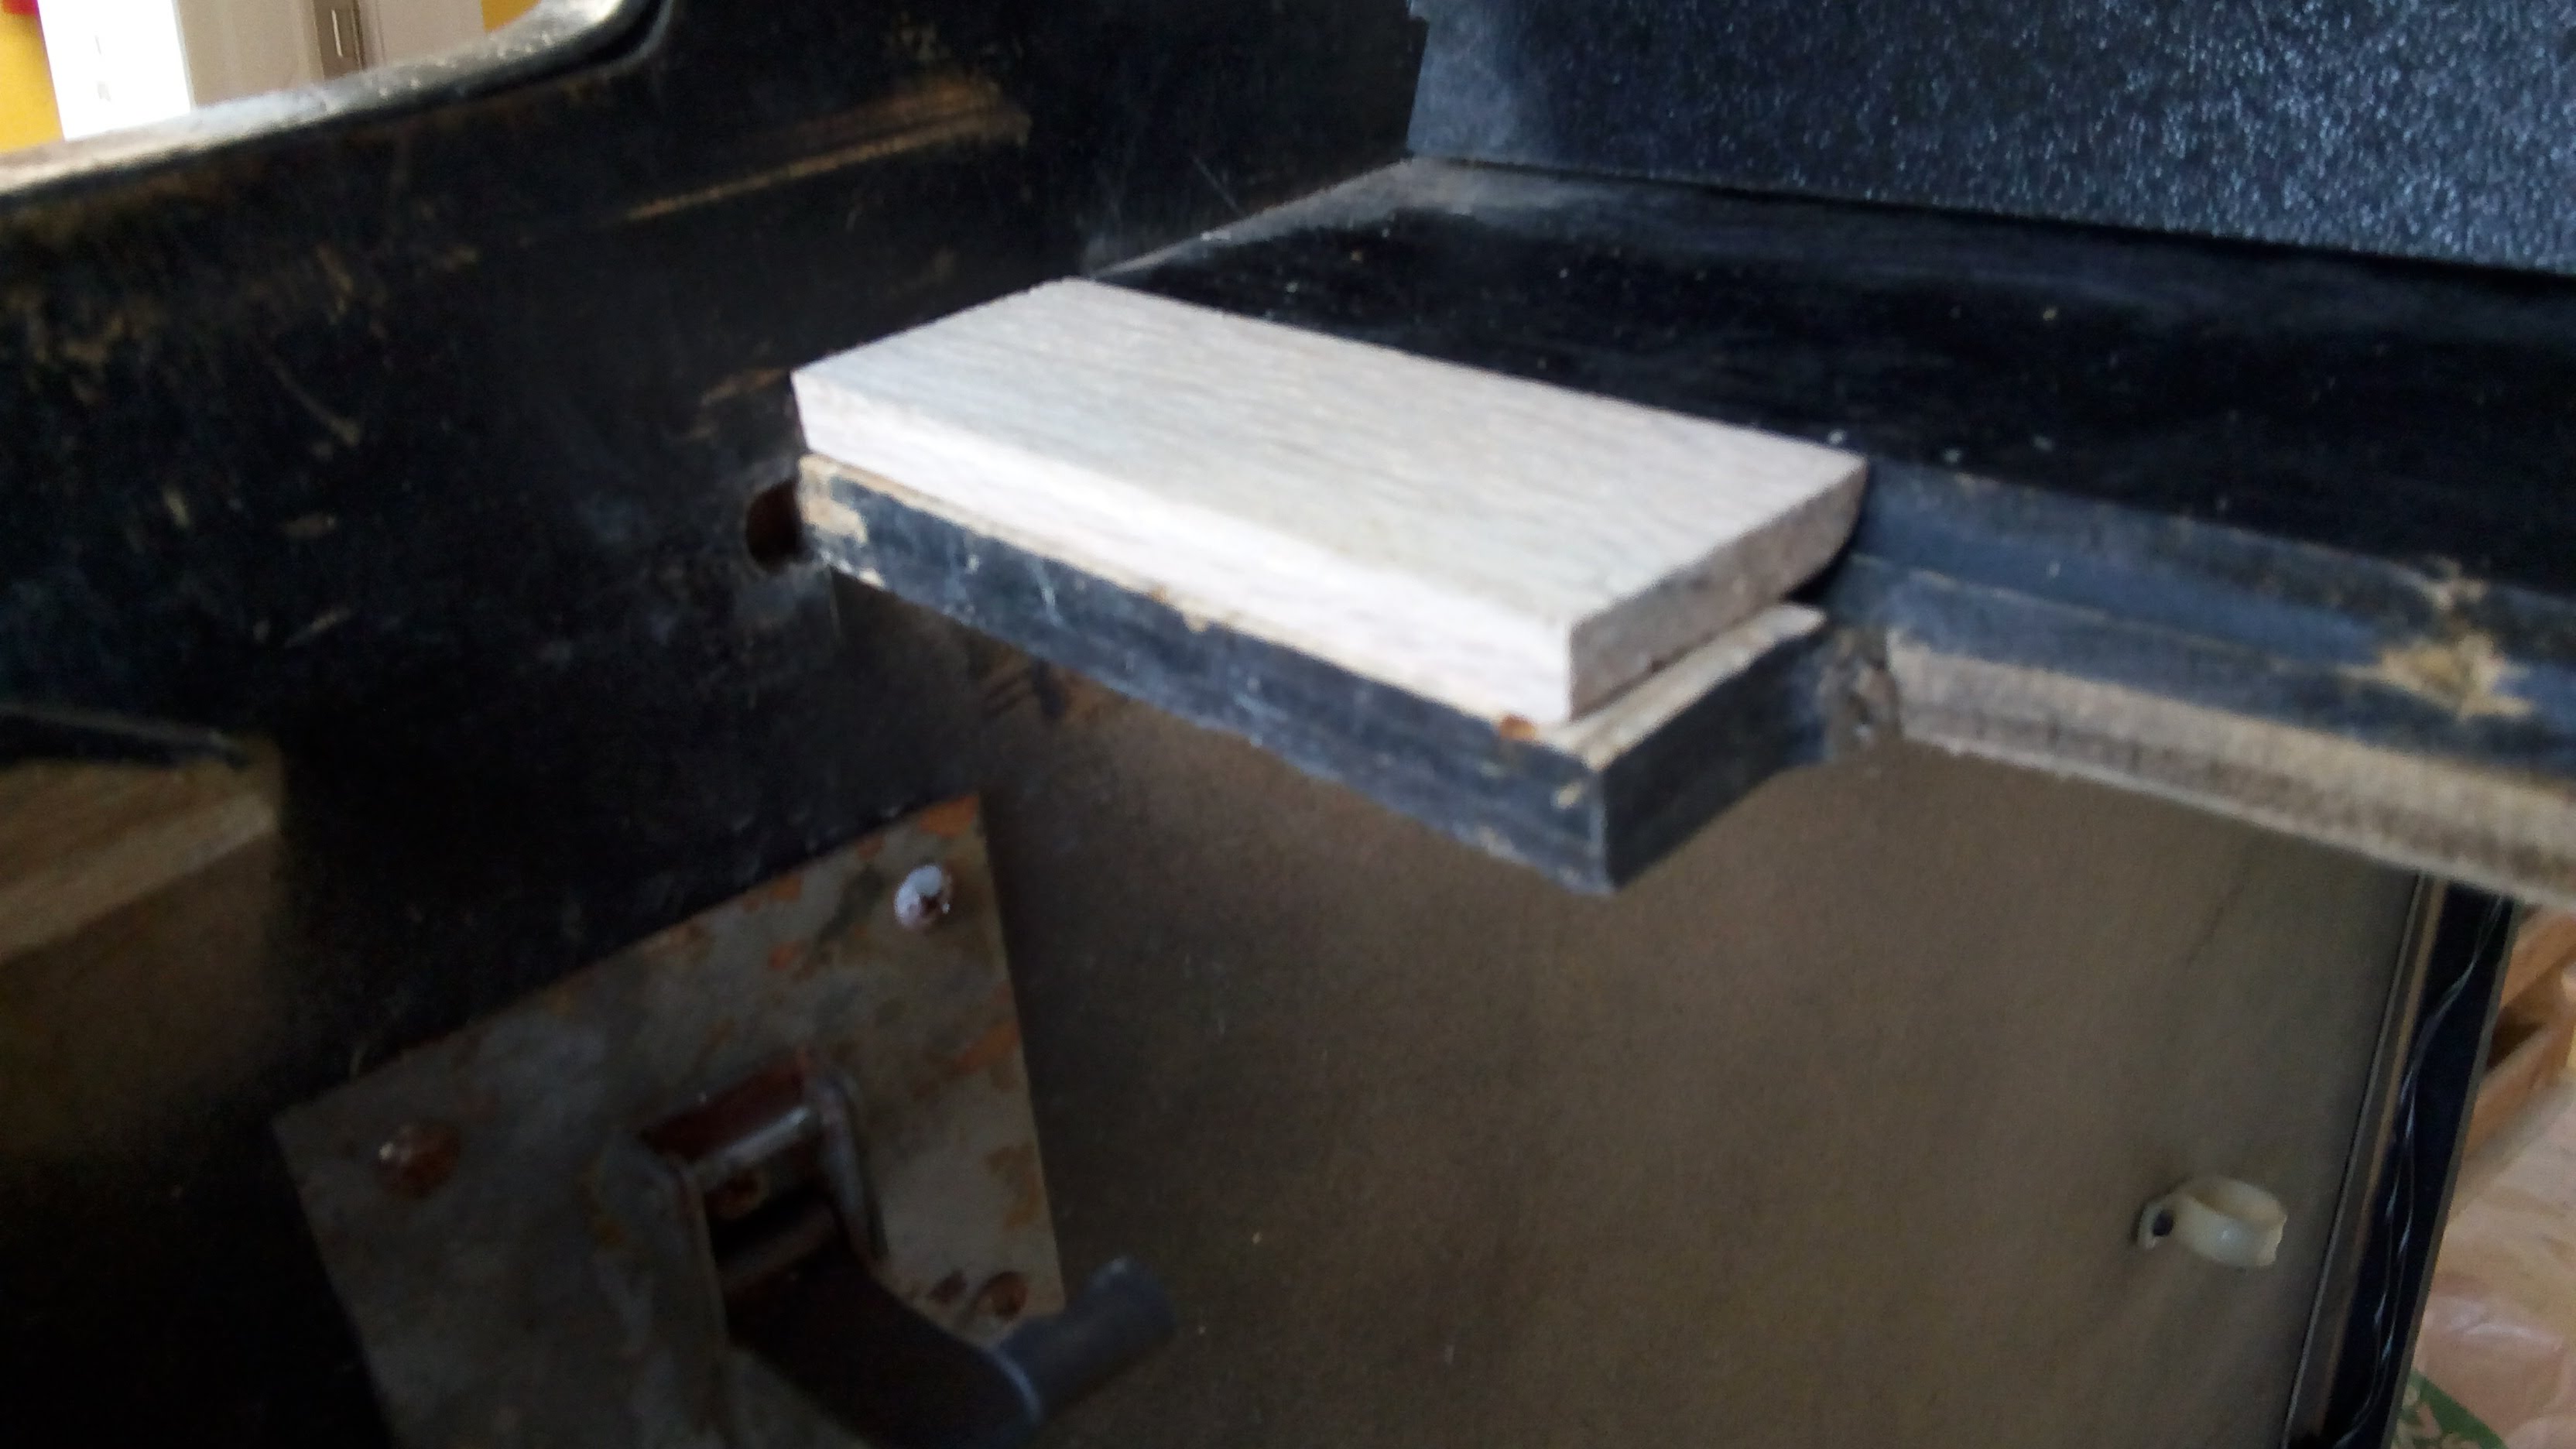
At this point I figured I should make sure the control panel latches down. I found both were far too loose. I can only imagine the operator in their conversion to Black Tiger took out some of the wood for some reason or another. A bit of time on the table saw and I had some wood pieces cut to fill in the void.

IMG_20180115_113824.jpg


IMG_20180115_113828.jpg


Bit of paint on them just for the sake of it since it is out in the garage still.

IMG_20180115_124258.jpg


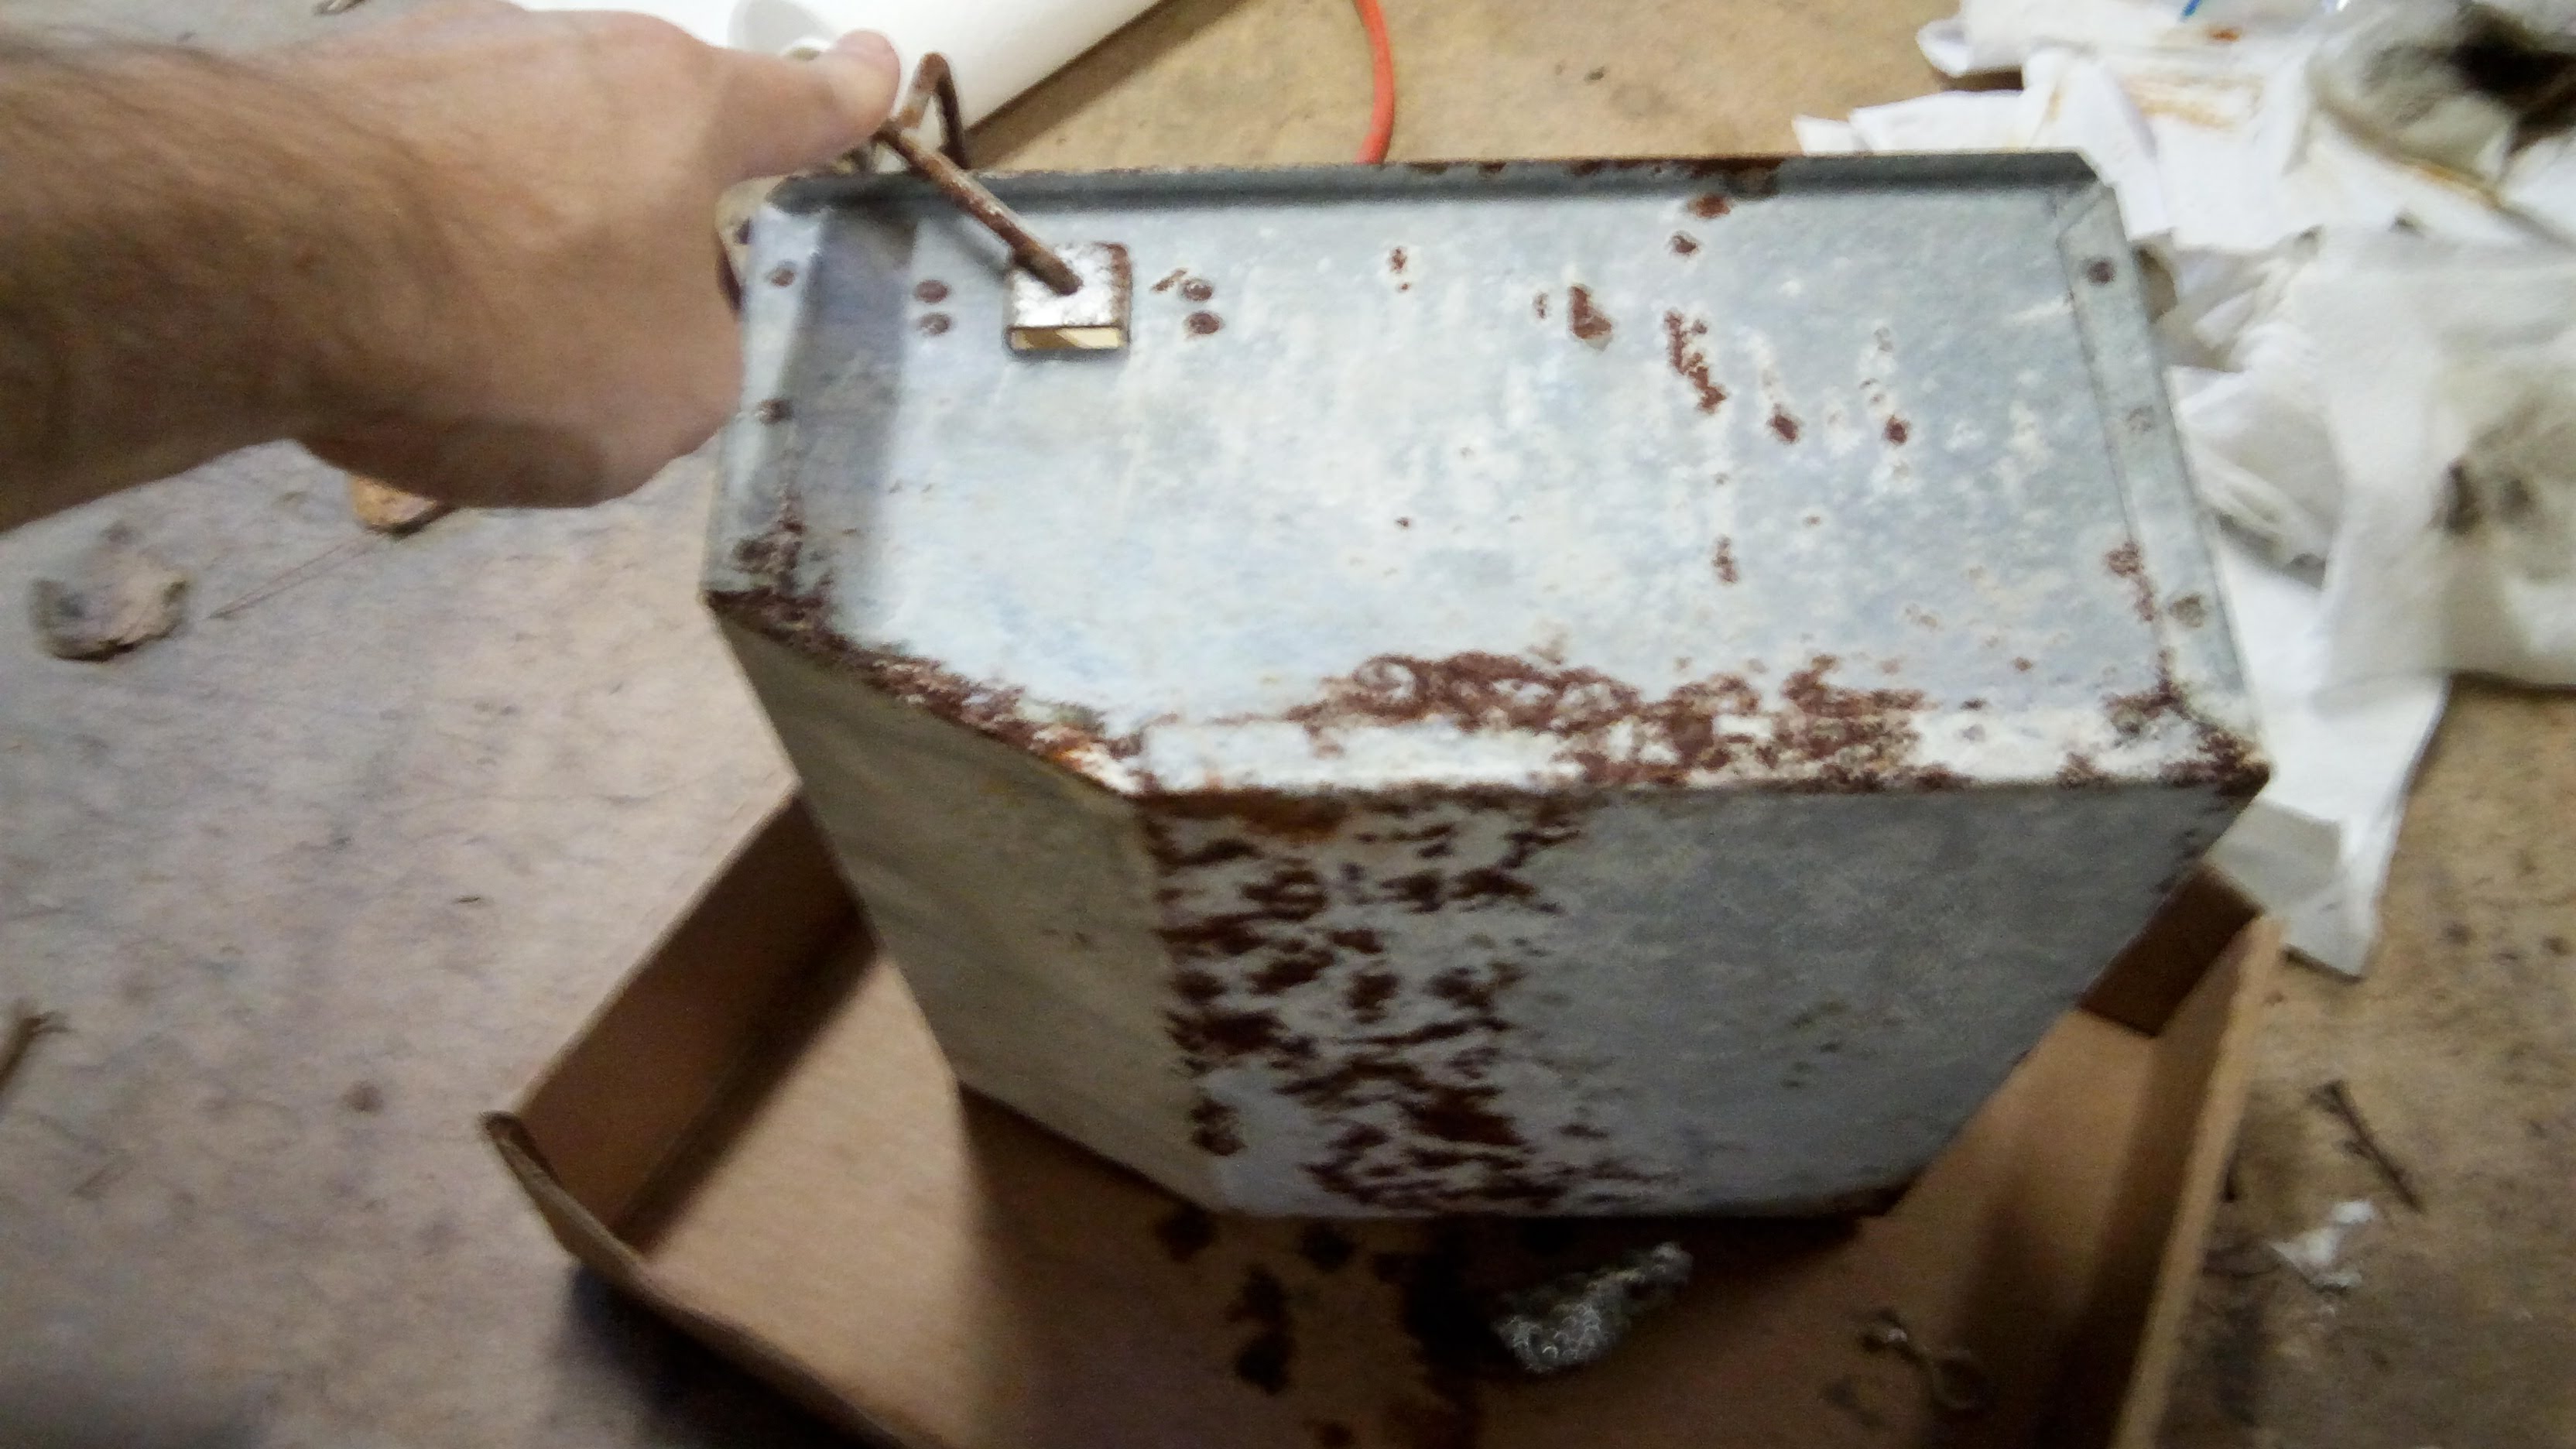
Took a look at the coin box itself. Just turning the thing upside down a hideous amount of loose rust dropped out. Not sure what to do here yet, whether this get the full on vinegar bath or not. I ended up putting this off for another day.

IMG_20180115_122243.jpg


IMG_20180115_122250.jpg


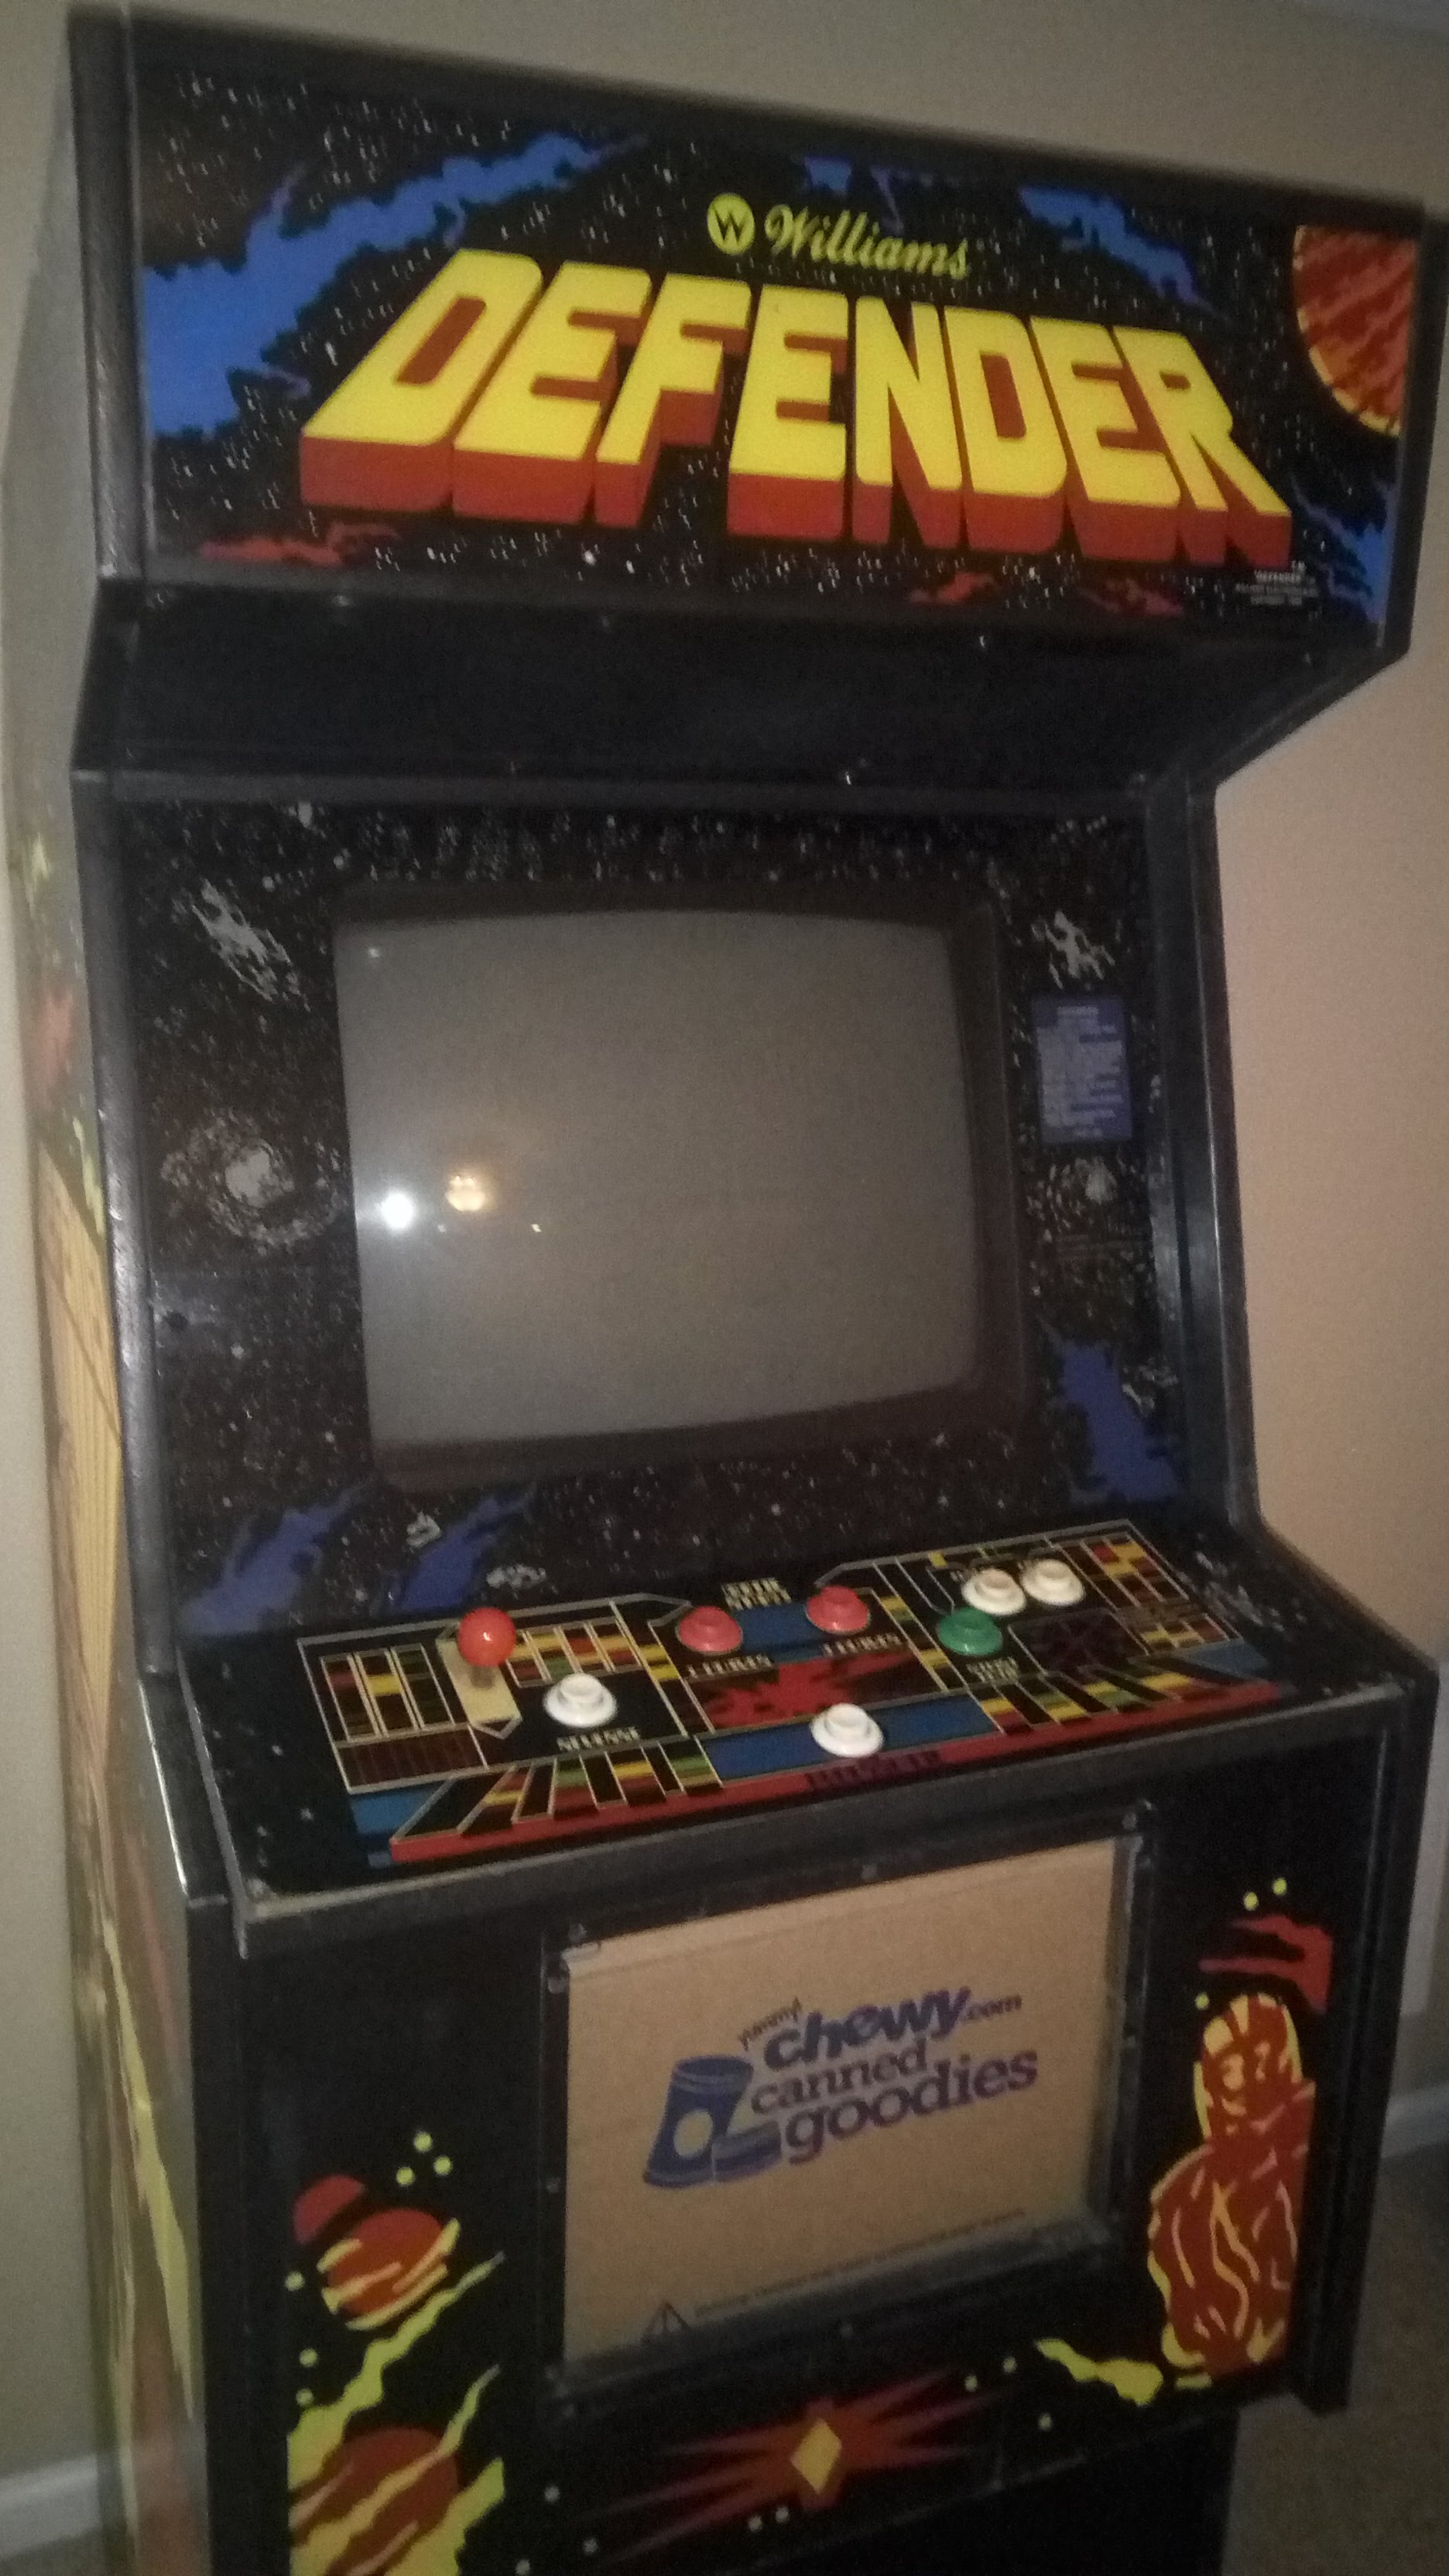
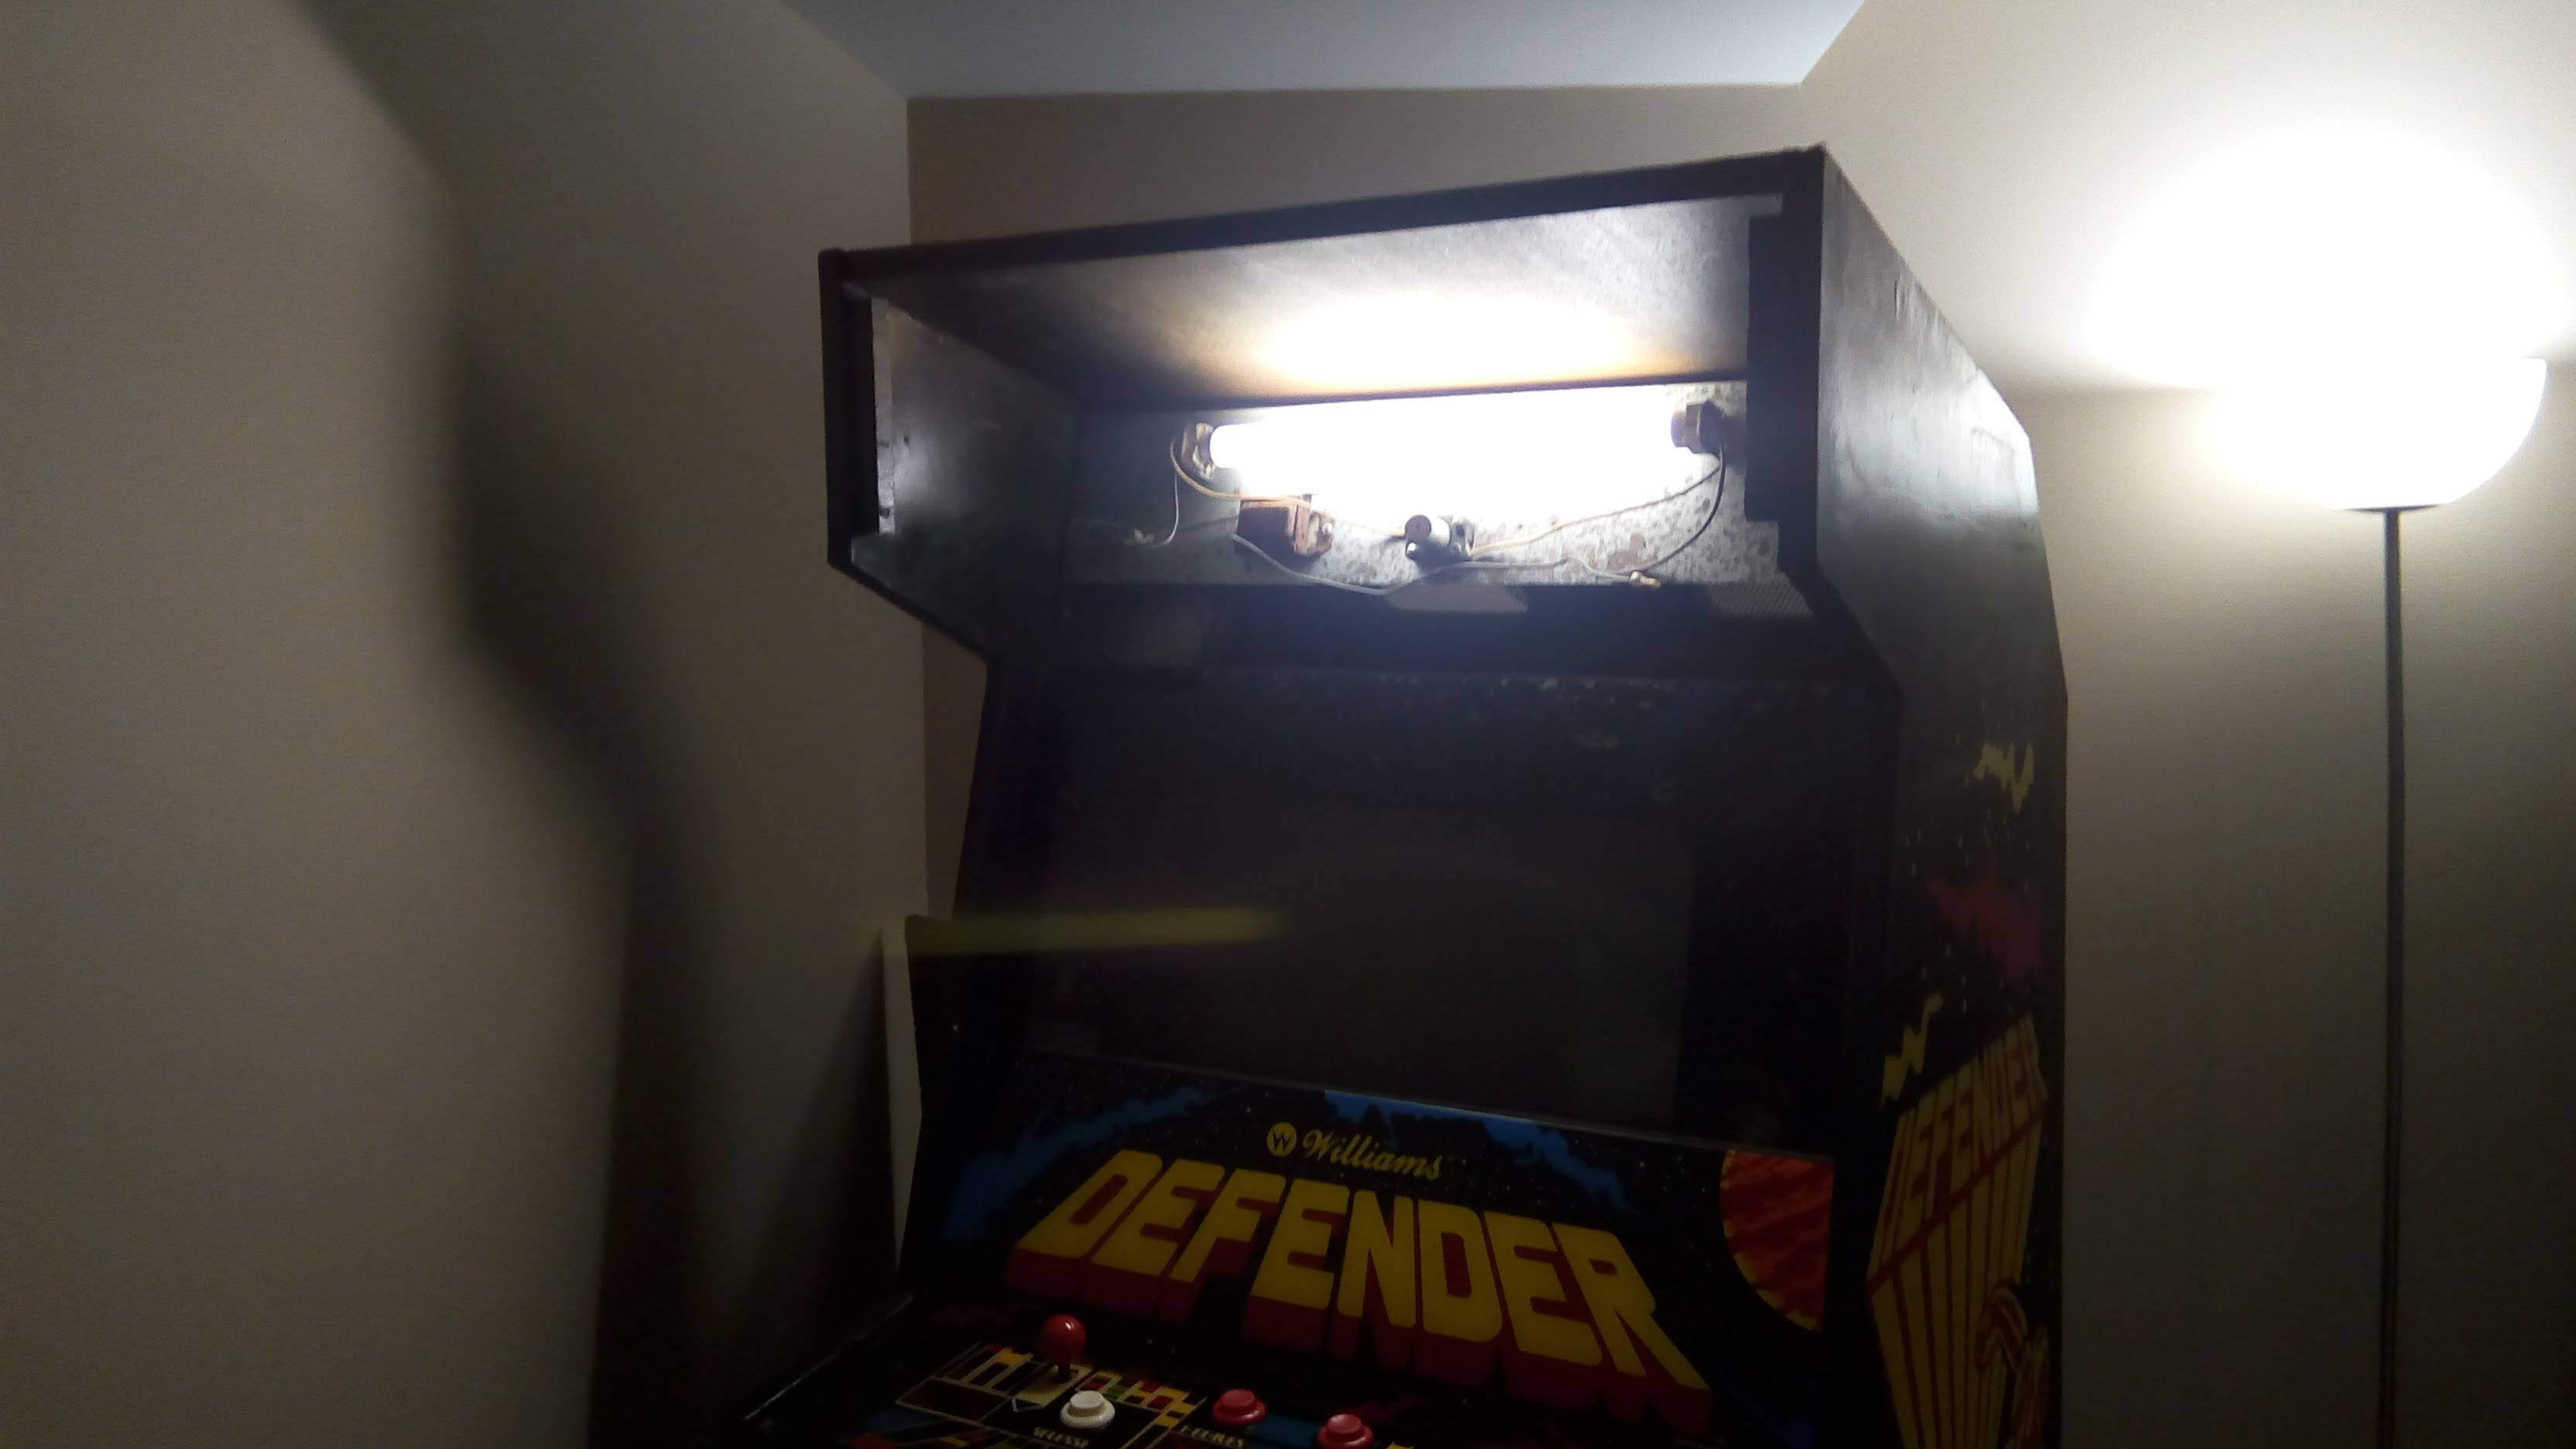
While I wimped out on the big remaining rust projects - the coin door and coin bucket, I did go through sand the heads on a load of screws and give them a coat of satin black rattle can so I can have less visible rust on the monitor trim pieces. Once those were dry I installed the marquee, bezel, and CP. Stupid me left my new bezel at work so I'll have to fit that another day.

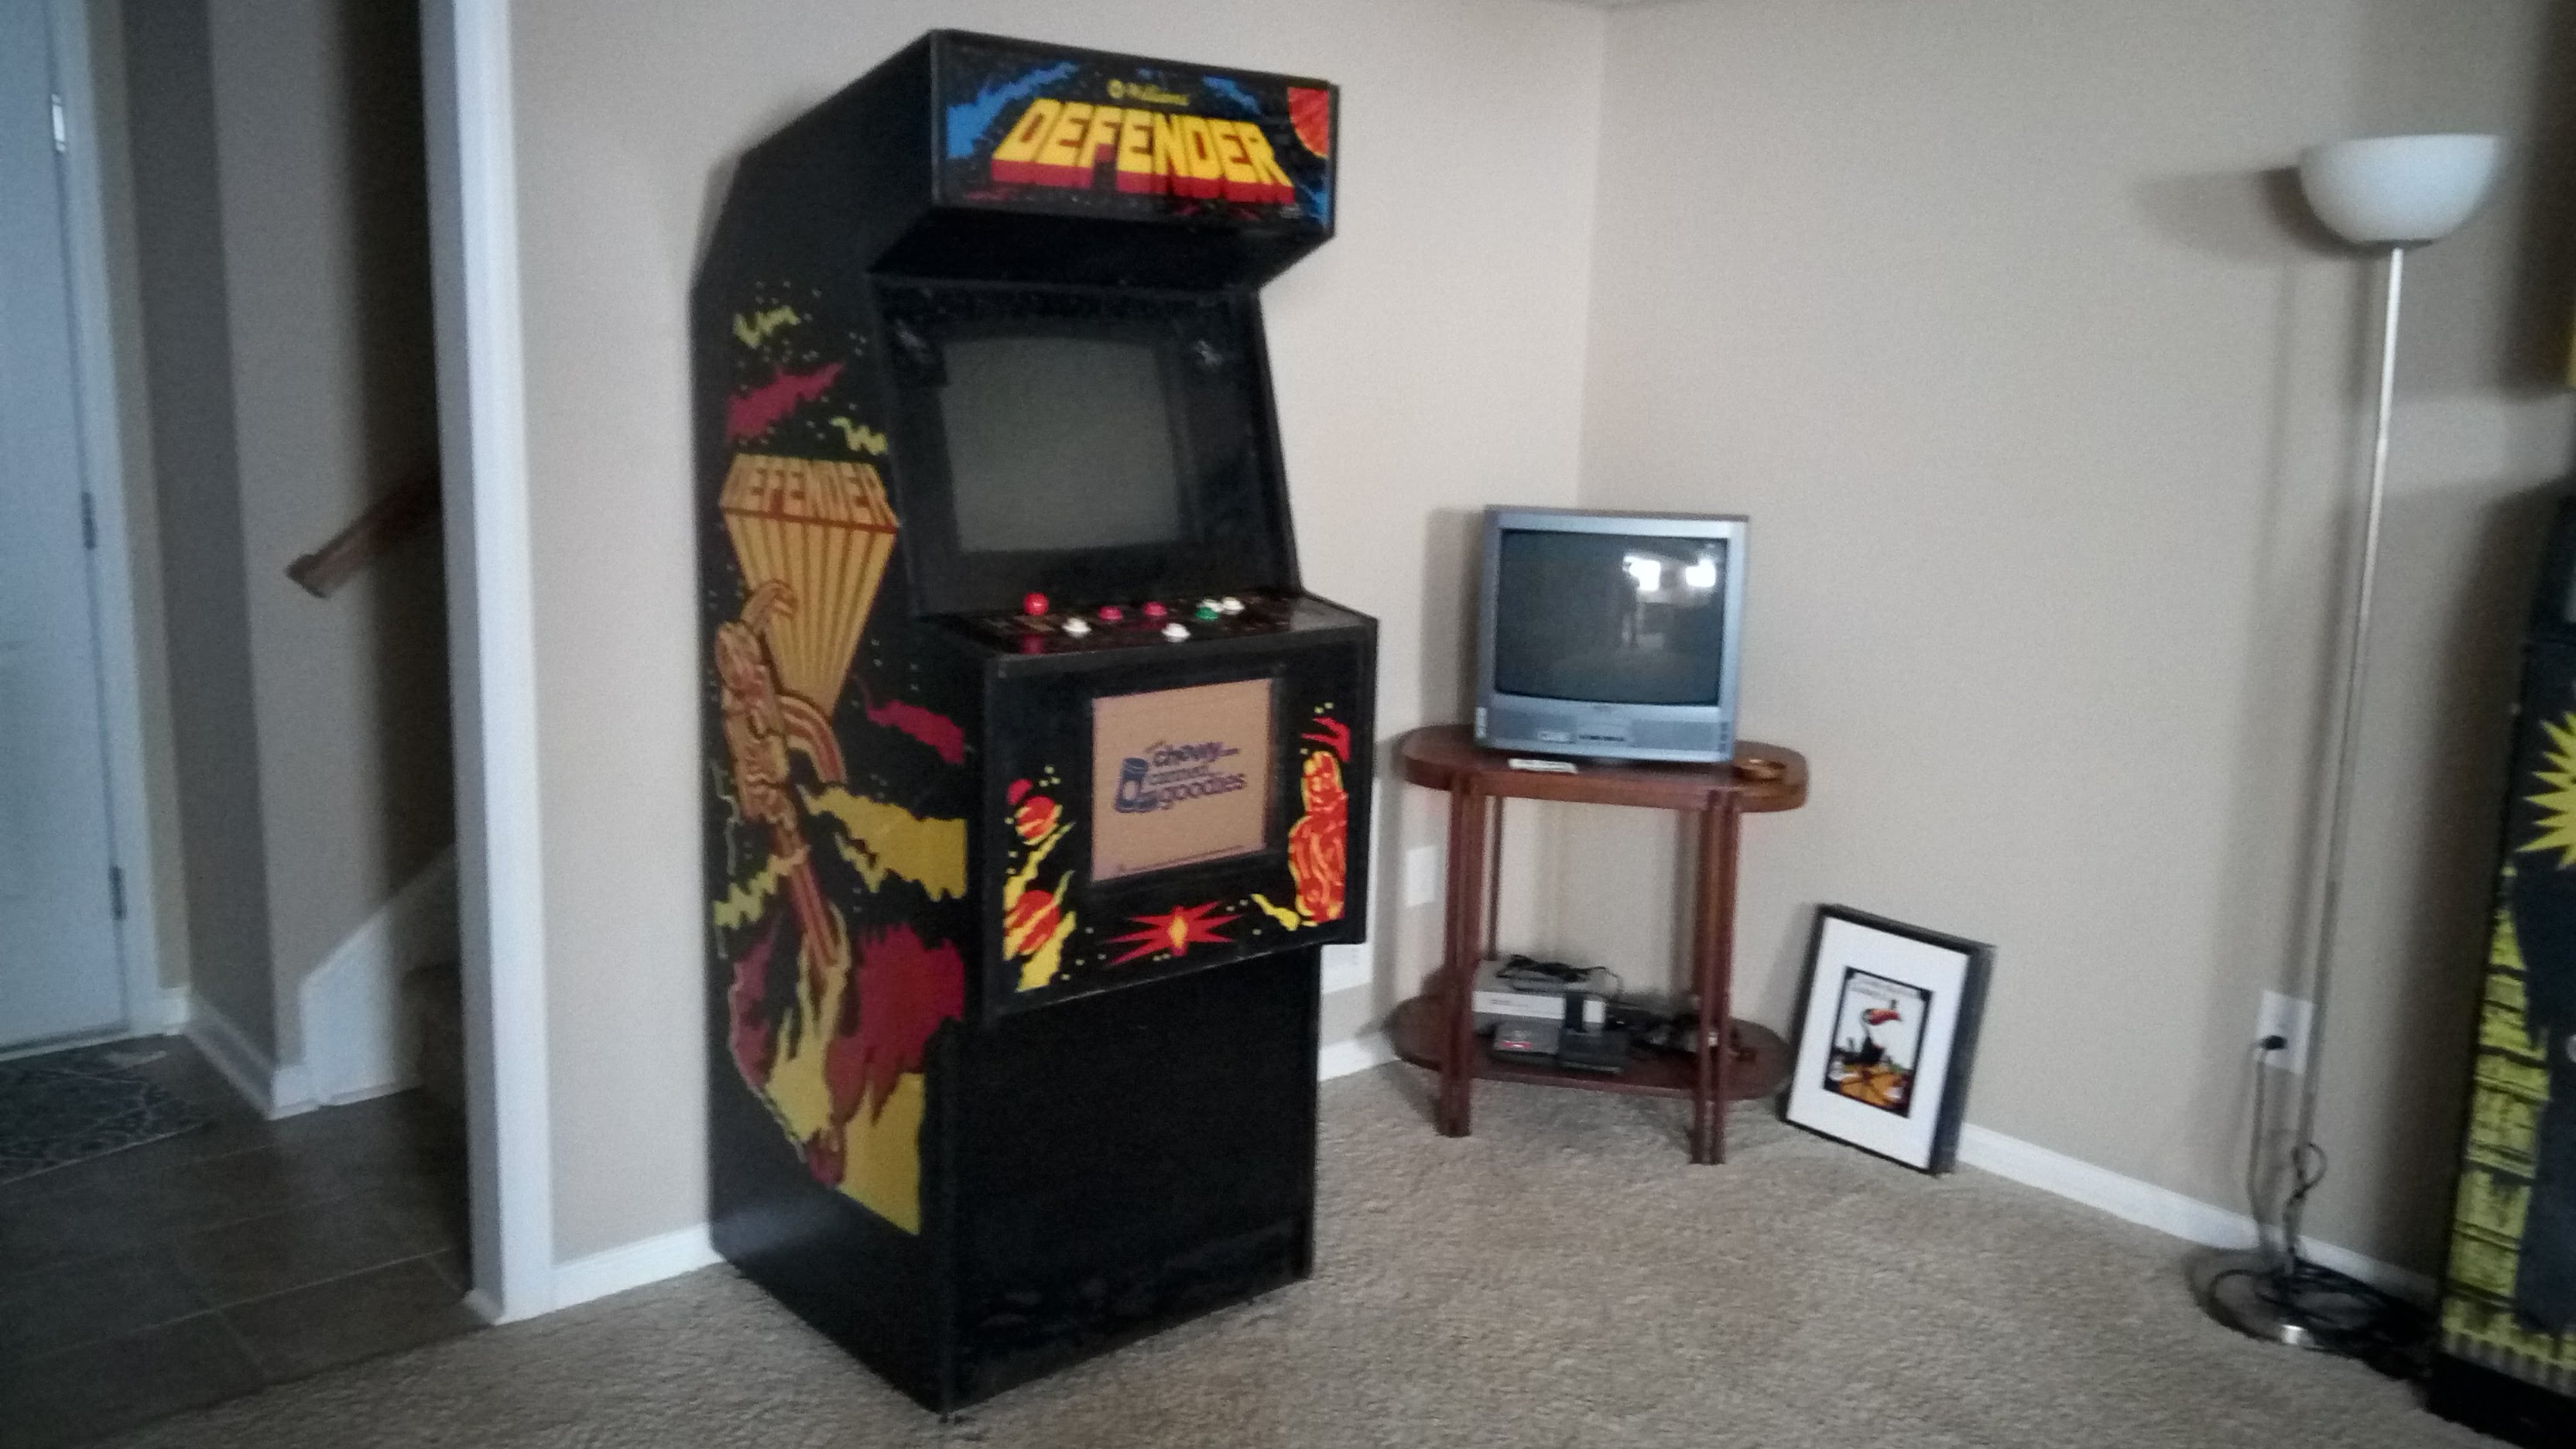
With all that work done I took the Jamma loom into the house to work out the wires for the monitor connector and sack trucked it into the finished basement. Hopefully with it now in the house I will be more motivated to work on it. Oh and as you can see I needed to temporarily block the coin door hole so this doesn't become the next cat toy.

IMG_20180115_141938.jpg


Next up I need to get my parts orders on.

ArcadeAddict772018-01-15 20:08:58
 
Feedback
1 (100%)
Credits
40CR
Flinnster said:
Your cat clearly needs some training, it's running the place!
smiley17.gif

We have three cats who I am surprised have not been more interested in the recent addition to the basement. I got home last night and put on the new - old bezel completing the look.

I also starting picking at the jamma loom to identify the connectors I need to pull off it for the monitor and speaker. It is pretty much a wire twist and wrap with electrical tape job. I'll probably end up replacing it since I will be ordering some parts from an arcade retailer in the near future.

IMG_20180116_180641.jpg
 
Feedback
1 (100%)
Credits
40CR
Took some time to do some quick jobs this weekend. From watching John's arcade Cloak & Dagger series I previously ordered a new speaker as a direct replacement for the older rusty speaker in the cabinet.

http://www.newark.com/pulse/pm6-5s/6-5-guitar-speaker-8-ohm-15-watts/dp/84Y8079

IMG_20180204_122147.jpg


IMG_20180204_123544.jpg


New speaker mounted. At this point I realised I have no quick disconnects in the house. I really don't want to solder the cables direct to the speaker, so will have to wait for the next order to come in. Looking at it after the fact while writing this post I think I am going to spin the speaker 90 degrees to the left so the white strip is not at the front next to the marquee and the speaker headers are at the back as well, same as before.

Next I thought I would check the marquee light for functionality. From the previous wiring loom the monitor and marquee power wires were directly connected, so I separated these and connected just the marquee to power.

IMG_20180204_130131.jpg


As you can see it works, however with significant hum. I was headed to home depot anyway so picked up a two pack of the FS-2 starters, and will order up a new ballast.

https://www.amazon.com/ROBERTSON-Fluorescent-mBallast-Operates-following/dp/B00H9HKNRM/ref=cm_cr_arp_d_product_top?ie=UTF8

Reviews on this ballast show other retro junkies have used these as direct drop ins for arcade cabinets, one in particular mentions Williams cabinets.

Once again waiting on orders to come to to progress.

ArcadeAddict772018-02-05 15:40:03
 
Feedback
1 (100%)
Credits
40CR
Since my last post I ordered the new ballast I mentioned and fitted it, replaced the starter and have a much quieter working solution for the marquee. I thought I had a picture of it done, but I don't for now at least.

Since then I ordered some parts from an arcade supplier and received them today. I had 12" x 12" piece of plywood at the ready to start mounting components.

I am sure most are familiar with this process, but just in case here is Bob Robert's document on it: http://www.therealbobroberts.net/acwiring.html.

Here I have the components laid out. The switching power supply which came in the cabinet was rusty so I tossed it out.

IMG_20180223_130121.jpg


This is as far as I can get right now. I took another look at the power cord I had and have decided it needs to be replaced as well.

Red/black cables laying over the isolation transformer are the OUT from the DPST toggle switch I am fitting. The red/black coming out of the line filter are the IN to the DPST toggle switch. Left hand fuse is for AC power input. Right hand fuse is for the marquee.

Mentioning this as I do not necessarily count myself as an expert here, and if anyone notices anything I would much rather find out before this gets power. If anyone sees anything bad please let me know! Or if you say green light let me know this as well.

IMG_20180223_160317.jpg


Once I get home tonight I should be able to fit this in and start wiring things into the cabinet.

ArcadeAddict772018-02-28 14:24:56
 
Feedback
1 (100%)
Credits
40CR
Snapped a shot of the replacement marquee light ballast and starter in place.

IMG_20180223_180119.jpg


I was able to get the power block installed into the bottom of the cabinet this weekend and wire up power to the marquee, DPST switch and monitor. Nothing tested at this stage and I still need to make sure I have earth run throughout the cabinet.

IMG_20180223_184648.jpg


Open image in new tab for higher resolution.

IMG_20180223_191317_web.jpg


ArcadeAddict772018-02-26 14:18:59
 
Top