chadsarcade
Lord of Vectors (tm)
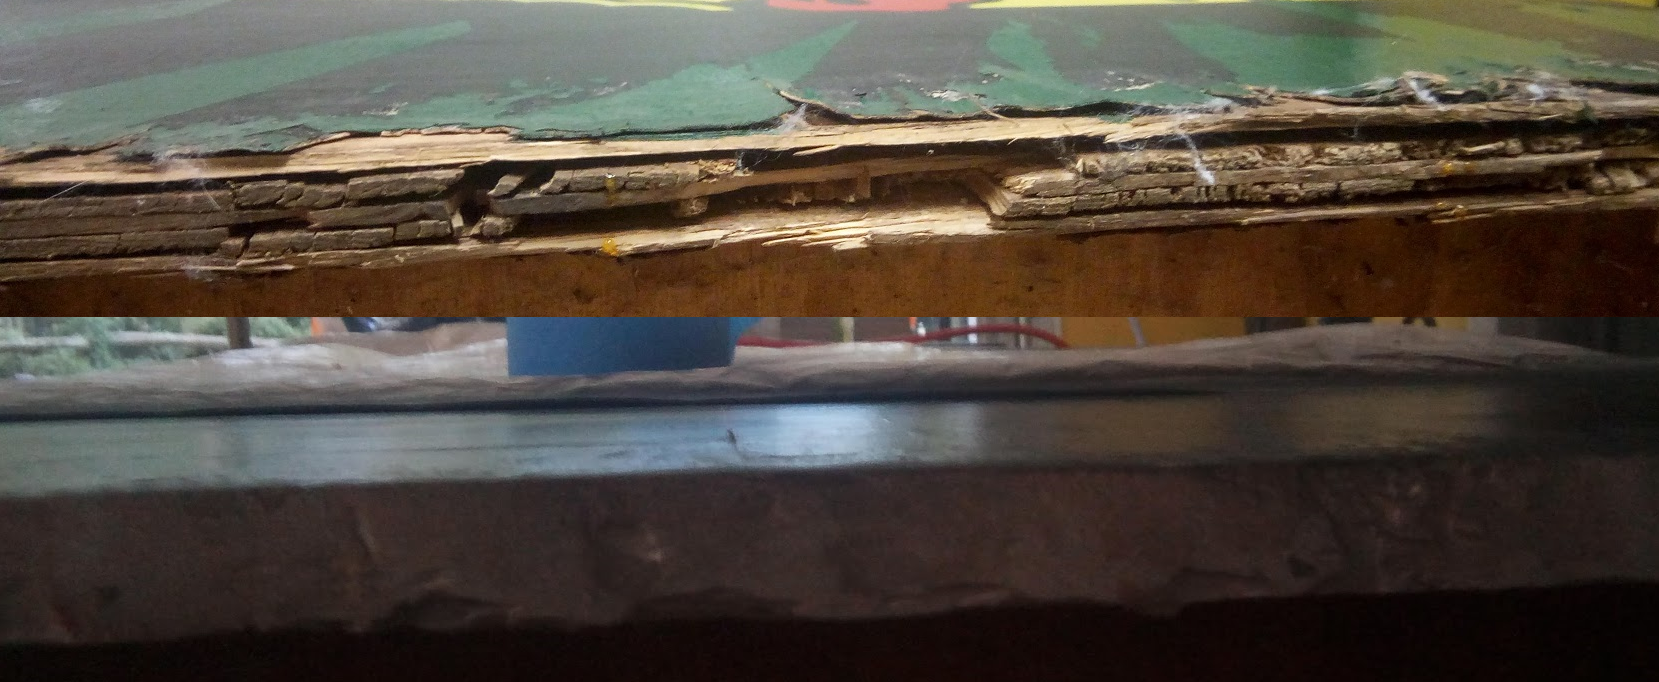
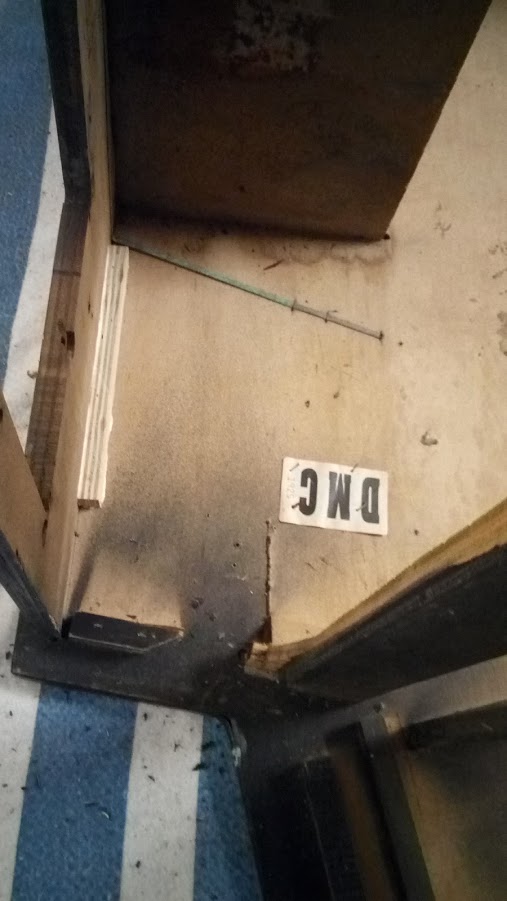
Nice work! I'm reading this interest, one of my cabs has similar (but more extensive) damage to the bottom sides.
chadsarcade said:Nice work! I'm reading this interest, one of my cabs has similar (but more extensive) damage to the bottom sides.


Hurray Banana said:nice work


Hurray Banana said:Great progress

dj_yt said:It's definitely gruelling work doing this level of repair. Takes patience and bloody ages. If you're like me, you will achieve something close to perfection then stuff it up when you move the cab in the future. Mind you, you've got legs...


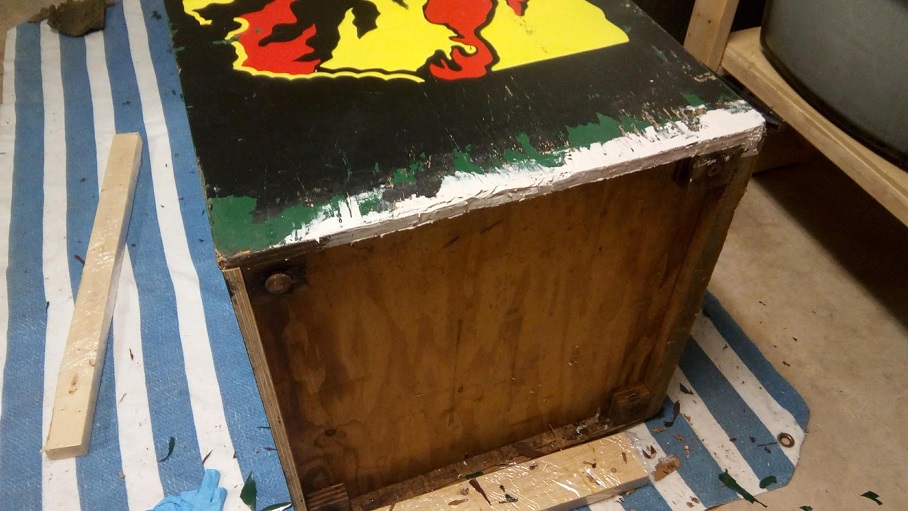
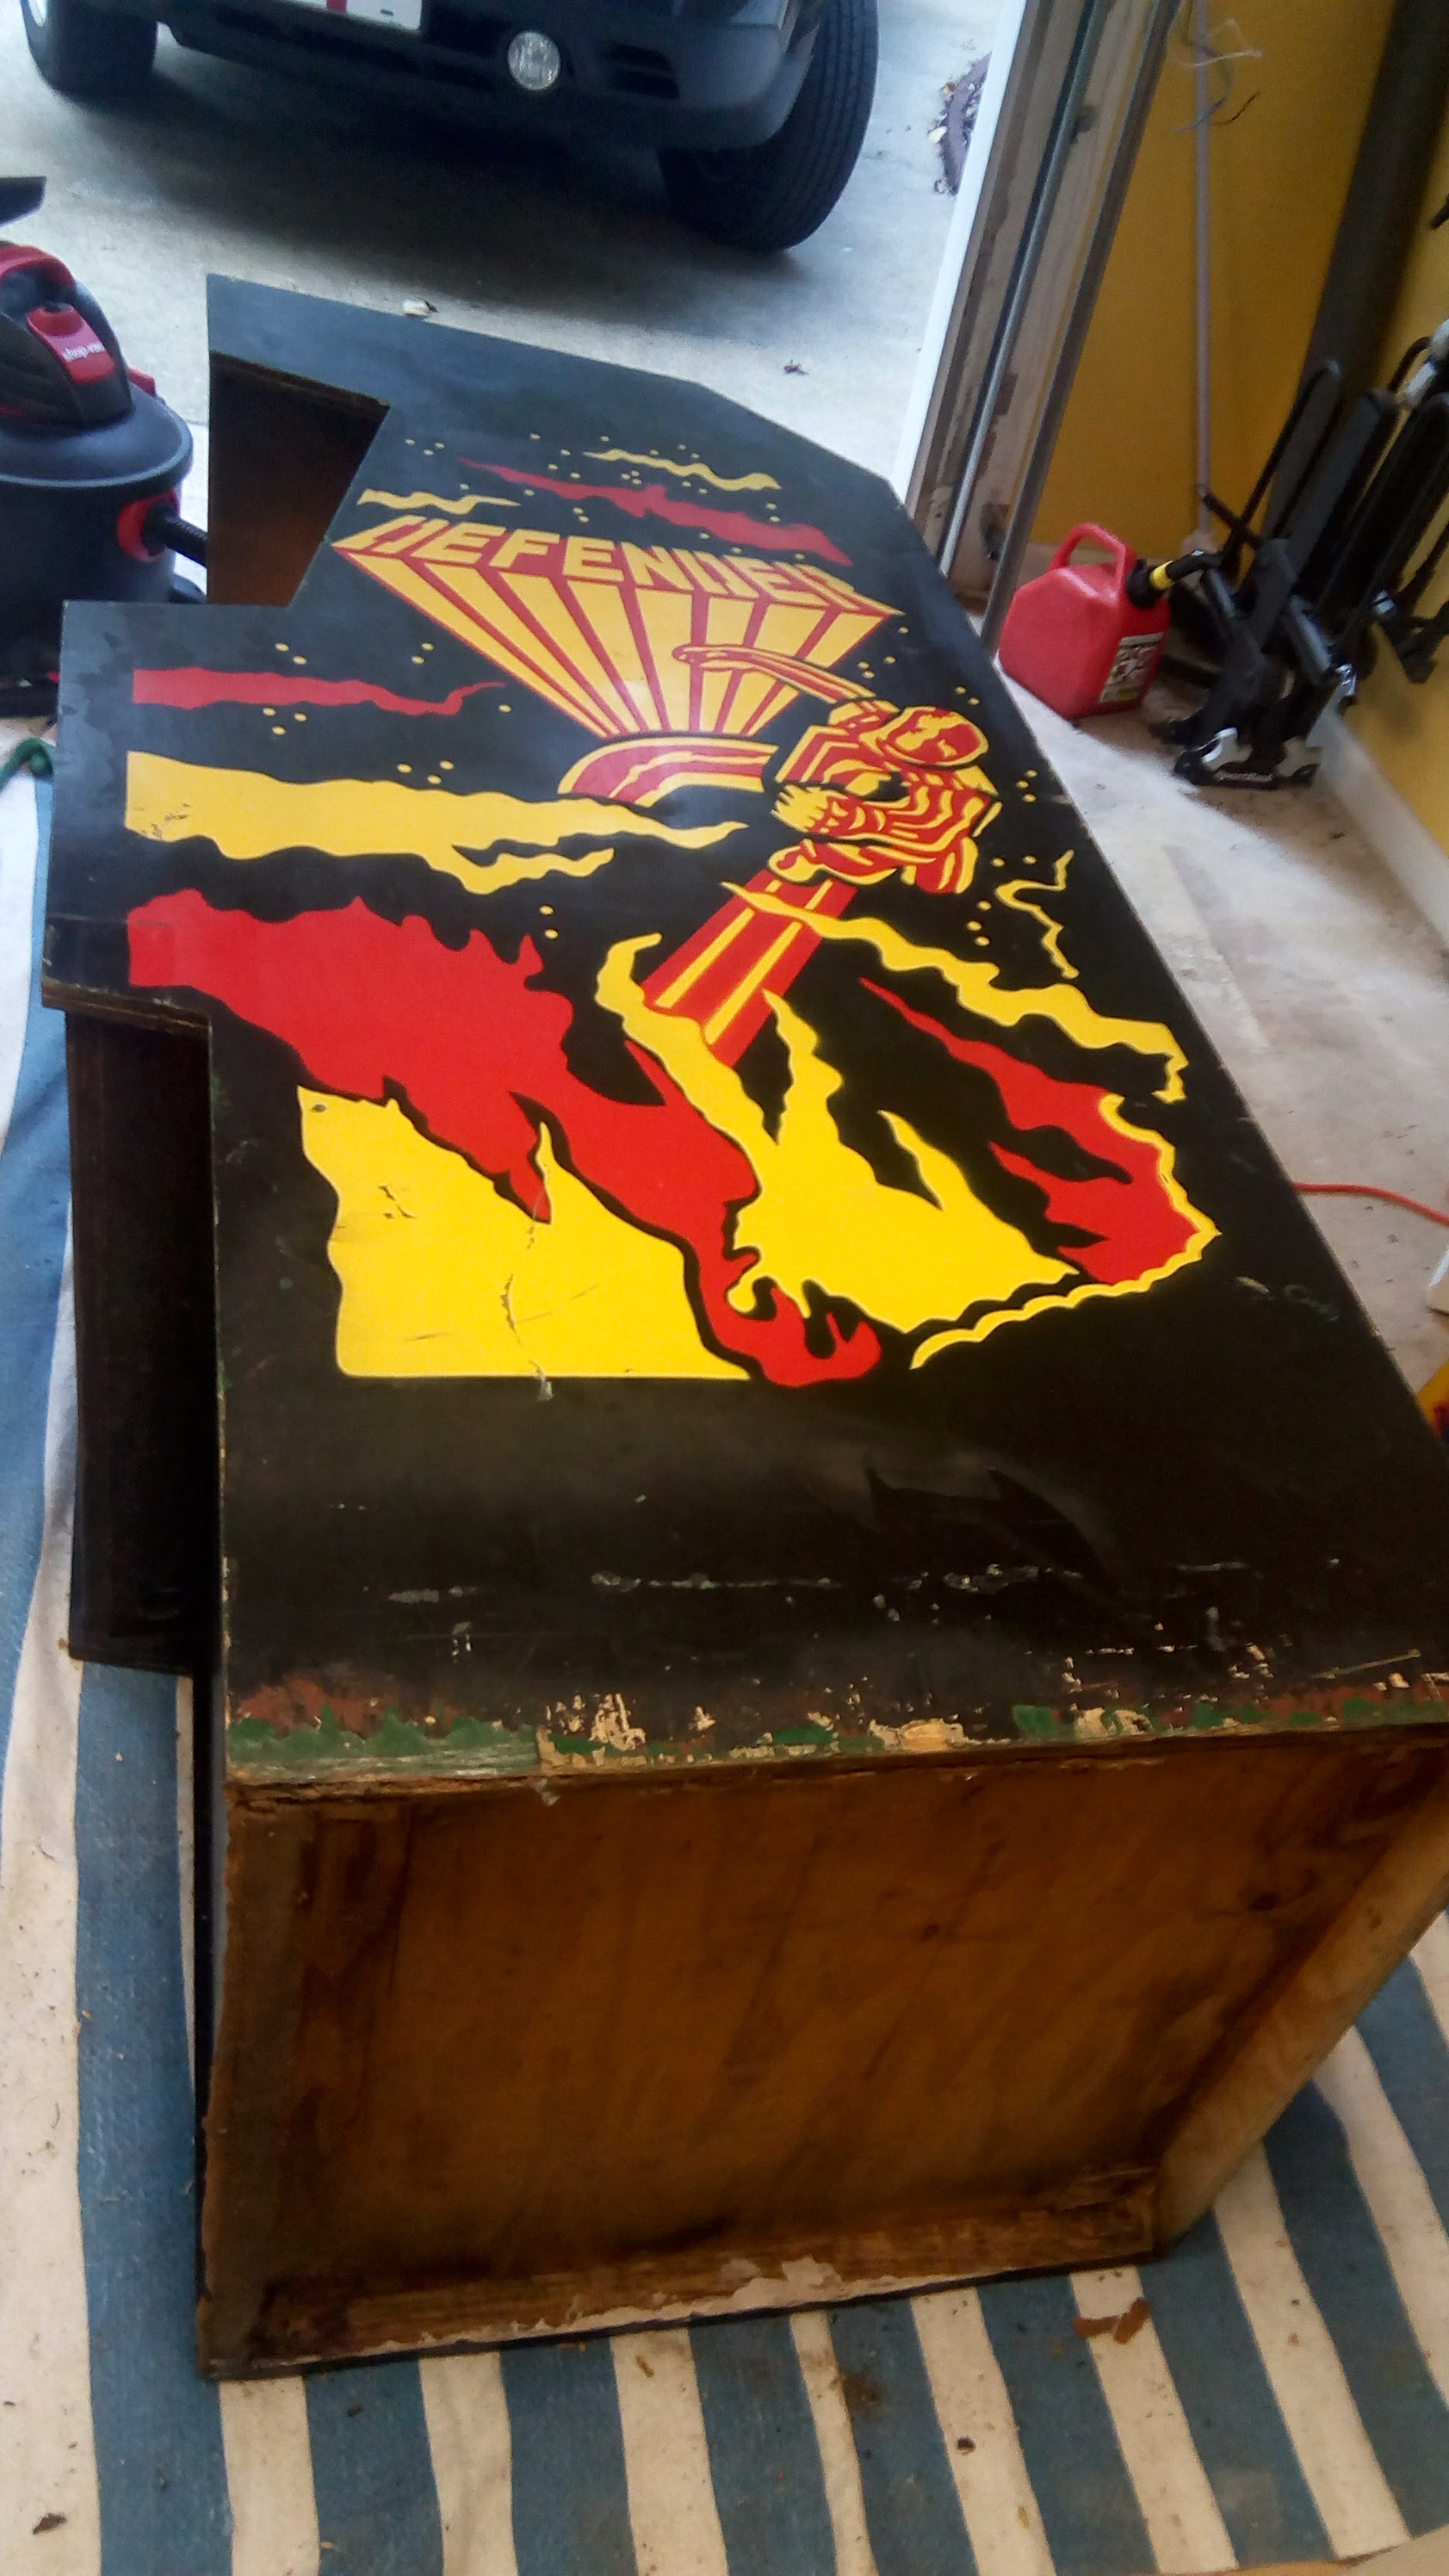
PAC-MAN said:This is a very cool thread sir, what a great job. Great to see the original artwork underneath is looking pretty damned nice.
The artwork seems to be of the rarer variant also, the guys on the sides are both facing forwards as opposed to the guy on the right hand side often faces the back of the cab(looking at it from the front) Also, the stars/dots on the front are yellow as opposed to red.
Just out of interest, what is the serial number?
Awesome work!
") You seem to know a lot more about Defender cabs than I do then. I have seen multiple numbers stamped on the cabinet and I will have to look them all up. I do have a picture of 1103 on the back of the machine stamped on the panel above the back door.
You seem to know a lot more about Defender cabs than I do then. I have seen multiple numbers stamped on the cabinet and I will have to look them all up. I do have a picture of 1103 on the back of the machine stamped on the panel above the back door.