Today I did this to my cab...

Vamino

Insert coin(s)
vacBacker
Feedback
22 (100%)
Credits
2,620CR
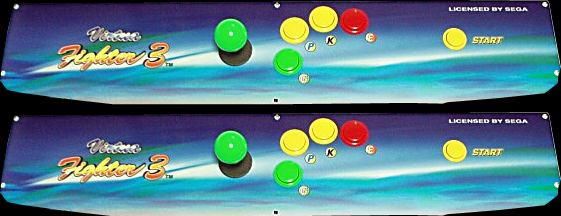
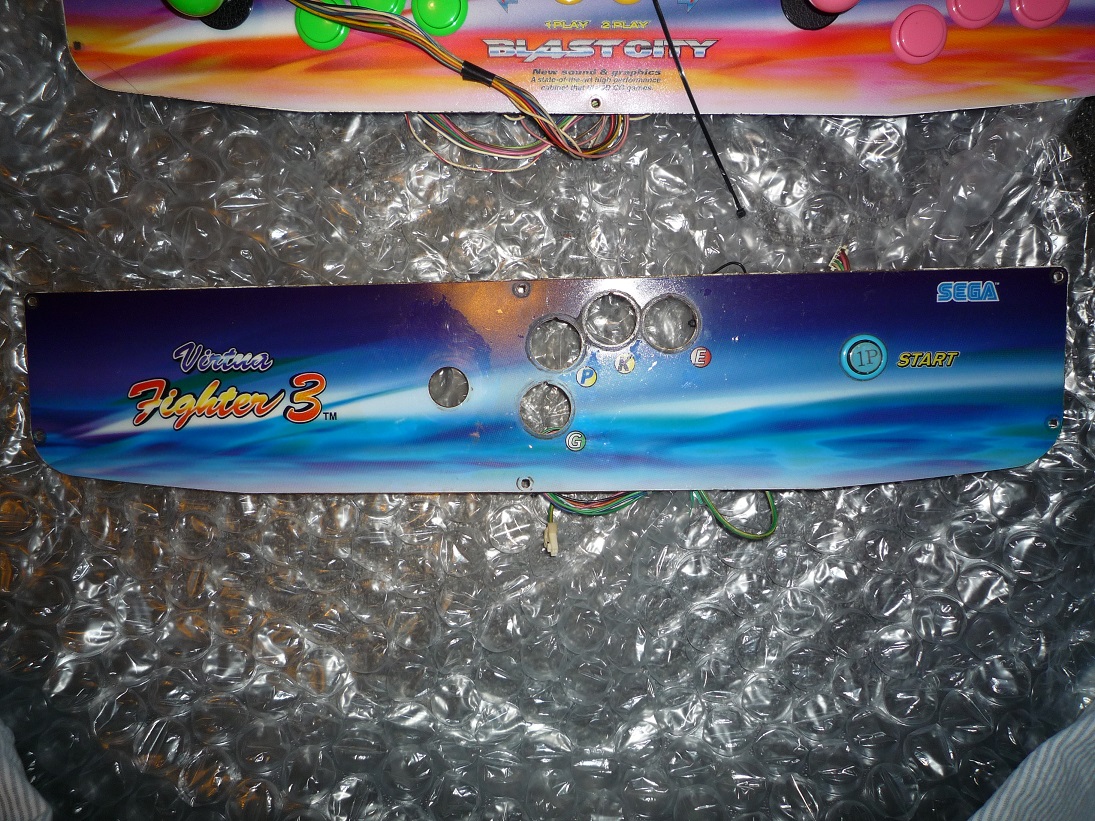
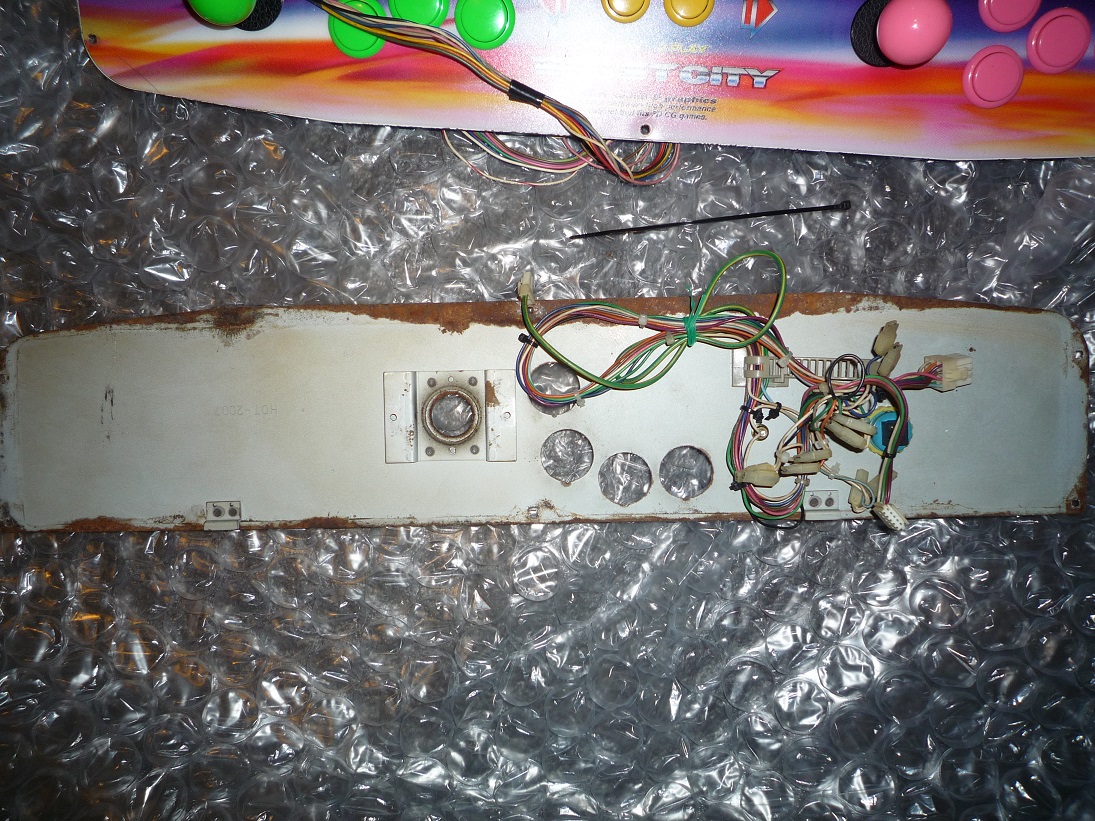
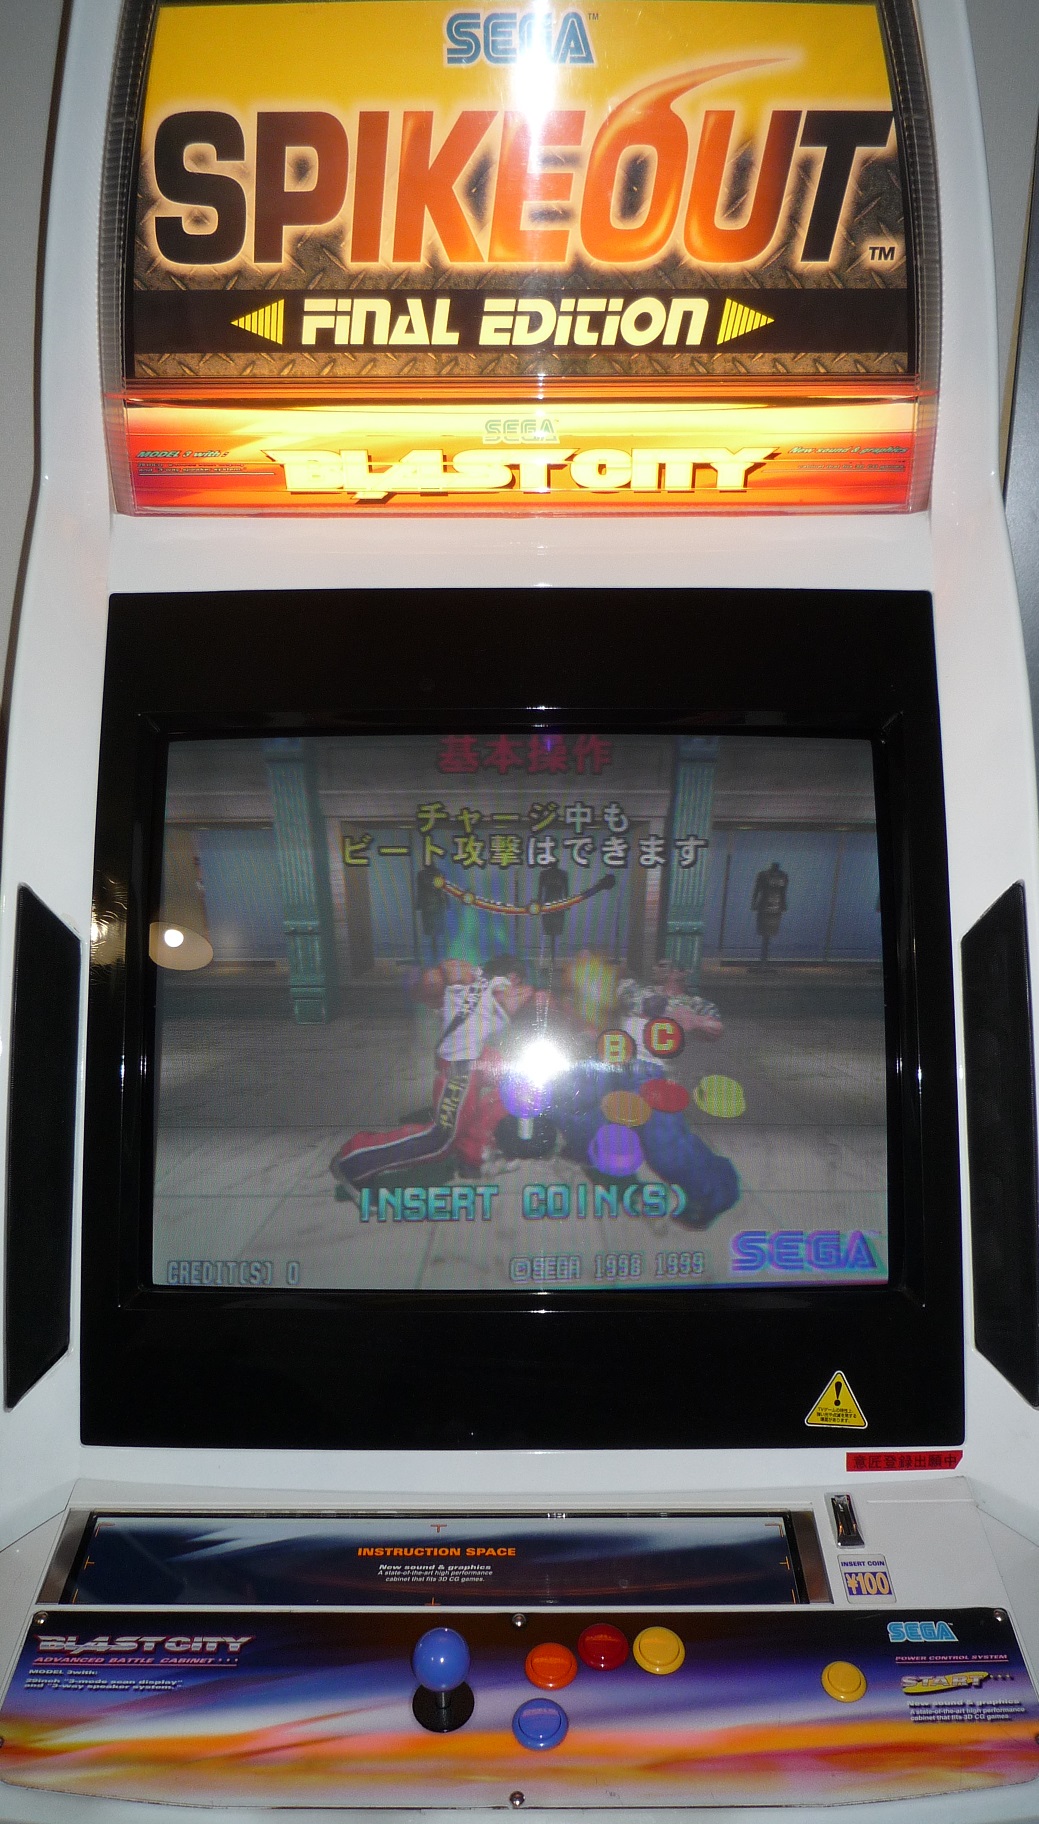
Today I recieved the buttons in the proper colour scheme for SpikeOut.
smiley1.gif


As soon as I got home from work I fitted them into the single player control panel I recently bought from good old Yaton.

SpikeOut_FE_Cab_2.jpg


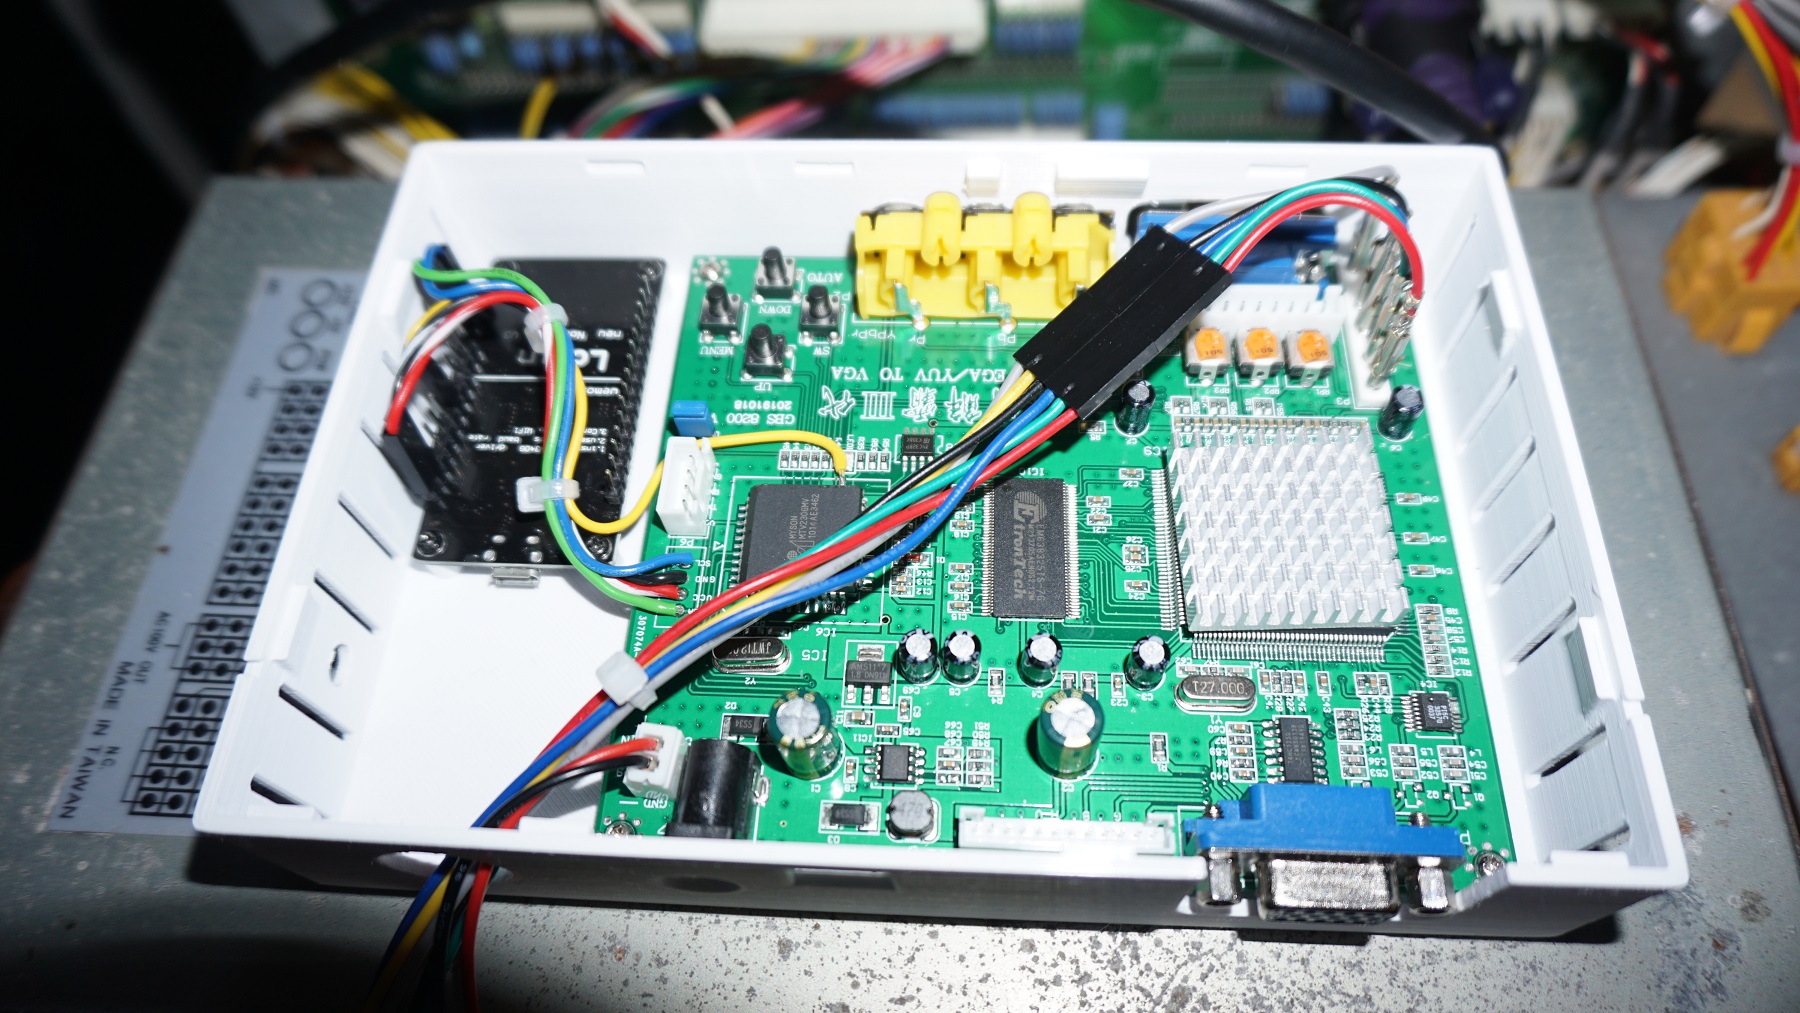
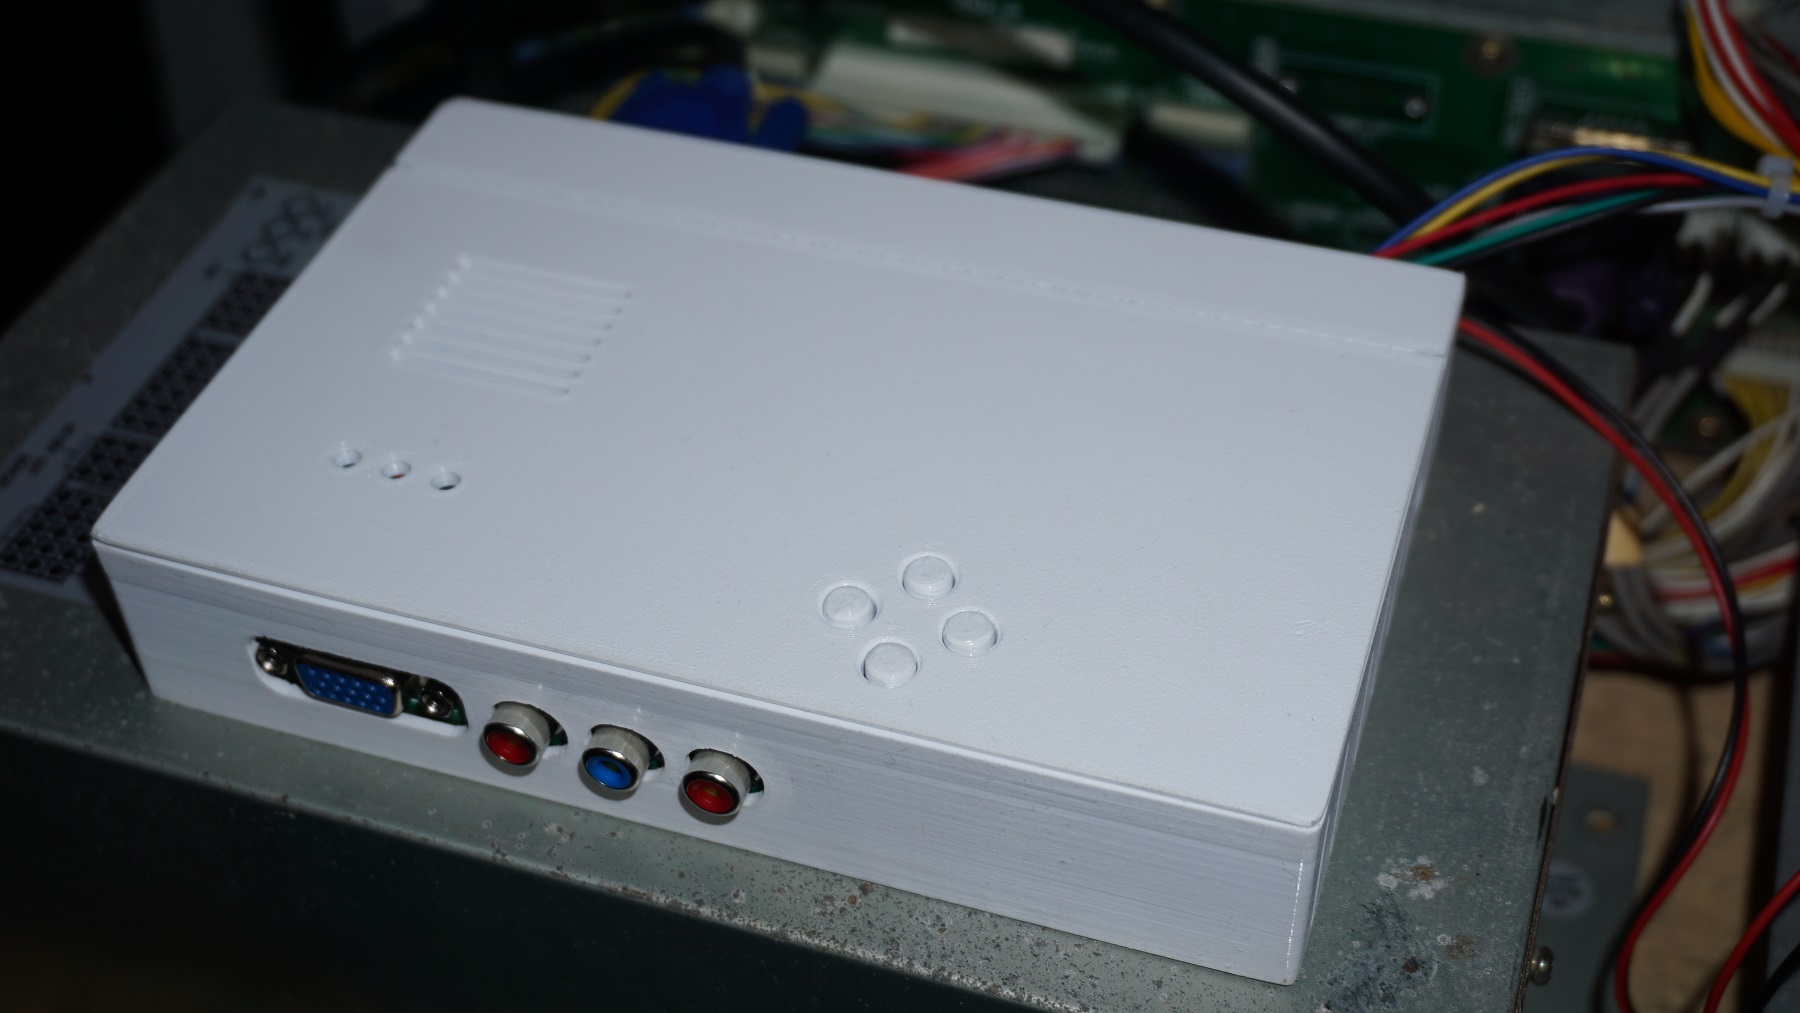
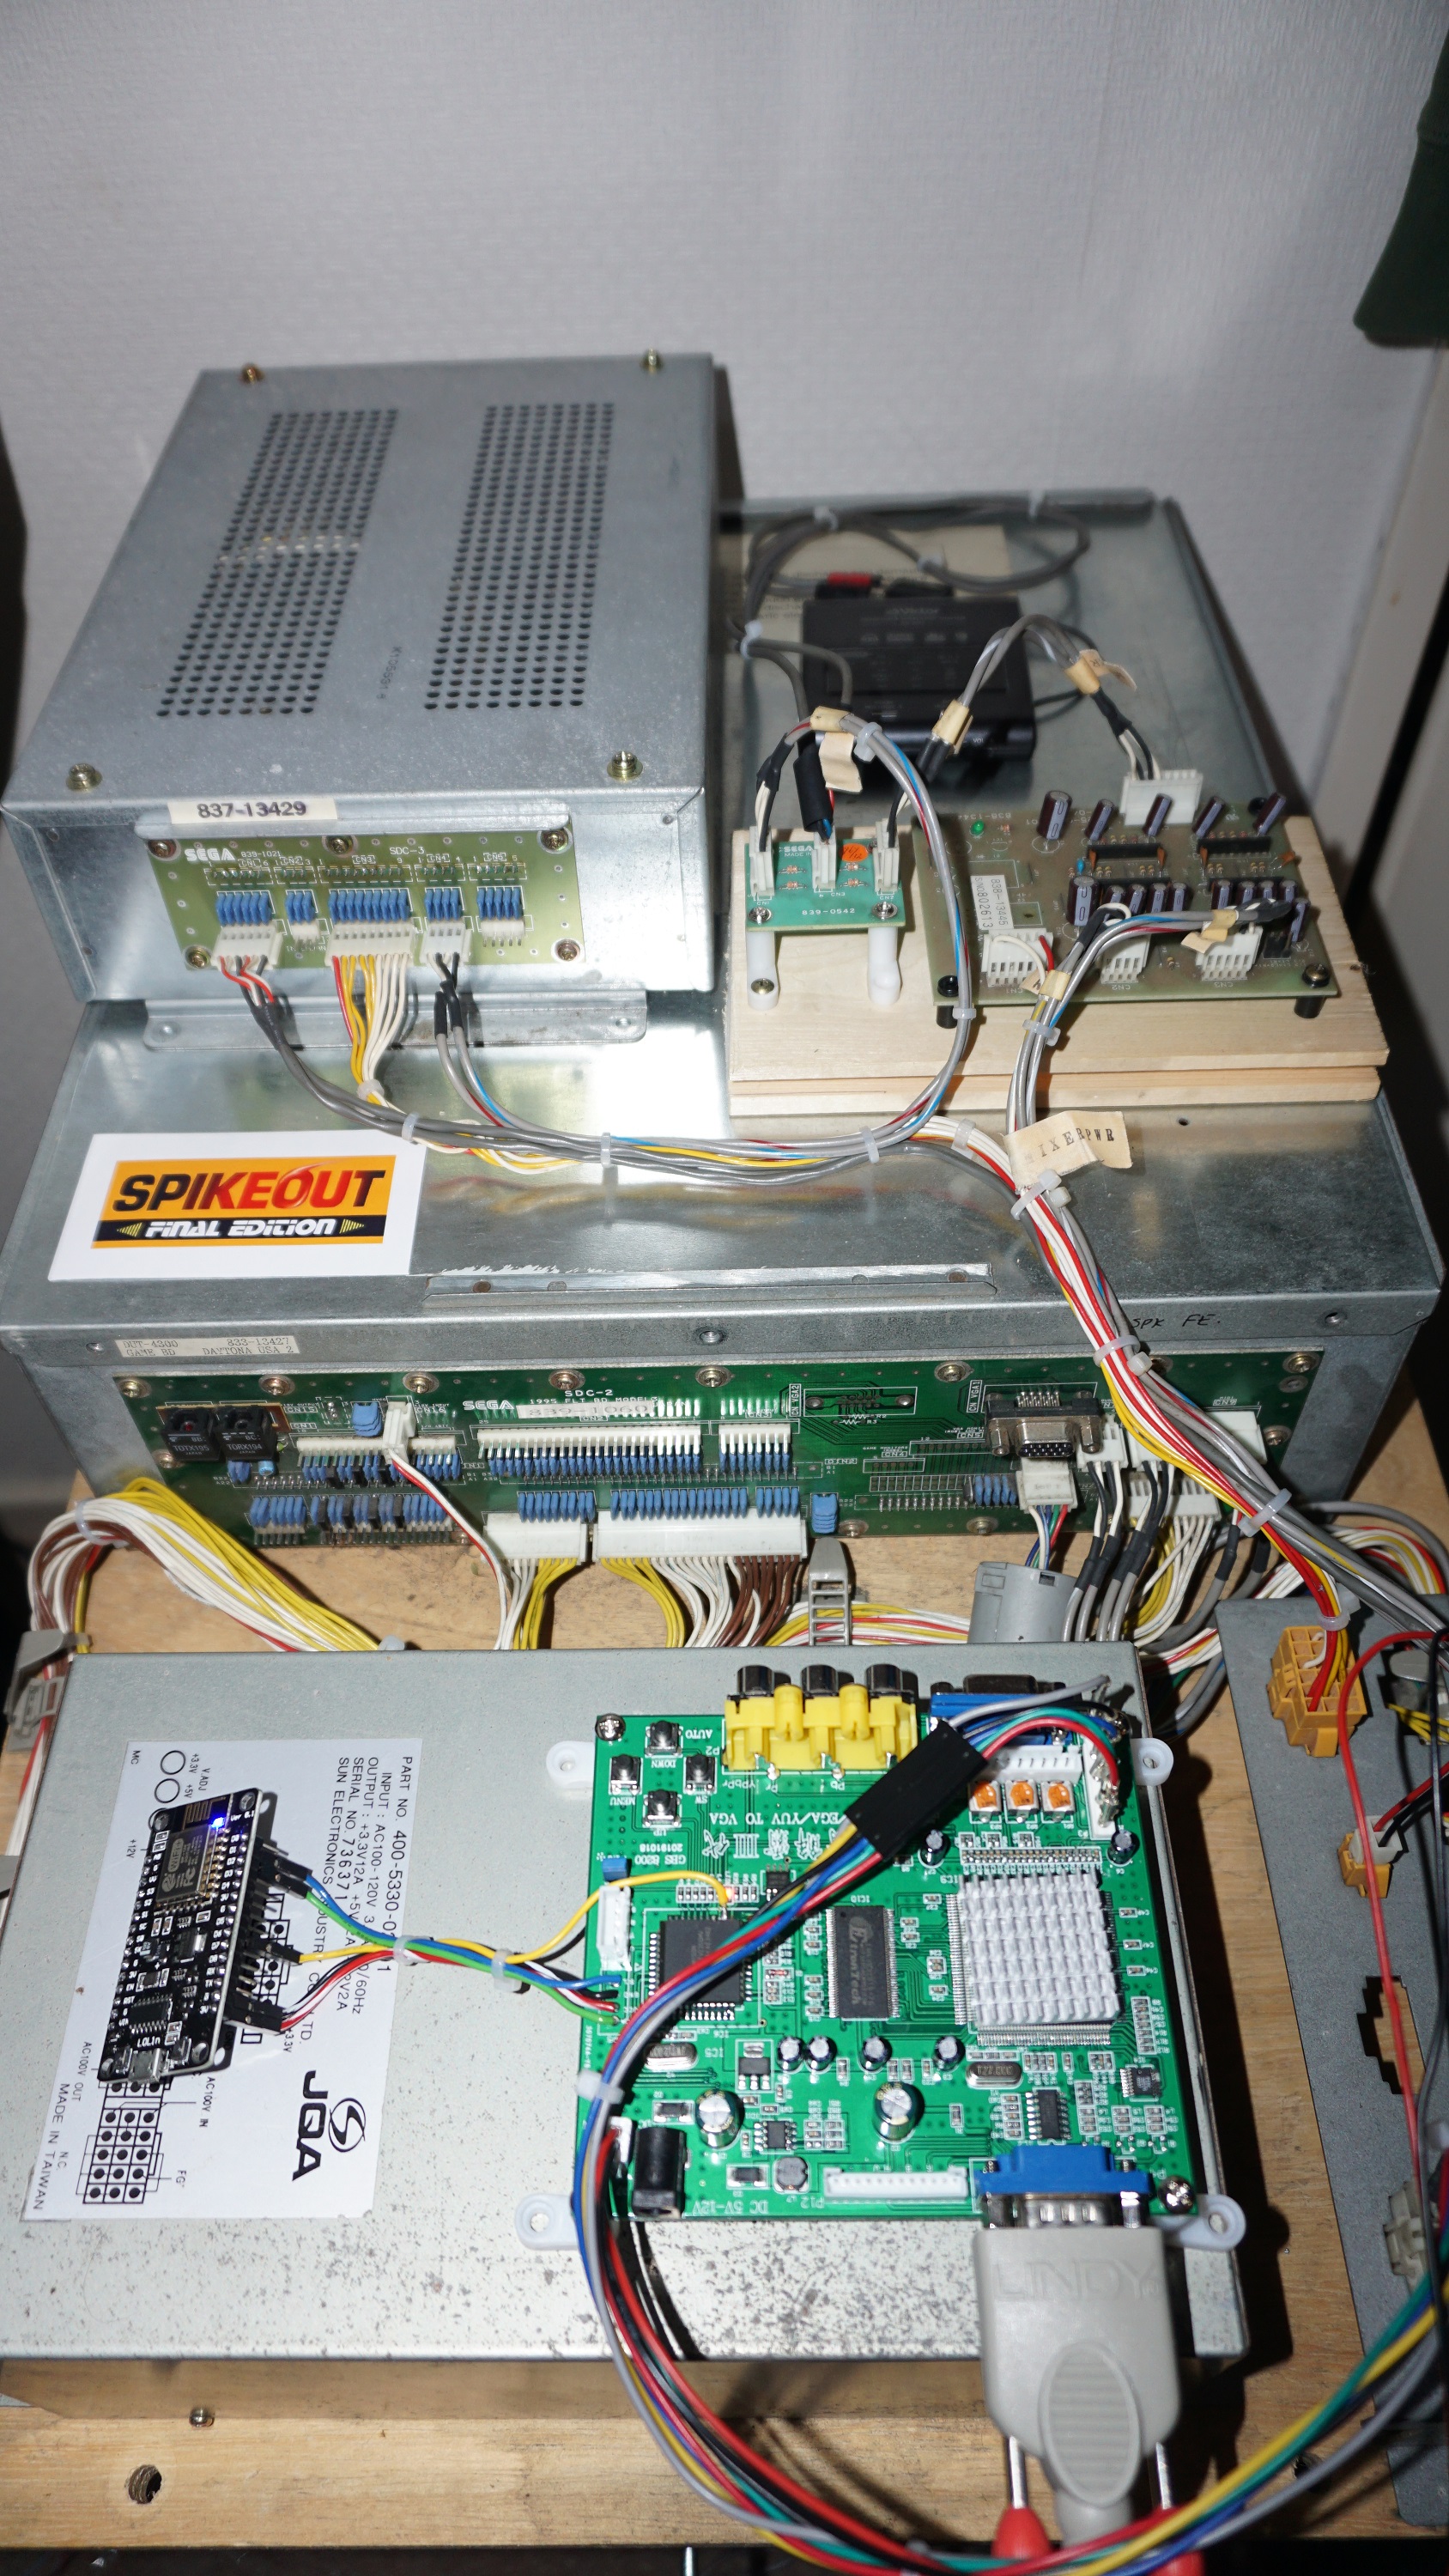
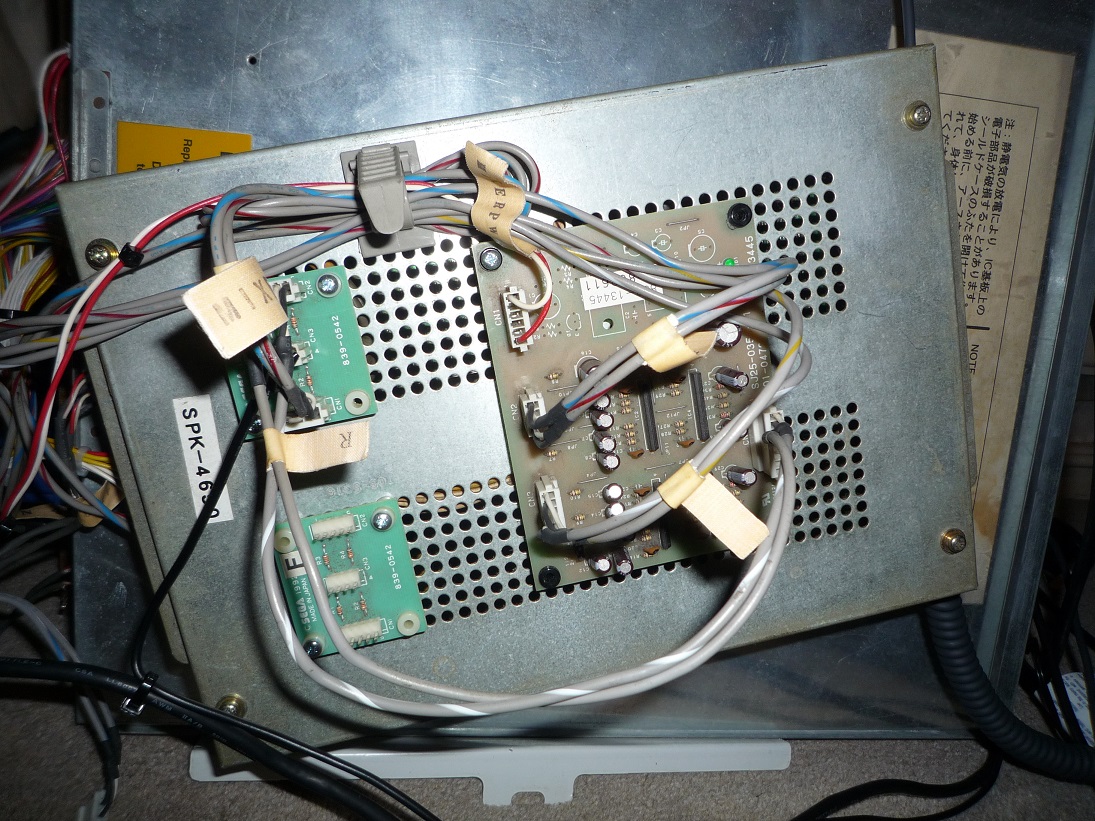
Last week I also sorted out the mixer setup thanks to Mo providing me with some service manuals which contained the elusive schematics. Thanks again Mo.
smiley20.gif


SpikeOut_FE_Cab_3.jpg


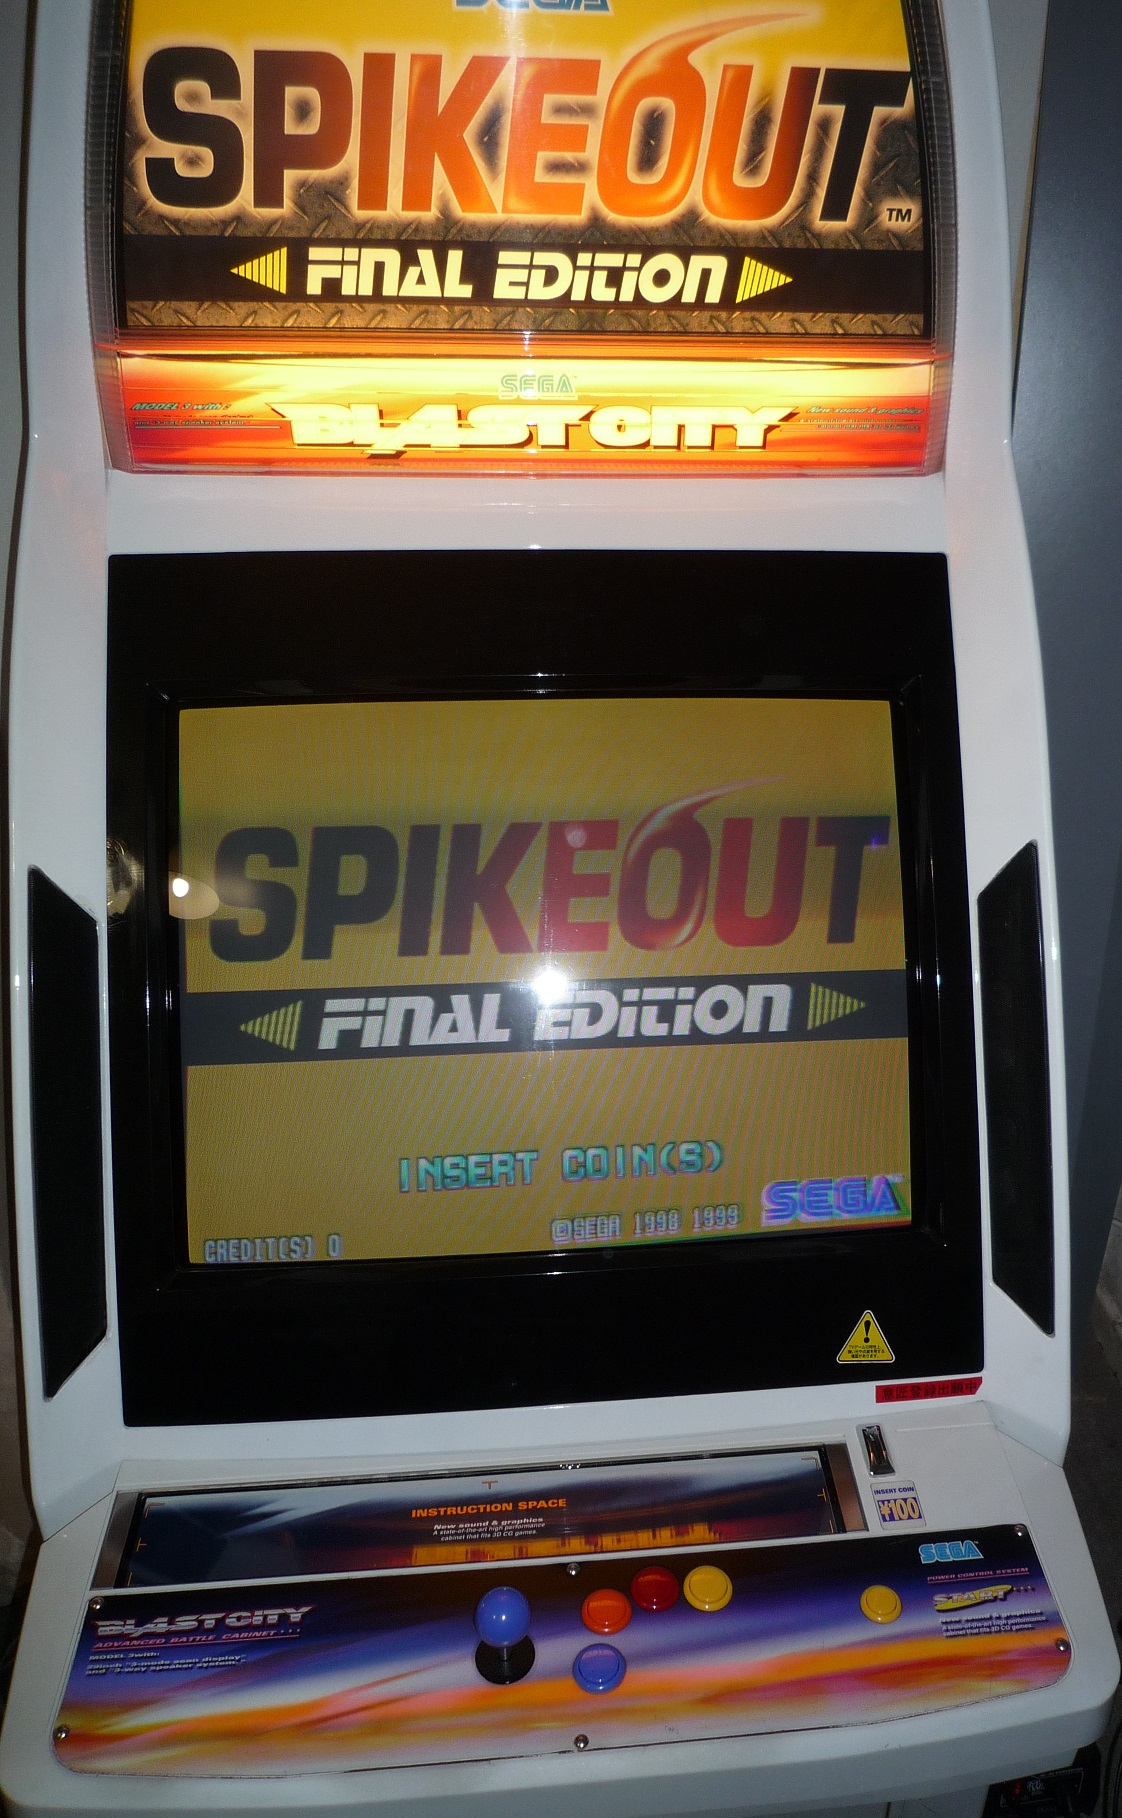
So now it's fully playable as Sega intended.
smiley1.gif


There's just a couple of things to do now:

1/ tweak the picture on the monitor and maybe replace the capacitors.

2/ replace the speakers as the foam around the cones has deteriorated.

3/ clean up the cp and touch up the paintwork on the edges.

4/ try and source the cage mounting plates, one that the DSB attaches to, and the other than the mixers attach to.

5/enjoy the game after all the messing about I've done!

I'm really happy to own this cab, I never would have imagined owning this setup before I found this forum. I'm gonna have a nice session on it later.
smiley1.gif


SpikeOut_FE_Cab_1.jpg
 

griffo83x

Active member
Feedback
30 (100%)
Credits
710CR
Nice mate , this cab deffo went to the right home
smiley20.gif


who else has got model 3 pcb running in their Blast city ?

And that one player panel
smiley2.gif


griffo83x2018-09-14 20:06:09
 

Vamino

Insert coin(s)
vacBacker
Feedback
22 (100%)
Credits
2,620CR
Brettster said:
Looks great

May have to get me a blast city at some point

Thanks mate, I always wanted a Naomi/New Net City. But when I seen both of Paul's Blast City's together a few years back I knew then that's the cab I'd like to own.

Back then I asked Paul if he would give me first refusal and when he decided to sell it he stayed true to his word and offered it to me first. I didn't argue with the price, my answer was simply yes I'll buy it! Skint me out for a bit though!
smiley36.gif


I would be happy with just the Blast City and my Sega Rally 2, I can play most of my favourite games from the Sega Model 3 golden ages on my cabs. As good as graphics are these days, most Model 2 and Model 3 games still hold up well compared to todays efforts.

griffo83x said:
Nice mate , this cab deffo went to the right home
smiley20.gif


who else has got model 3 pcb running in their Blast city ?

And that one player panel
smiley2.gif

Thanks mate.
smiley1.gif


I was searching Yahoo auctions for ages for the marquee, and I was very lucky finding that unmolested 1p panel. Most of the 1p panels have been turned into 6 button panels.

It's cost quite a bit to put this setup together, the cab was lovely when I got it and I've just tweaked it to my liking. I just love playing on this cab, the cashbox is filling up nicely and I'll buy a Gradius II PCB when there's enough money in it.
smiley4.gif


The only regret is getting rid of the VF3 stacks I had, that will go nicely inside this cab now. Hopefully I can find another one day, maybe just not at the price I sold it to you for!
smiley36.gif
 

robotech

Active member
vacBacker
Feedback
4 (100%)
Credits
823CR
That looks ace all now its all complete
I think i need to get a one player controll pannel for my naomi
None of my kids play two player with me anymore
And you get to sit in the center of the cab

I might have to start saving for a blast city now aswell :)
 

Vamino

Insert coin(s)
vacBacker
Feedback
22 (100%)
Credits
2,620CR
robotech said:
That looks ace all now its all complete
I think i need to get a one player controll pannel for my naomi
None of my kids play two player with me anymore
And you get to sit in the center of the cab

I might have to start saving for a blast city now aswell :)

I've just been admiring it, sad I know.
smiley36.gif


I still can't believe I've got most of the hard to find bits now, but I love chasing down those types of parts tbh.

It's so much nicer playing on a 1p cp mate, I'd definitely recommend getting one if you are playing on your own most of the time, plus it doesn't take too long to swap the cp's over if you have someone to play with. They are expensive for what they are though, it's basically a sheet of metal with 6 holes in it and a mounting plate.

I think the Naomi is a great design, but aesthetically the Blast is nicer on the eyes imo. I never got on with the built in topper on the Blast at first, but over time it just looks normal now. There's a bit more space inside the Blast city as well, I never realised how versatile the Blast is until I got one. The way the looms can be changed easily is genius.
smiley1.gif
 

muddymusic

The Repro Guy. Art and Parts supplier
Staff member
vacBacker
Feedback
52 (100%)
Credits
2,205CR
Did some long awated control panel work this week.

Marble Madness panel, which I need a blue trackball for if anyone has one!

cp-refurb0.jpg


And got a panel ready for a certain Nintendo game I'm working on at the mo.

Before

cp-refurb1.jpg


After

cp-refurb2.jpg
 

Vamino

Insert coin(s)
vacBacker
Feedback
22 (100%)
Credits
2,620CR
I recently bought a project Blast City cab, I like the asthetic and colour scheme of the original Blast City VF3 so that's the look I'm going for on this cab. Finding an
unmolested original VF3 CP is getting quite tricky now, I found one a
while back but it wasn't in the best shape, it was very rusty and some of the laminate had worn off which made it look very scruffy.

I cleaned the CP enclosure up and fitted it to my other Blast City cab as it was in a bit better condition overall. On the CP I removed most of the rust and also removed the laminate from the CP with Novus 3 + magic eraser. I then used a bit of novus 2 + 1 to buff it up a bit, with a bit of elbow grease it came up well I think. It still needs a bit more polishing but I'll leave that for later.

Today I recieved the original colour scheme buttons from Arcade world and have just fitted them and taken this pic. So that's the CP almost finished now, I just need to find the tang for the release mech inside the CP and the move strip.

VF3_Original_CP.jpg


Next thing to do is to repair a massive crack in the shell, hopefully that won't give us too much trouble but we shall see how it goes.
 

Vamino

Insert coin(s)
vacBacker
Feedback
22 (100%)
Credits
2,620CR
Initially it was kinda difficult to track down what the colours of the buttons were mate, I thought it was an odd combo too, a bit of a Rasta influence?

I did find a couple of pics confirming that the same coloured buttons were fitted on the western version, which matched the colours printed on the actual 1p Jp CP.

vf3_flyer.jpg


The green ball top I'm not 100% sure about though. The only other pic I could find was from a 'Licensed By Sega' panel. A green ball top is also fitted to P1 on the western version.

VF3_Licensed_CP.png


Who would have thought it would be difficult to track down a picture of the original Blast City cab!
 

Vamino

Insert coin(s)
vacBacker
Feedback
22 (100%)
Credits
2,620CR
Initially I fitted blue buttons and a blue ball top. Although it looked quite nice, I definitely prefer Sega's 'Rasta' version.
smiley1.gif


Blast_CP_Purple.jpg


VF3_Original_CP.jpg


Vamino2020-06-09 20:24:55
 

robotech

Active member
vacBacker
Feedback
4 (100%)
Credits
823CR
Looks ace all cleaned up you would have to see how bad it was before the work was done to see how good the transformation is

I still prefere the all blue buttons i think even if they arnt the correct colours

Ive got a proper car da polisher at mine and various pads and cutting compounds if you
Want to polish the comtroll pannel more
It would be loads better than doing it by hand mate
 

Vamino

Insert coin(s)
vacBacker
Feedback
22 (100%)
Credits
2,620CR
Yeah mate, I should have taken some pics before cleaning everything up. I was very disappointed when I recieved the VF3 CP, I almost gave it away! Glad I didn't as it cleaned up nicely.

There are some marks which I can't get rid of, not sure using a car polisher would get rid of them either. I can bring it around one of the days and see what you think. I know you are not impressed with novus, but it really did work wonders on the CP. I was surprised how well it worked tbh.
 

Vamino

Insert coin(s)
vacBacker
Feedback
22 (100%)
Credits
2,620CR
Today I collected a case my friend made for a GBS control setup that I'm tinkering with.

The case was downloaded from here:

https://www.thingiverse.com/thing:3562194

GBS_Case_1.jpg


GBS_Case_2.jpg


The case came out quite well, but I need to adjust the cabling slightly as the lid doesn't close snugly. I also need to fit a 6 pin din and switch another time.

I'm quite sensitive to lag and for me the lag is acceptable now, especially when using an LCD panel. With the standard GBS-8200 the lag is noticeable for me. There are some quirks when playing on this setup at 24khz though, some artifacting is visible sometimes in the middle of the screen but it's not enough for me put me off playing the game.

Whilst the monitor is in tate mode in the Blast City, this setup is a decent substitute. But I had to modify a Daytona 2 loom that I had laying around which was quite time consuming. The wiring can be simplified even more, but I'll do that another time when I integrate a Naomi PSU into the setup.

Work_in_progress_pt1.jpg


GBS_test.jpg


Edit:

I found a couple of pictures of the VF3 CP before I cleaned it up so thought I'd post them here.

The rust was pretty bad and you can just about make out where the textured finish had worn off around the joystick and button holes.

VF3_cp_1.jpg


VF3_cp_2.jpg


Vamino2020-08-28 22:35:52
 

ChrisBEANS

Active member
vacBacker
Feedback
4 (100%)
Credits
722CR
I've scooped up a cab that's in need of some love, and so I need to strip the pain off some of the visible metal panels, sand down and treat the rust, and paint...

I'm not double confident doing that on the visible areas of the cabinet and so I thought I'd have a practice on something that isn't going to be on show...

oQKCMSL.jpg


Was pretty grimey, had a few rust spots, and the adhesive was extremely stubborn. After a lot of preparation...

CWGE4zP.jpg


8YJZbQ8.jpg
 

Vamino

Insert coin(s)
vacBacker
Feedback
22 (100%)
Credits
2,620CR
After a few sessions at Robotech's tinkering with various arcade stuff we finally managed to sort out some faulty monitors and do some other bits and bobs.

I've had some strange faults with this particular Astro City, the most recent fault was wavy interference on the screen and the speakers would hum when a Mame PC was connected. After trying various things, simply swapping out the PSU for another one that had been recapped sorted it out. Such a strange fault.

Shane used a rejuve kit to sort the guns on the tube, recapped the chassis and then I adjusted the geometry + colours. We then polished the anti glare coating off the tube which got rid of 99% of the scratches, I have to say the picture looks lovely now.
smiley1.gif


Done so far:

Quick clean.

Sorted out quite a bit of hacked cabling and removed an aftermarket internal stepdown.

Fitted 5830 locks + new metal coin slot.

Replaced the weak speakers using the innards from some old Logitech speakers.

LED warm white tube fitted.

NOS OG 2L6B CP with NOS buttons + LS-32 joysticks fitted (The joystick shafts are bit tarnsihed, oh well)

Installed a PC running Chunksin's Groovymame image with a Jpac + 12v Amp. These have been hard wired into the cab so the main switch turns everything on. Nothing was hacked and everything can easily be removed.

To do:

Deeper clean and polish the whole cab.

Fit a better conditioned CP plastic.

Straighten out PCB door.

Fill and redo the holes for the CP hinge as the holes are stripped.

Mount the PC to a board so it's more secure.

Play the thing!

Thanks again to G60hot for sorting me out with the cabs.

And also a big thanks to Shane for helping and keeping me motivated.

Astro_Aug_21.jpg


Vamino2021-08-31 21:57:00
 
Top