Today I did this to my cab...

AaronBoone

Active member
vacBacker
Feedback
3 (100%)
Credits
165CR
glstar said:
This is just great.
I need to do this for my buggy boy jr....
:(
Could you send me pics of your cable adapters, please?

Yeah I'll try and get some pictures tomorrow. I think there are different versions of the board as the ones online look different to mine, and I know from looking at DarthNuno's thread over on DLF that the 3 screen version has a different pinout. I'll post some photos of my board too as the pinout on KLOV is wrong for mine as it confuses 2 of the connectors although I don't know if that's a typo or not.
 

glstar

Active member
Feedback
11 (100%)
Credits
160CR
AaronBoone said:
glstar said:
This is just great.
I need to do this for my buggy boy jr....
:(
Could you send me pics of your cable adapters, please?

Yeah I'll try and get some pictures tomorrow. I think there are different versions of the board as the ones online look different to mine, and I know from looking at DarthNuno's thread over on DLF that the 3 screen version has a different pinout. I'll post some photos of my board too as the pinout on KLOV is wrong for mine as it confuses 2 of the connectors although I don't know if that's a typo or not.
Really?
Maybe is for this reason why on mine cabinet i cannot understand very well why my connectors are differents from the ones i see on speed buggy manual.....
Oh god...
smiley5.gif

Some pics of your setup cold be really really useful.
Thank you very much.
:)
 

Hurray Banana

Moderator
Staff member
vacBacker
Feedback
8 (100%)
Credits
2,717CR
As I had to drag my DK jr out to install DK (and move the arcade round to do so - instant sh*t tip as my missus would say) I decided to swap out the T-moulding.com nintendo flat (which isn't) for some proper flat repro t-moulding that I had sat in a box for about a year.

flat nintendo repro on the left, t-moulding true flat nintendo on the right

true_flat_vs_t-moulding_flat_nintendo.jpg


Installed

flat_moulding.jpg


I also installed the new repro DK jr buttons Mike has just released

Mike's new repro on left, Mikes old nintendo buttons on right, interestingly I had to use the lock nuts from my original and fag burnt jr buttons, so the repro's have the original nintendo thread size, they are also longer matching the originals, so adjustment of switch holders necessary.

new_repros_vs_old_nintendo.jpg


installed

new_repros_installed.jpg


Hurray Banana2016-11-20 11:59:39
 

AnDyC

Active member
Feedback
11 (100%)
Credits
527CR
My marquee brackets had seen better days
6bZXlrw.jpg


So sanded them off primed painted and lacquered them and fitted some leds behind the marquee glass.

zukmecr.jpg

IEE1LEg.jpg

C036qwp.jpg
gBkaMlo.jpg


AnDyC2016-12-20 22:05:58
 

Shinydaz

Active member
vacBacker
Feedback
6 (100%)
Credits
806CR
Removing old parcel tape from my mini cab.

Firstly I soaked the tape in vegetable oil for 20 minutes, then I scrapped the tape off gently with a plastic scrapper.

I then re-applied some more oil over the sticky residue for a few minutes, washed it off and rubbed it all over with hot soapy water and a magic eraser, job done, happy with the result with my £50 cab.

IMG_20161230_58899.jpg
IMG_20161230_9841.jpg
 

smarty

Ready Player One
vacBacker
Feedback
12 (100%)
Credits
1,290CR
I had some oomph to pick up working on my Asteroids setup for a future project. My Power Brick didn't have the 30-0-30 AC required to power the monitor so I went down the route of adding and external transformer to provide the correct voltage. The existing AC supply from the Atari Power Brick was used to power the new transformer, the output from the new transformer is then routed onto the existing cables to the monitor connector.

IMG_0133.JPG


After that it was a case of powering up the monitor. I had to confirm the pinouts on the deflection board as the monitor is a G05 but the deflection board was a W&G V2000. The connector is keyed in a different place so I compared both sets of schematics and did the following. In the loom that plugs into the P500 connector, remove the purple cable from pin 4, sleve it up so it's insulated, it is not required, remove the 'keyed link' from pin 5 and place into the position at pin 4. The V2000 deflection will now happily work in the G05 chassis.

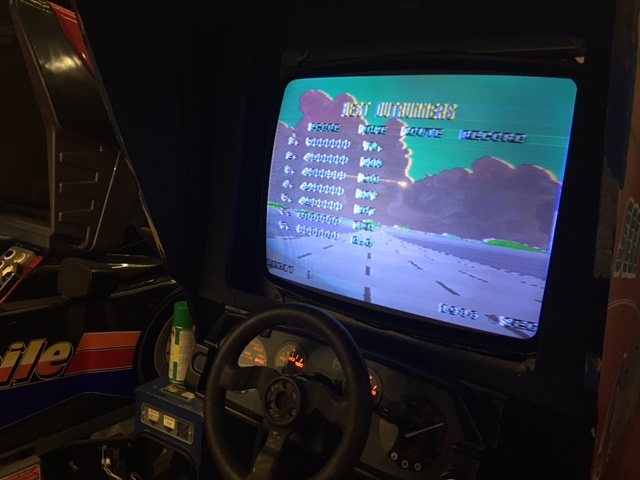
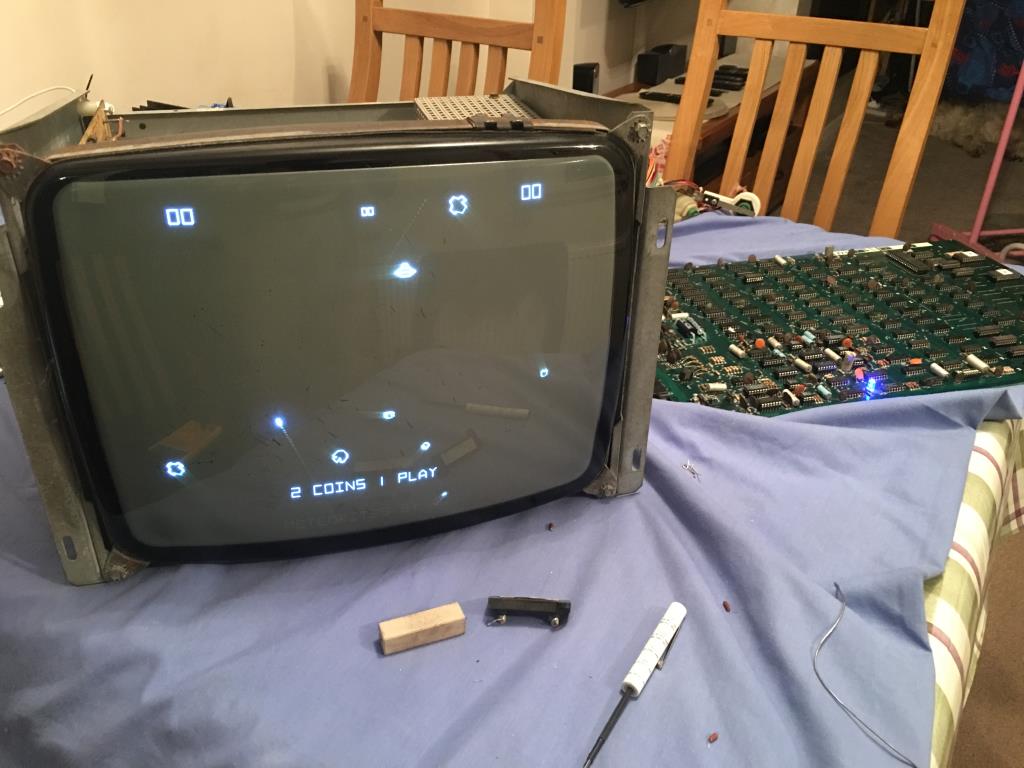
After completing this, I was only getting a bright dot in the centre of the display. I checked the voltages on the connectors and they all seemed good. Taking the deflection board out I noticed the two high wattage resistors at R100 & R101 looked melted/burnt/warped. measuring these with a meter they appeared open circuit, I removed them from the board and sure enough the were not giving a reading. The Vector FAQ talking of these causing problems, I temporarily replaced the resistors with some thick gauge wire, when powered up I could hear vector chatter and after a few moments the asteroids test pattern appeared on screen, after tweaking the size adjustments on the game pcb everything was looking sweet!

IMG_0138.JPG


Next up I will be shotgunning the Deflection and HV board's to hopefully reduce downtime in the future.
 

RolyRetro

Active member
Feedback
1 (100%)
Credits
277CR
AnDyC said:
My marquee brackets had seen better days

So sanded them off primed painted and lacquered them and fitted some leds behind the marquee glass.

Nice finish, presume that was rattle cans? What did you use? I was going to get mine powder coated but fancy trying this method if it's an easy DIY job.
 

AnDyC

Active member
Feedback
11 (100%)
Credits
527CR
RolyRetro said:
Nice finish, presume that was rattle cans? What did you use? I was going to get mine powder coated but fancy trying this method if it's an easy DIY job.

I went to my local auto paint and bought the cheapest primer/black gloss/topcoat rattle cans.

It's an easy job if you take your time, thin layers and a gentle rub in between coats, if I have time I also sand the paint job :)
 

RolyRetro

Active member
Feedback
1 (100%)
Credits
277CR
I had a fun day on a Saturday restoring an old BAS jamma control panel that had ripped vinyl. After cleaning and sanding down the metal panel and coating with some hammerite on the back to halt further rust, I prepared to apply the vinyl that Muddymusic lovingly recreated from the original (thanks Olly).

Slow and steady!

32604949625_f1d8e35140_b.jpg


Populated with button and joysticks, and some nice shiny new joystick bolts

32482080911_3d6e1a3a00_b.jpg


And then back into the cab for some play testing

32604947275_08d4772e35_b.jpg


Next up, new t-molding
 
Top